This year there’s been a huge increase in the number of farmers and specialty growers that are ready, willing and quite capable of growing a variety of mushrooms all across our state. Maybe it’s the ridiculous wet weather and odd low temperatures, or maybe it’s just the increase in young farmers trying to find crops that are more profitable. Whatever the cause, the increased volume at the market makes it easier to buy them in bulk and use them in all sorts of new recipes throughout the year.
To start off, let’s talk about two types of mushrooms that are seen most often in our local markets around North Carolina: Oyster and Shiitake. They are pretty easy to grow and you can find many workshops available in the early spring and late fall to attend if you plan to try them at home. Personally, I simply enjoy working with farmers to get as many different types as I can find. And I’m completely happy to support their habit of exploration in this field. My time is better spent cooking and showing rather than growing.
Over the weekend I had an opportunity to see some Oyster mushrooms growing organically at a farm in the Appalachian mountains of Western Maryland in Garrett County. This farm uses pasteurized straw held within hanging plastic bags that are punched with the spores. Harvesting is very easy since you just have to reach out and snap the mushrooms off as they grow outside of the bags. It’s all pretty simple and quick. You can view some pictures of the Savage River Farm on facebook.
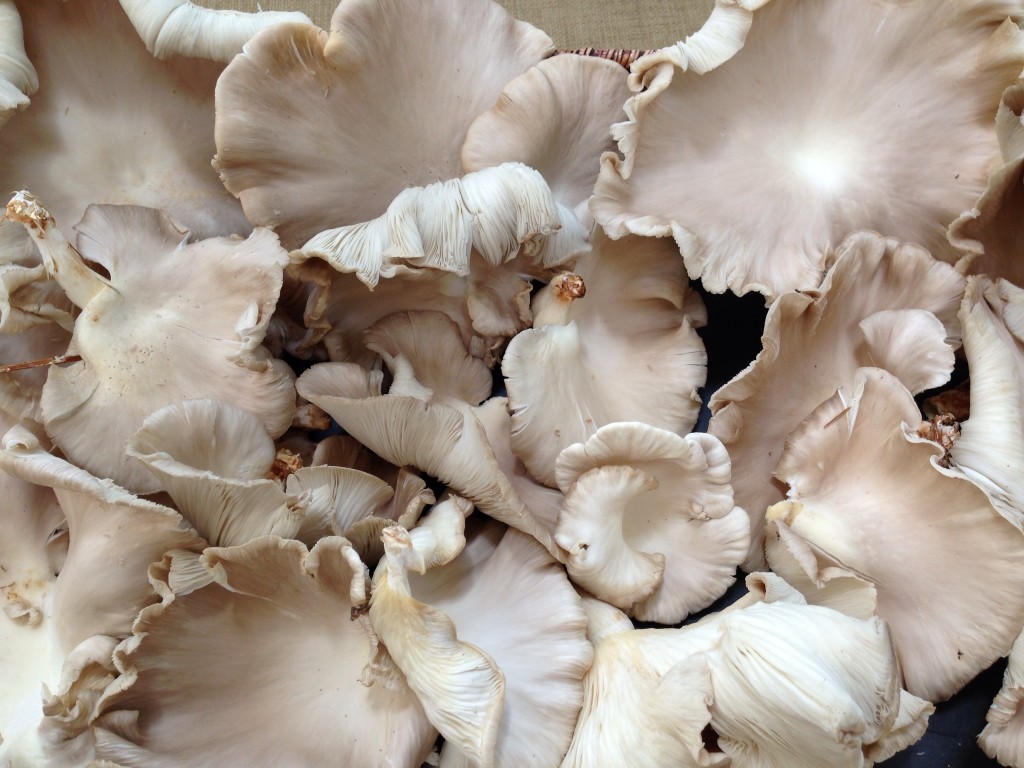
Oyster mushrooms are very delicate to handle compared to Shiitake. They must be gently placed in paper bags or bins and they don’t get moved around much after harvest because they tear easily. They also last less time than the Shiitake because they retain a lot of water in the gills underneath. Storing them in a paper bag works well to keep them cool and dry for a day or two. I used a plastic bag around the paper one to retain some of the moisture.
To clean the mushrooms, simply wipe with a damp paper towel and be sure to check the gills on these as they provide lovely hiding places for tiny insects. Some people will prefer to run them under some cool water. That will work provided you dry them off well before cooking them in oil. If you plan to grill or dehydrate your mushrooms, gently tear off the stems and leave them whole. If you intend to cook and freeze, I found that gently tearing the mushroom into pieces while holding the stem worked quite well. Try to tear the pieces about 1″ wide by 2-3″ long. Exact size is not terribly important in this process as you’ll find in a minute. And the second harvest of these from your freezer or dehydrator will allow you to make rich broths, earthy stews and soups, delicate sauces, hearty risotto or savory tarts.
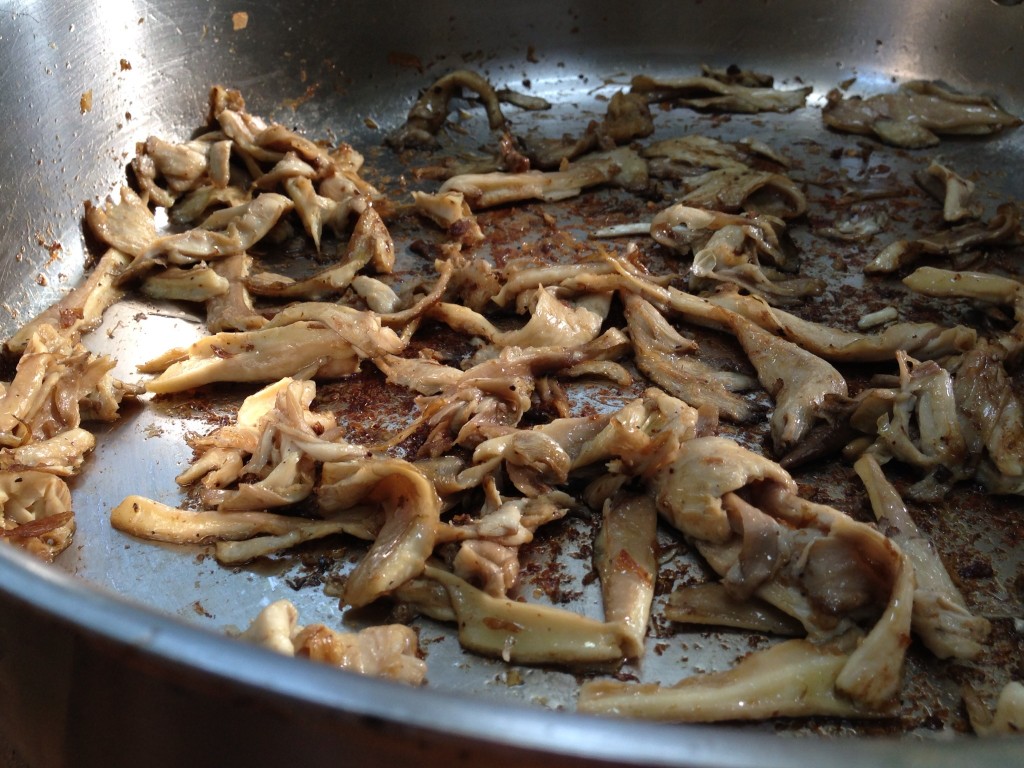
Once I worked through all of the mushrooms (a large grocery bag full), I heated up a large shallow stainless steel pan with about 2 tablespoons olive oil, 1/4 teaspoon salt & 1/8 teaspoon ground pepper. Since oyster mushrooms have a more delicate texture and flavor, I used a lighter olive oil, Himalayan salt and simple black peppercorns so I wouldn’t overpower the mushroom flavor. Once the oil was hot, I added the torn mushroom pieces to completely cover the bottom but only one layer and not terribly thick. Then I immediately tossed them around to coat them in oil and seasoning. You can use either a silicon spatula or a metal one. Keep the heat reasonably high. On a low BTU burner, you can cook it at high. On a high BTU burner, medium high should be sufficient but higher will work if you keep an eye on the process and adjust the cooking time. Take care with either spatula you choose to treat the mushrooms gently. Then I tossed them about every minute to keep them from sticking or browning too much until they were just cooked through and resembled pulled chicken in texture and color. It took less than 5 minutes to cook each batch and it was simple enough to let them cool and store them in small containers in the freezer.
If you care to save any whole oyster mushrooms to eat right away, try brushing them with olive oil, seasoning them and quickly grilling at a high temperature. Provided you cook them through, you can also freeze and use them in layers of lasagna to replace noodles or cut them to top a pizza or savory tart with fresh herbs.
For dehydrating, clean them and gently pull or cut off the stems. Leave them whole or cut them into pieces and layer on your dehydrating sheets in a single layer. Set the heat at 90-110F and leave them in until they are crack-dry which should take between 4-6 hours depending on the size and thickness of the mushrooms and how wet they are. Each variety will vary in the length of time it takes. Store them in airtight containers until you are ready to use and then hydrate them in warm water for about ten minutes before using.
While the pictures are not glamorous, you can see the difference in texture as they cook in the pan. My goal for these mushrooms is to have a replacement for chicken in a couple of dishes like chicken pot pie (I will probably continue to use shiitake in the duck pot pie & stew) to make a vegetarian version. And to have a lighter tasting mushroom to add to delicate chicken and fish dishes where shiitake mushrooms might take over the flavor. I can also envision them mixed with other mushrooms in risotto, wontons or blended into a fresh salad of baby greens. I’ve posted some recipes on Pinterest under the “Foods I Want To Try” board.


Thanks