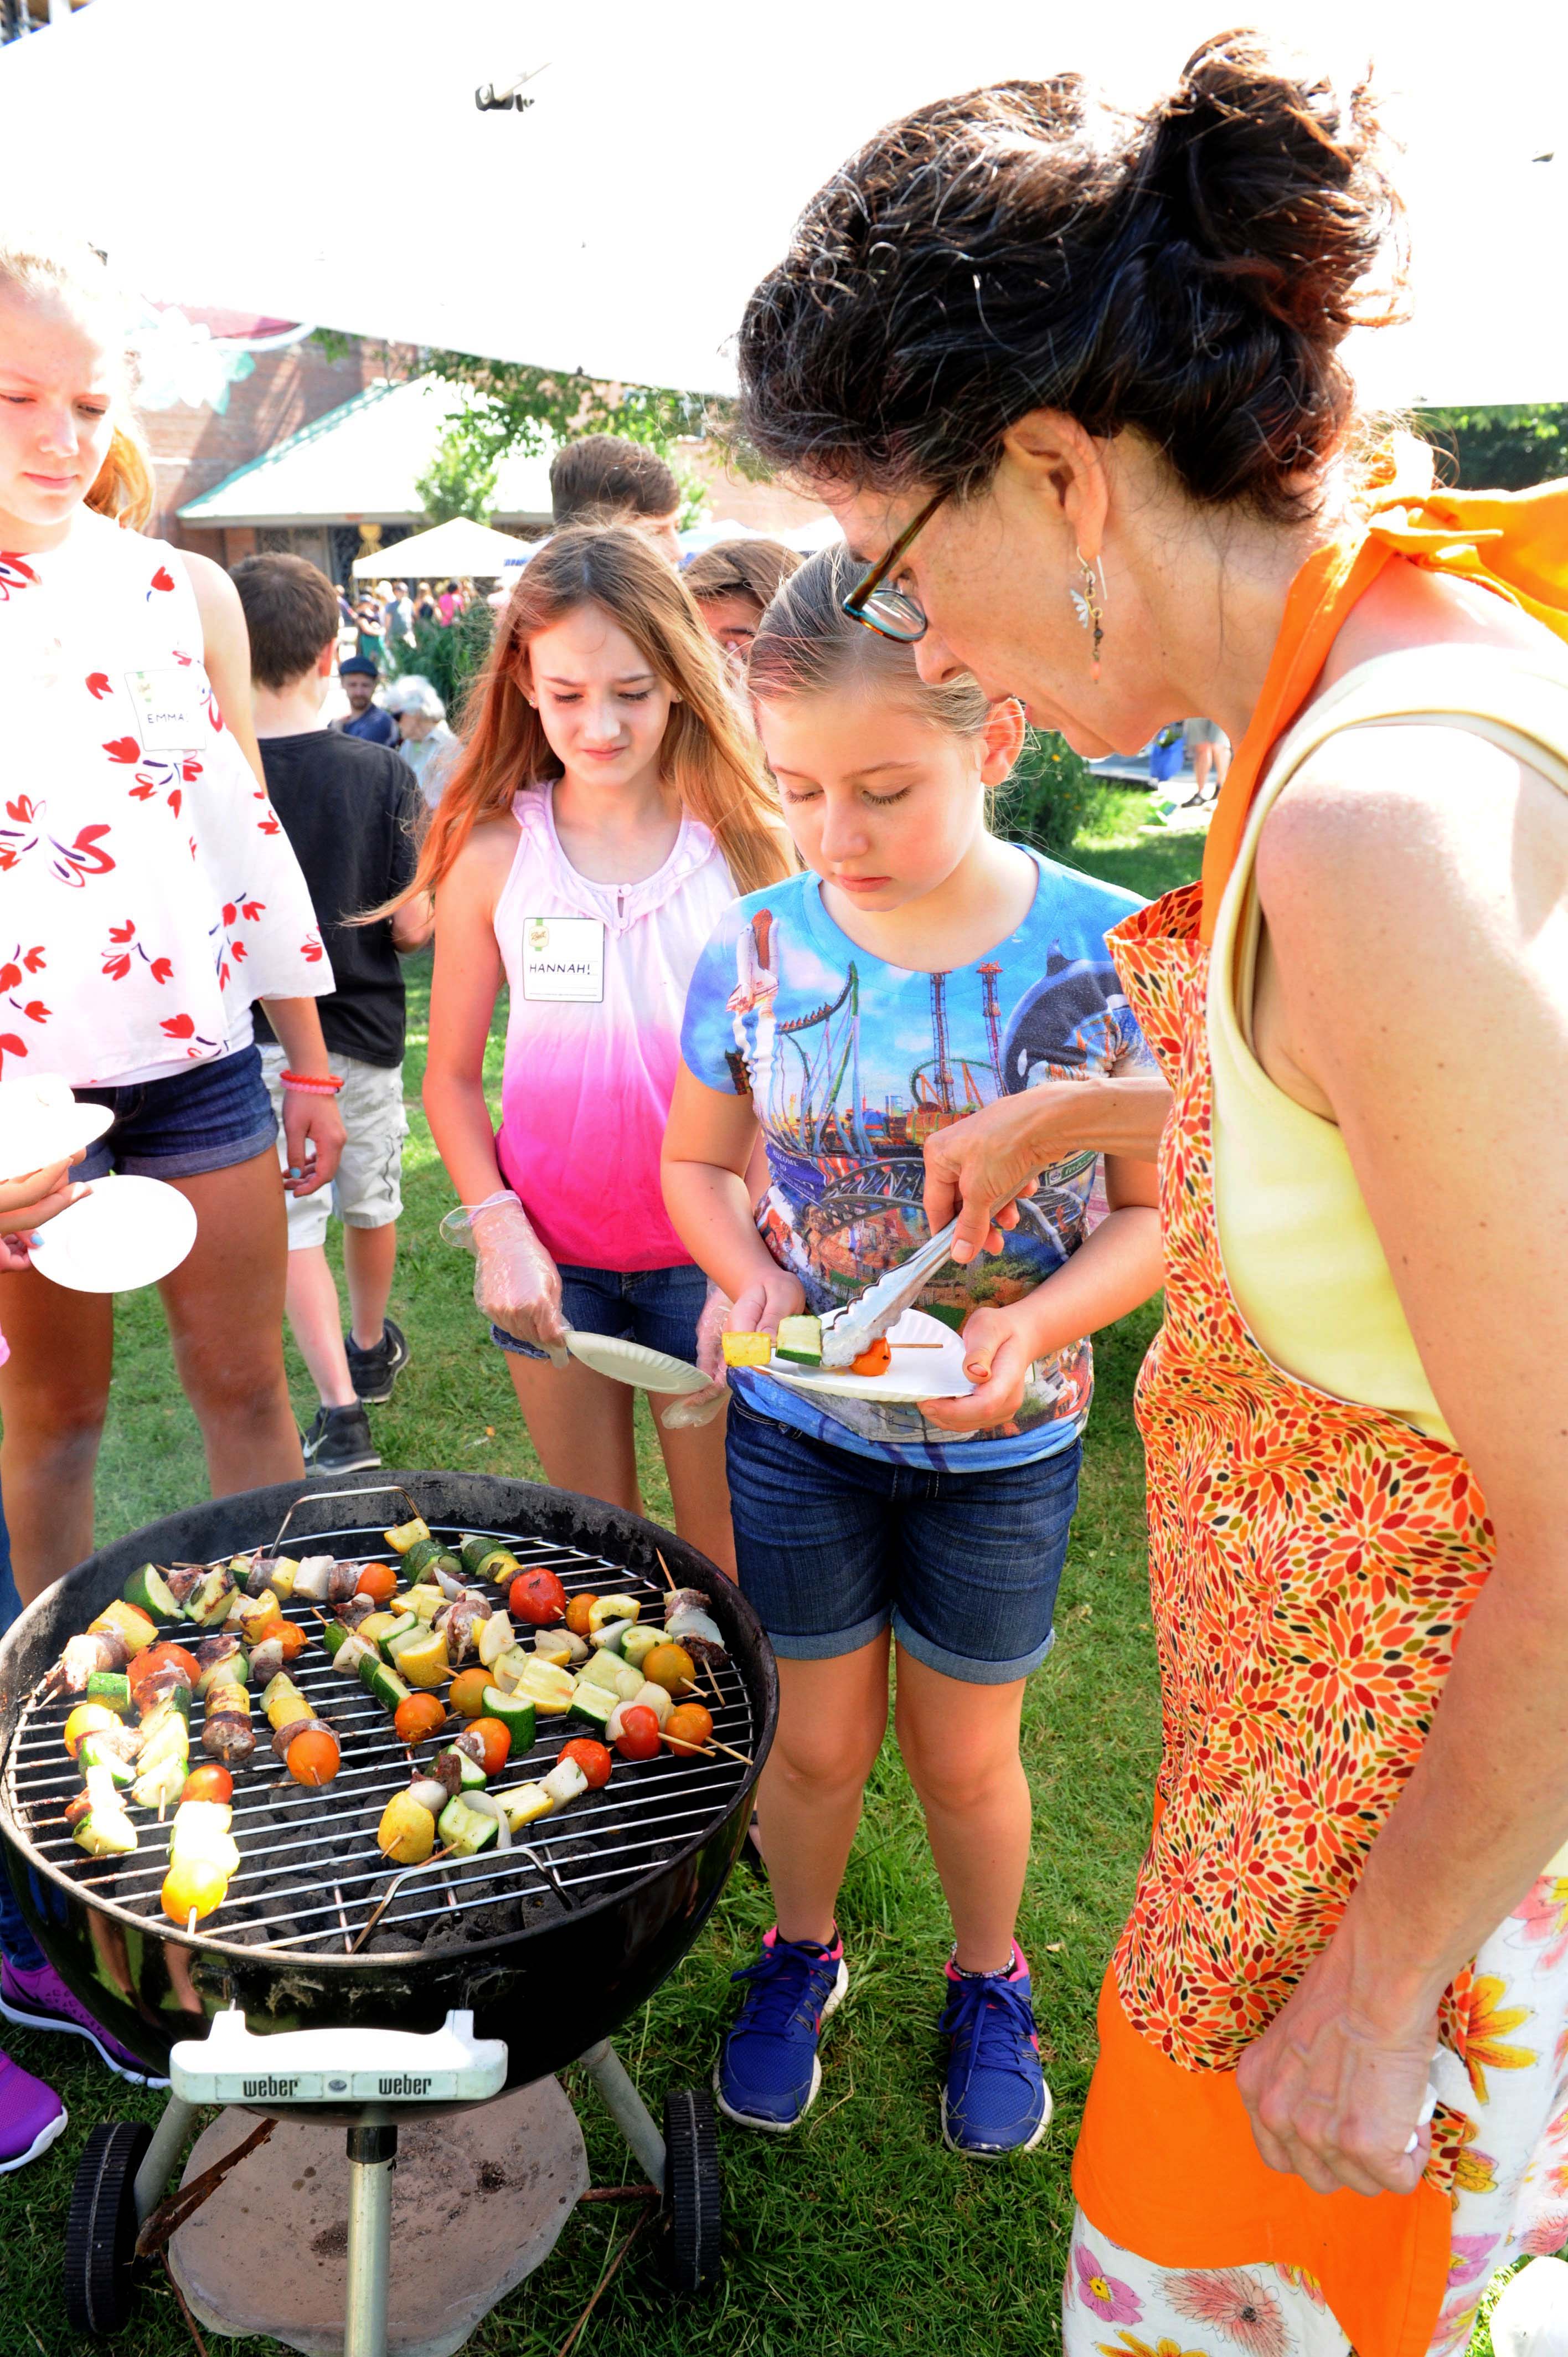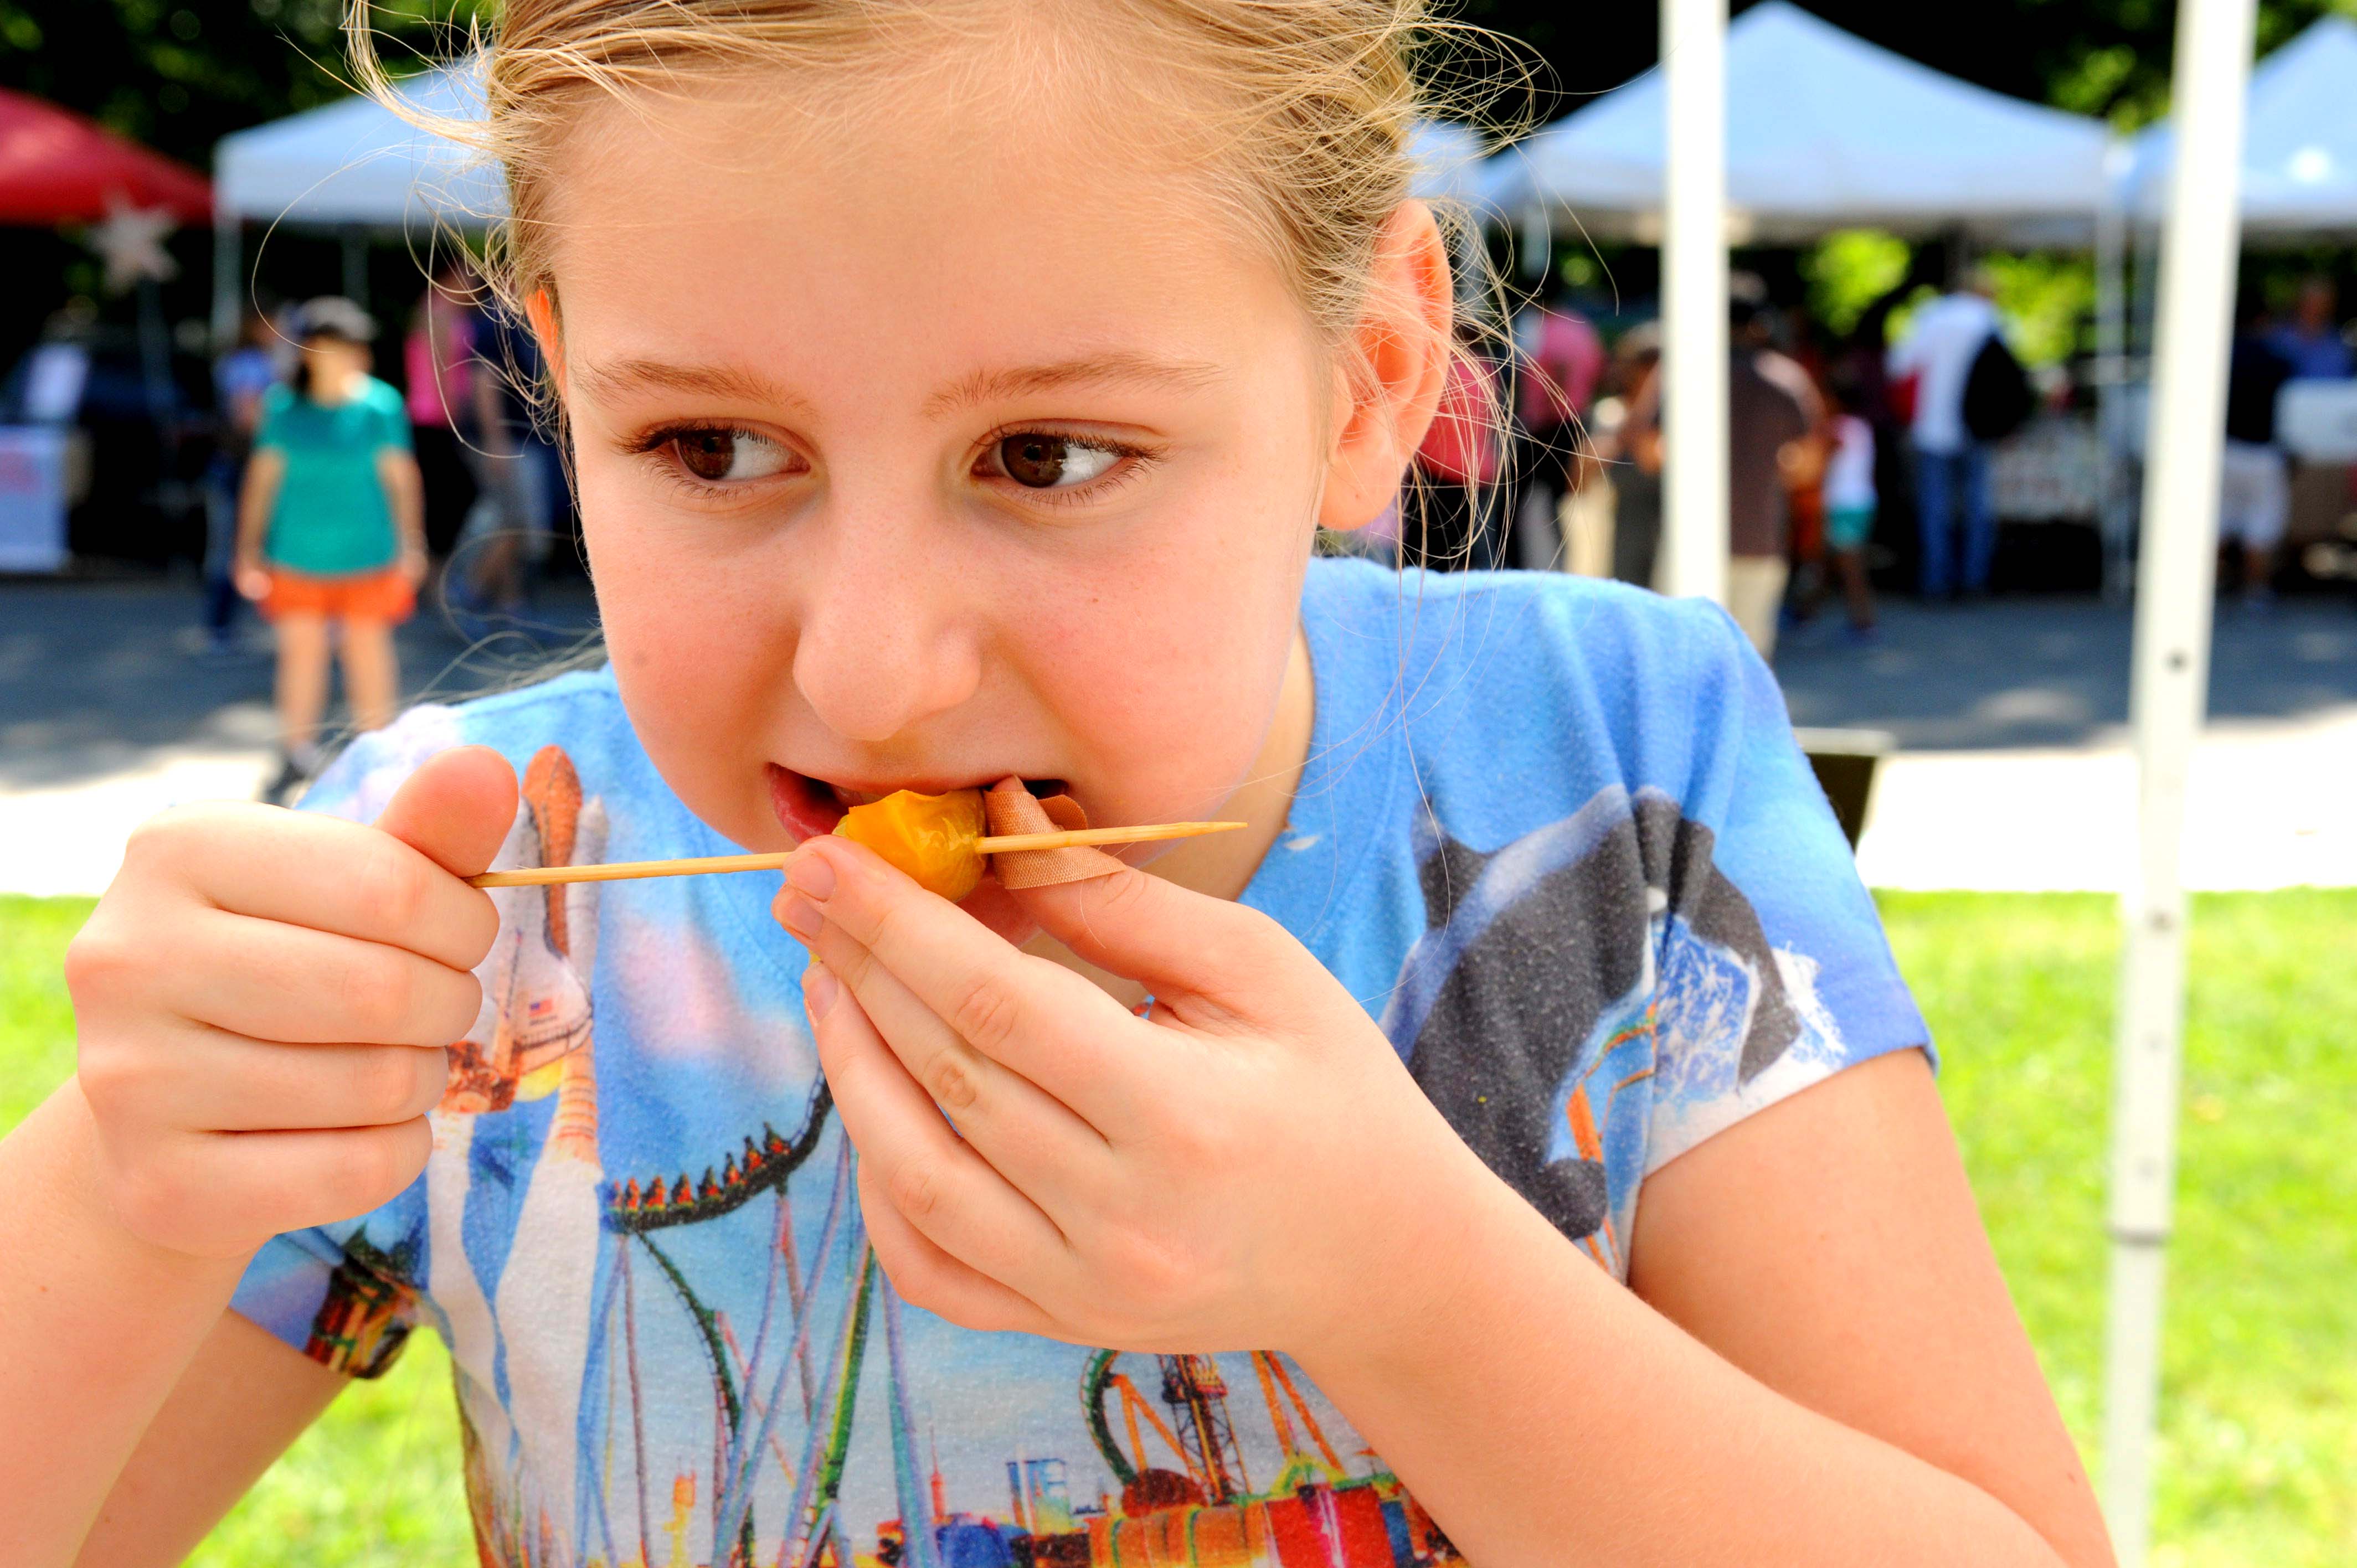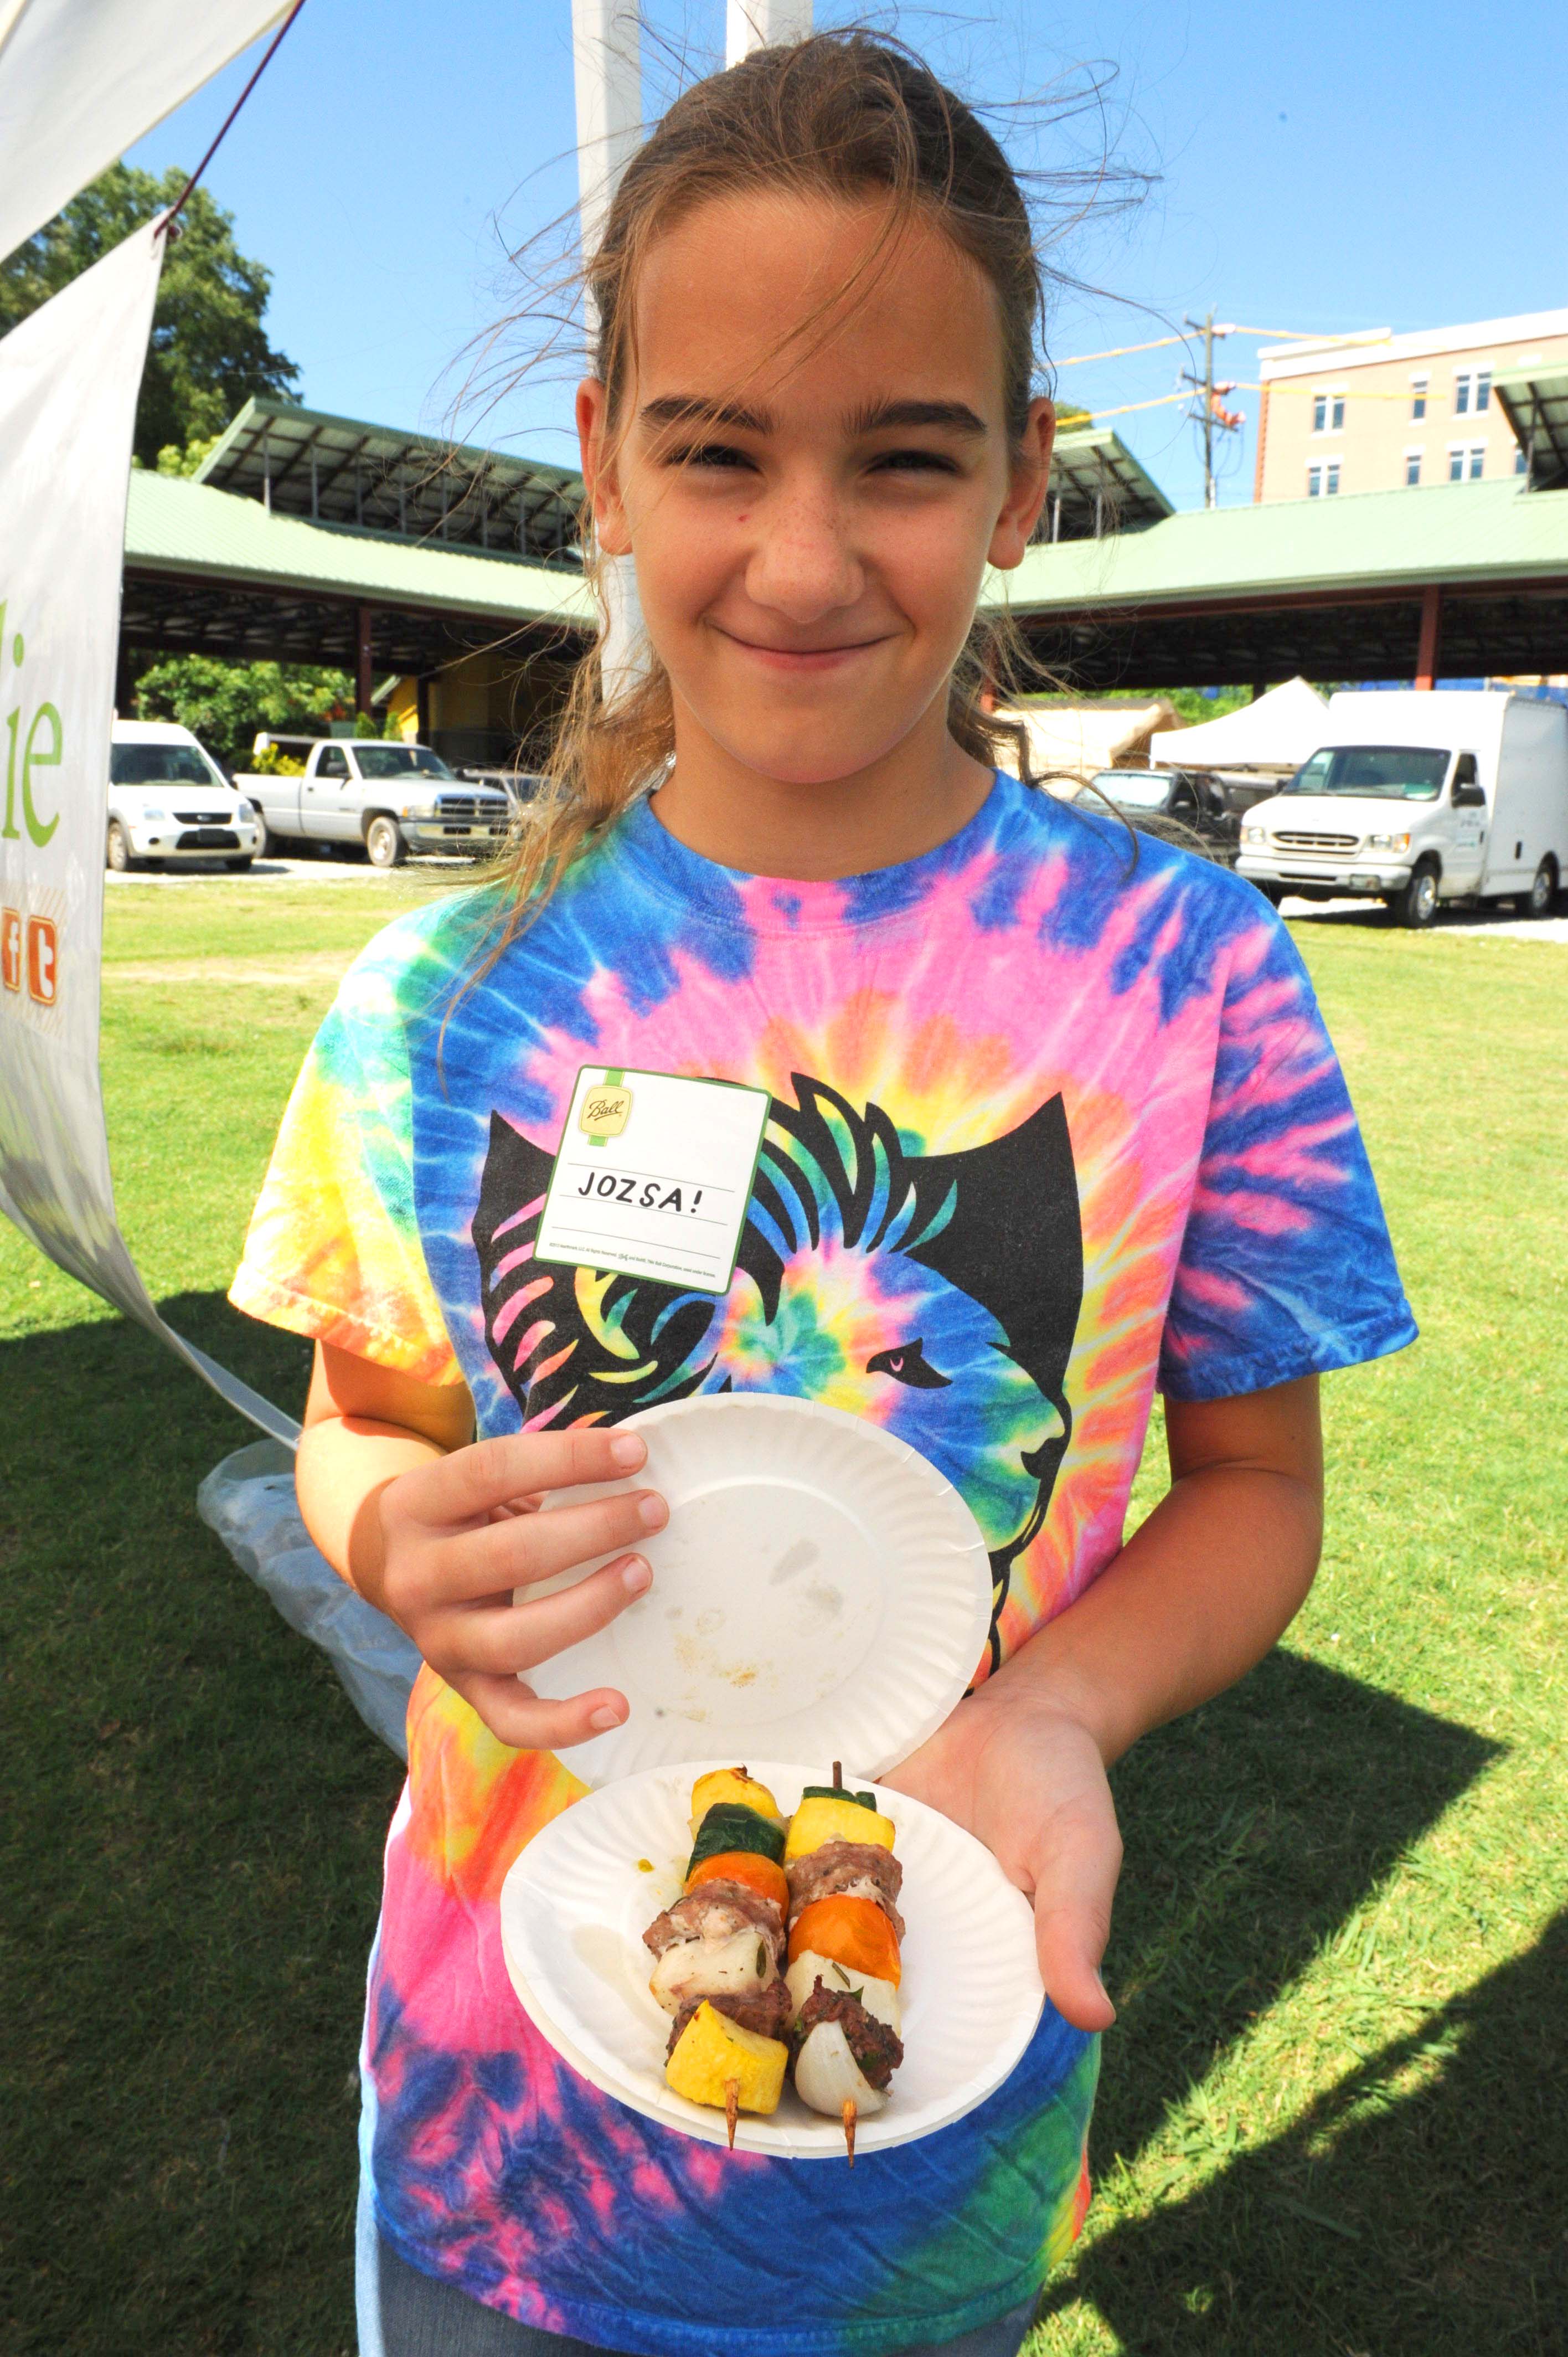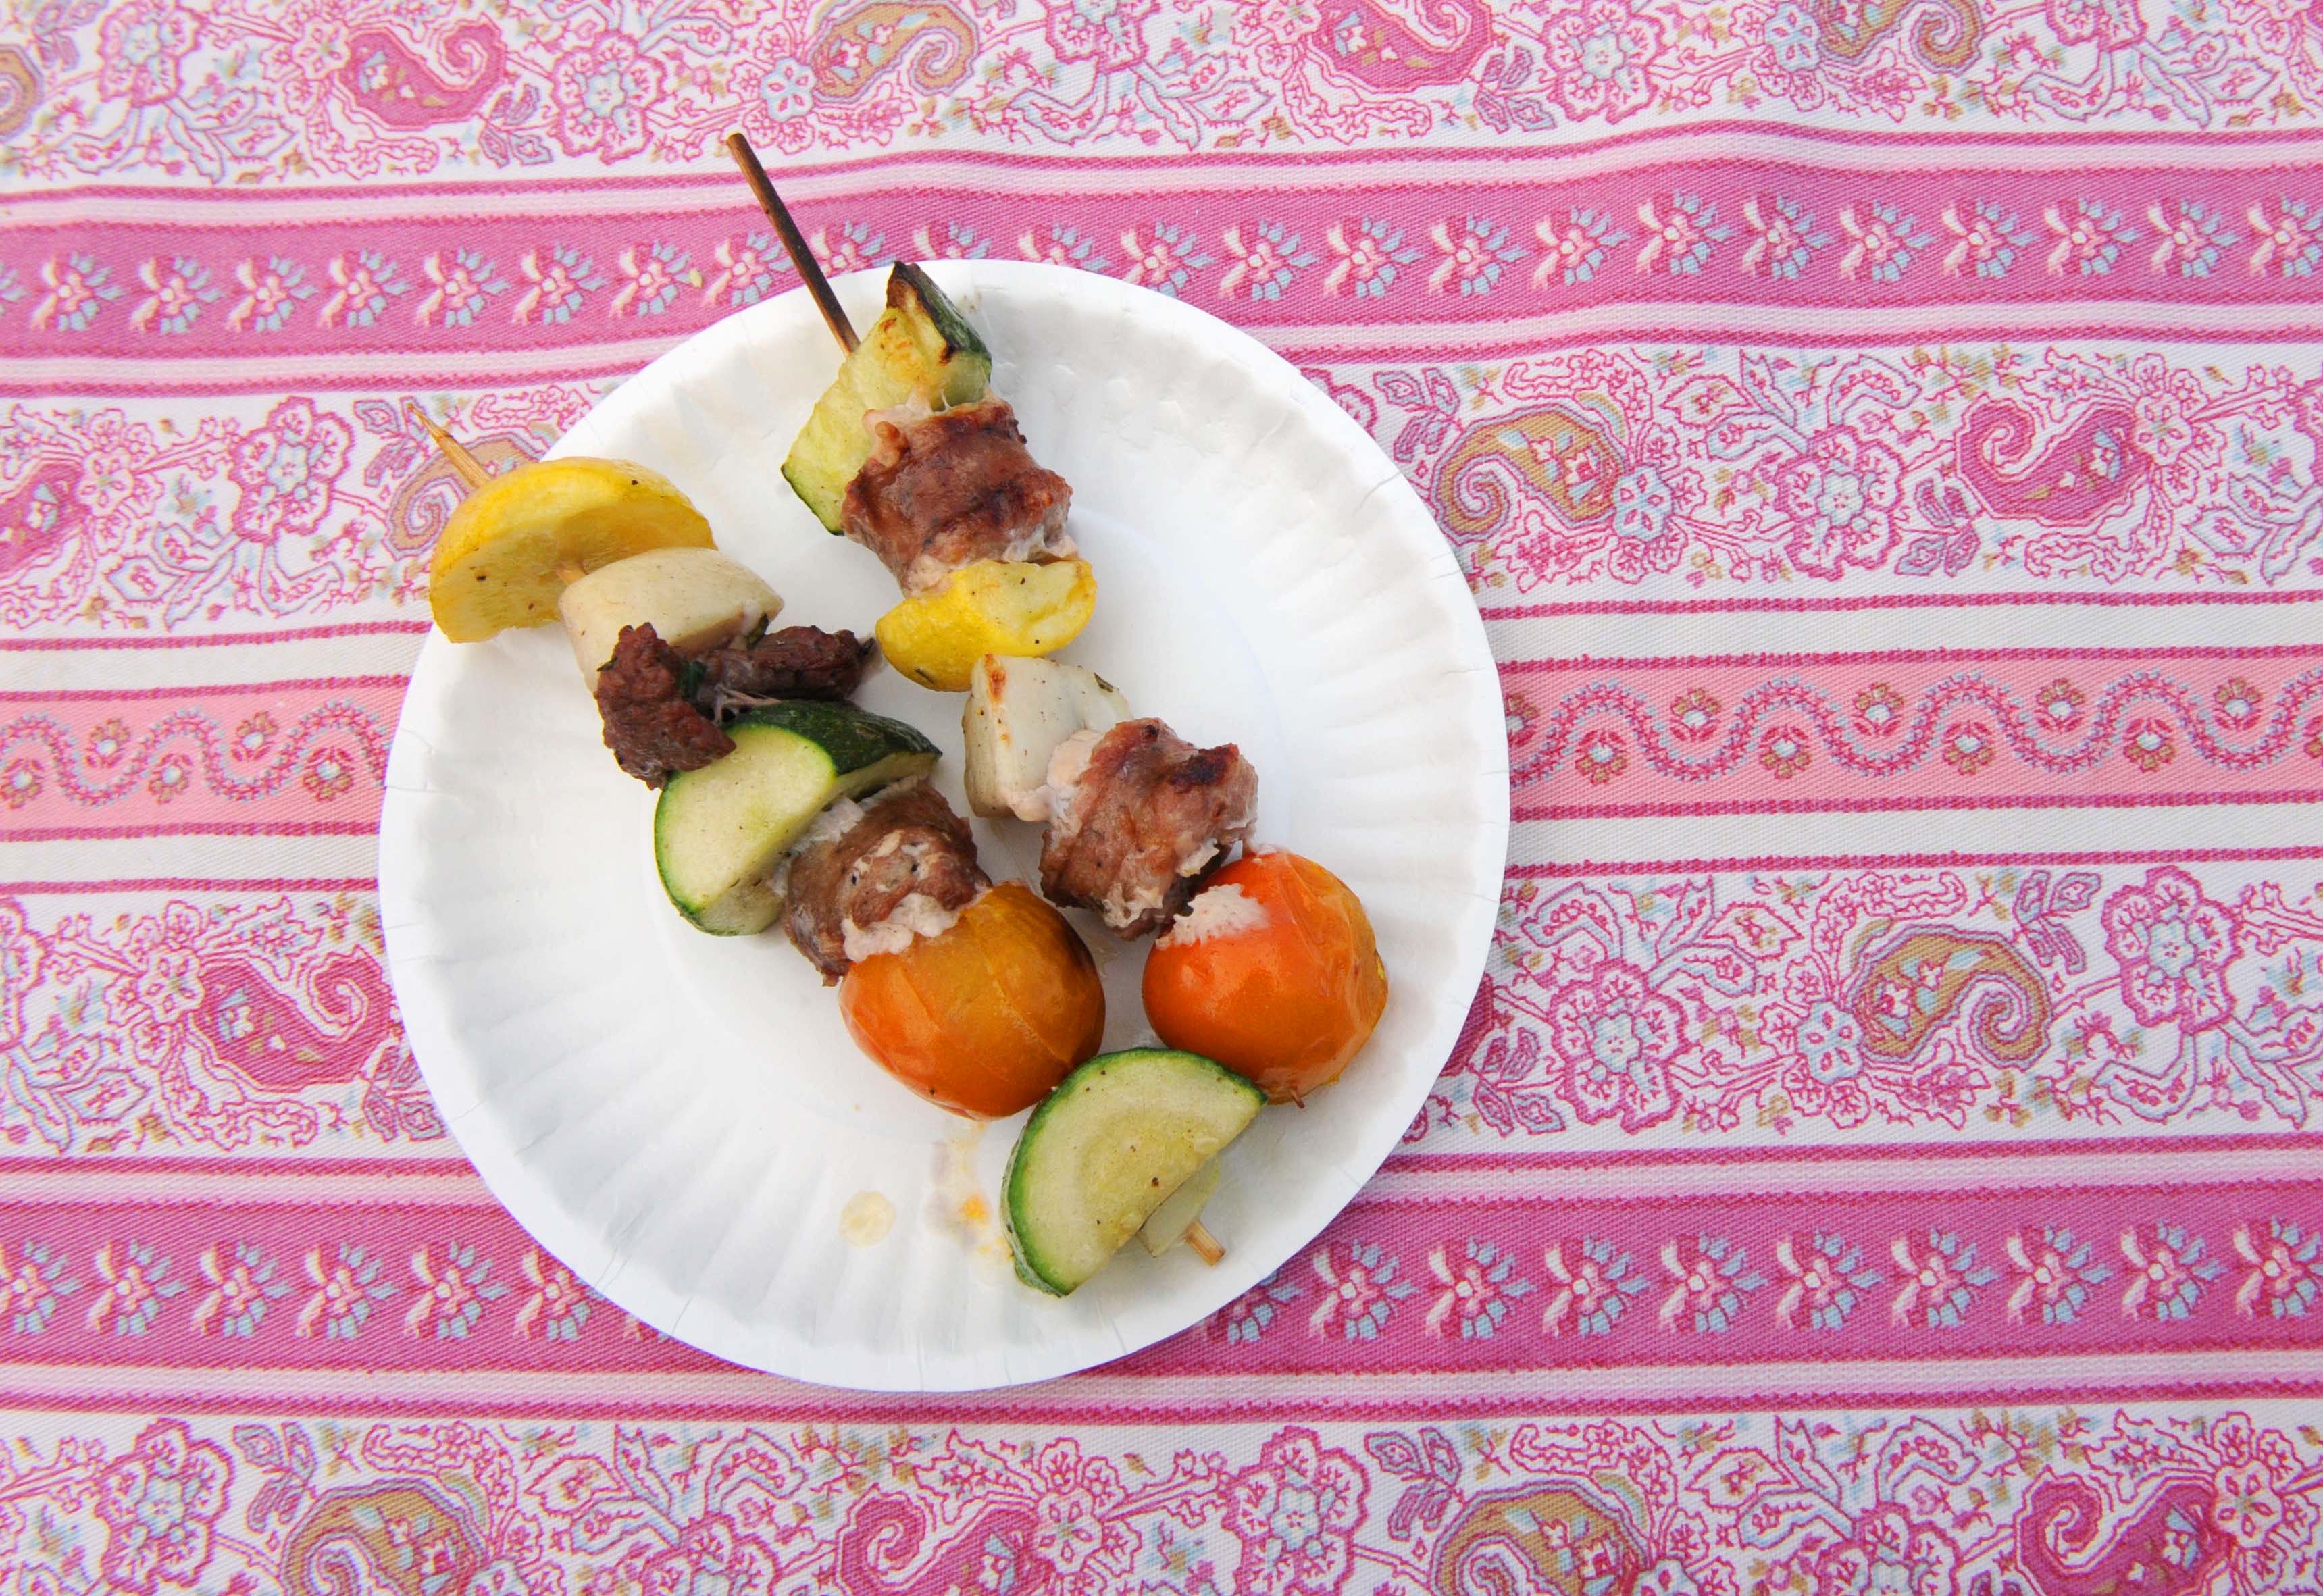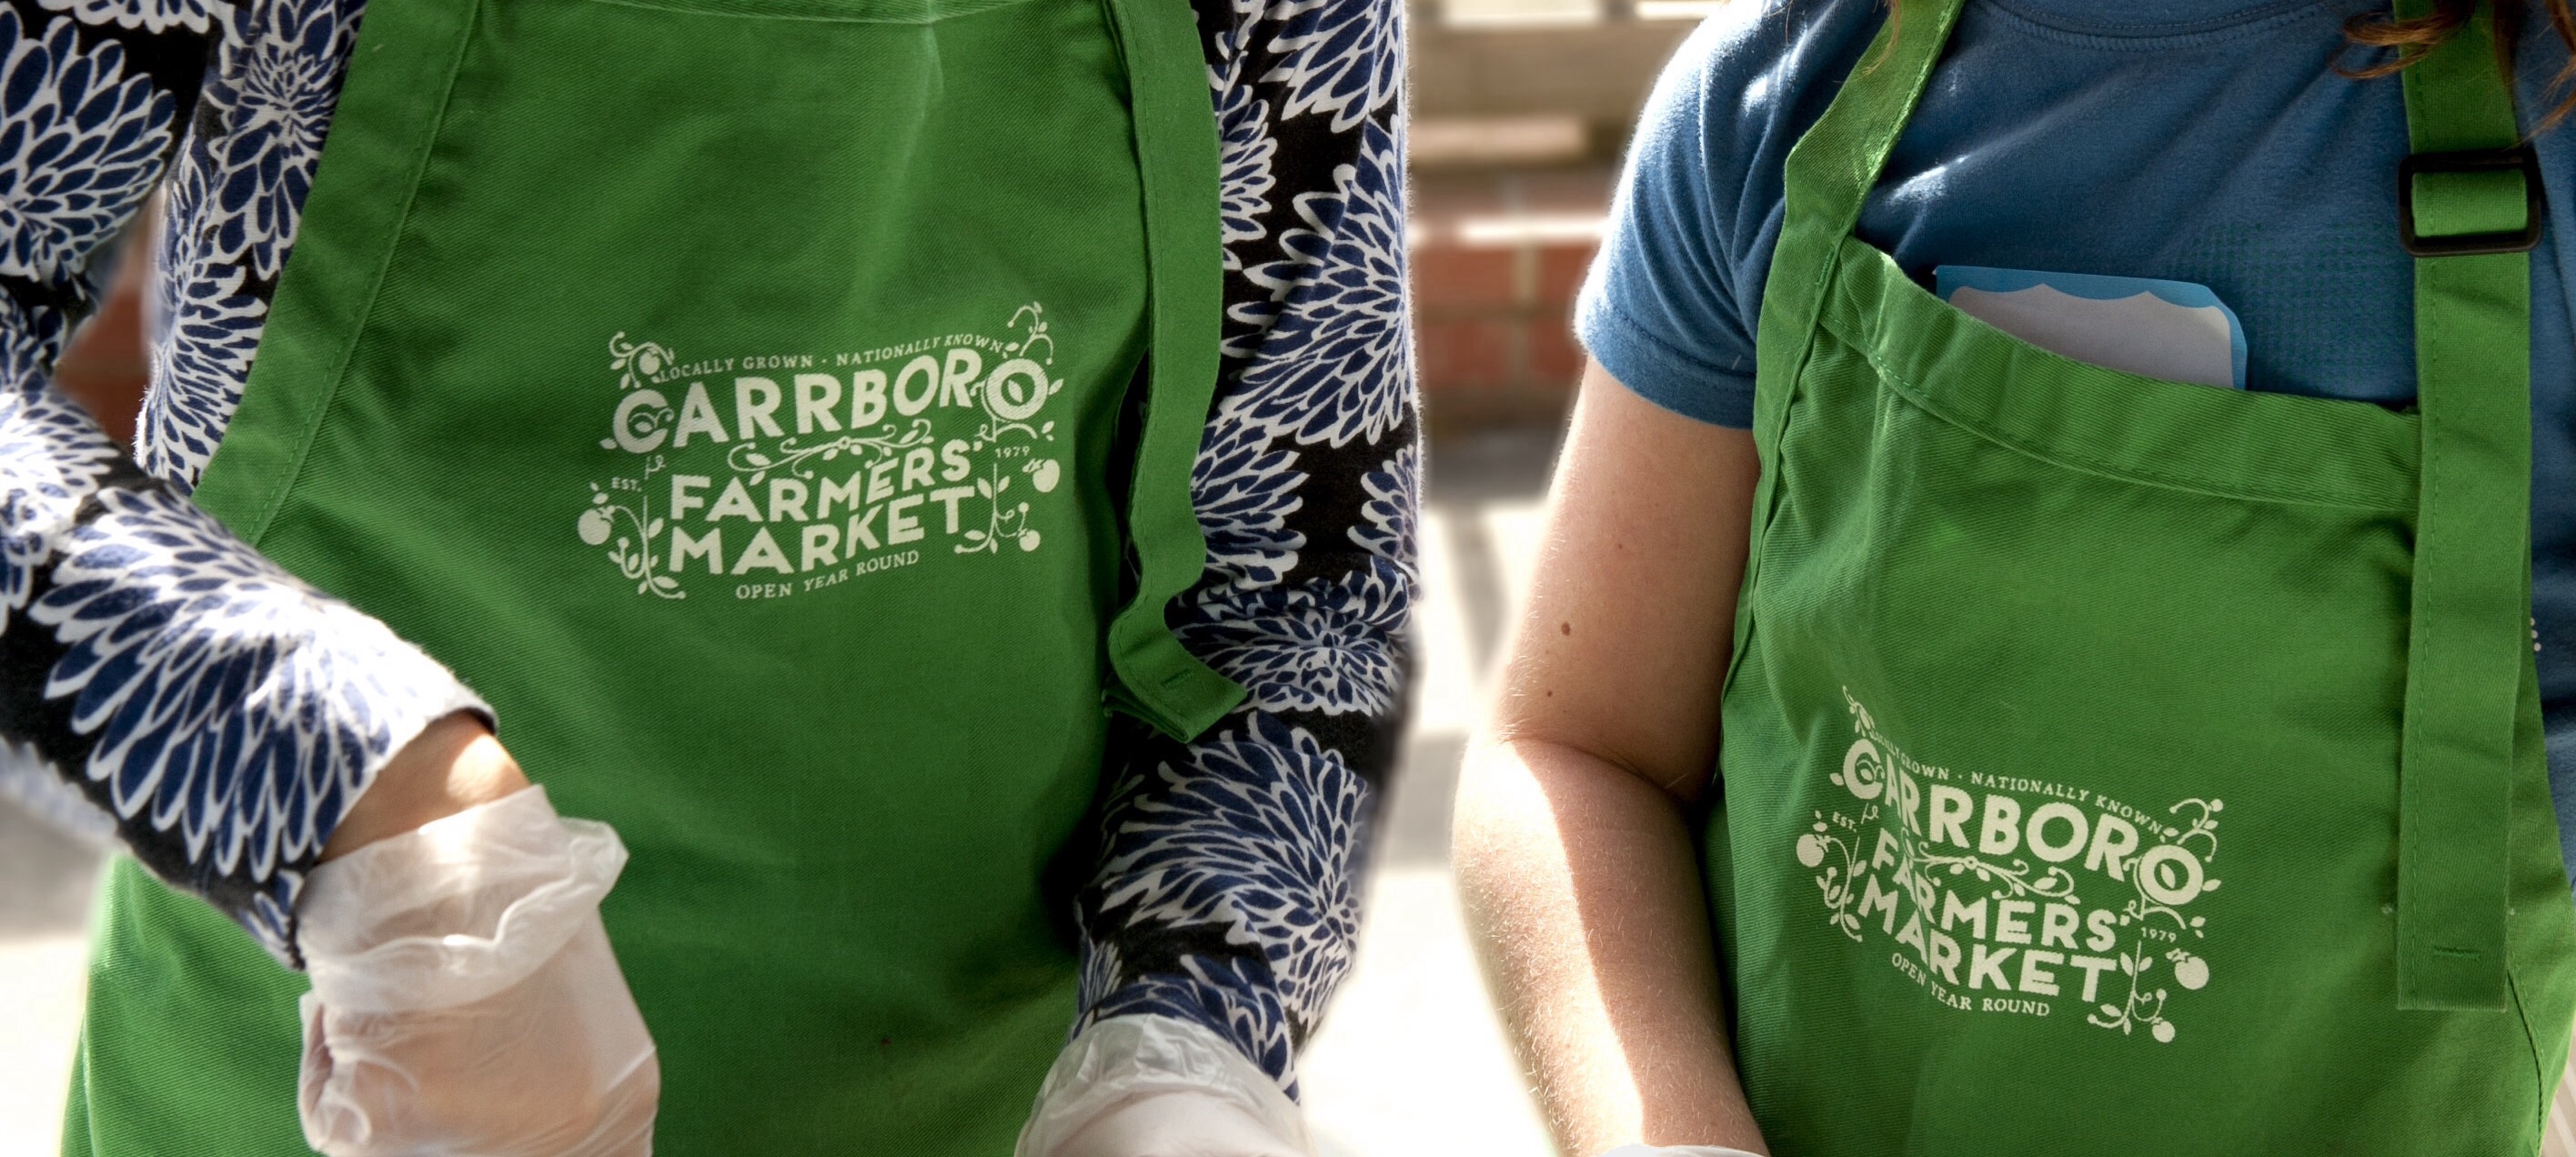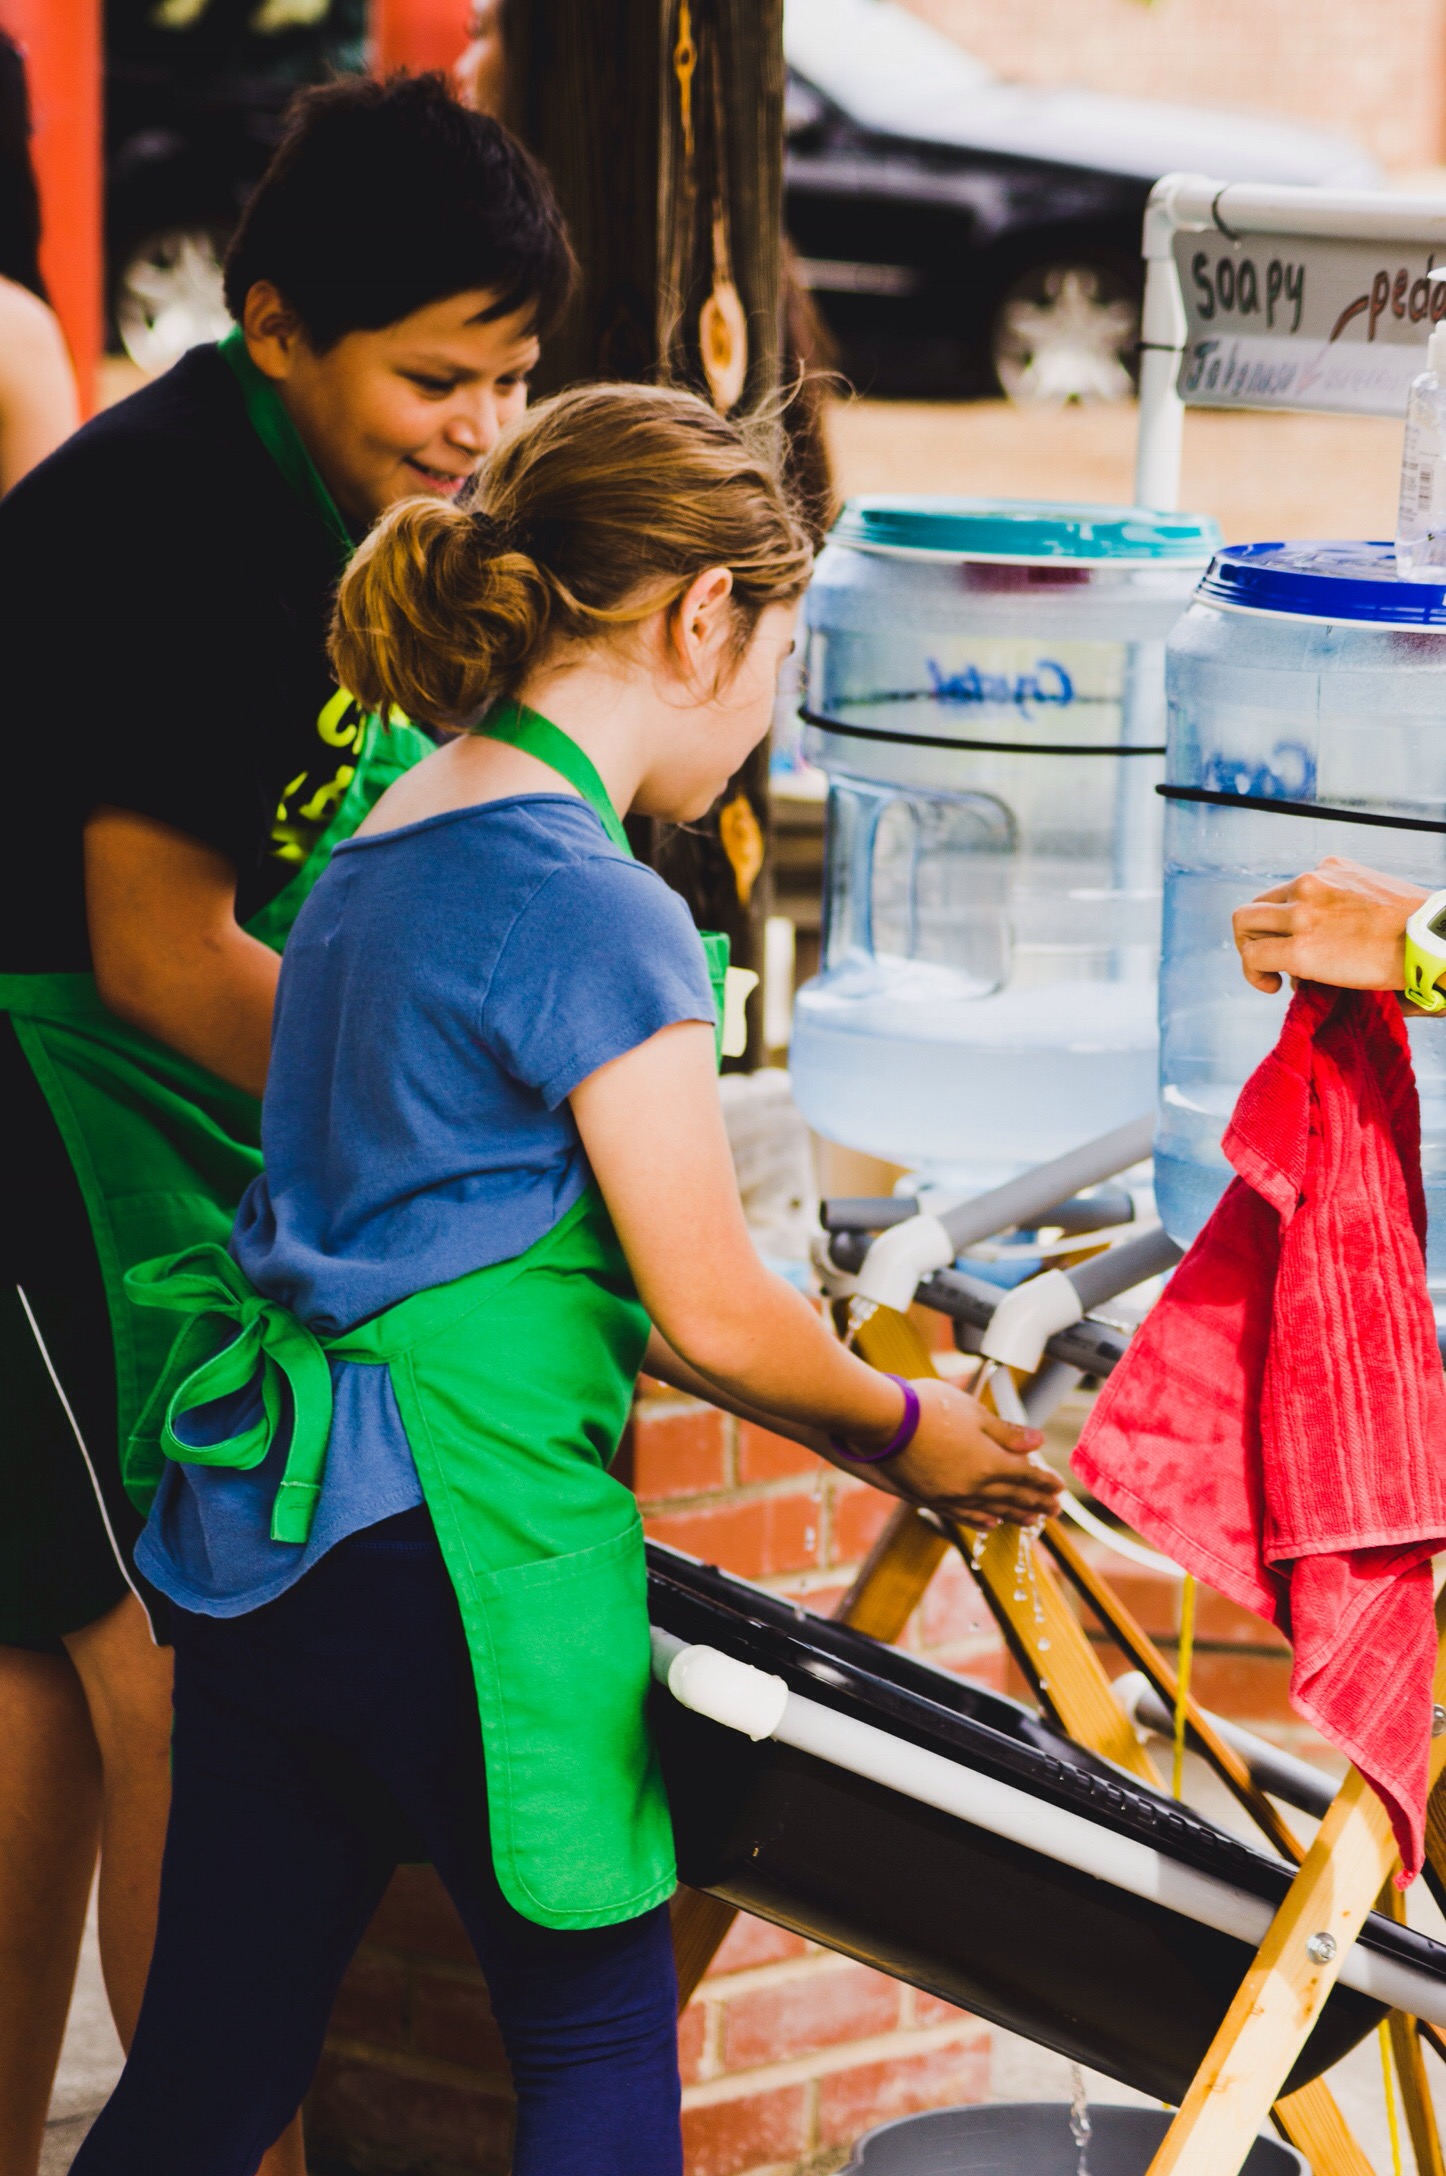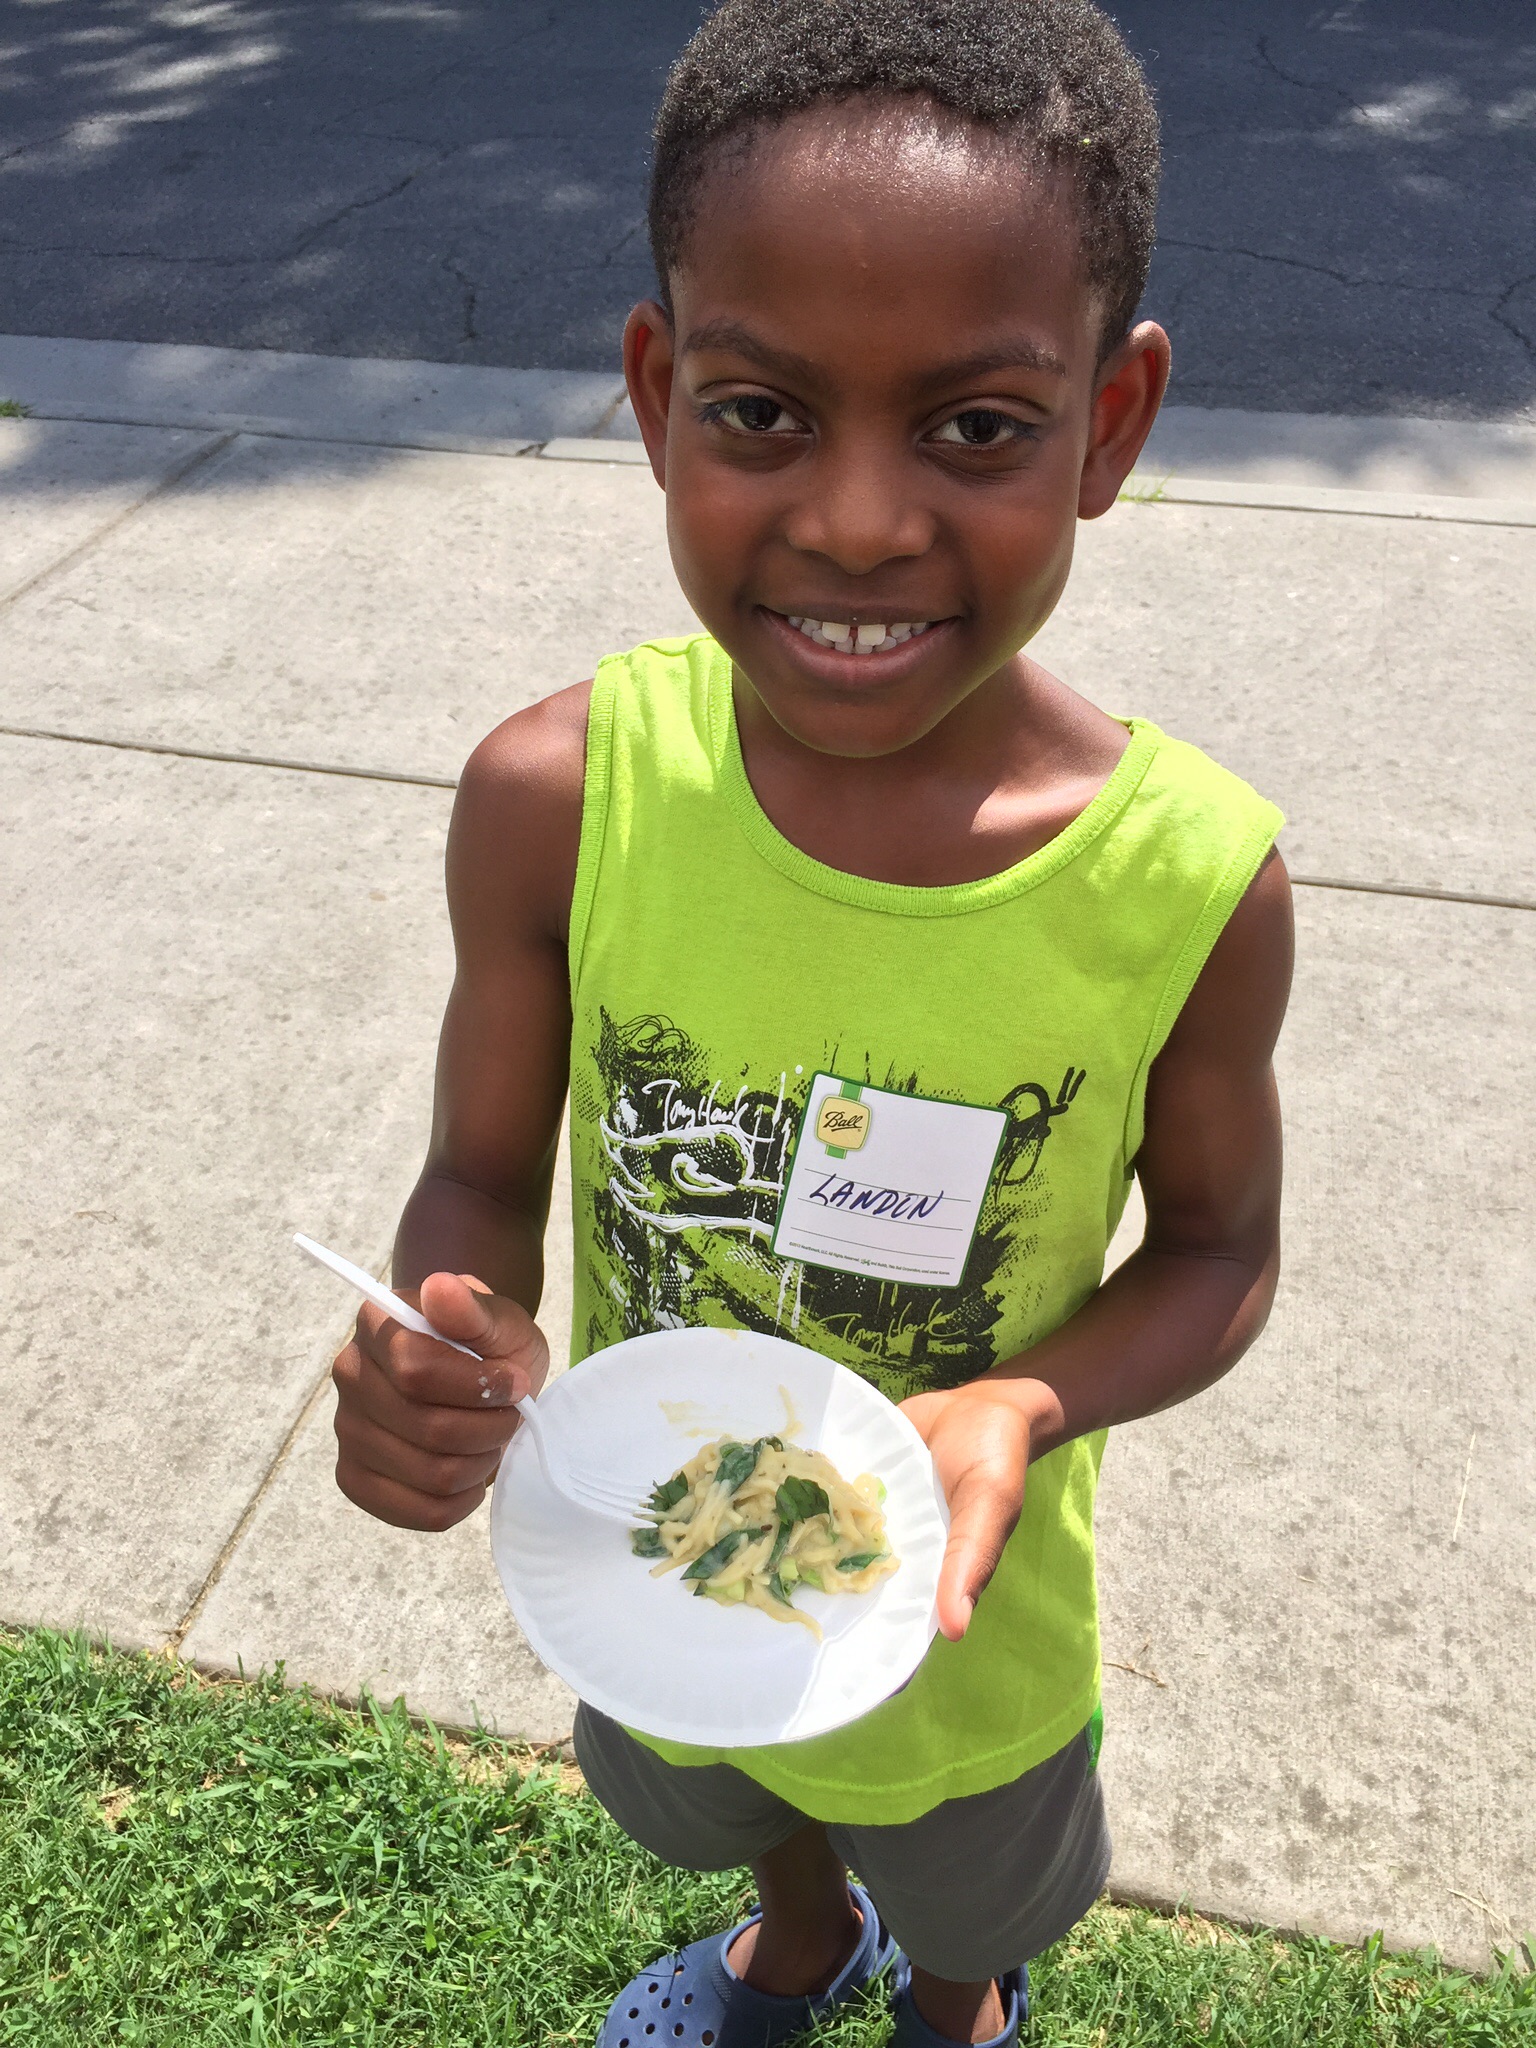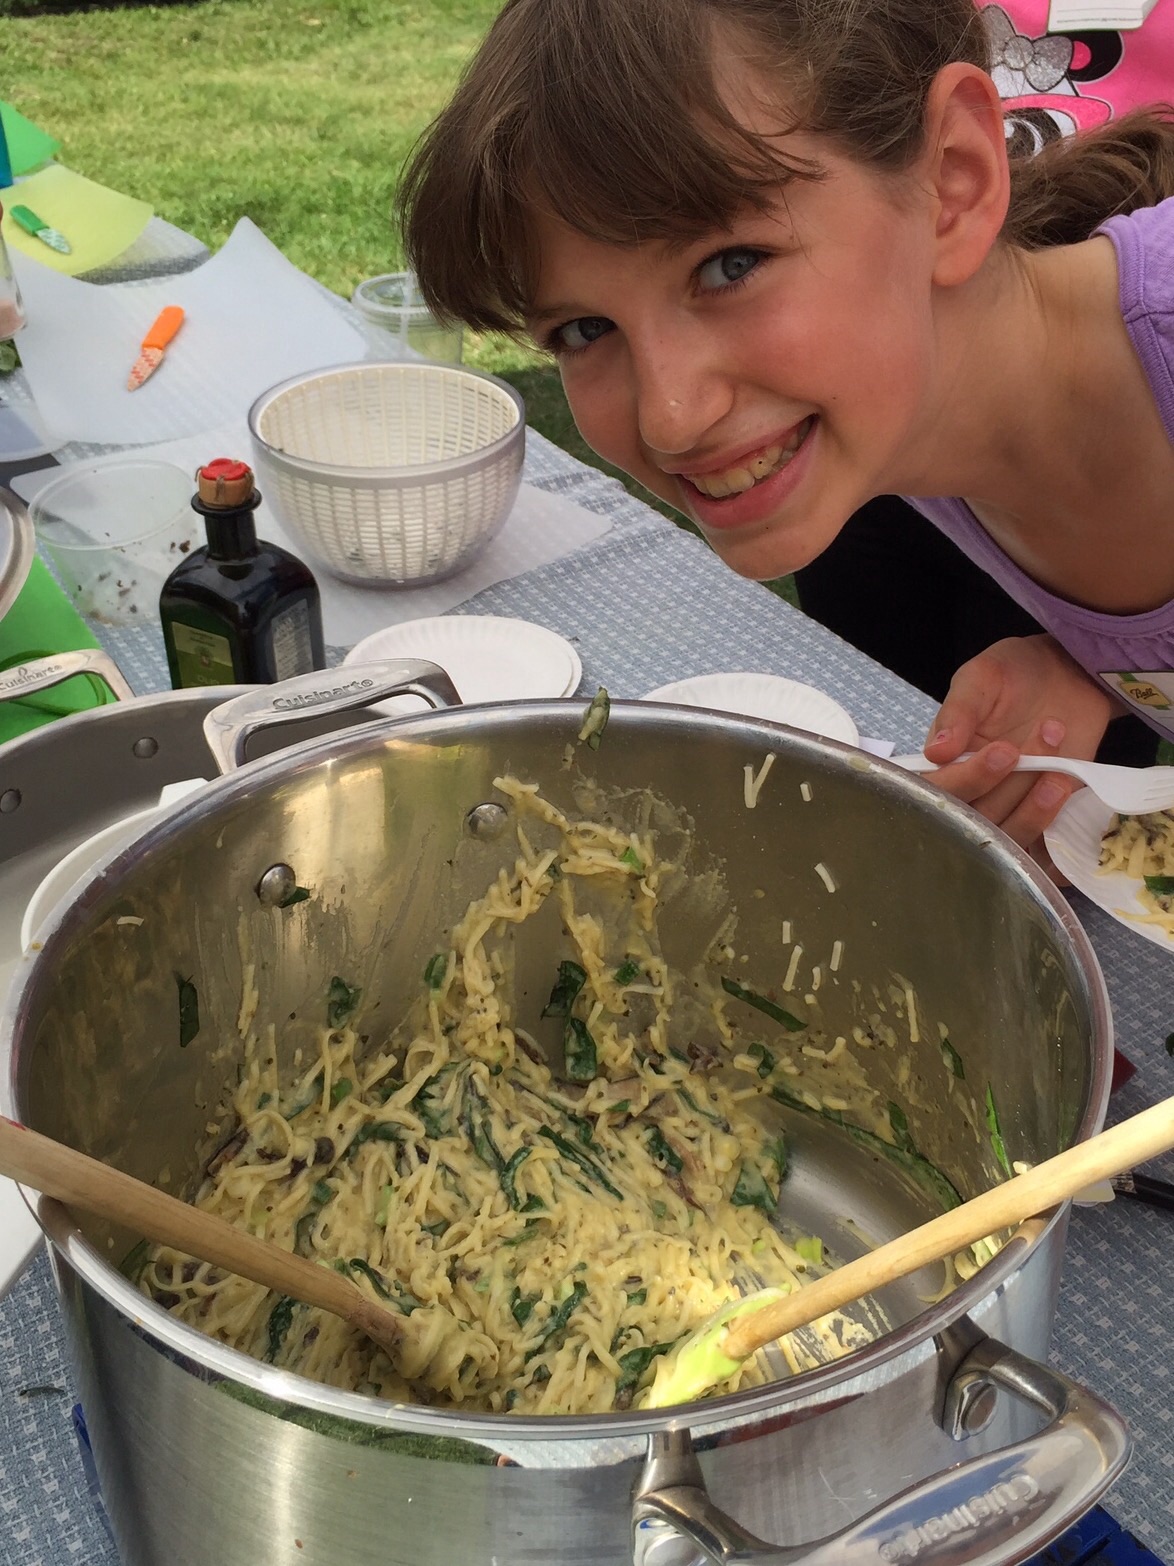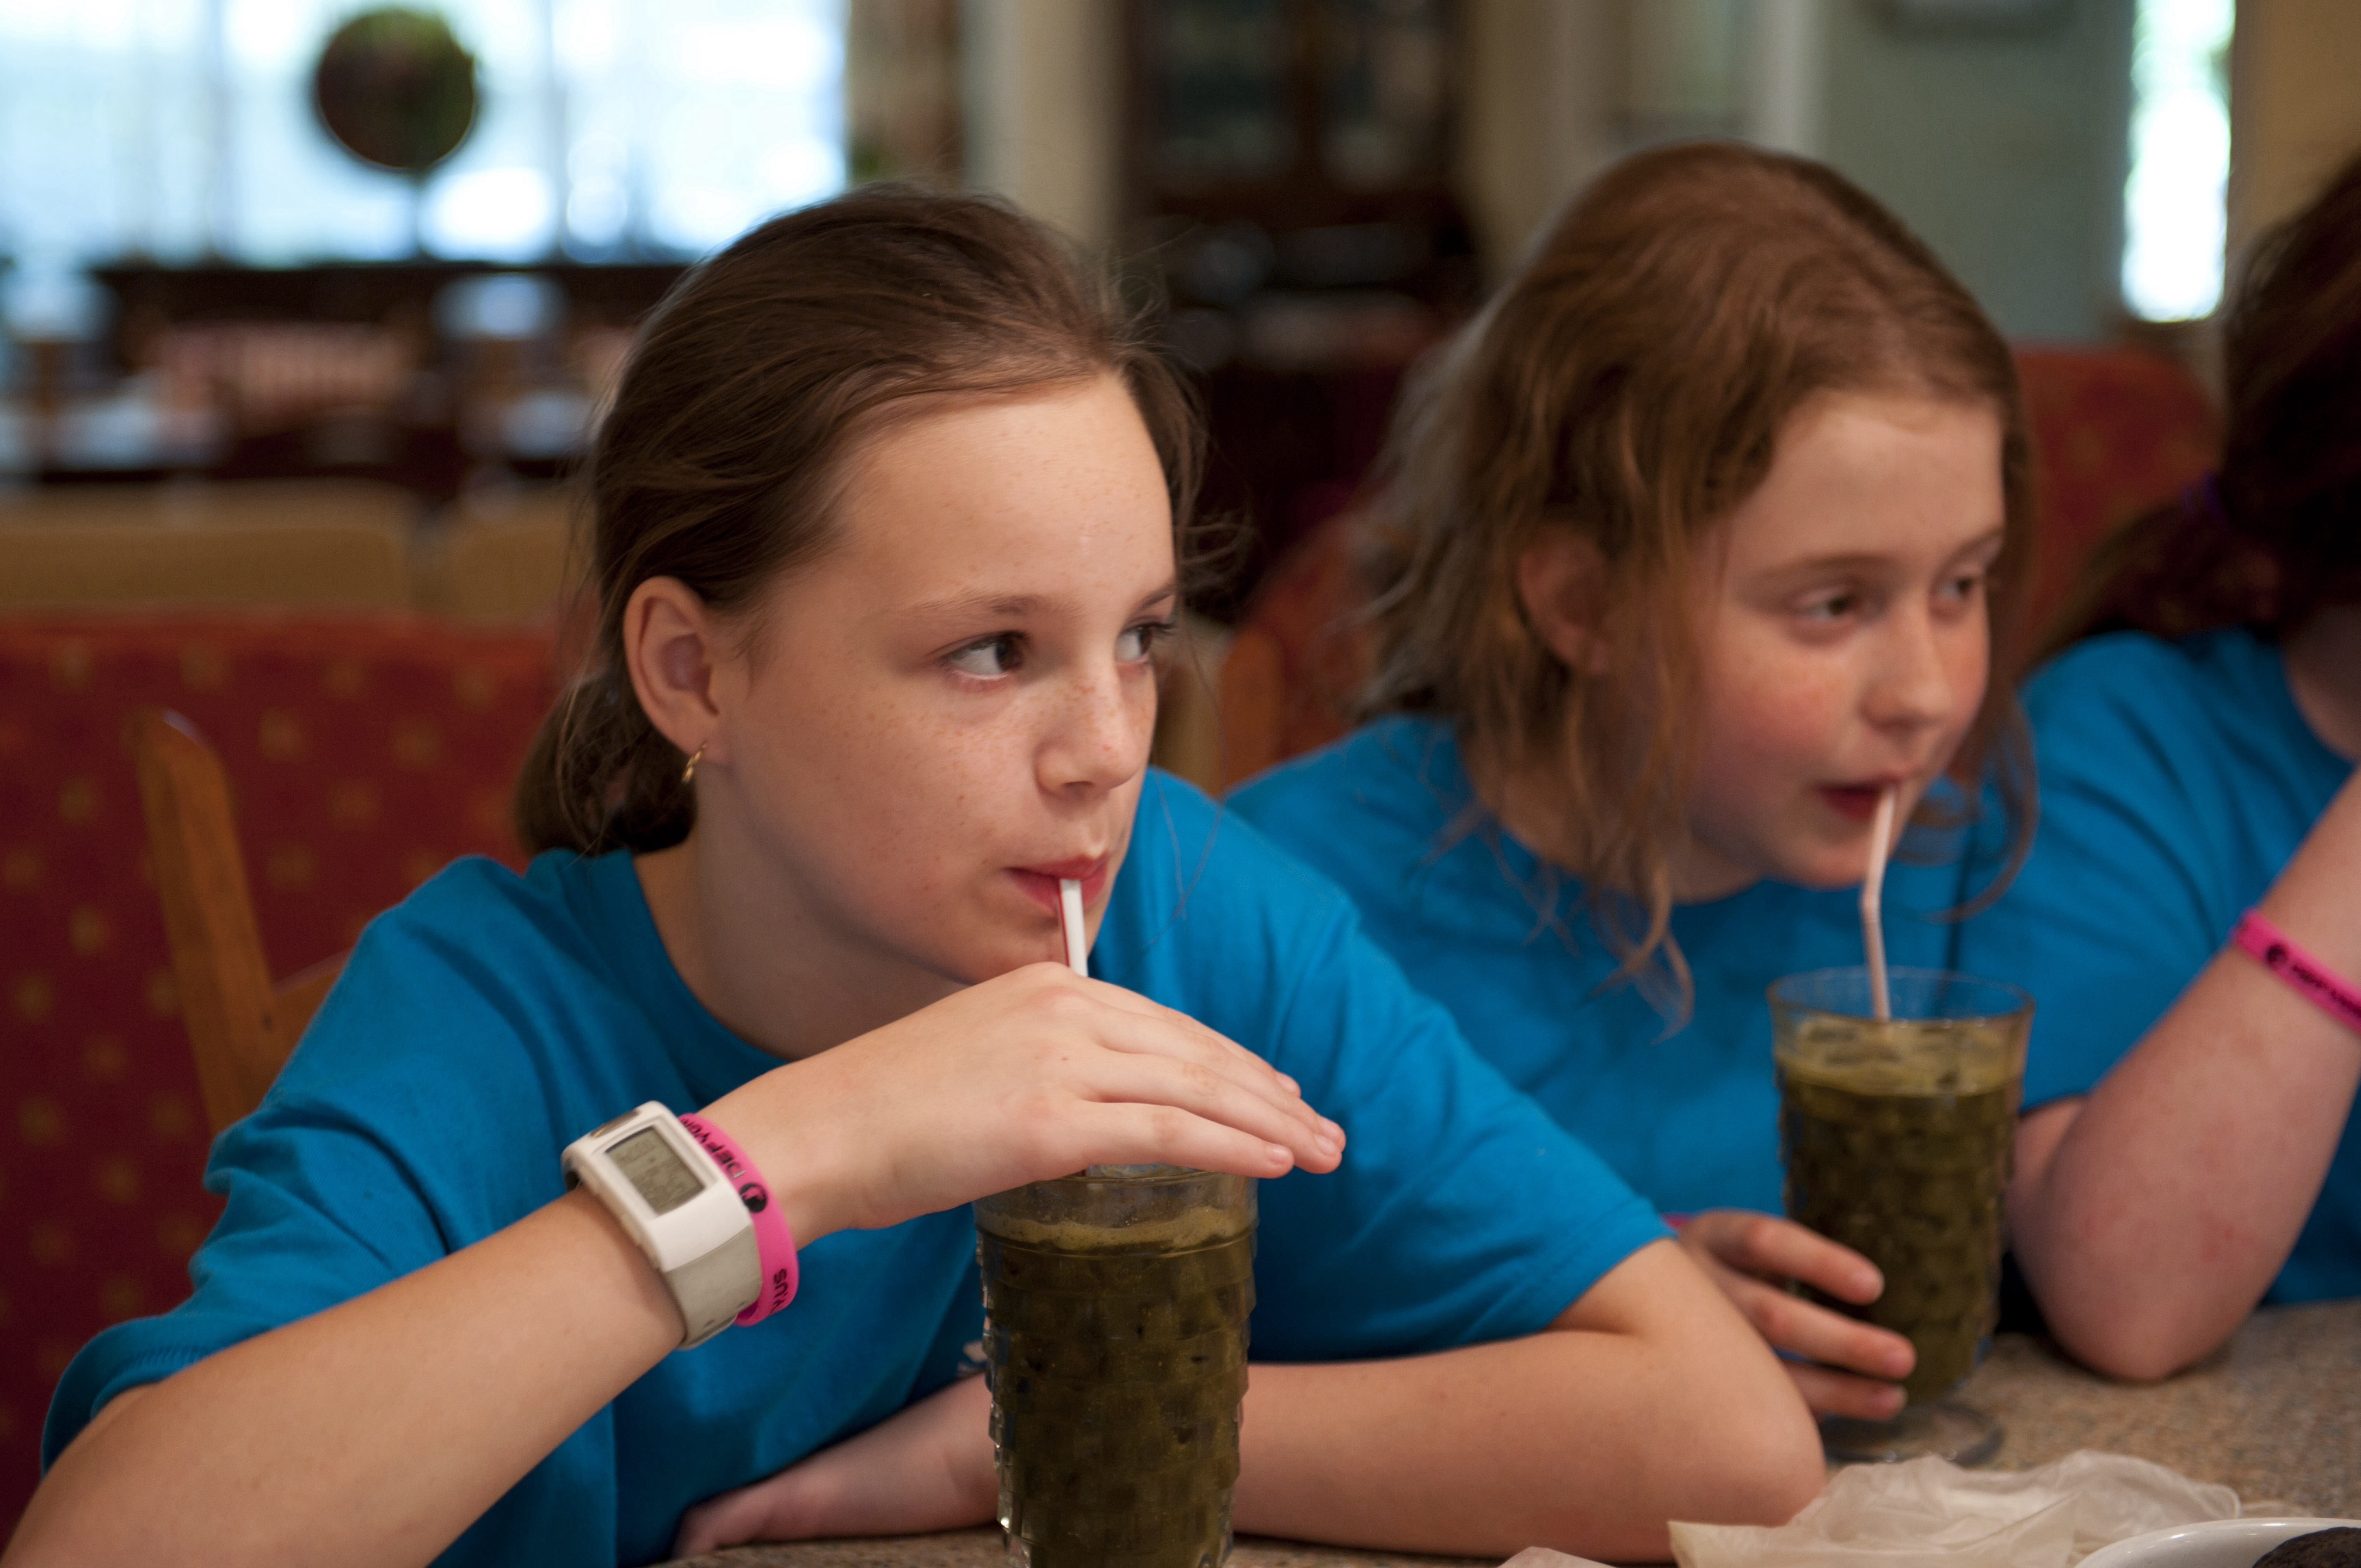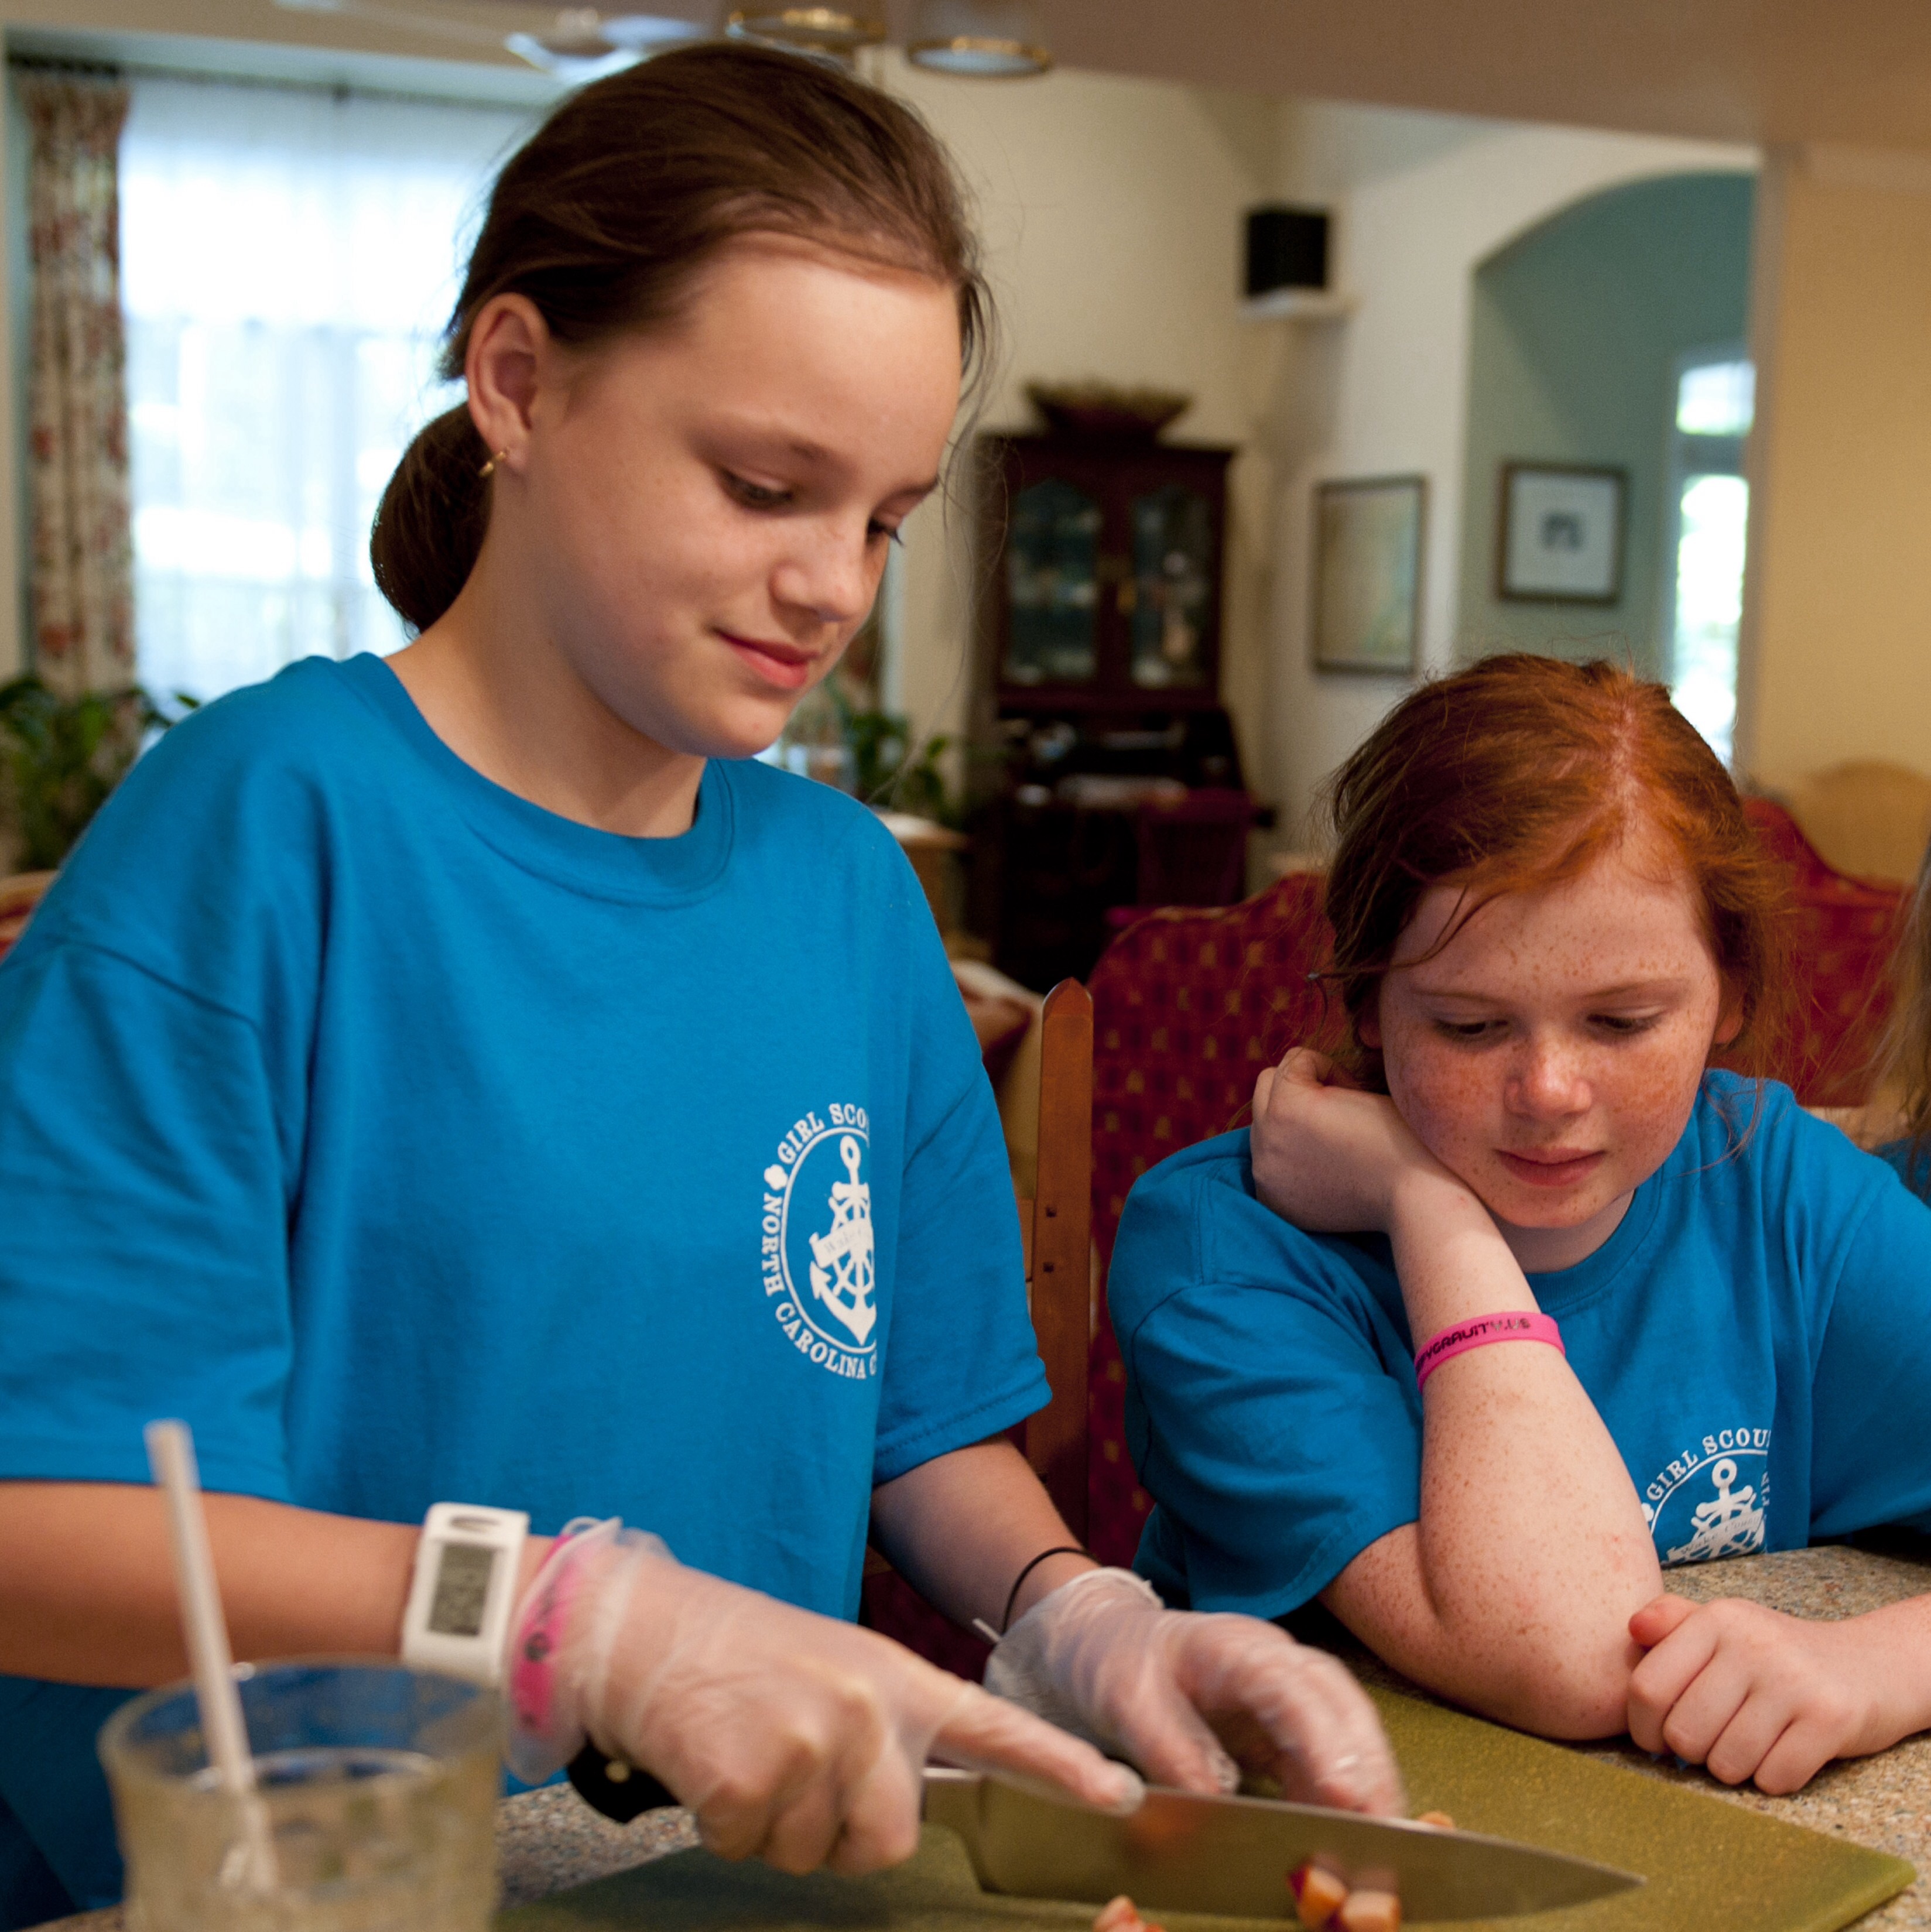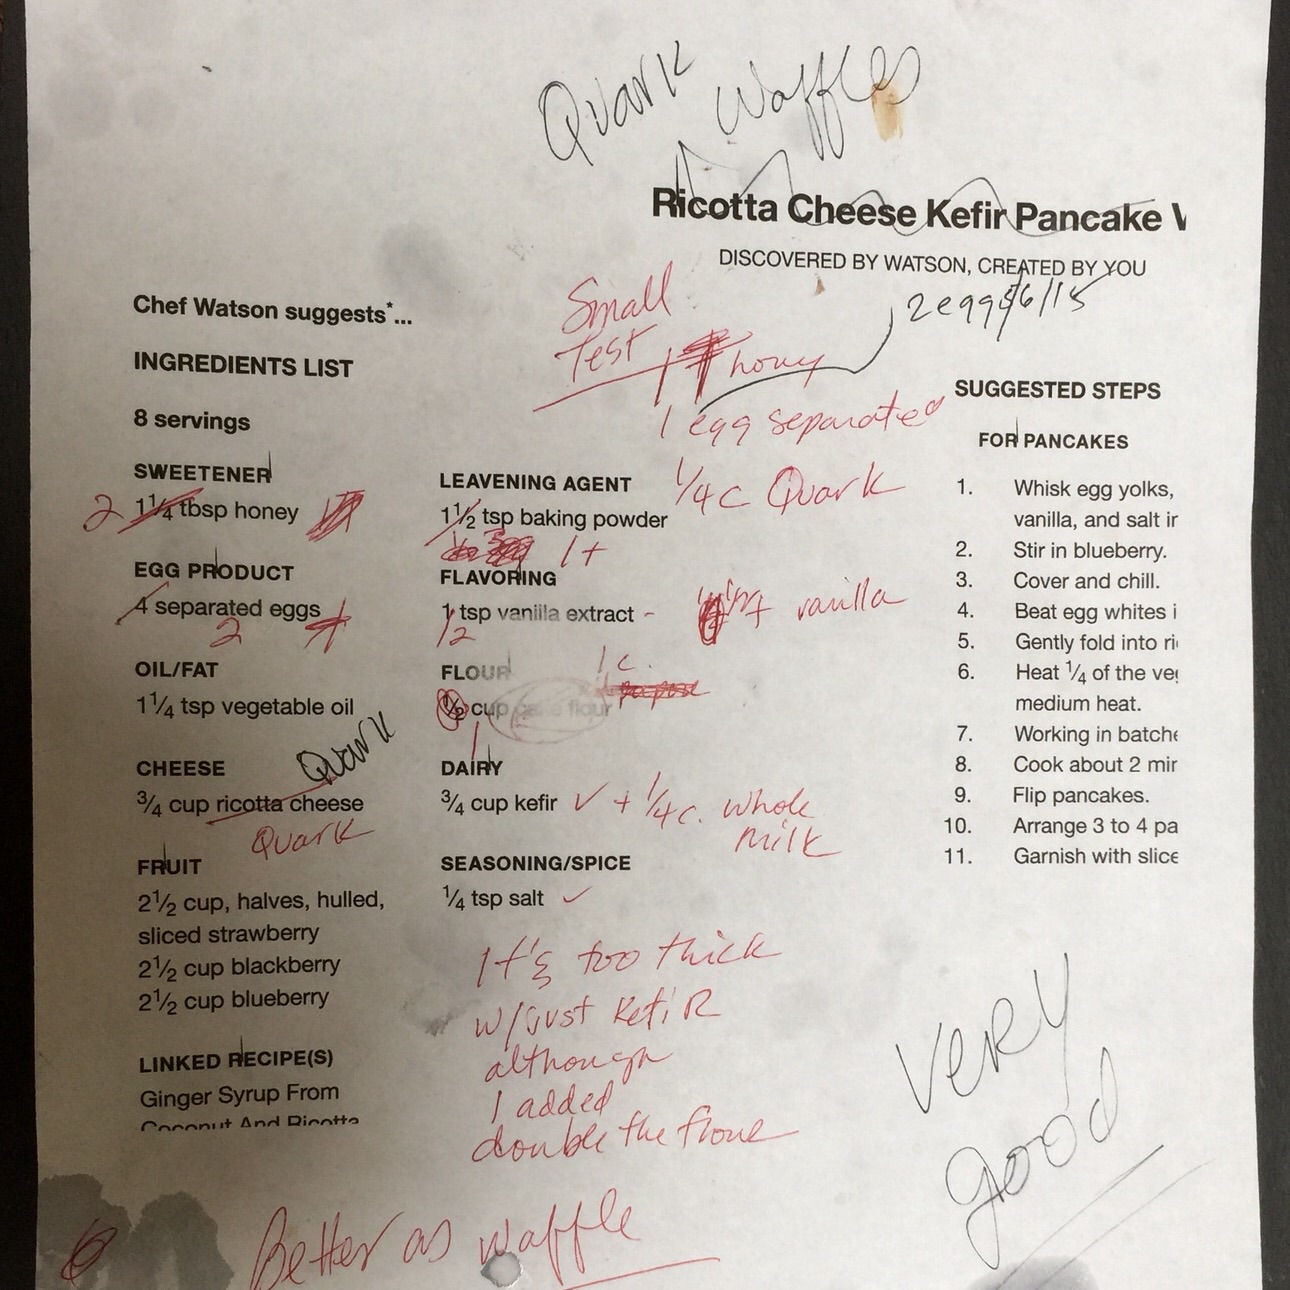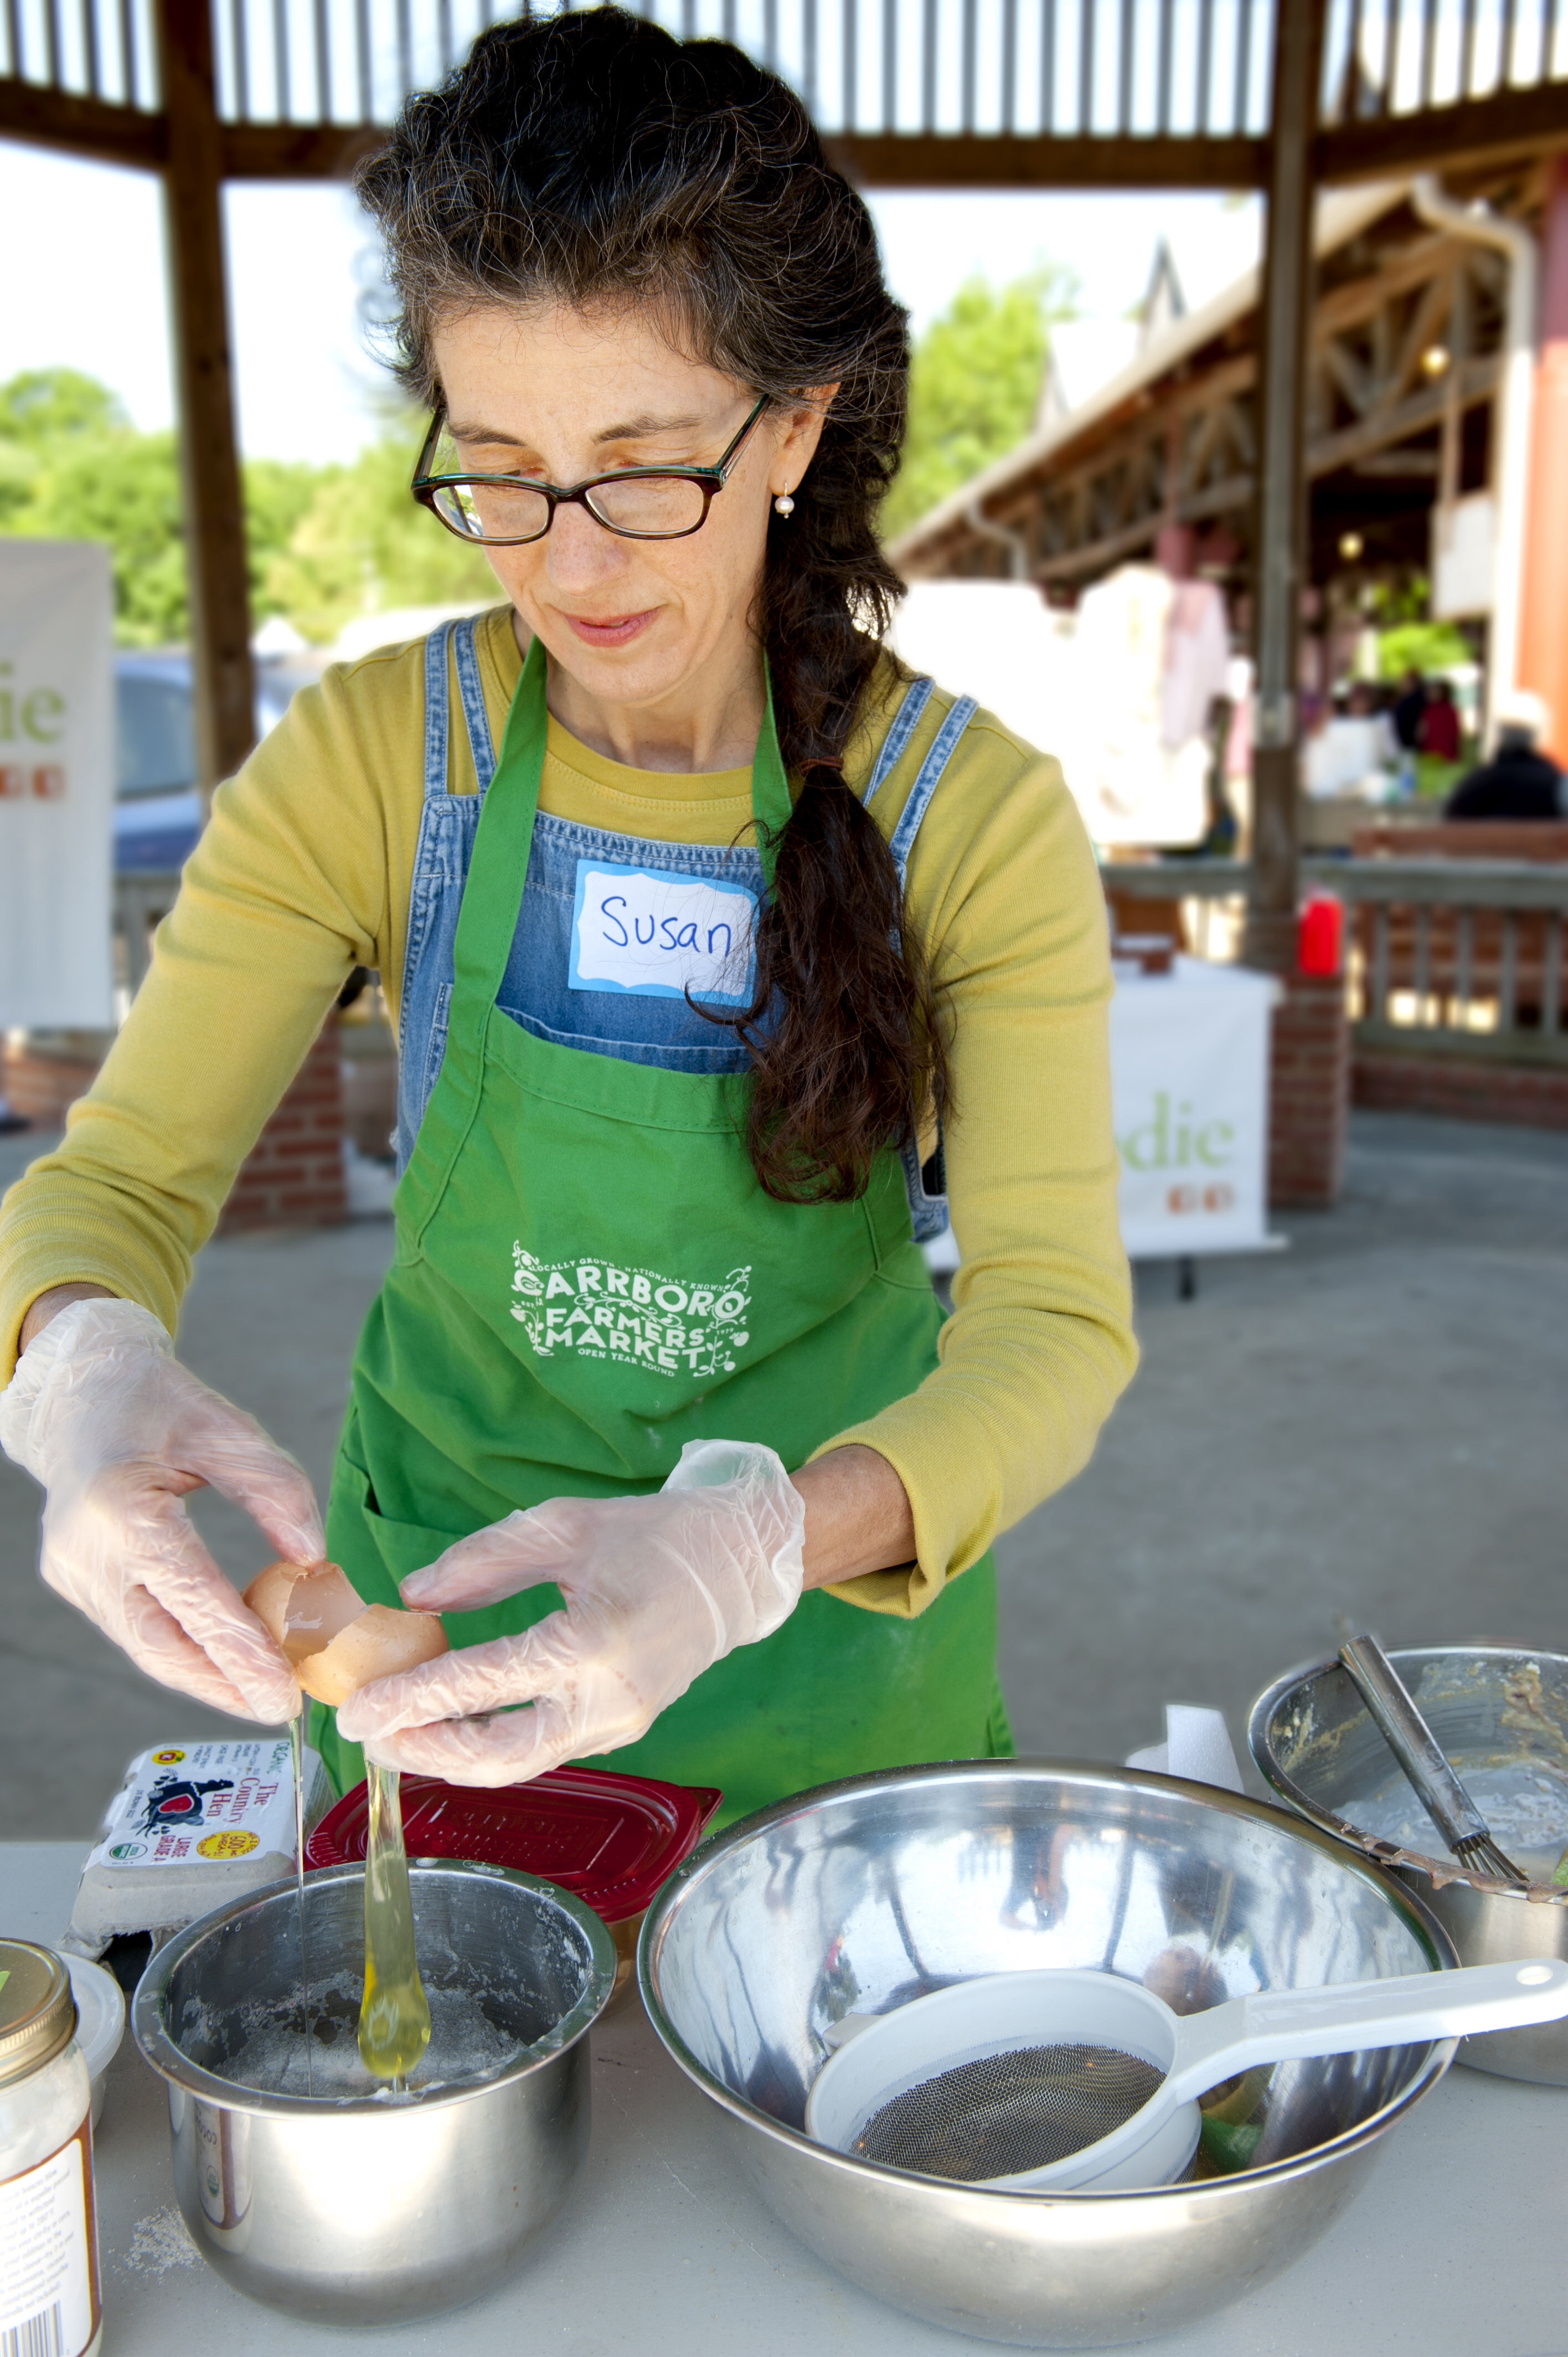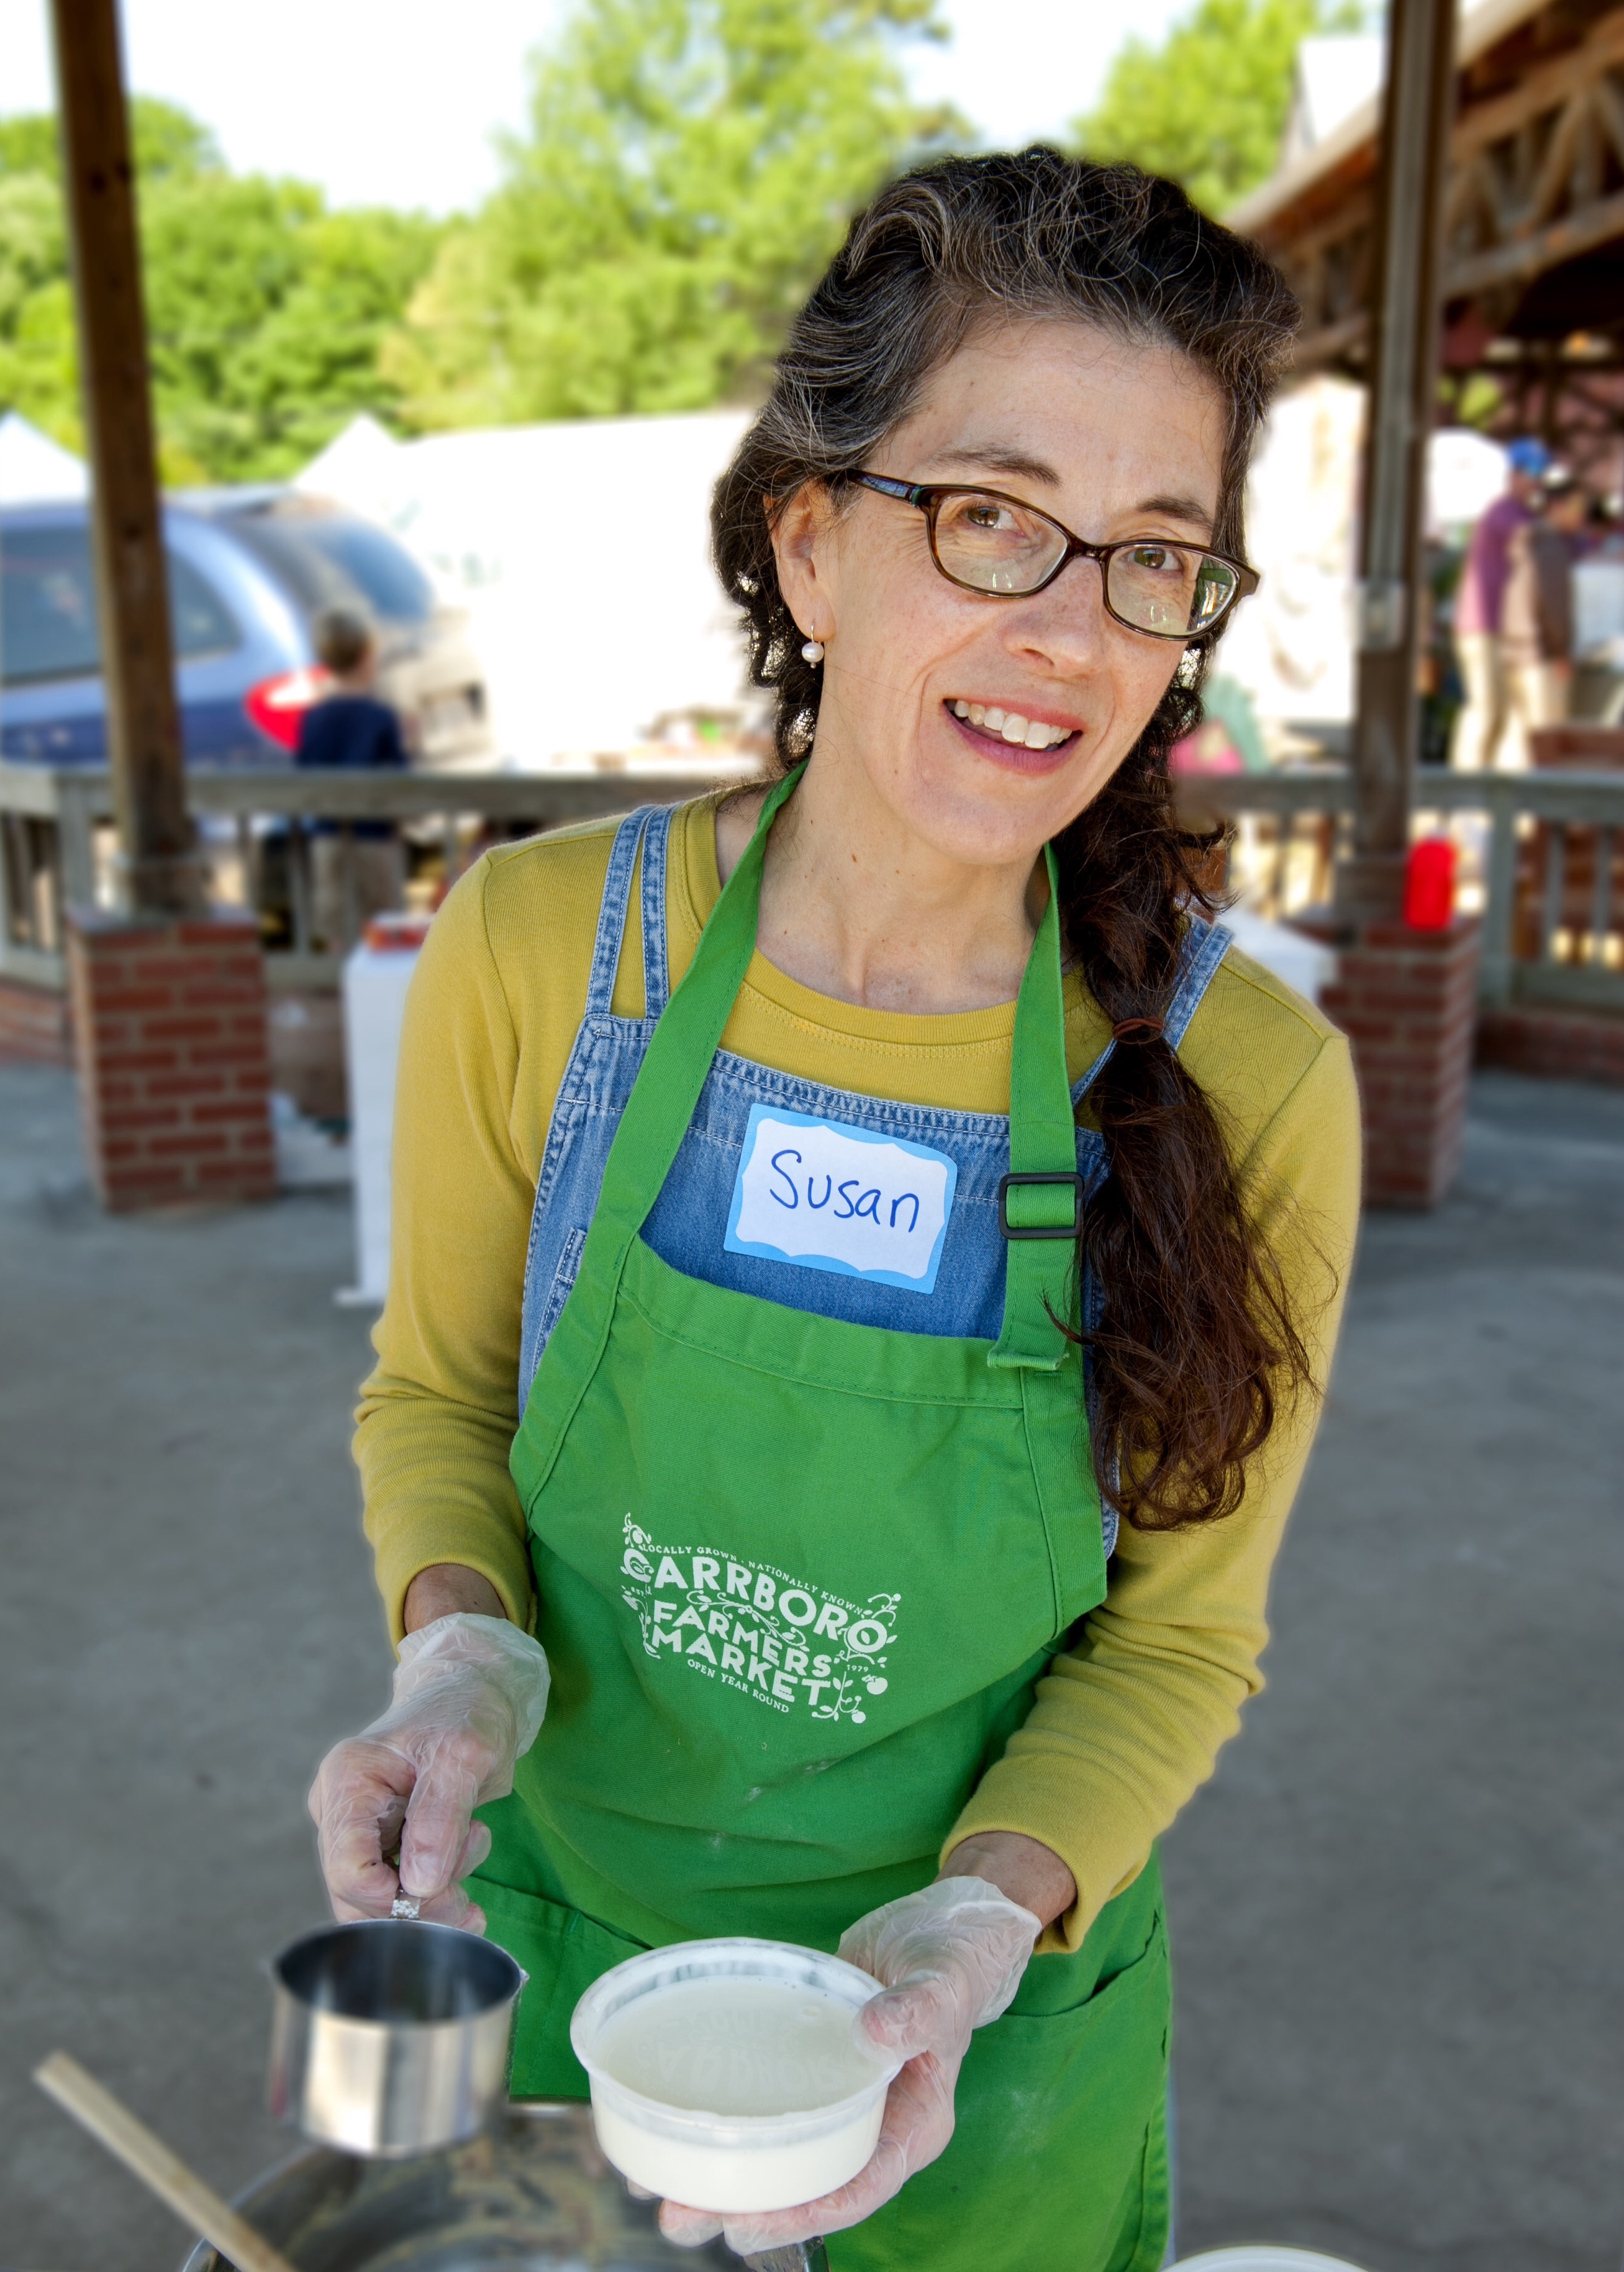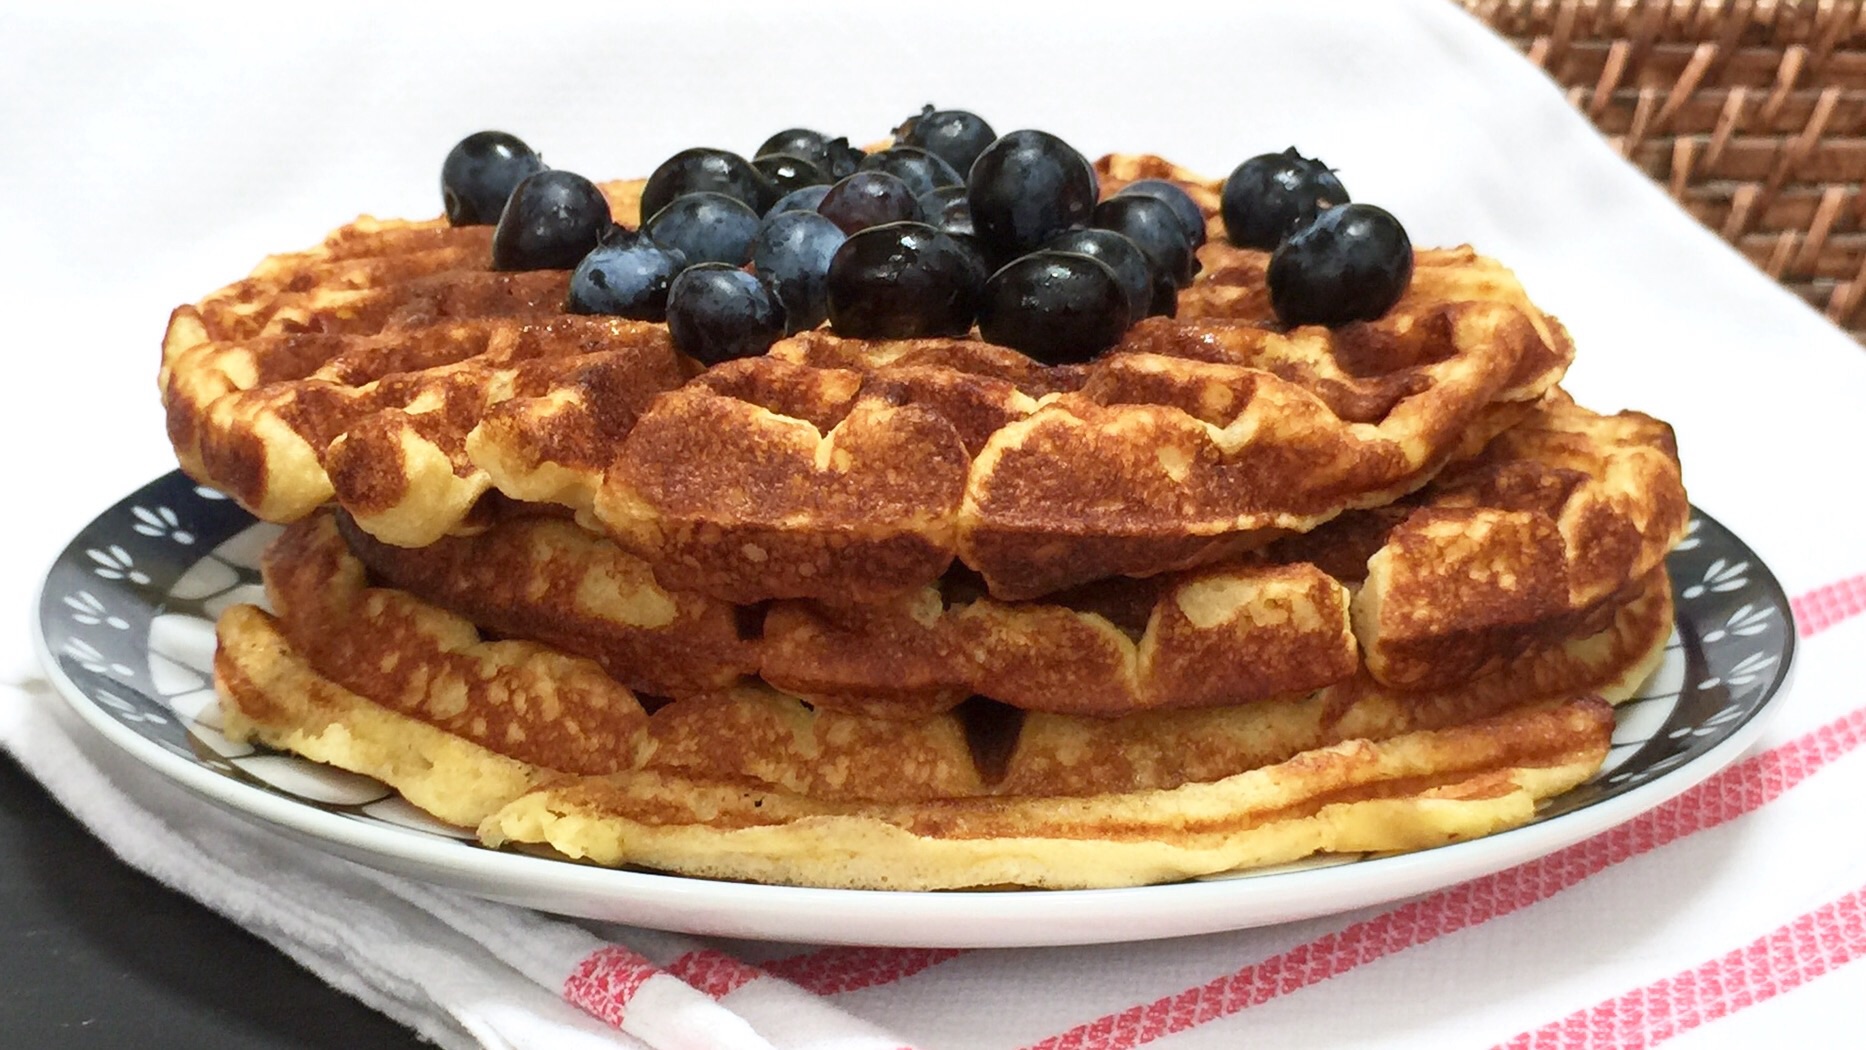
Home Fries Class at the Durham Farmers Market 2018
According to Wikipedia, the term “deviled” was first used in the late 18th century, referring to foods that were spicy and most often included mustard and pepper. Around the 15th century recipes in Europe call for raisins, cheese, and herbs like marjoram and parsley to be mixed in with the cooked yolks. Going a little further back to the 13th Century, there are references to pounding boiled egg yolks with coriander and onion juice. And still further back in history, there are references to boiled eggs being served in Roman culture around the 5th and 6th Century AD as a prelude to the main meal. Clearly, this is not a new idea, and there are so many variations on the preparation, this seemed like a good theme for a class this summer at the market.
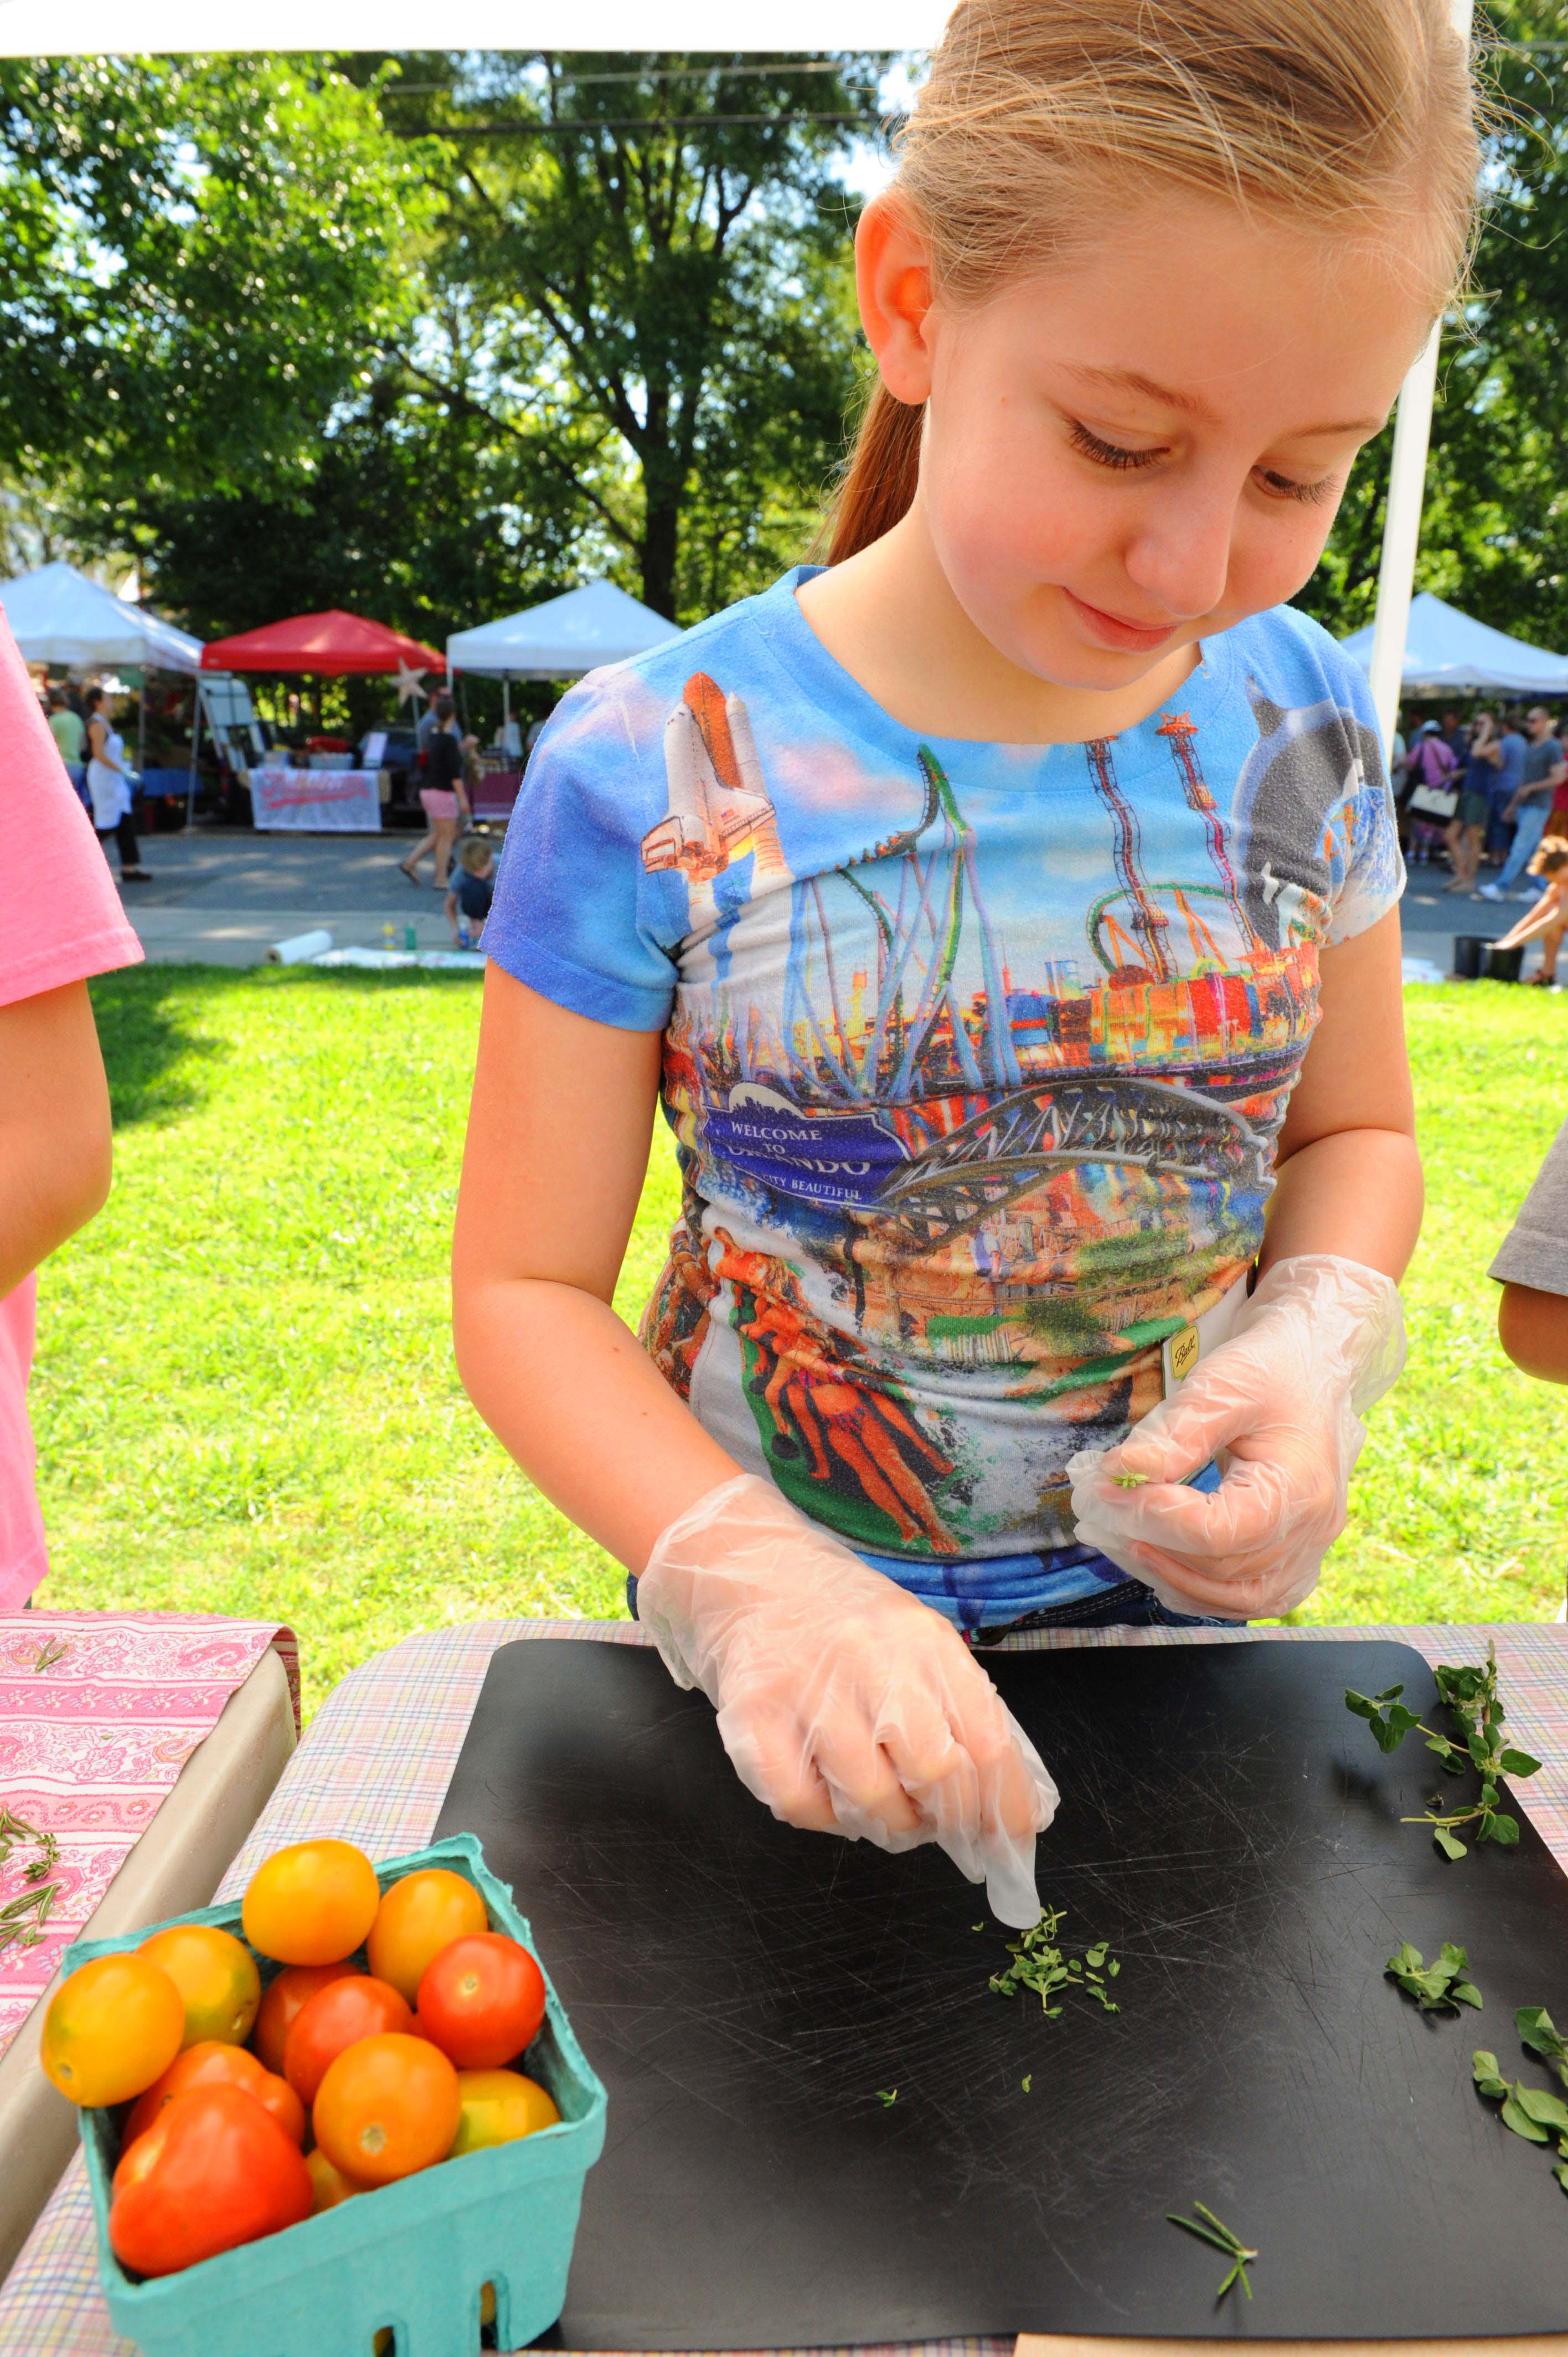
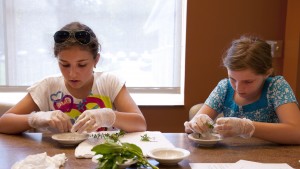
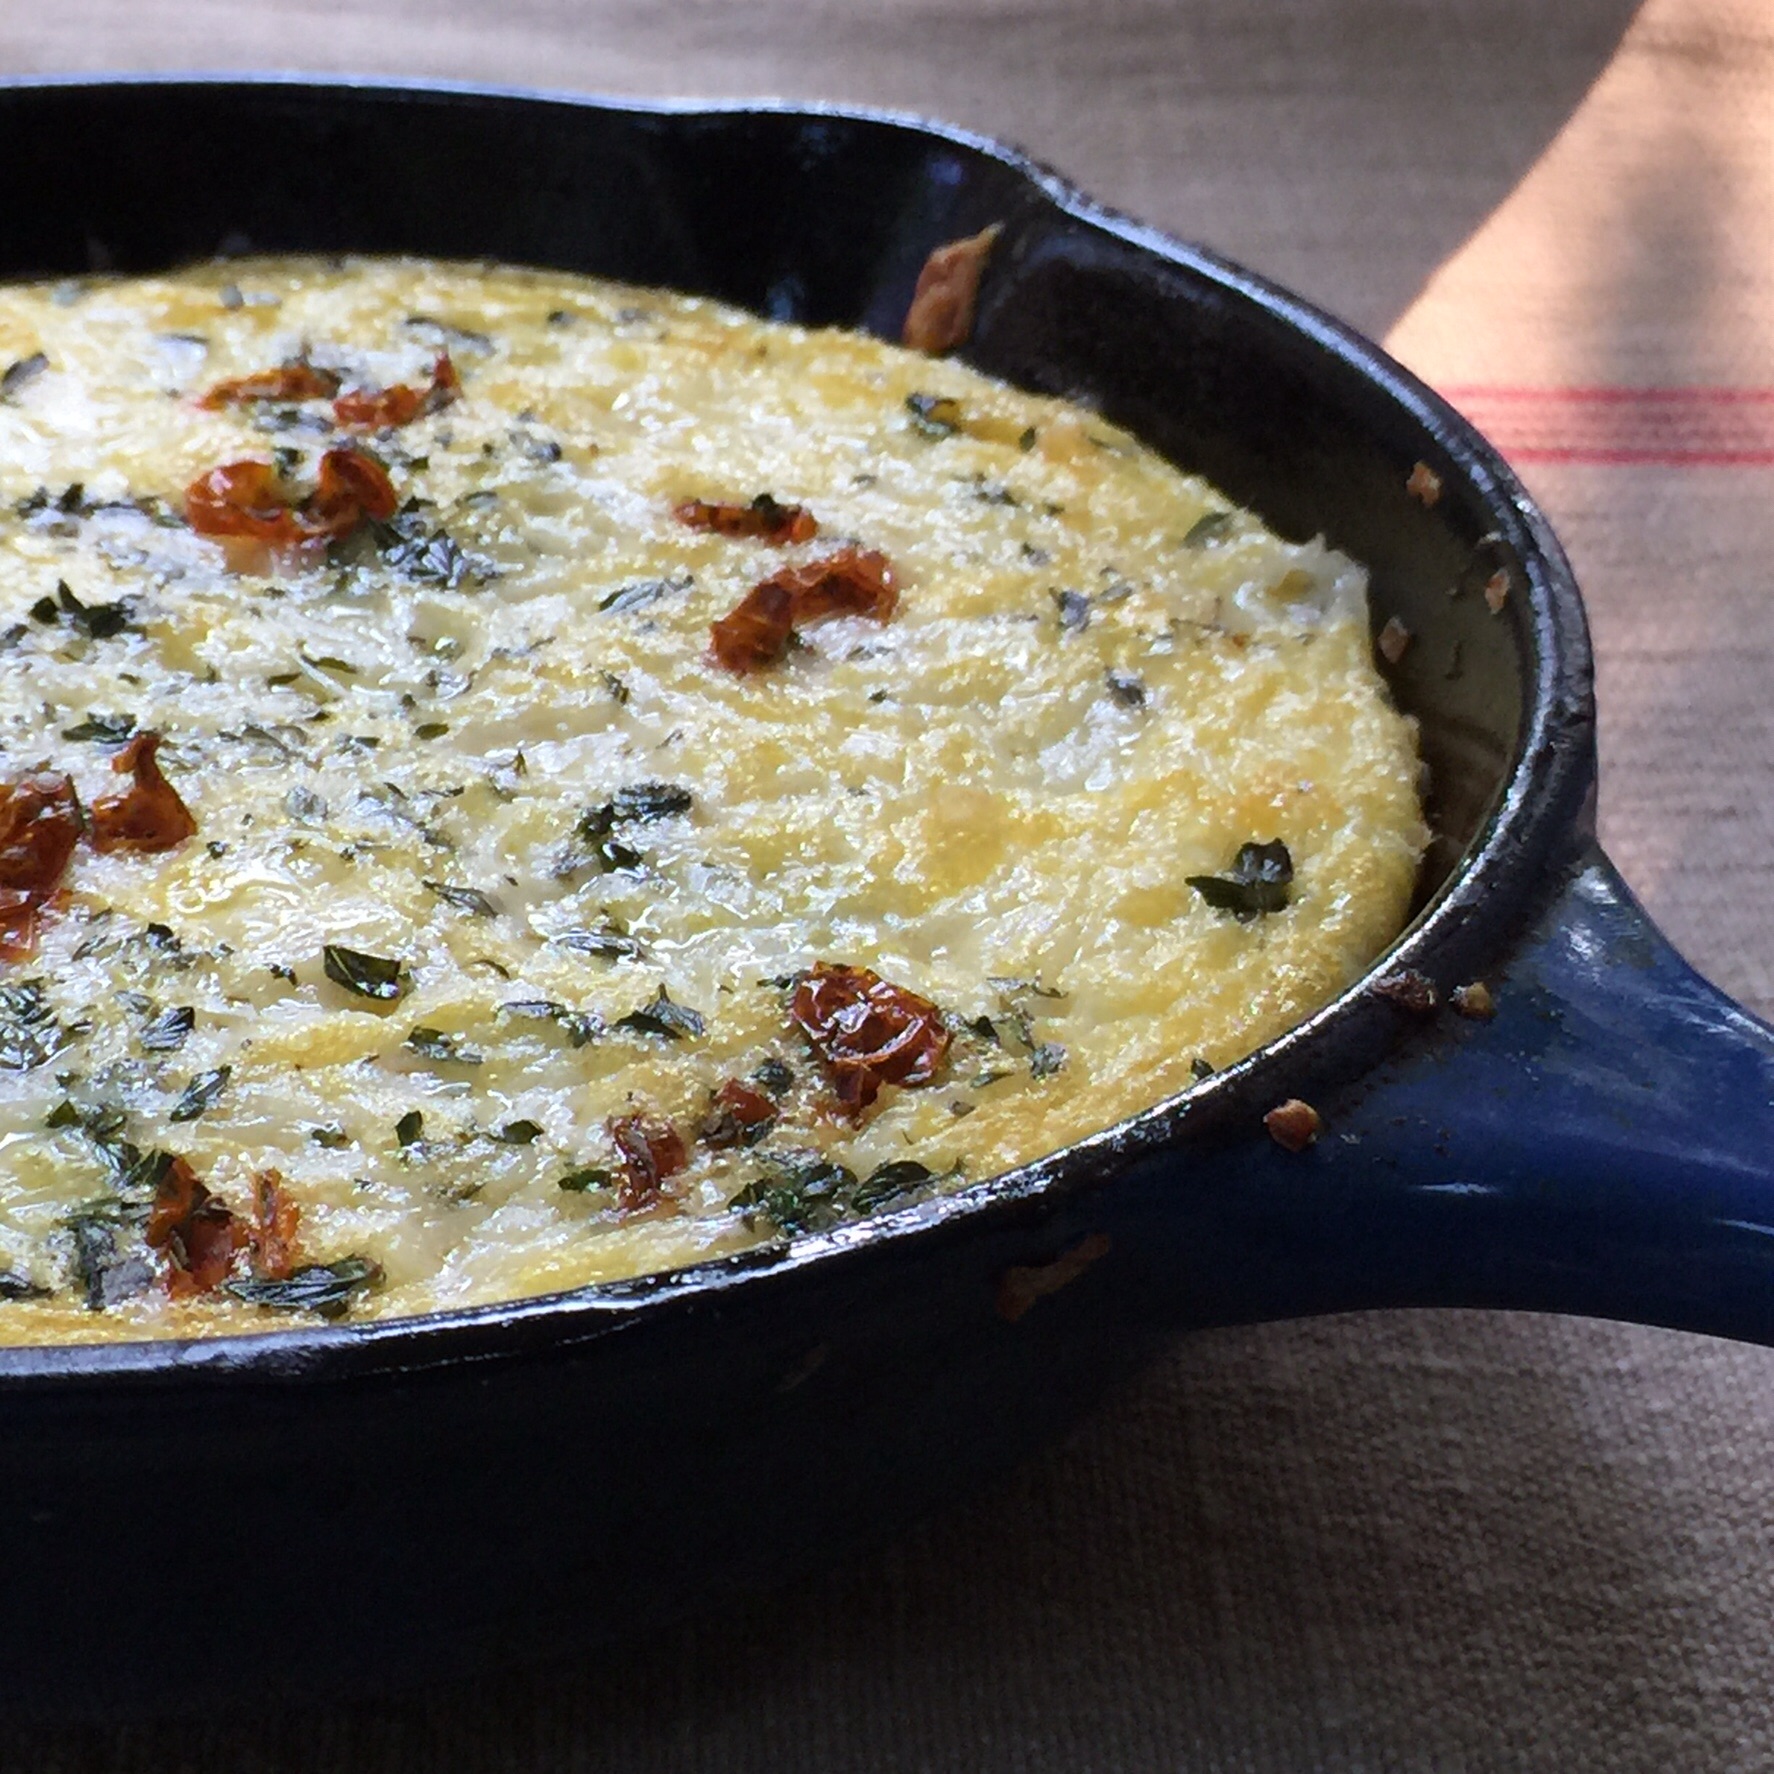
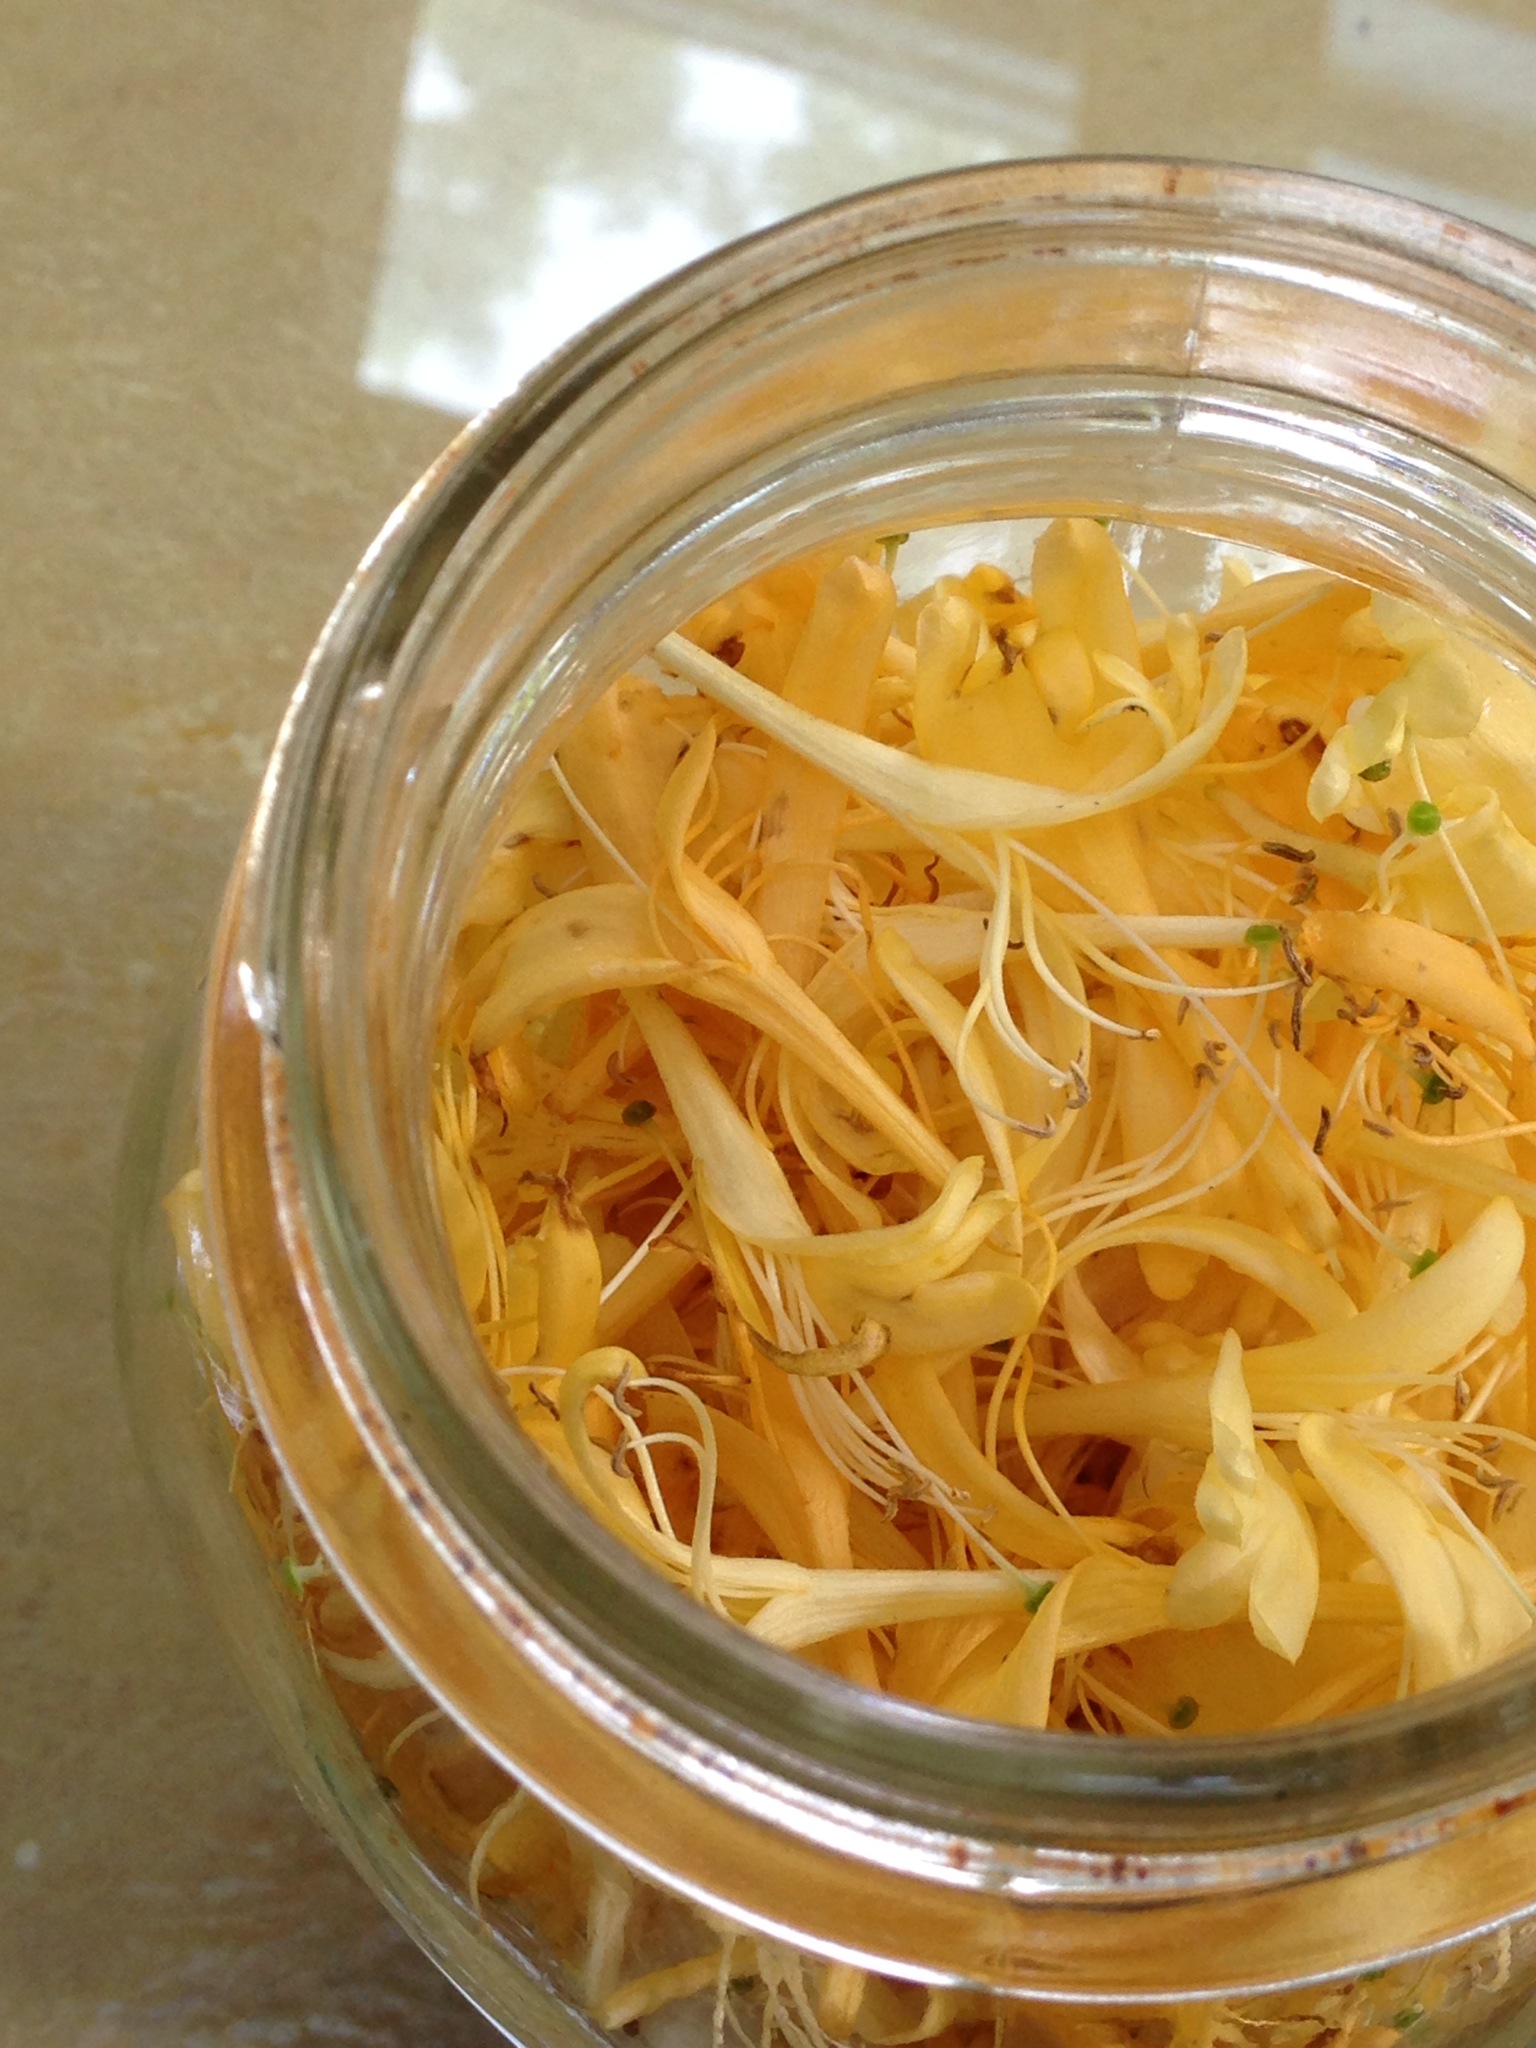
Begin your meal with European Herbed Chèvre Eggs using fresh herbs from the SEEDS living garden next to the market.
Typically these types of eggs were used throughout history to begin a meal, just as we do today. They were used at formal and informal gatherings and today continue to be used as a wholesome snack or even part of a light main meal. Before mayonnaise became a shelf-stable ingredient cooks would use vegetable juice, pickling juice, broth or soft cheese to make the egg yolk mixtures creamy to fill the egg whites.
So I thought that it might be fun for the kids to try to both seasonal and prepared food items from the market to make the eggs. It’s always fun to explore how a simple recipe or food can be adapted for seasons and cultures to create something wonderful.
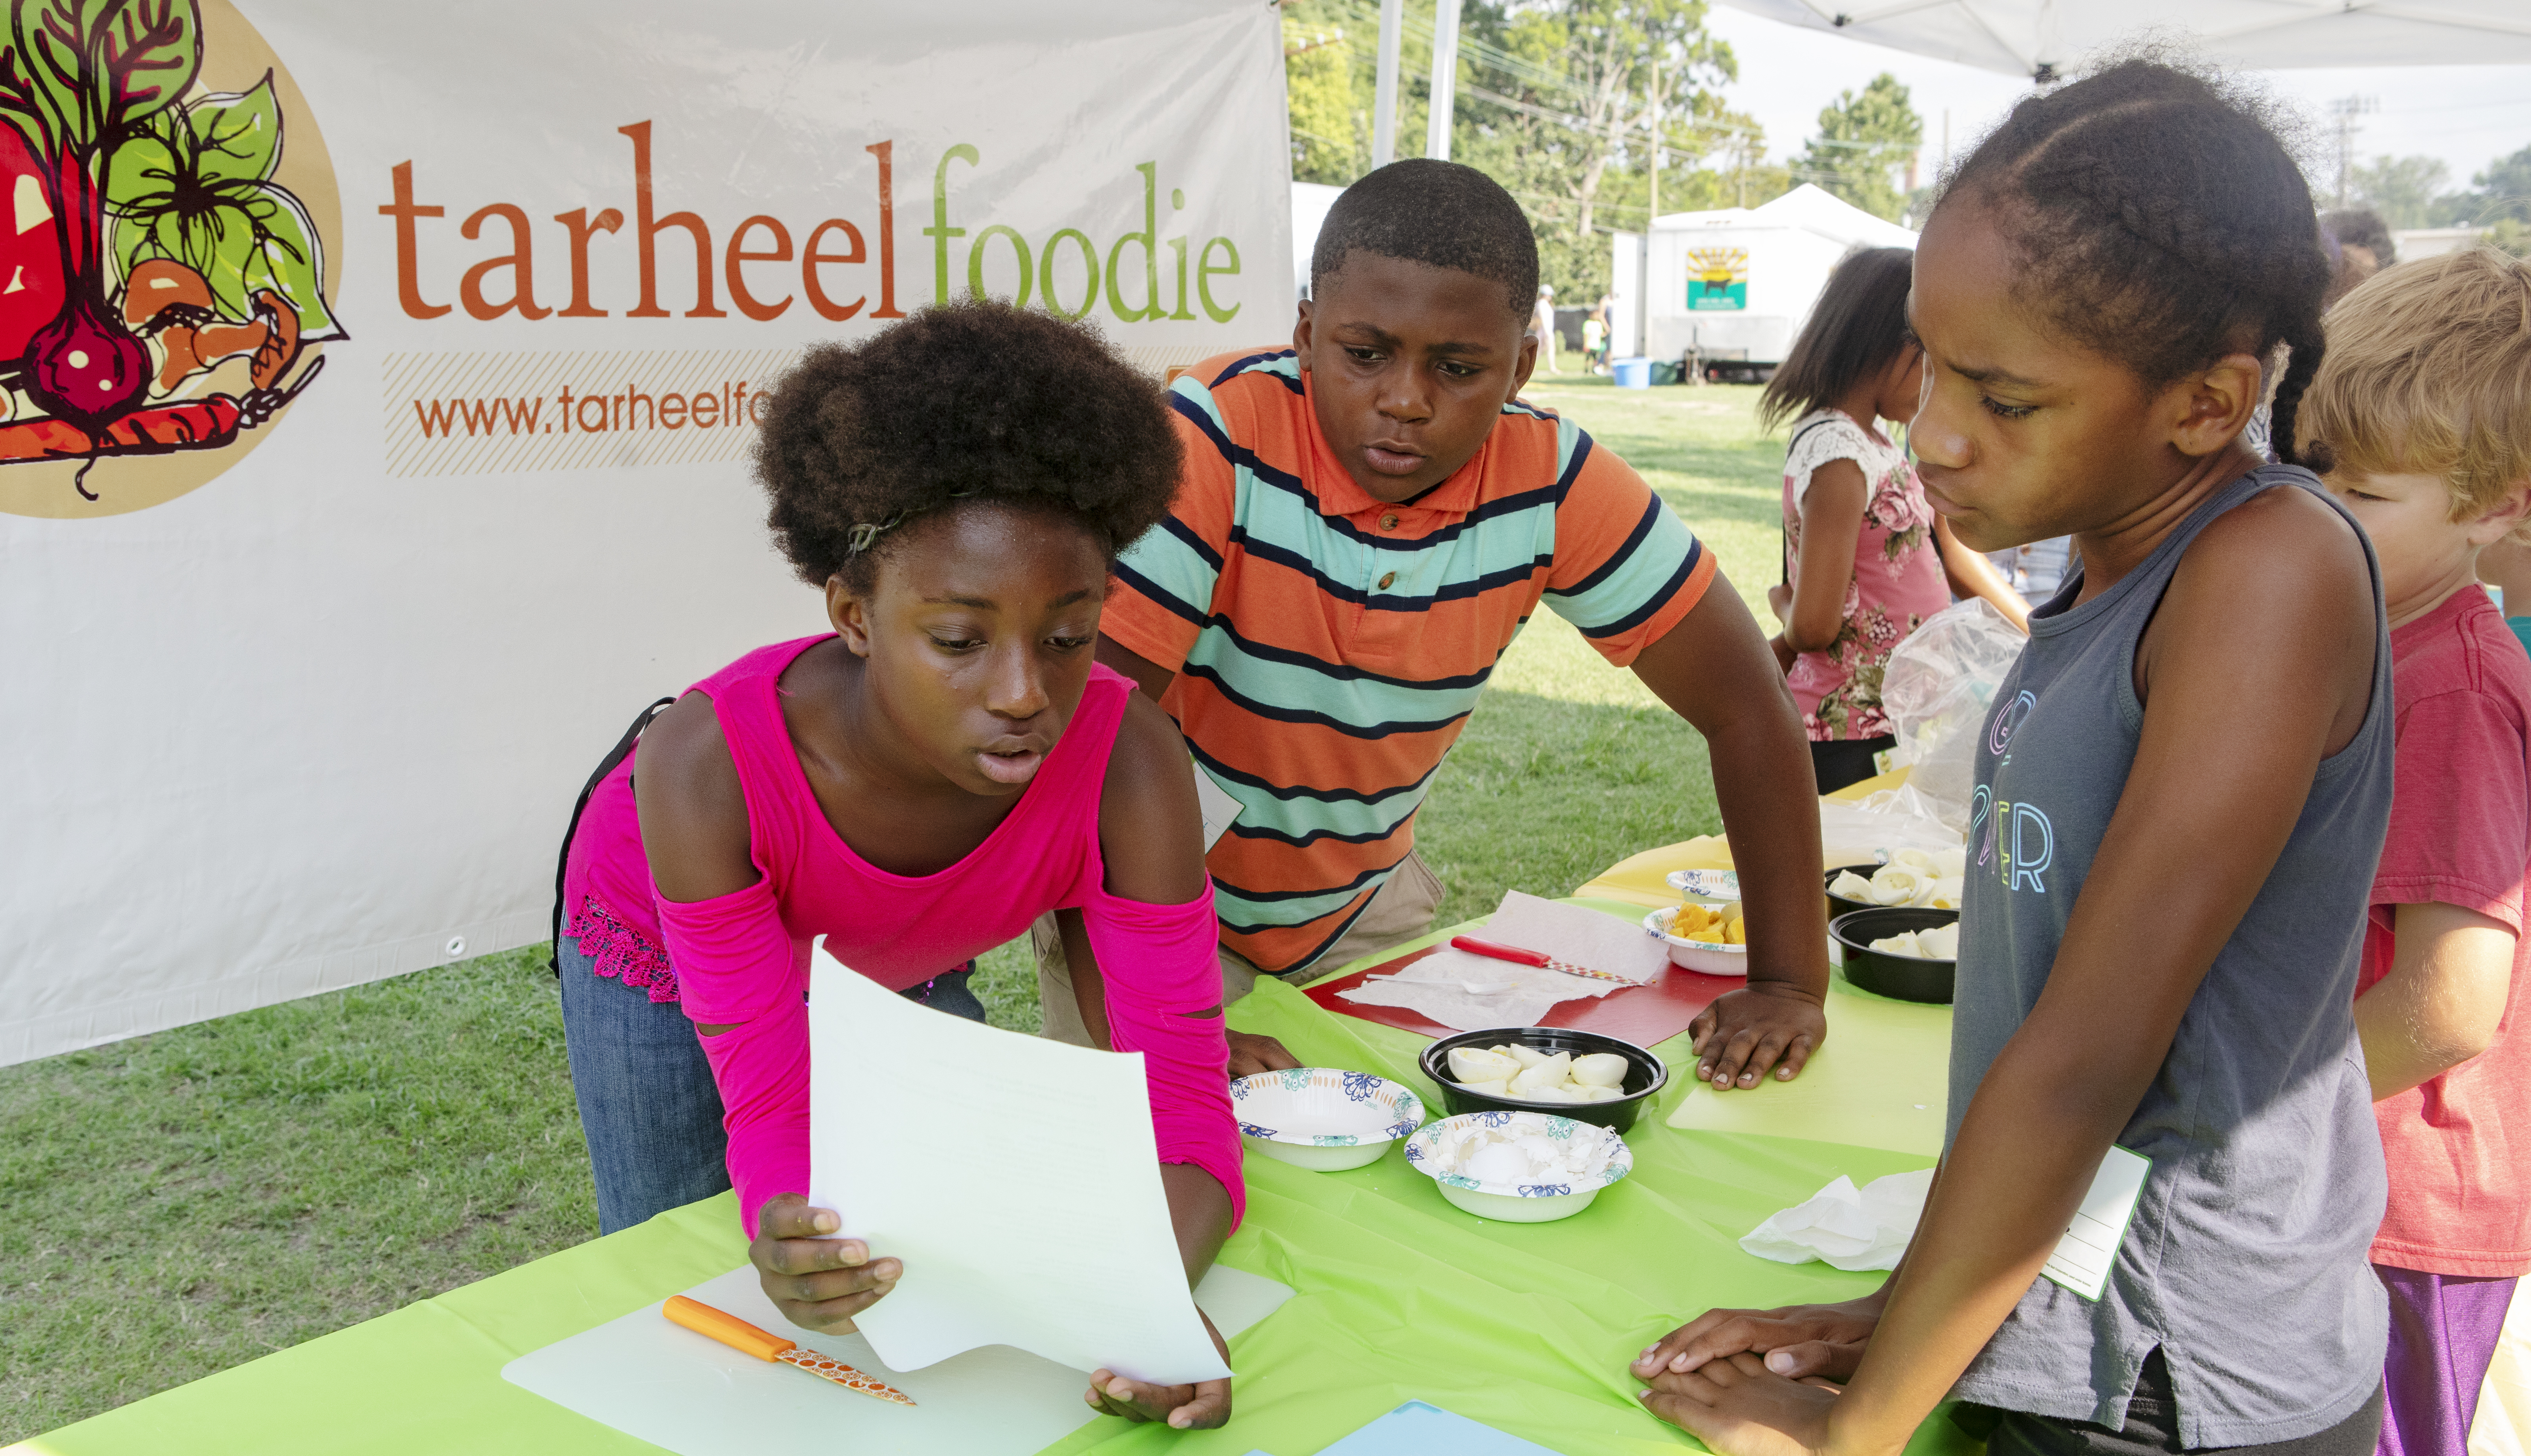
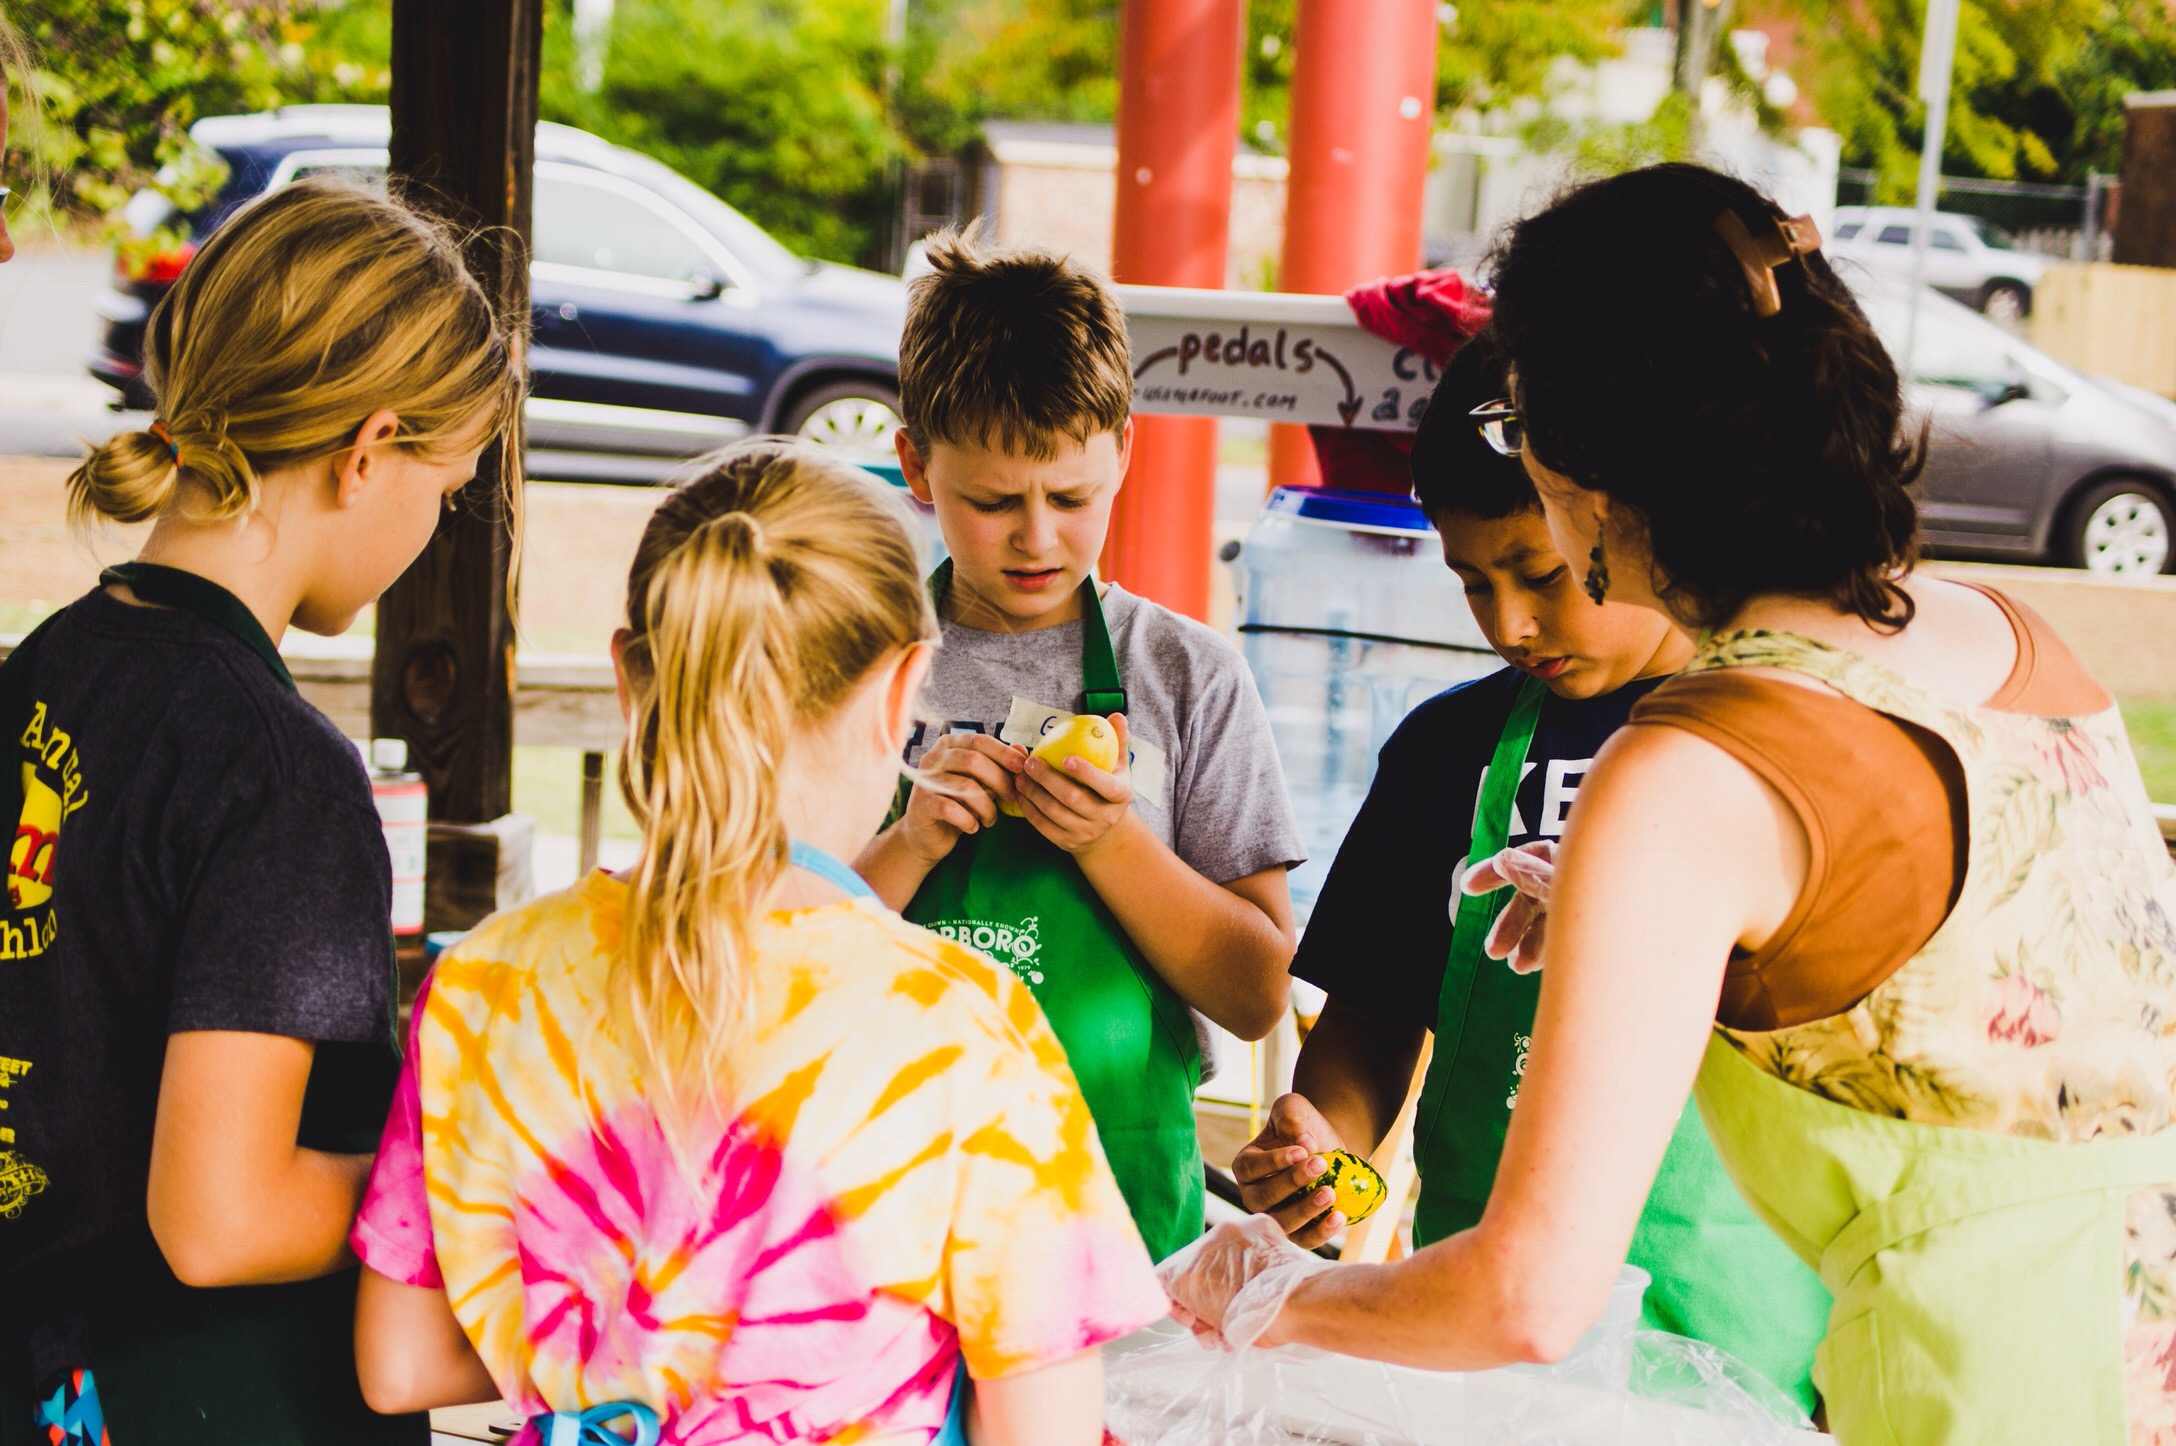
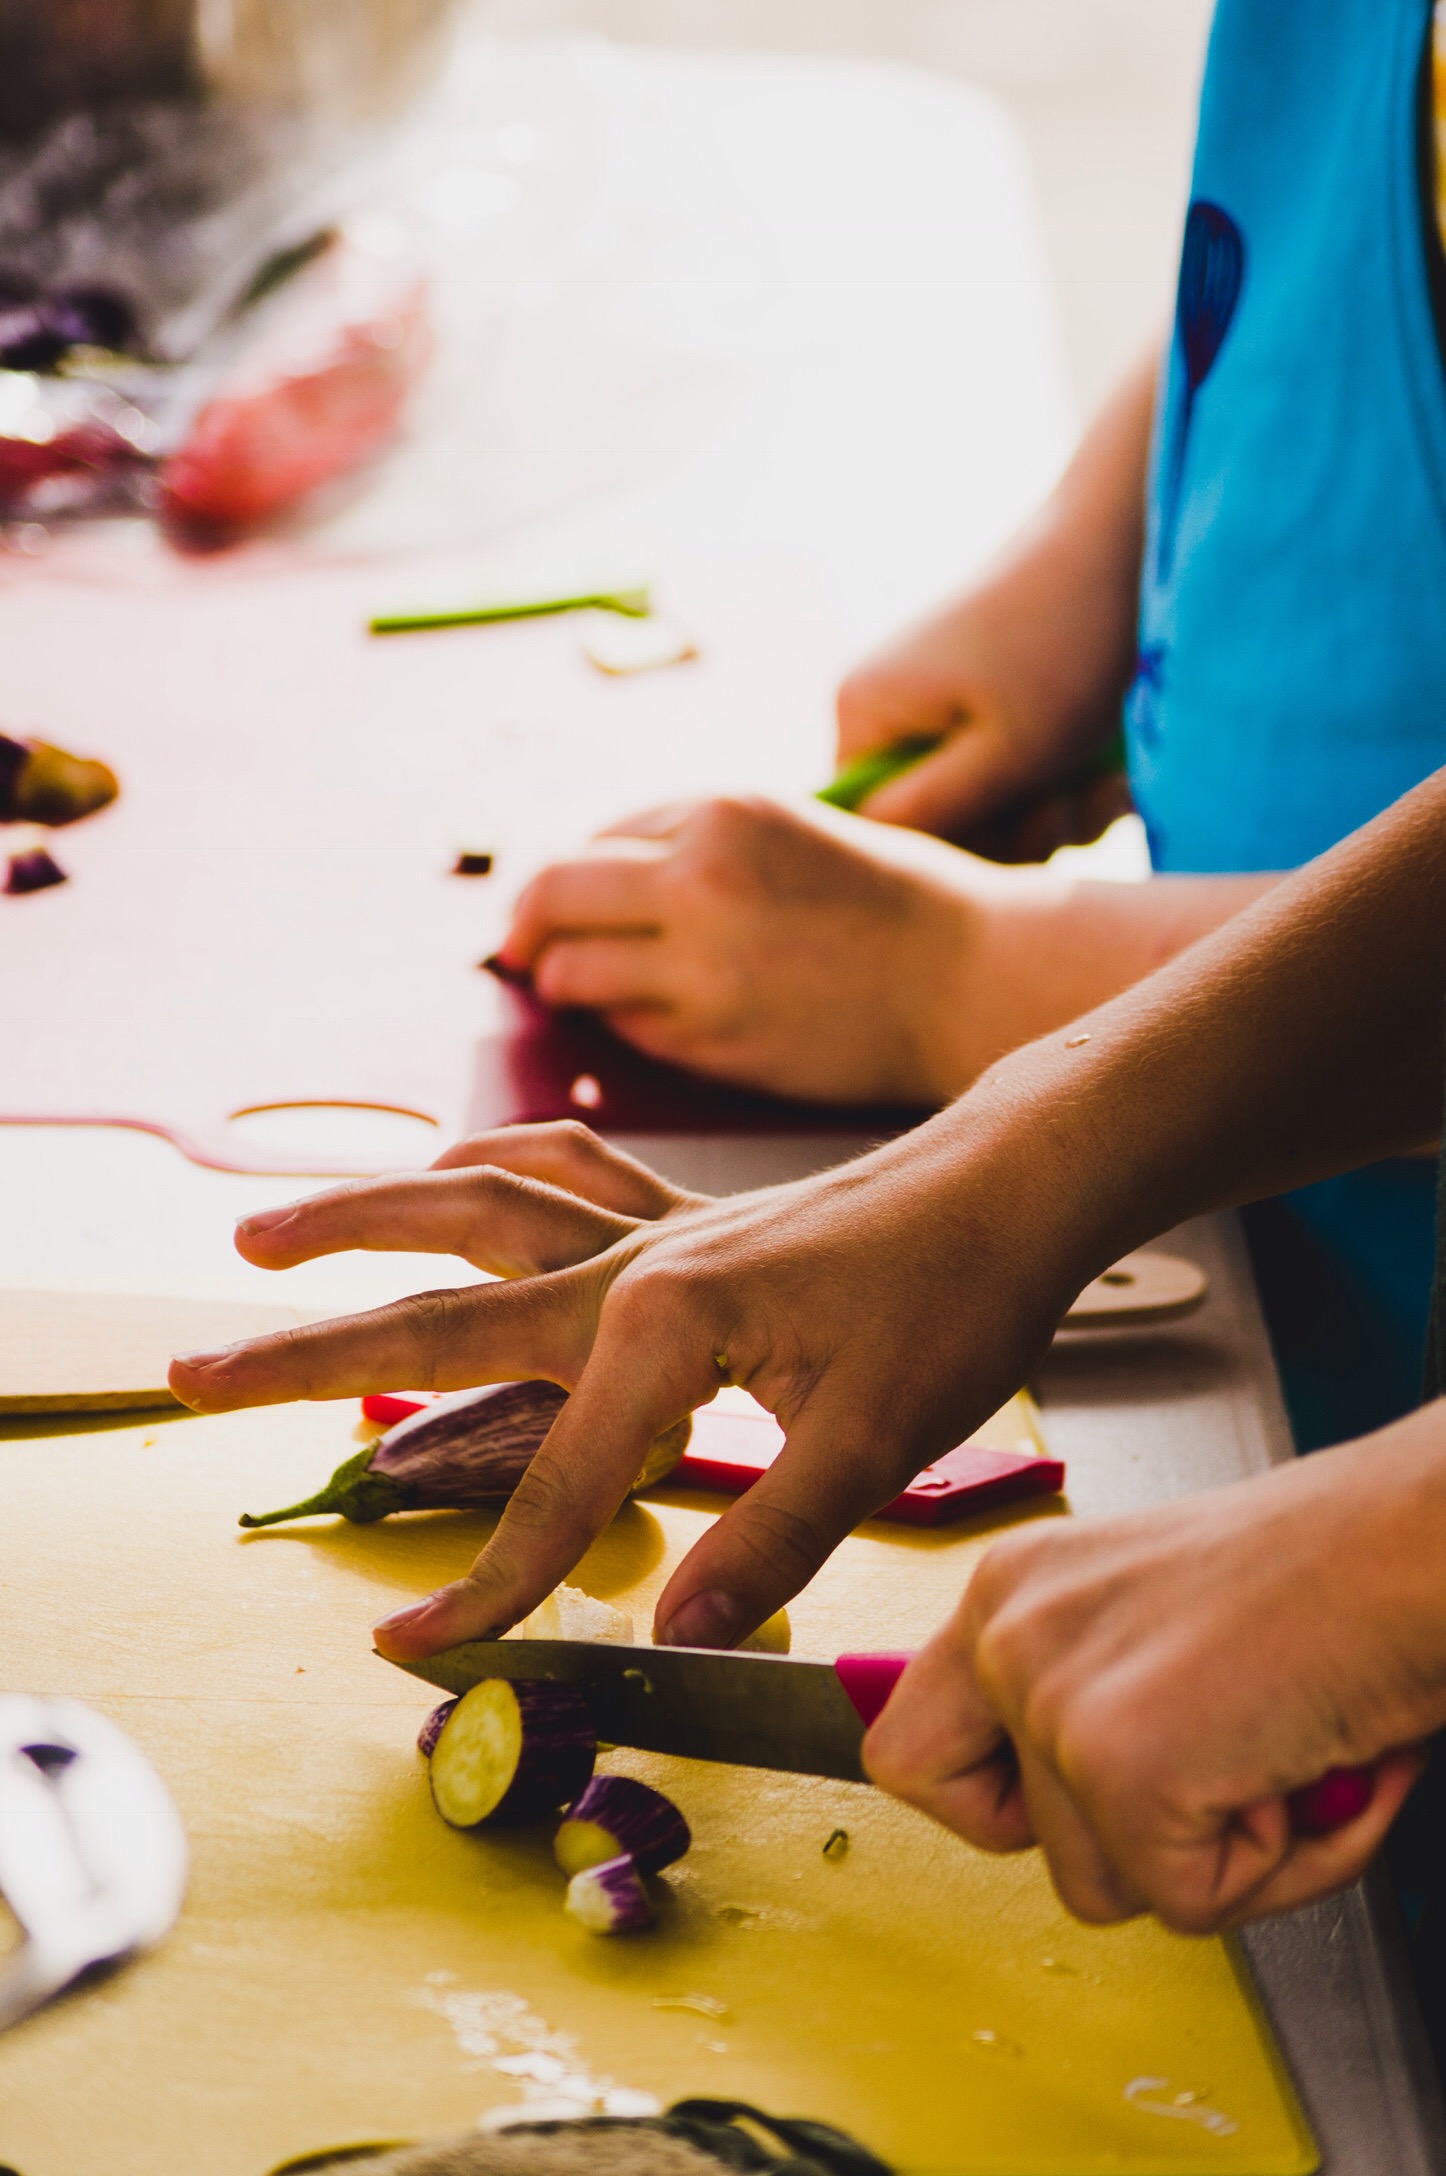
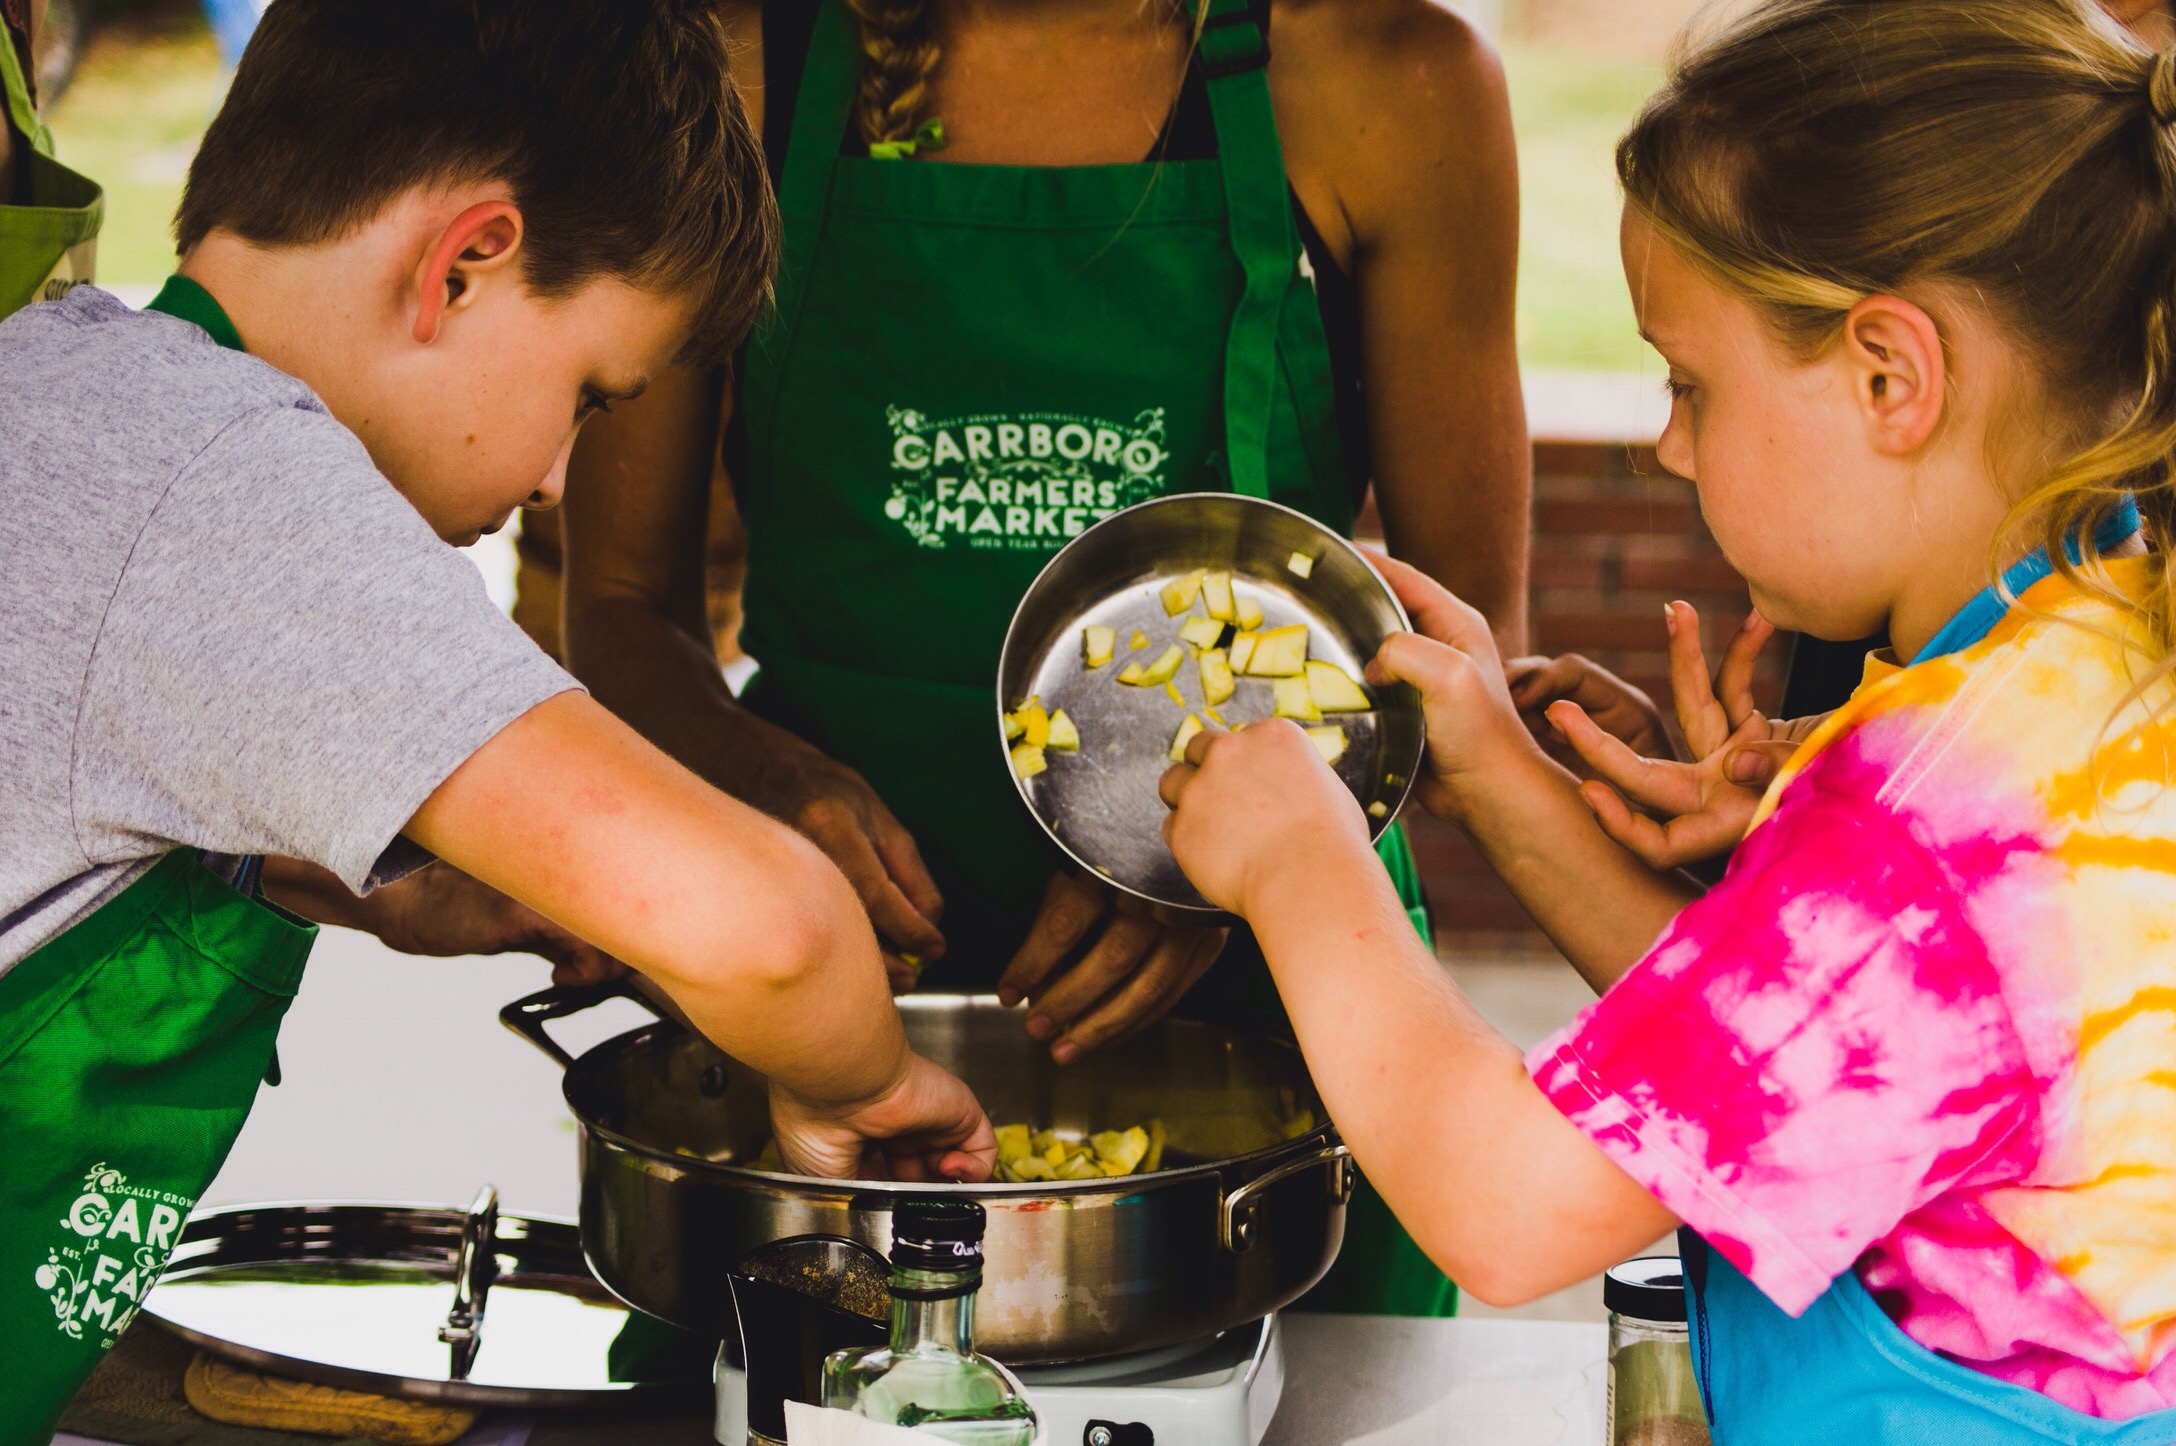
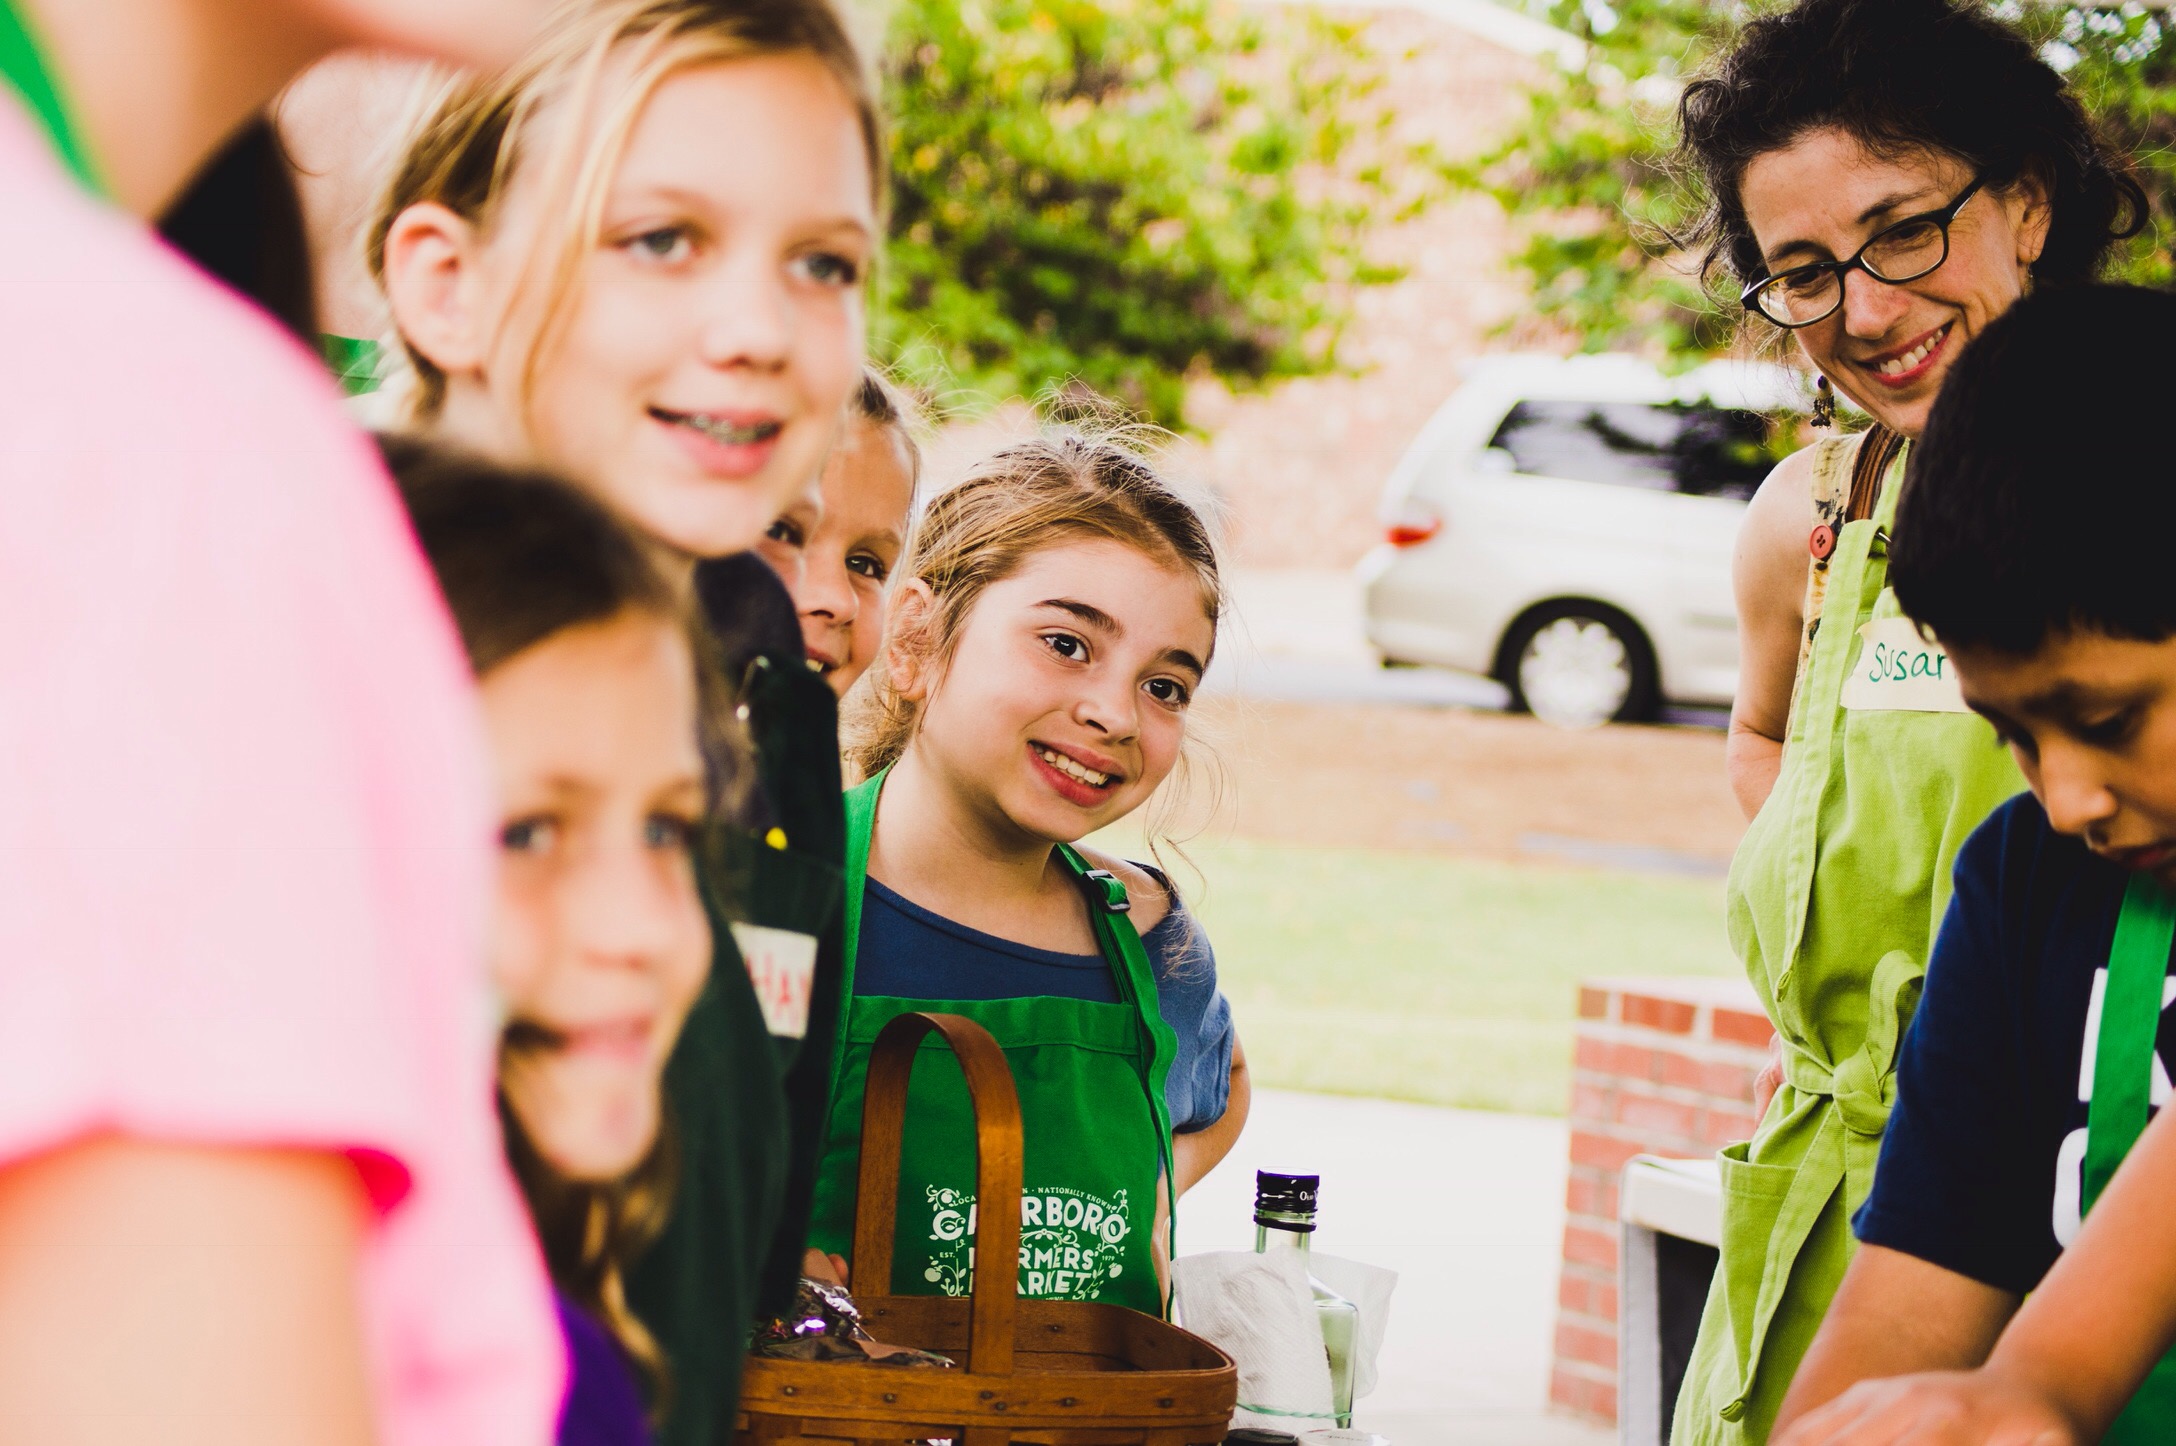
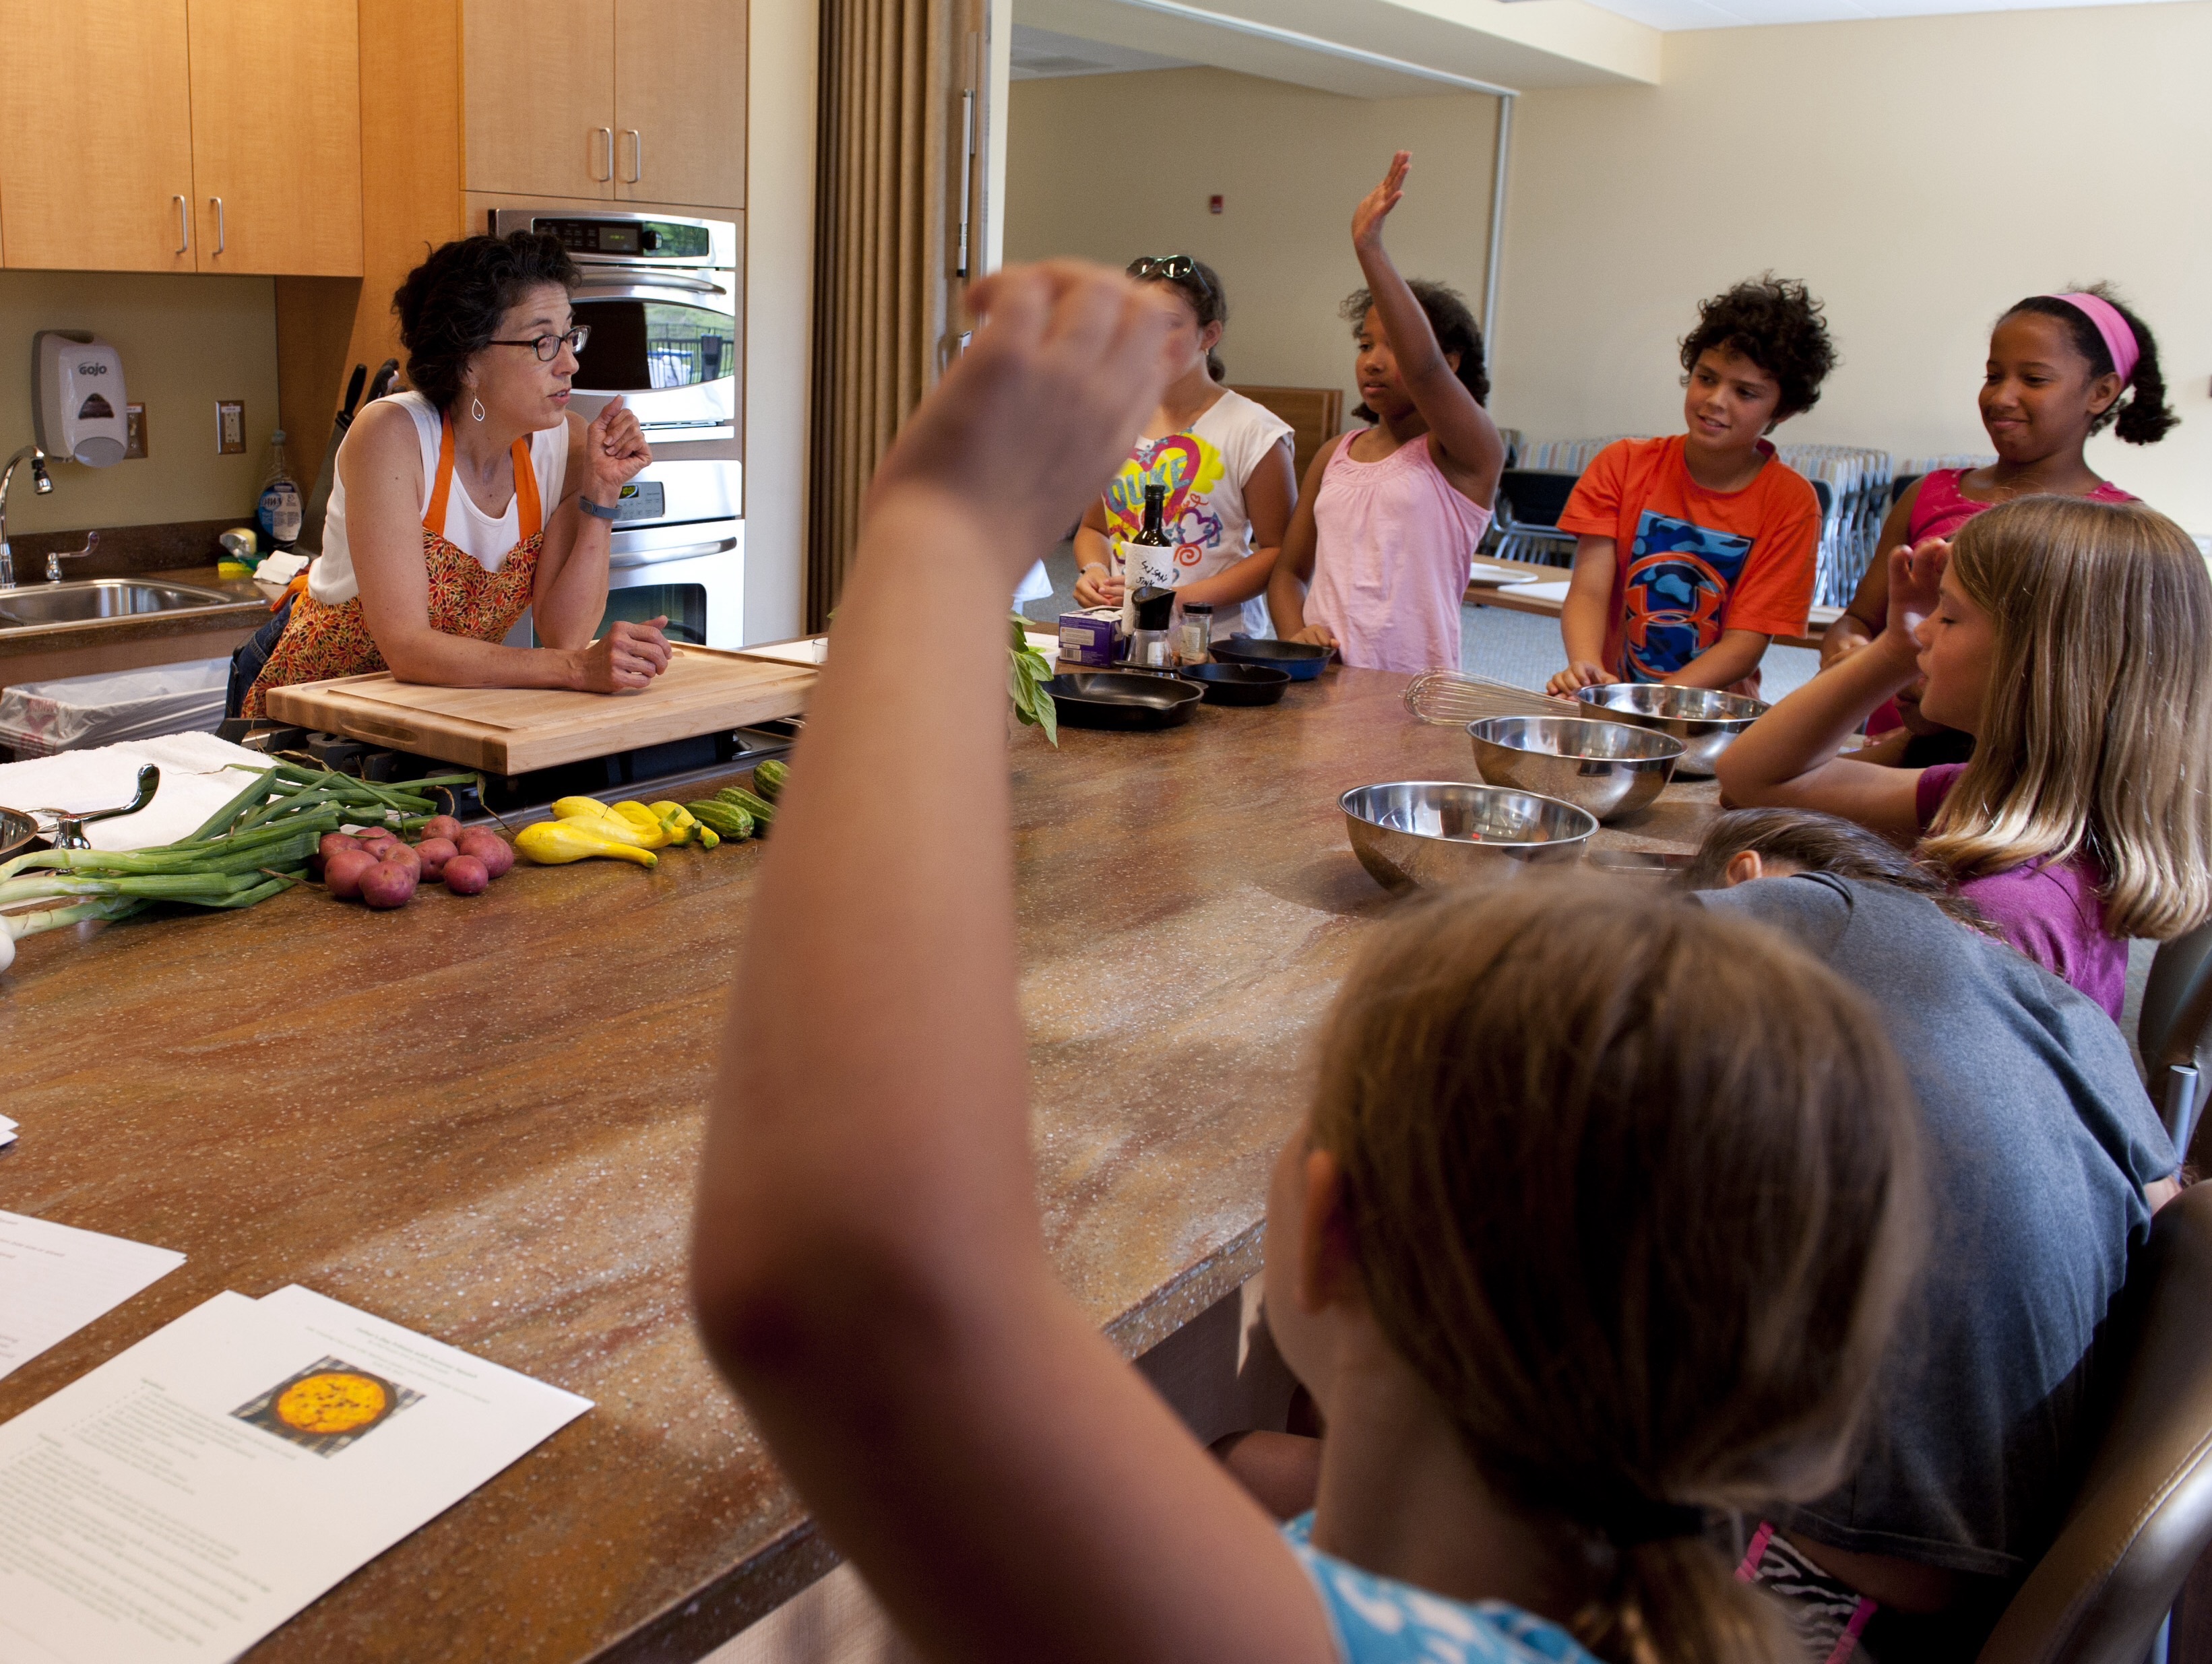
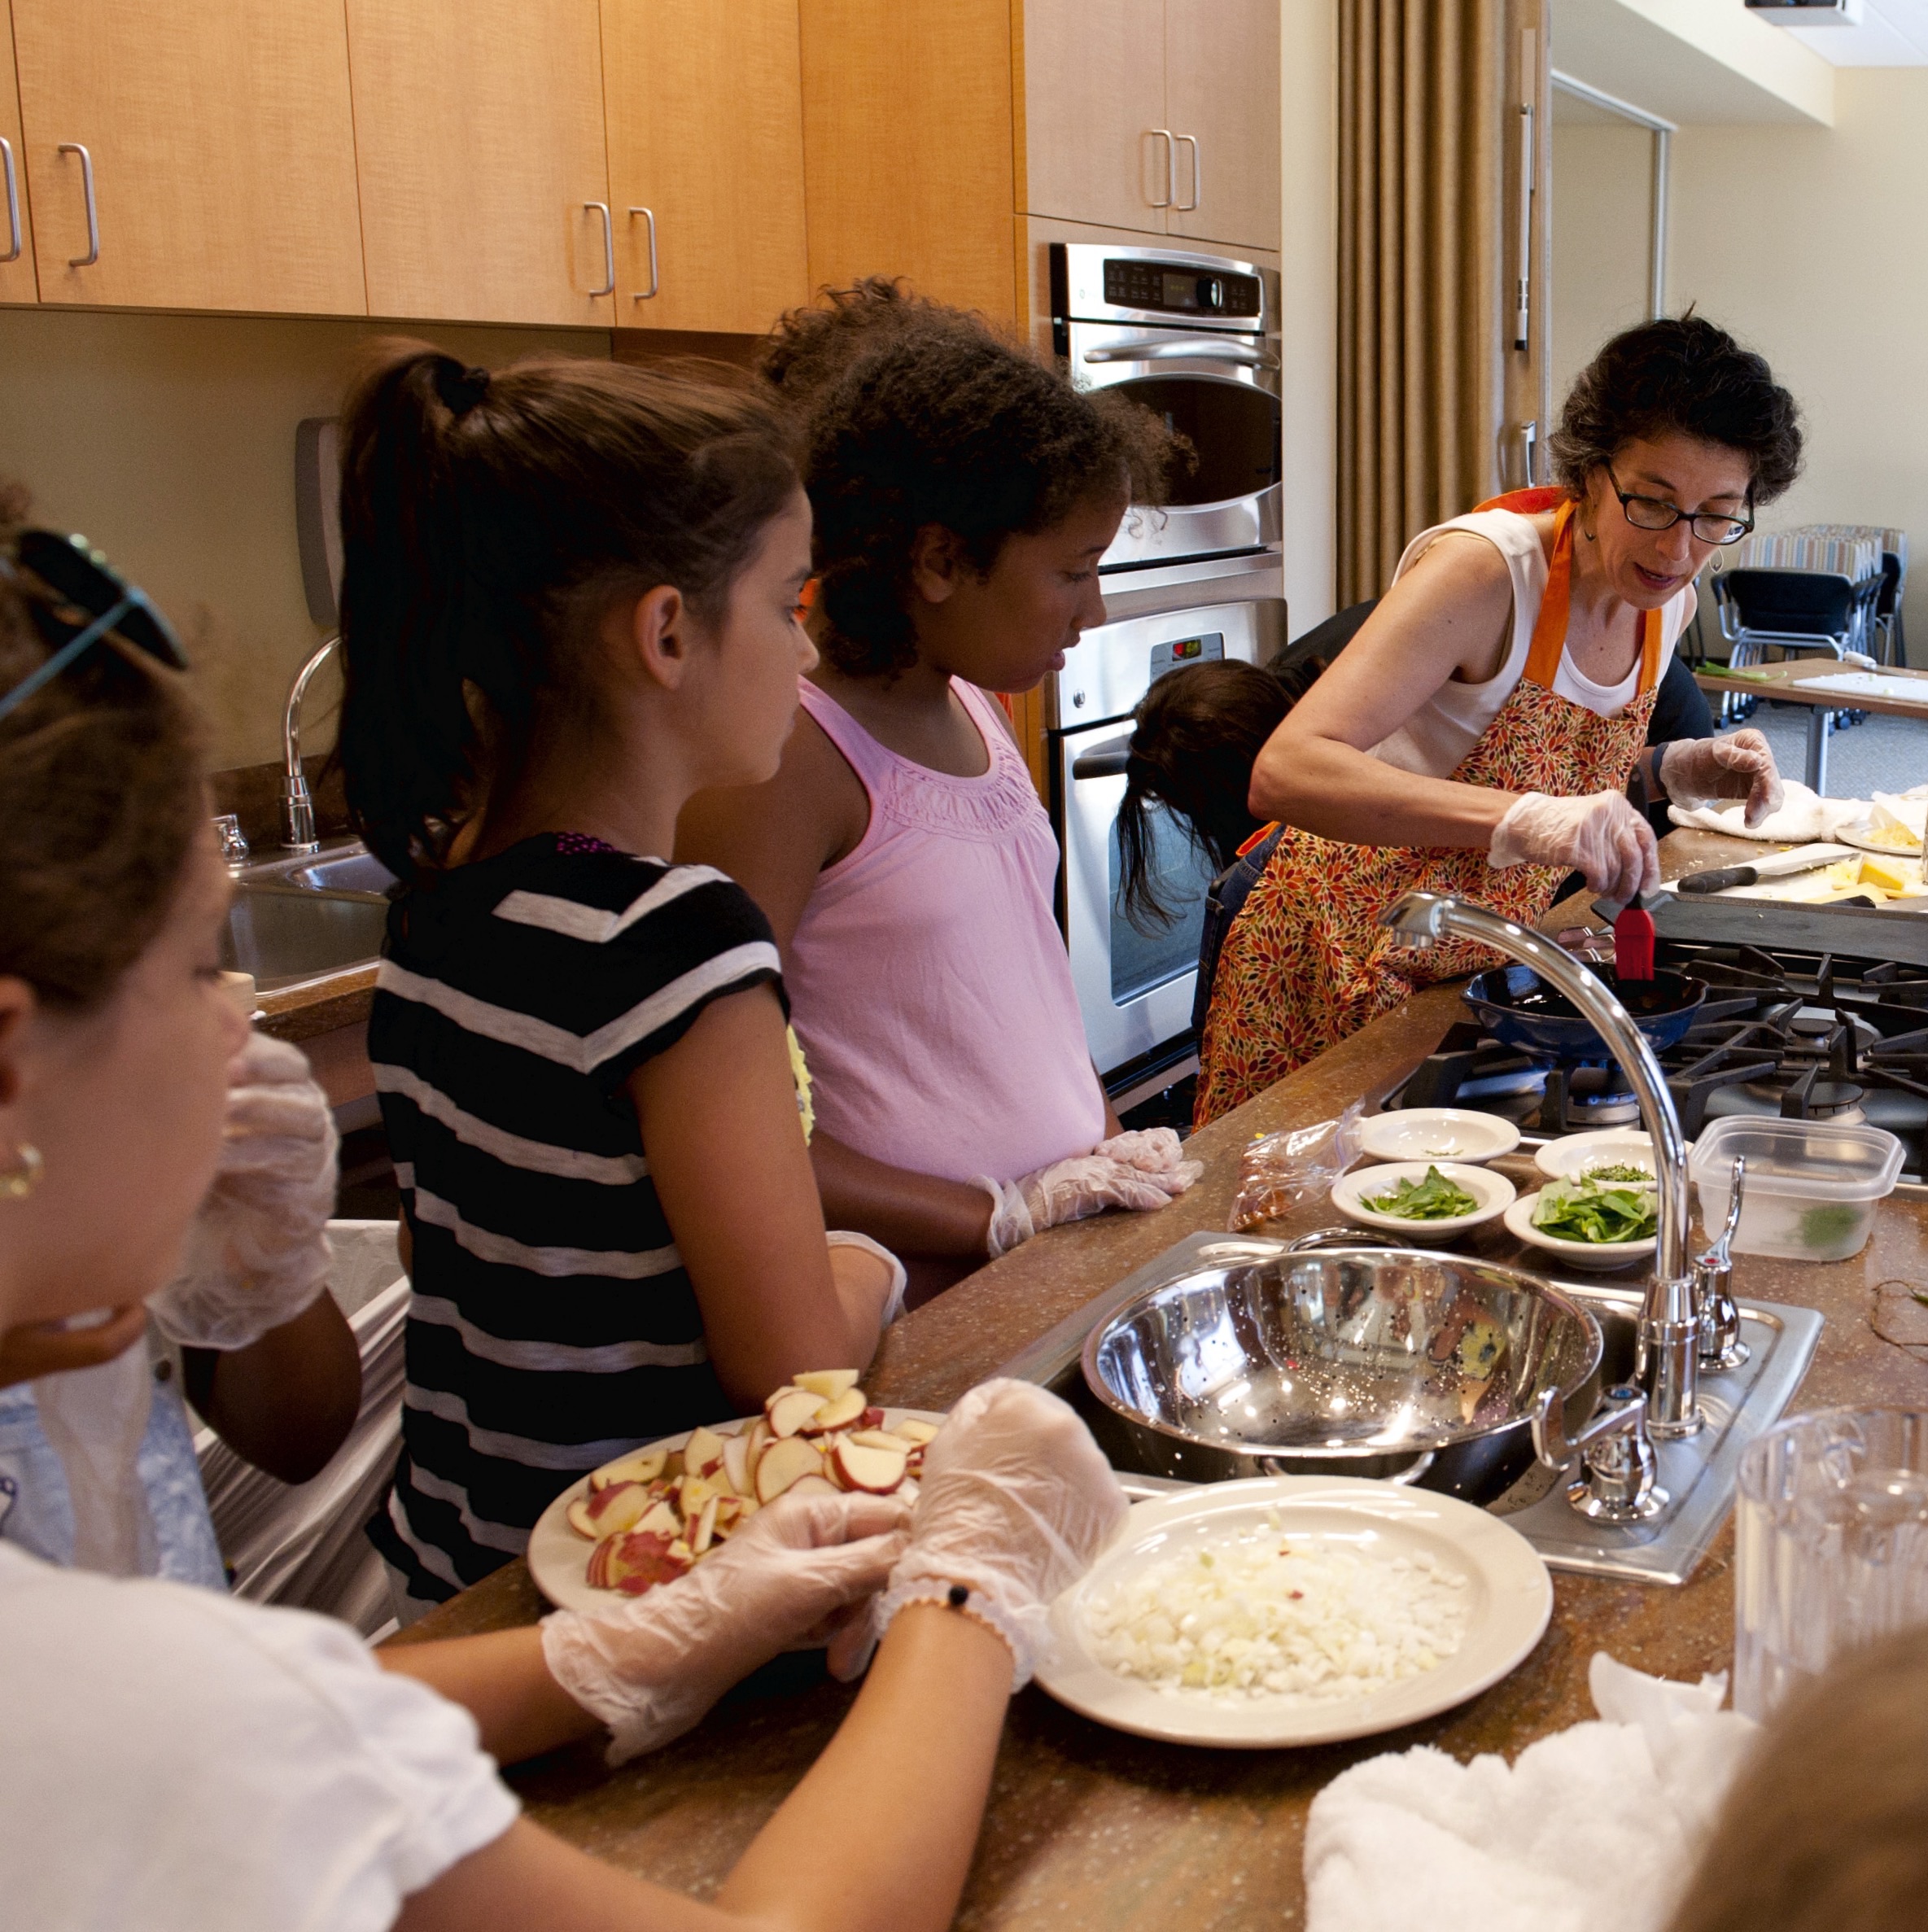
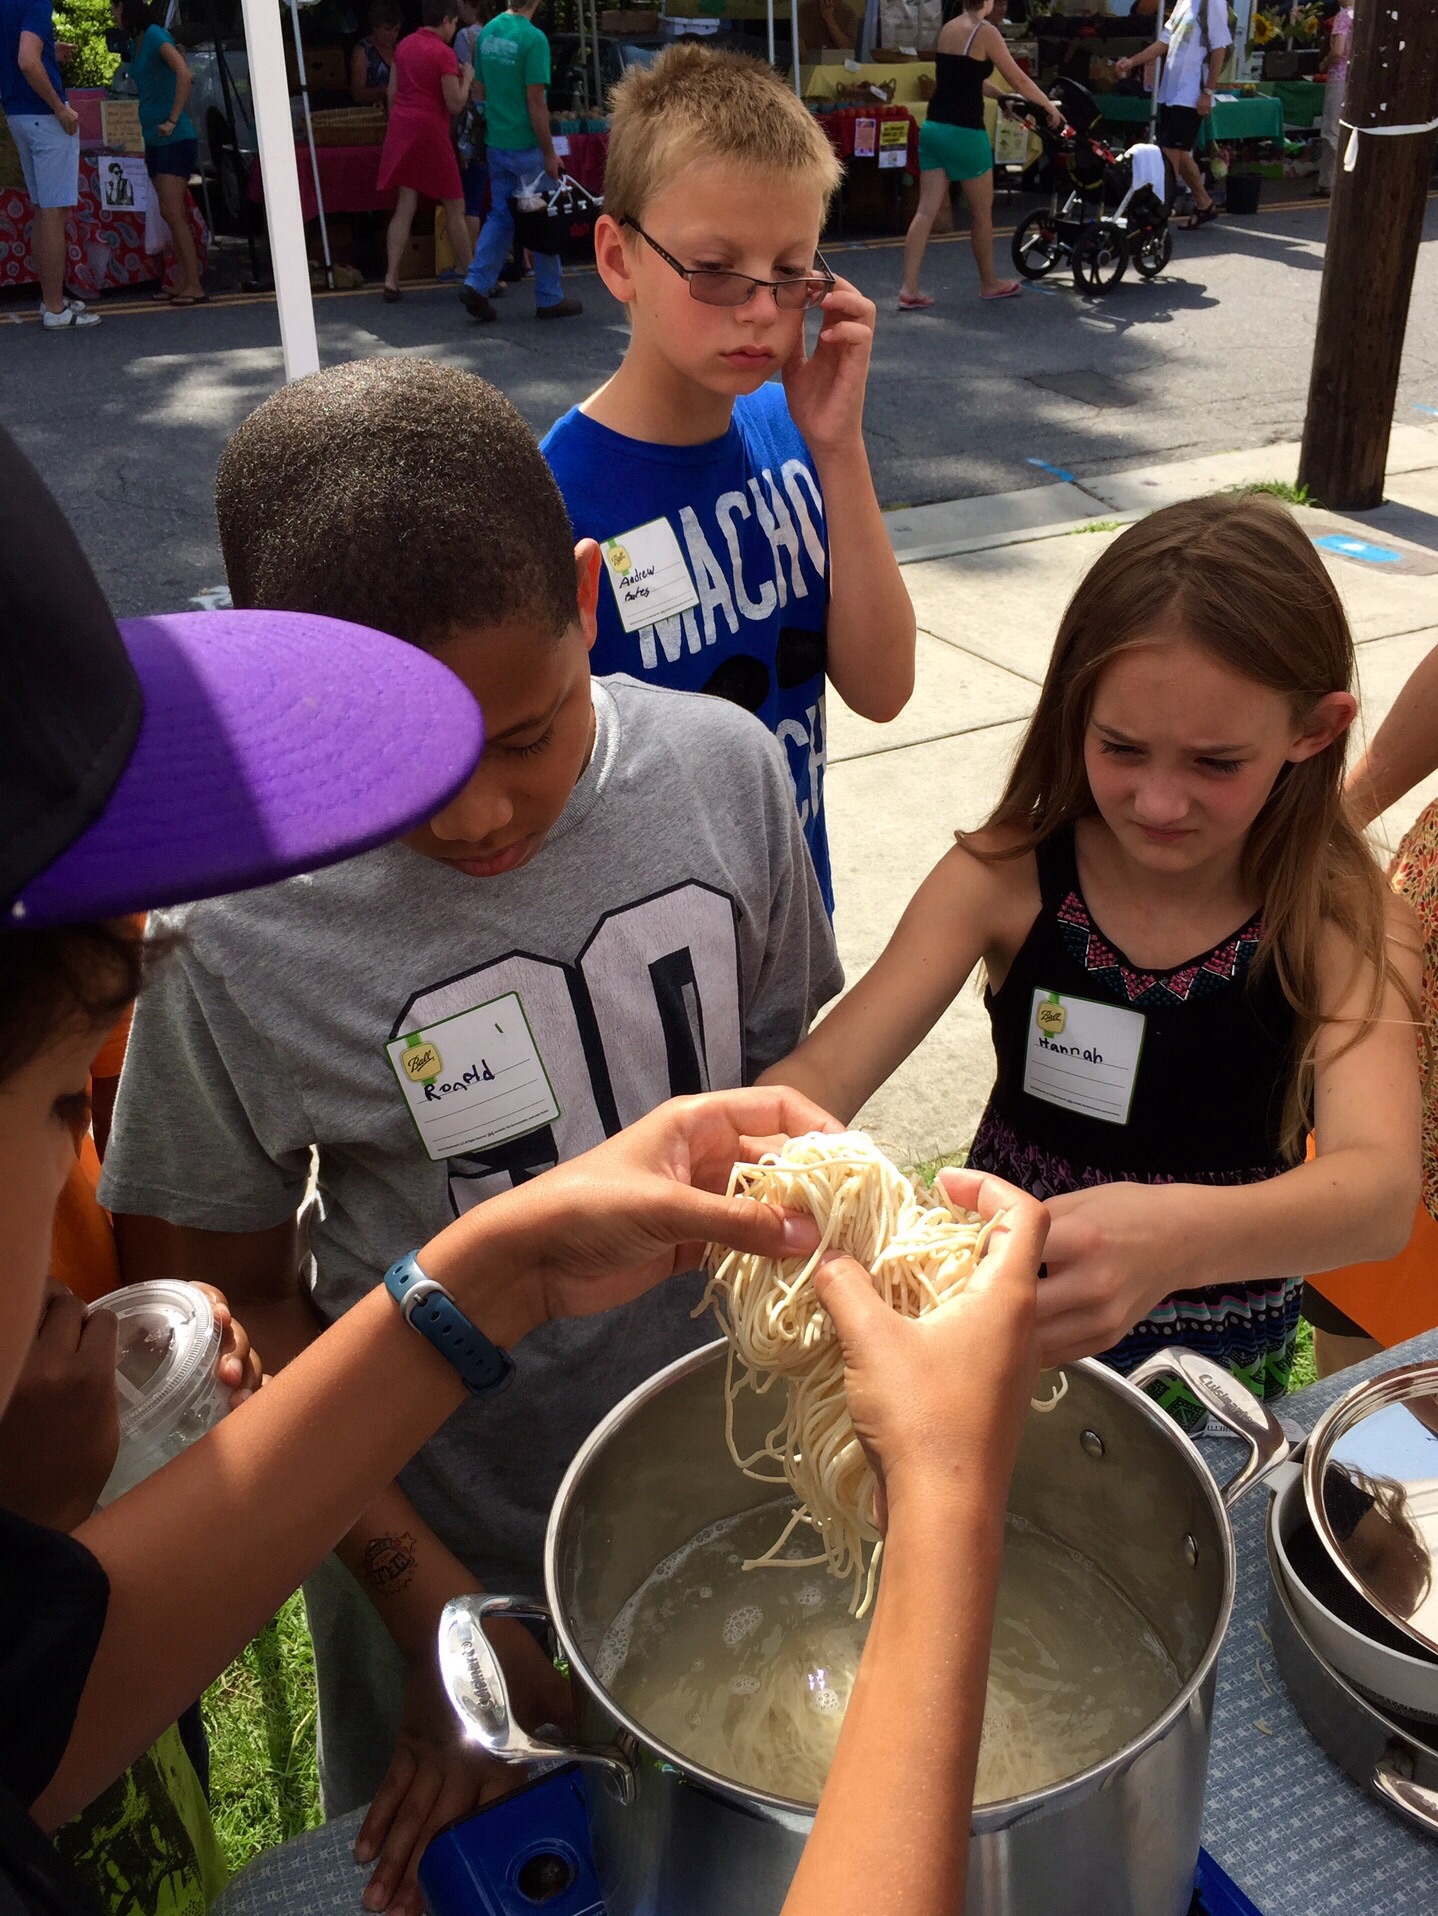
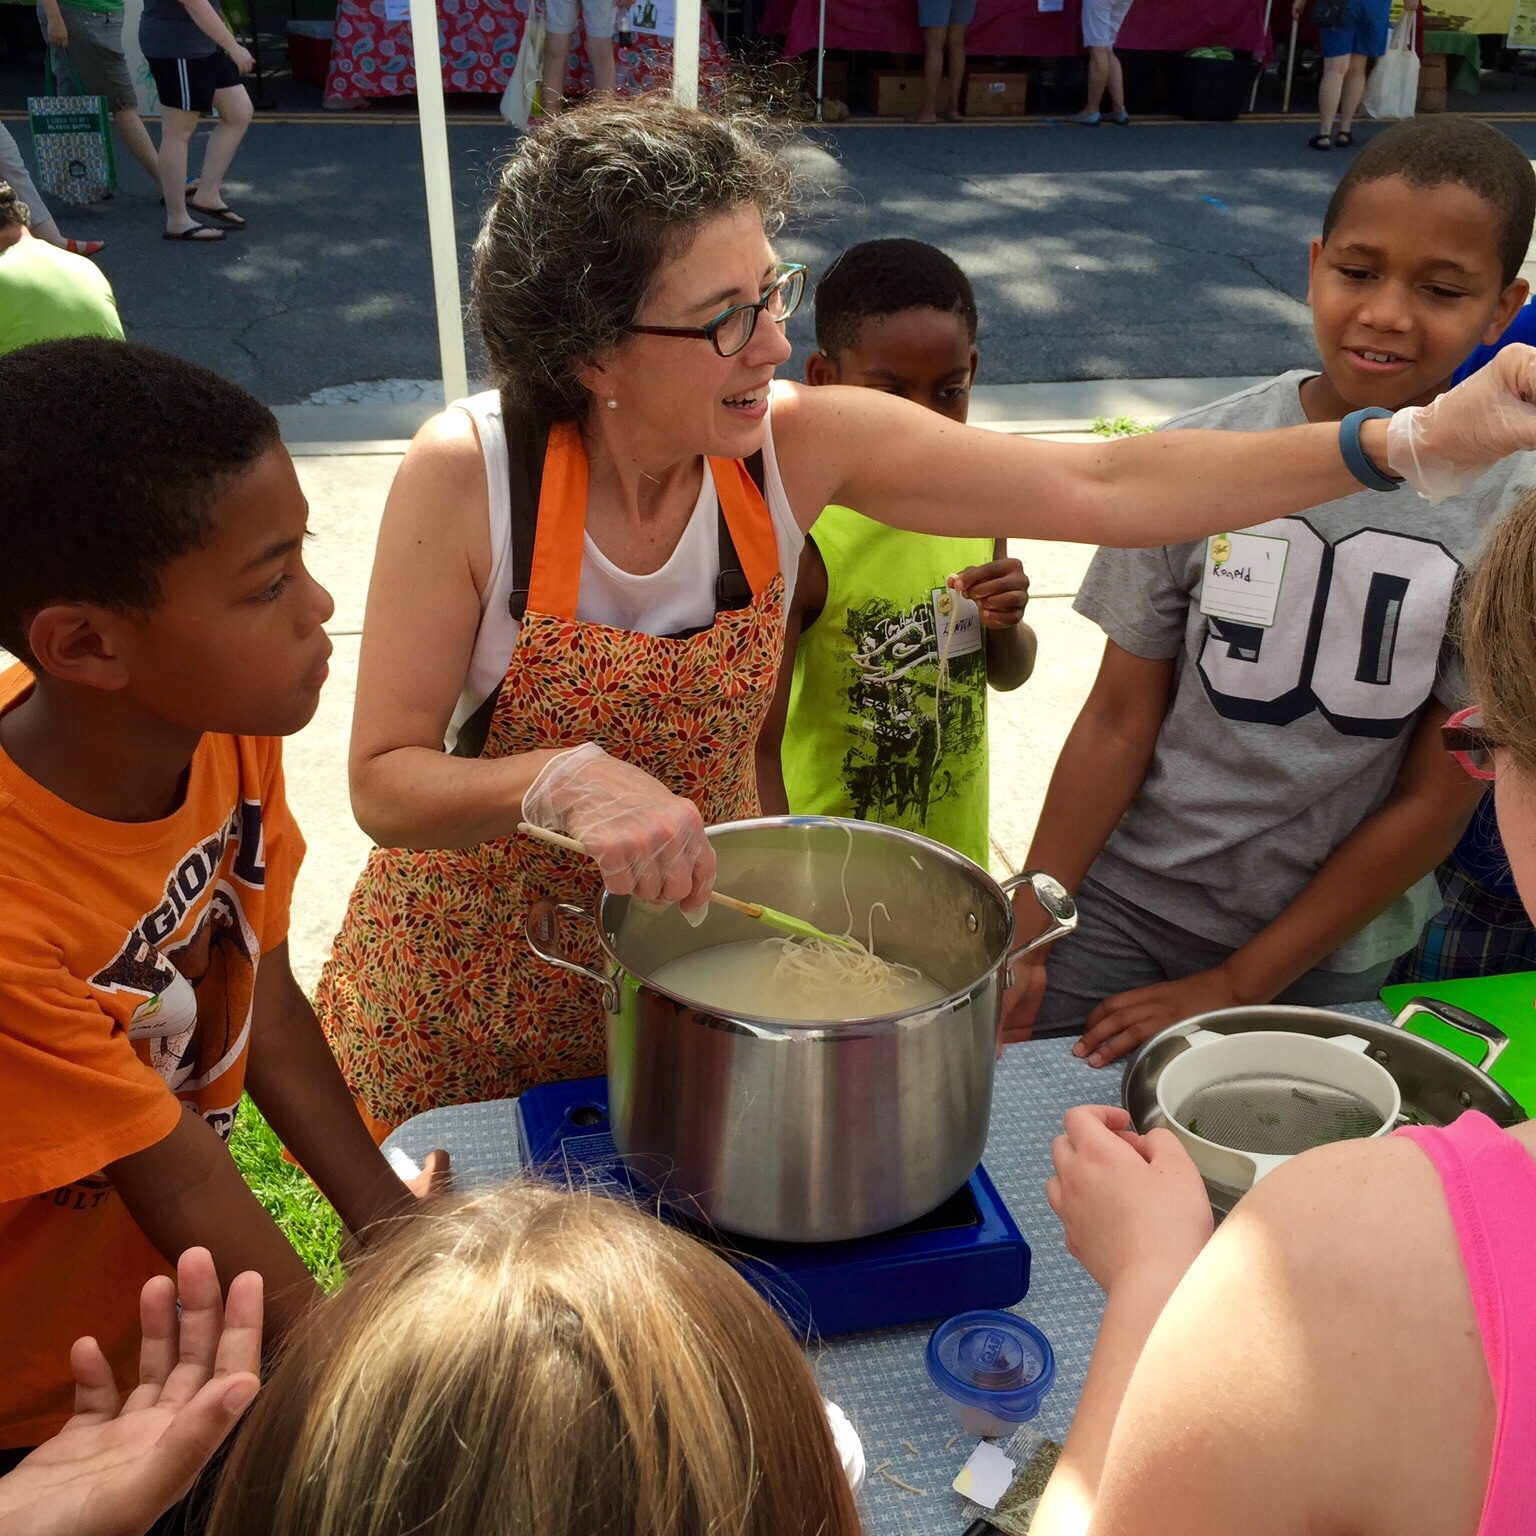
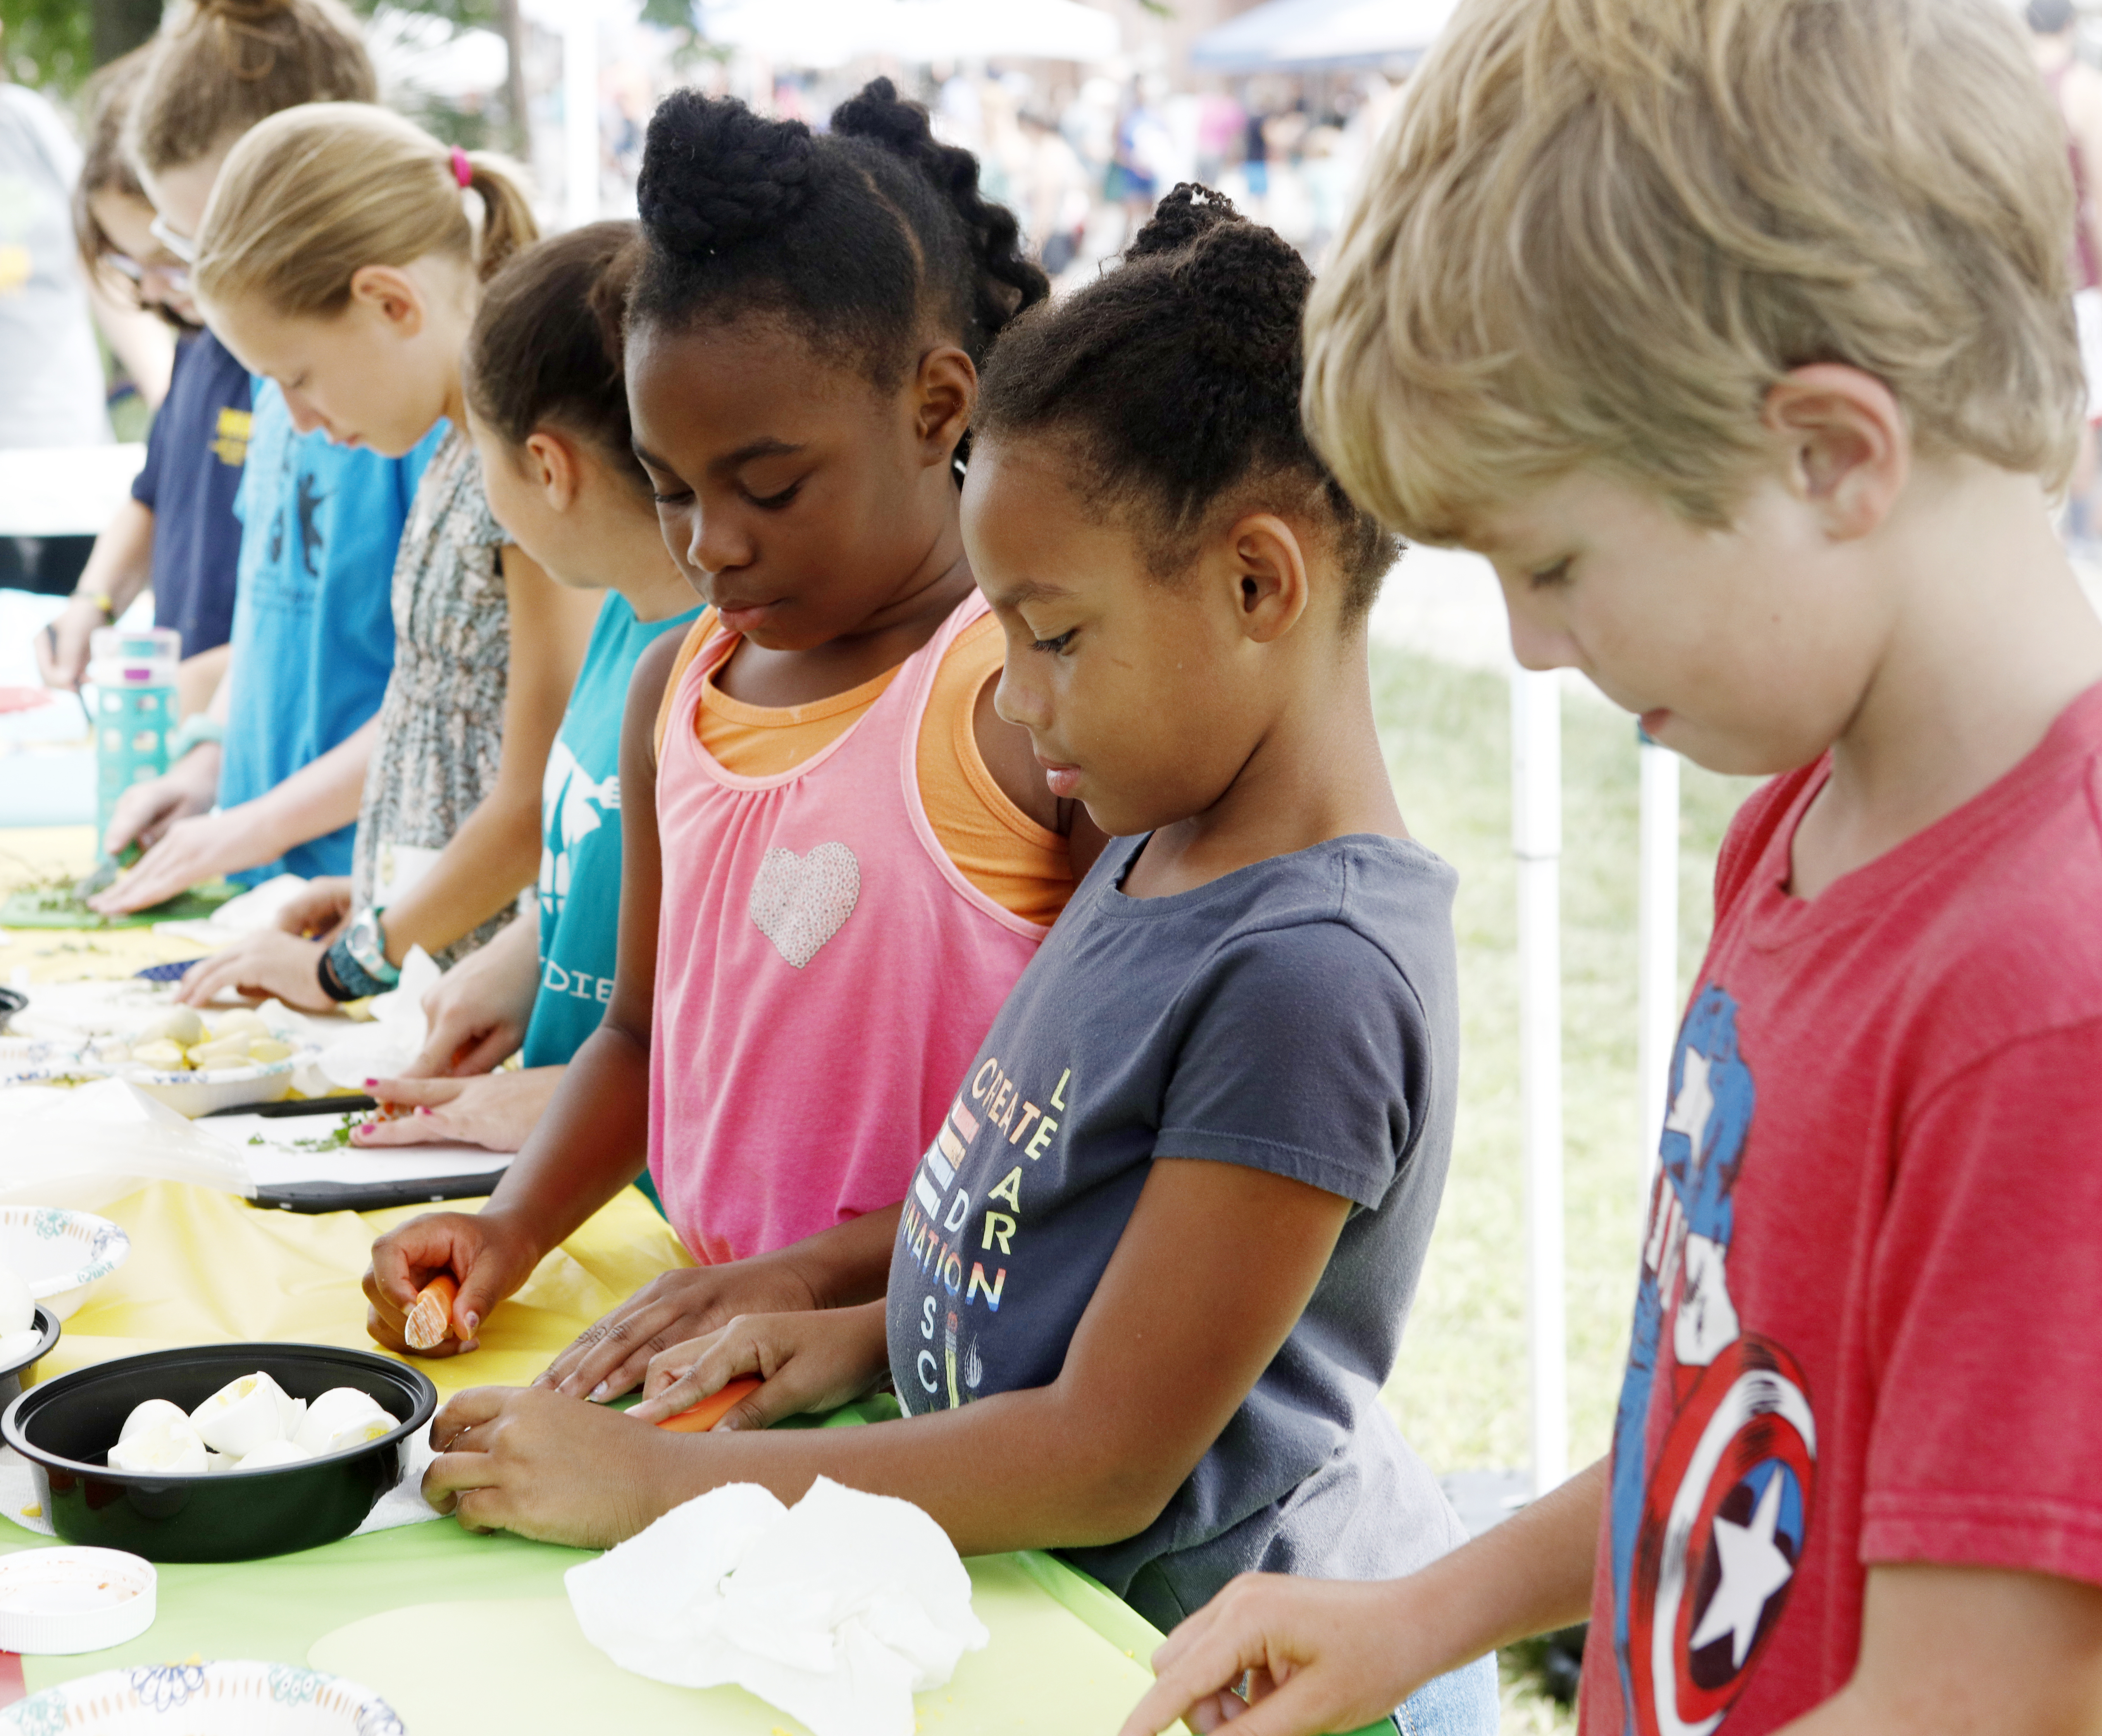
Reading through the recipes, and deciding which group they want to be a part of for the main event.
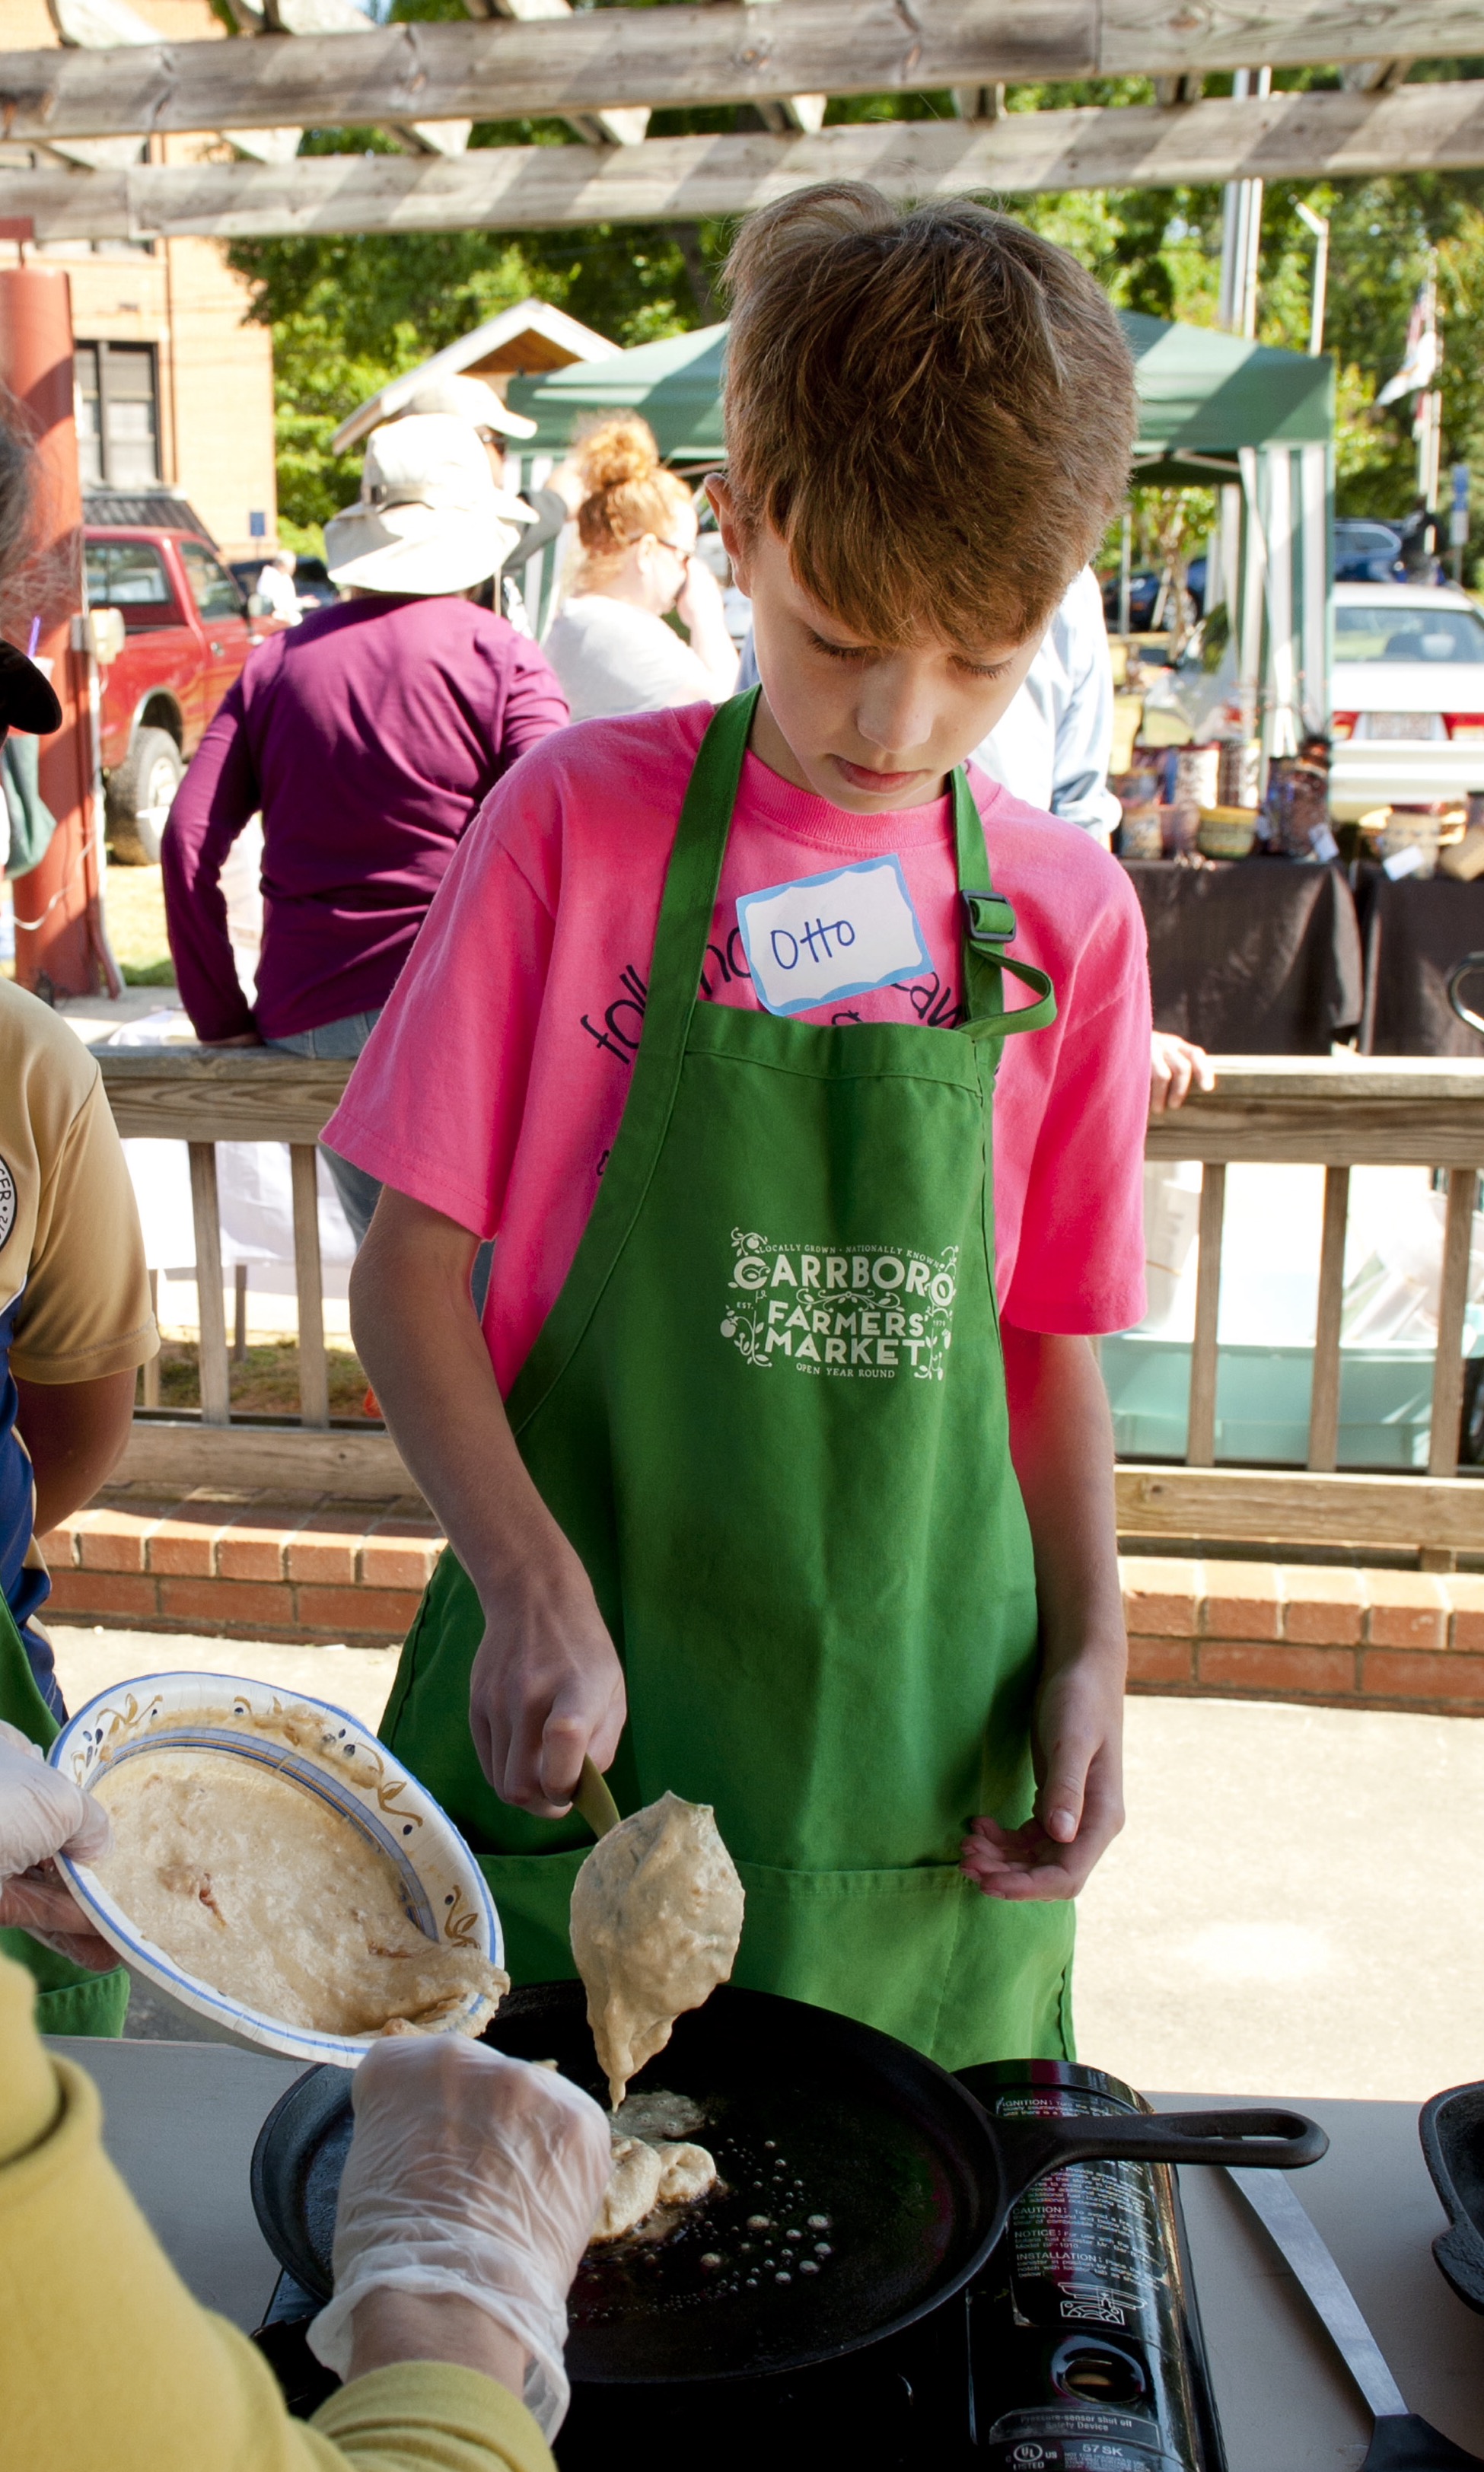
Taking some cues from the market, it was pretty easy to create recipes that the kids might be able to take in their lunch box, or make after school for a snack. We pulled together Korean Kimchi Eggs, Indian Curry Eggs, Mexican Salsa Verde Eggs, and European Herbed Chèvre Eggs using fresh cheeses, prepared foods, herbs, and eggs. But you could also find dried fruits and nuts or cooked meats or fish from the market to add as well.
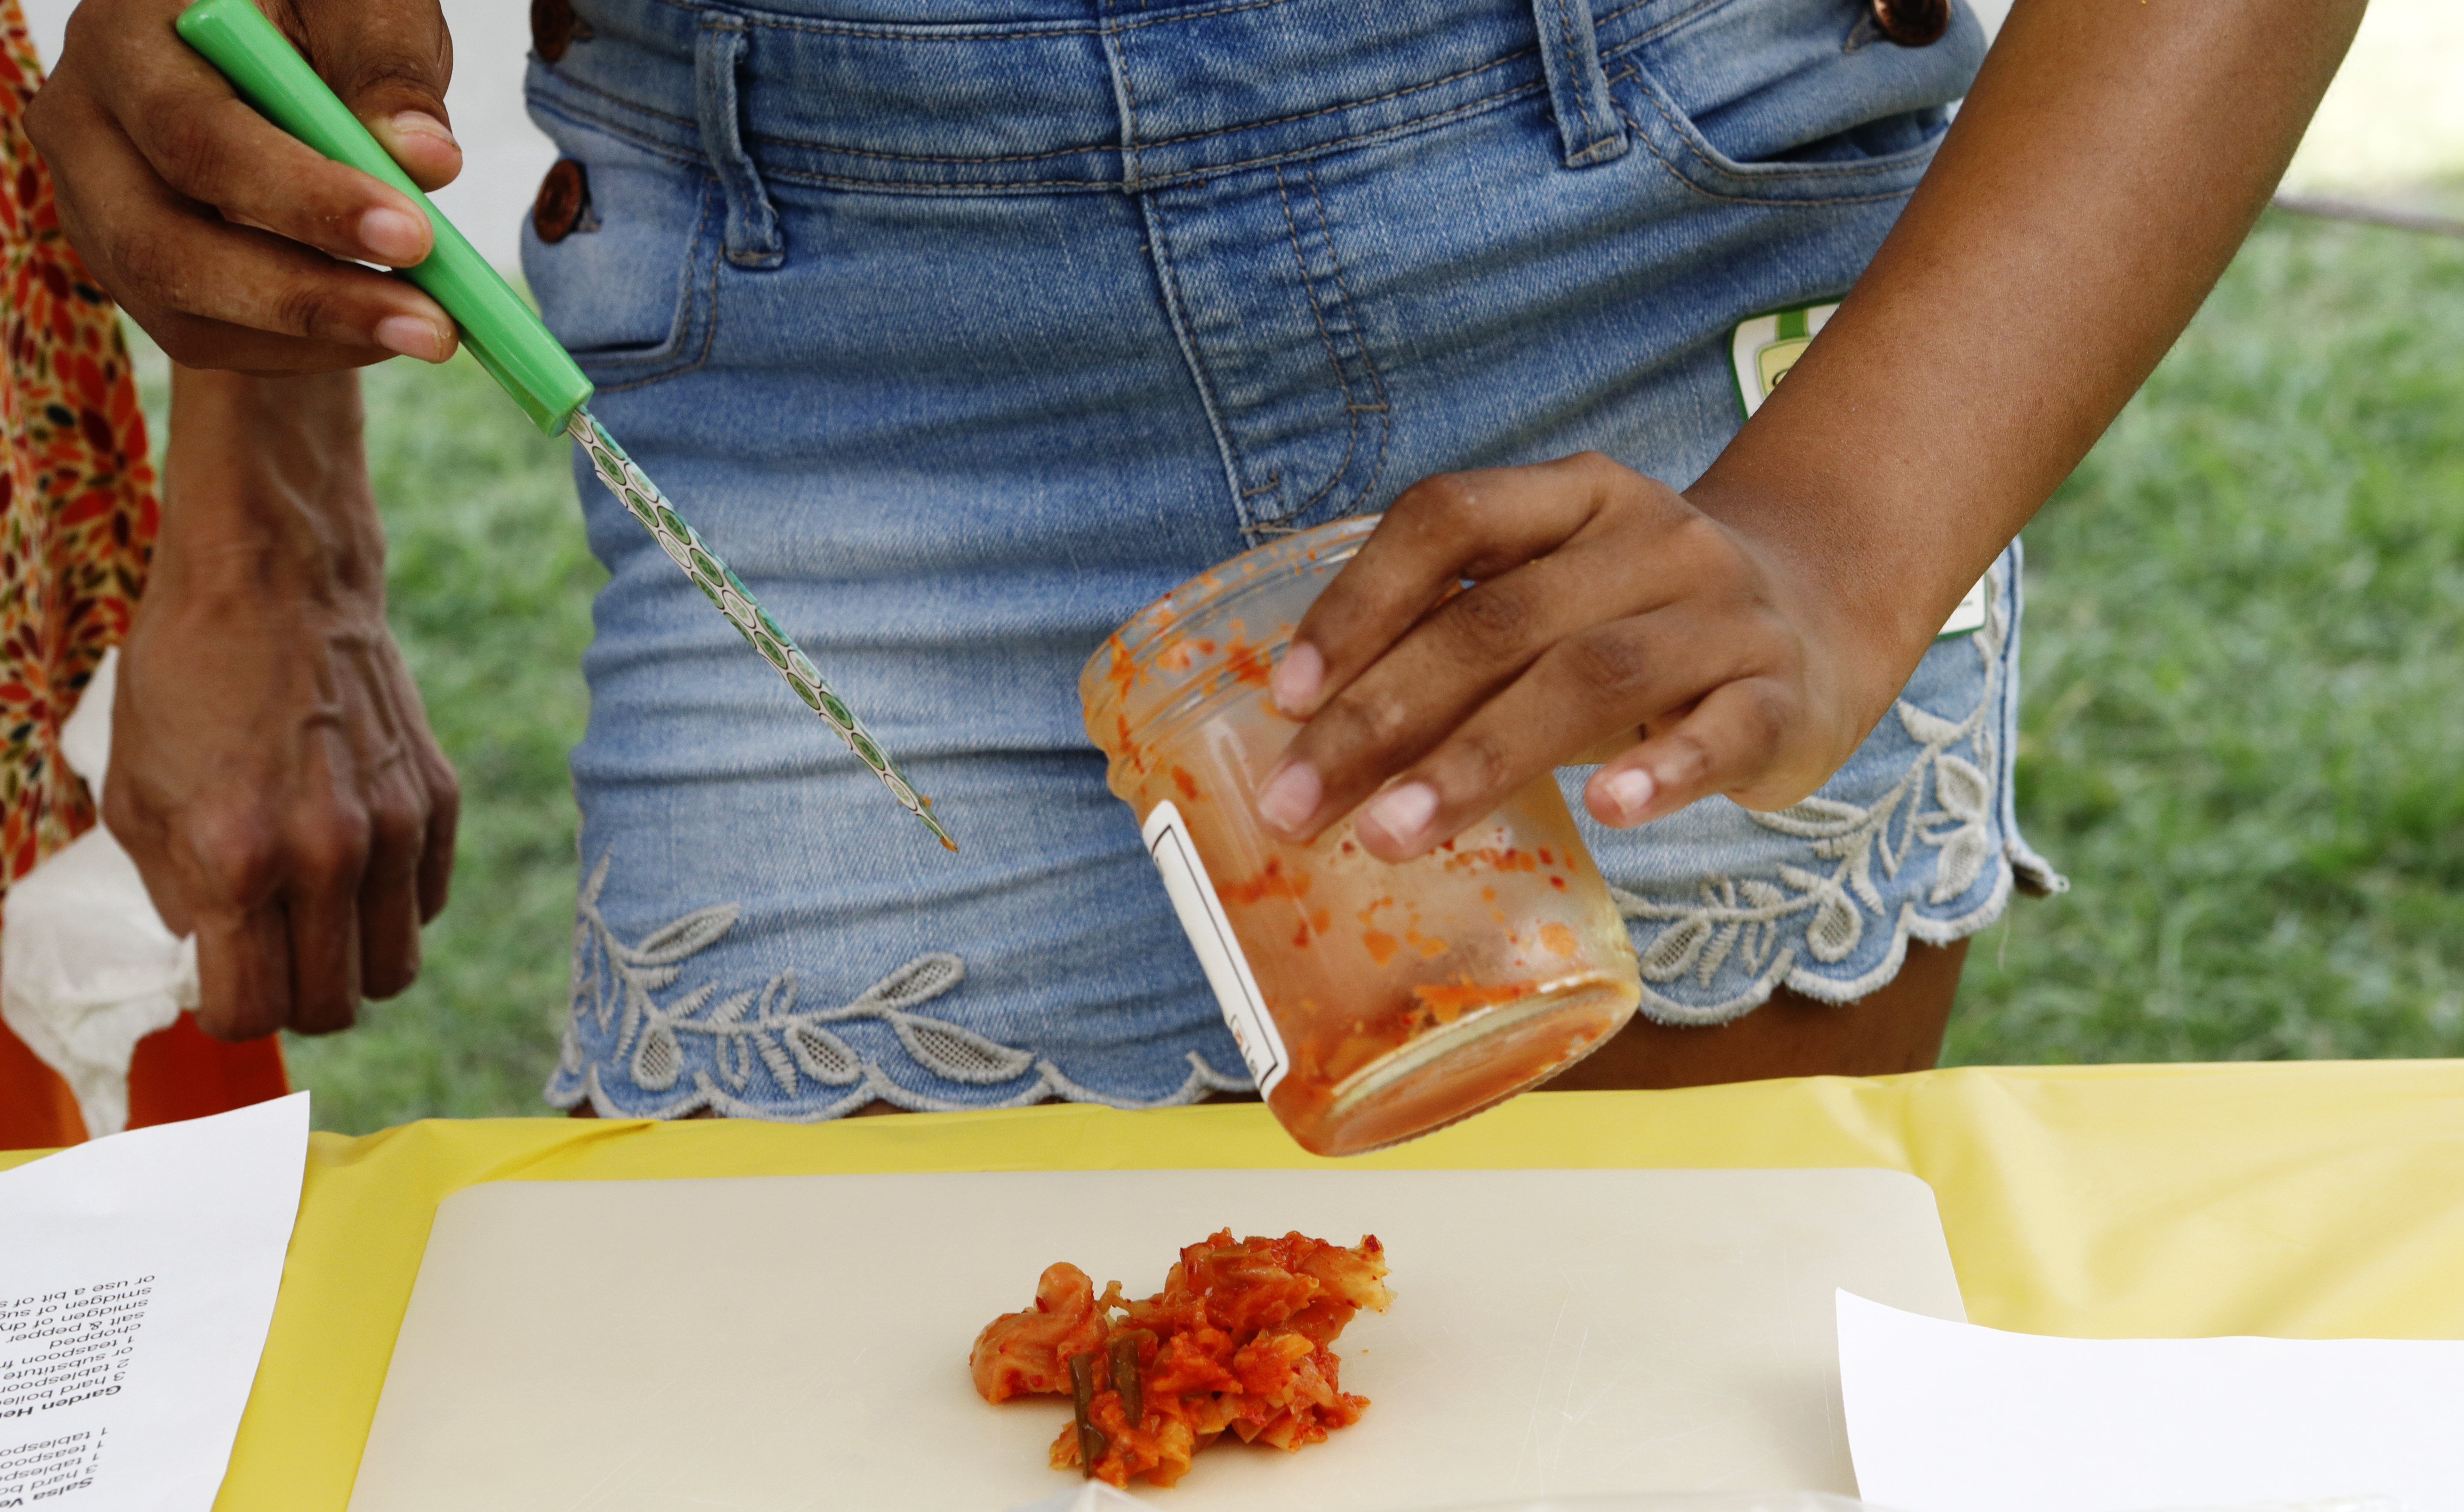
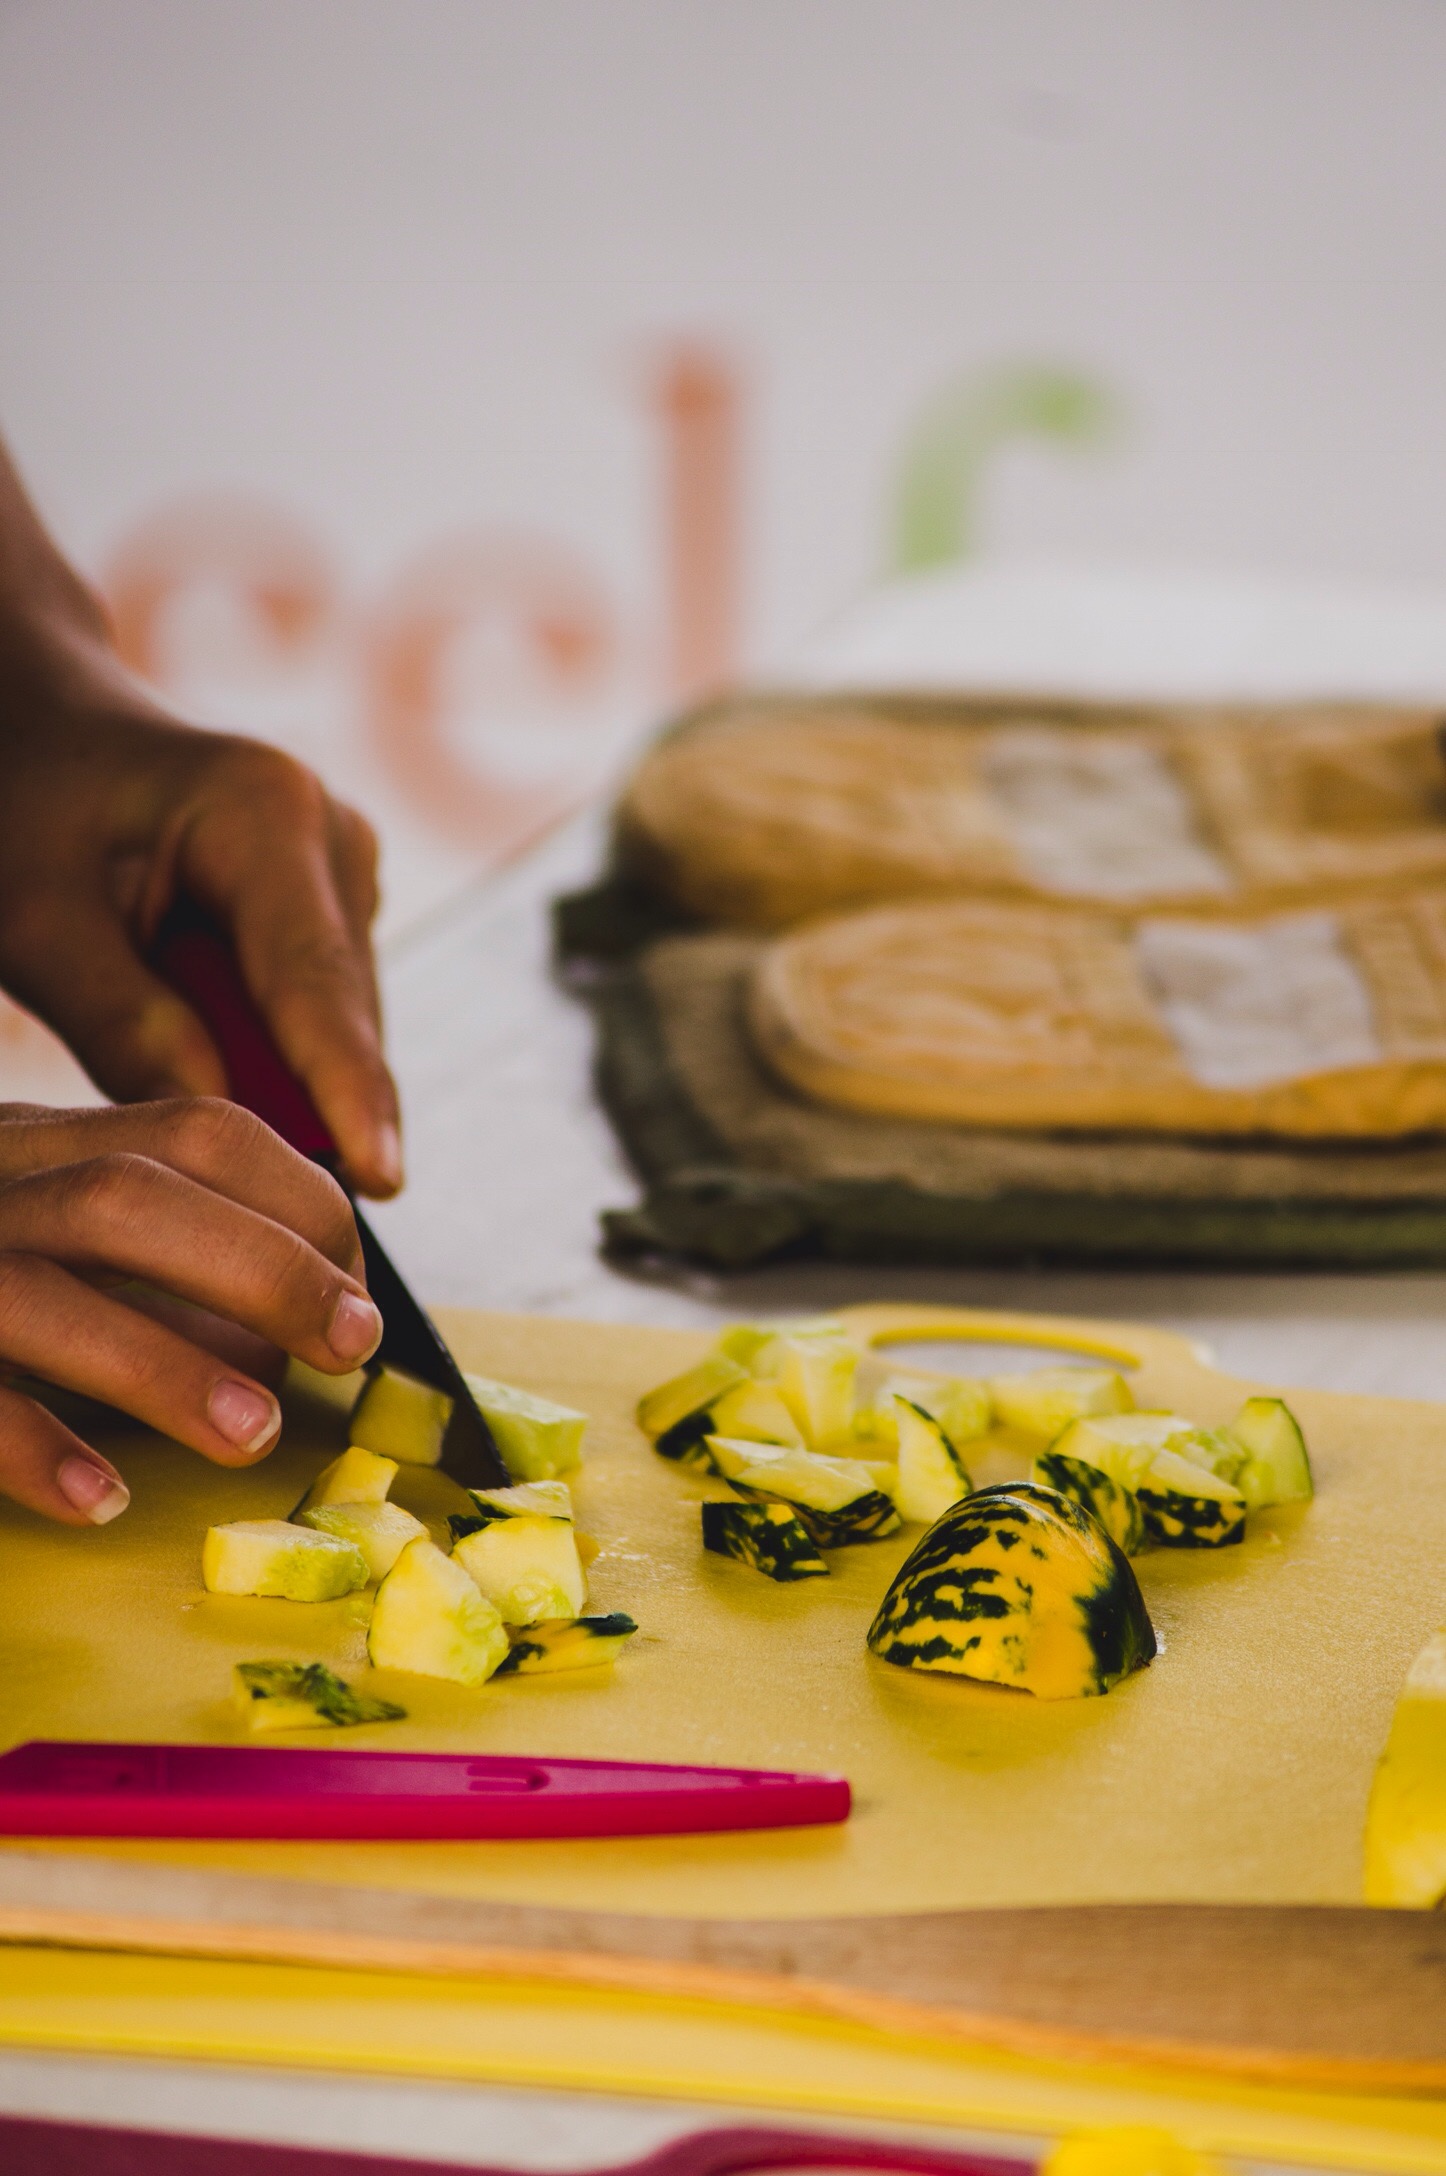
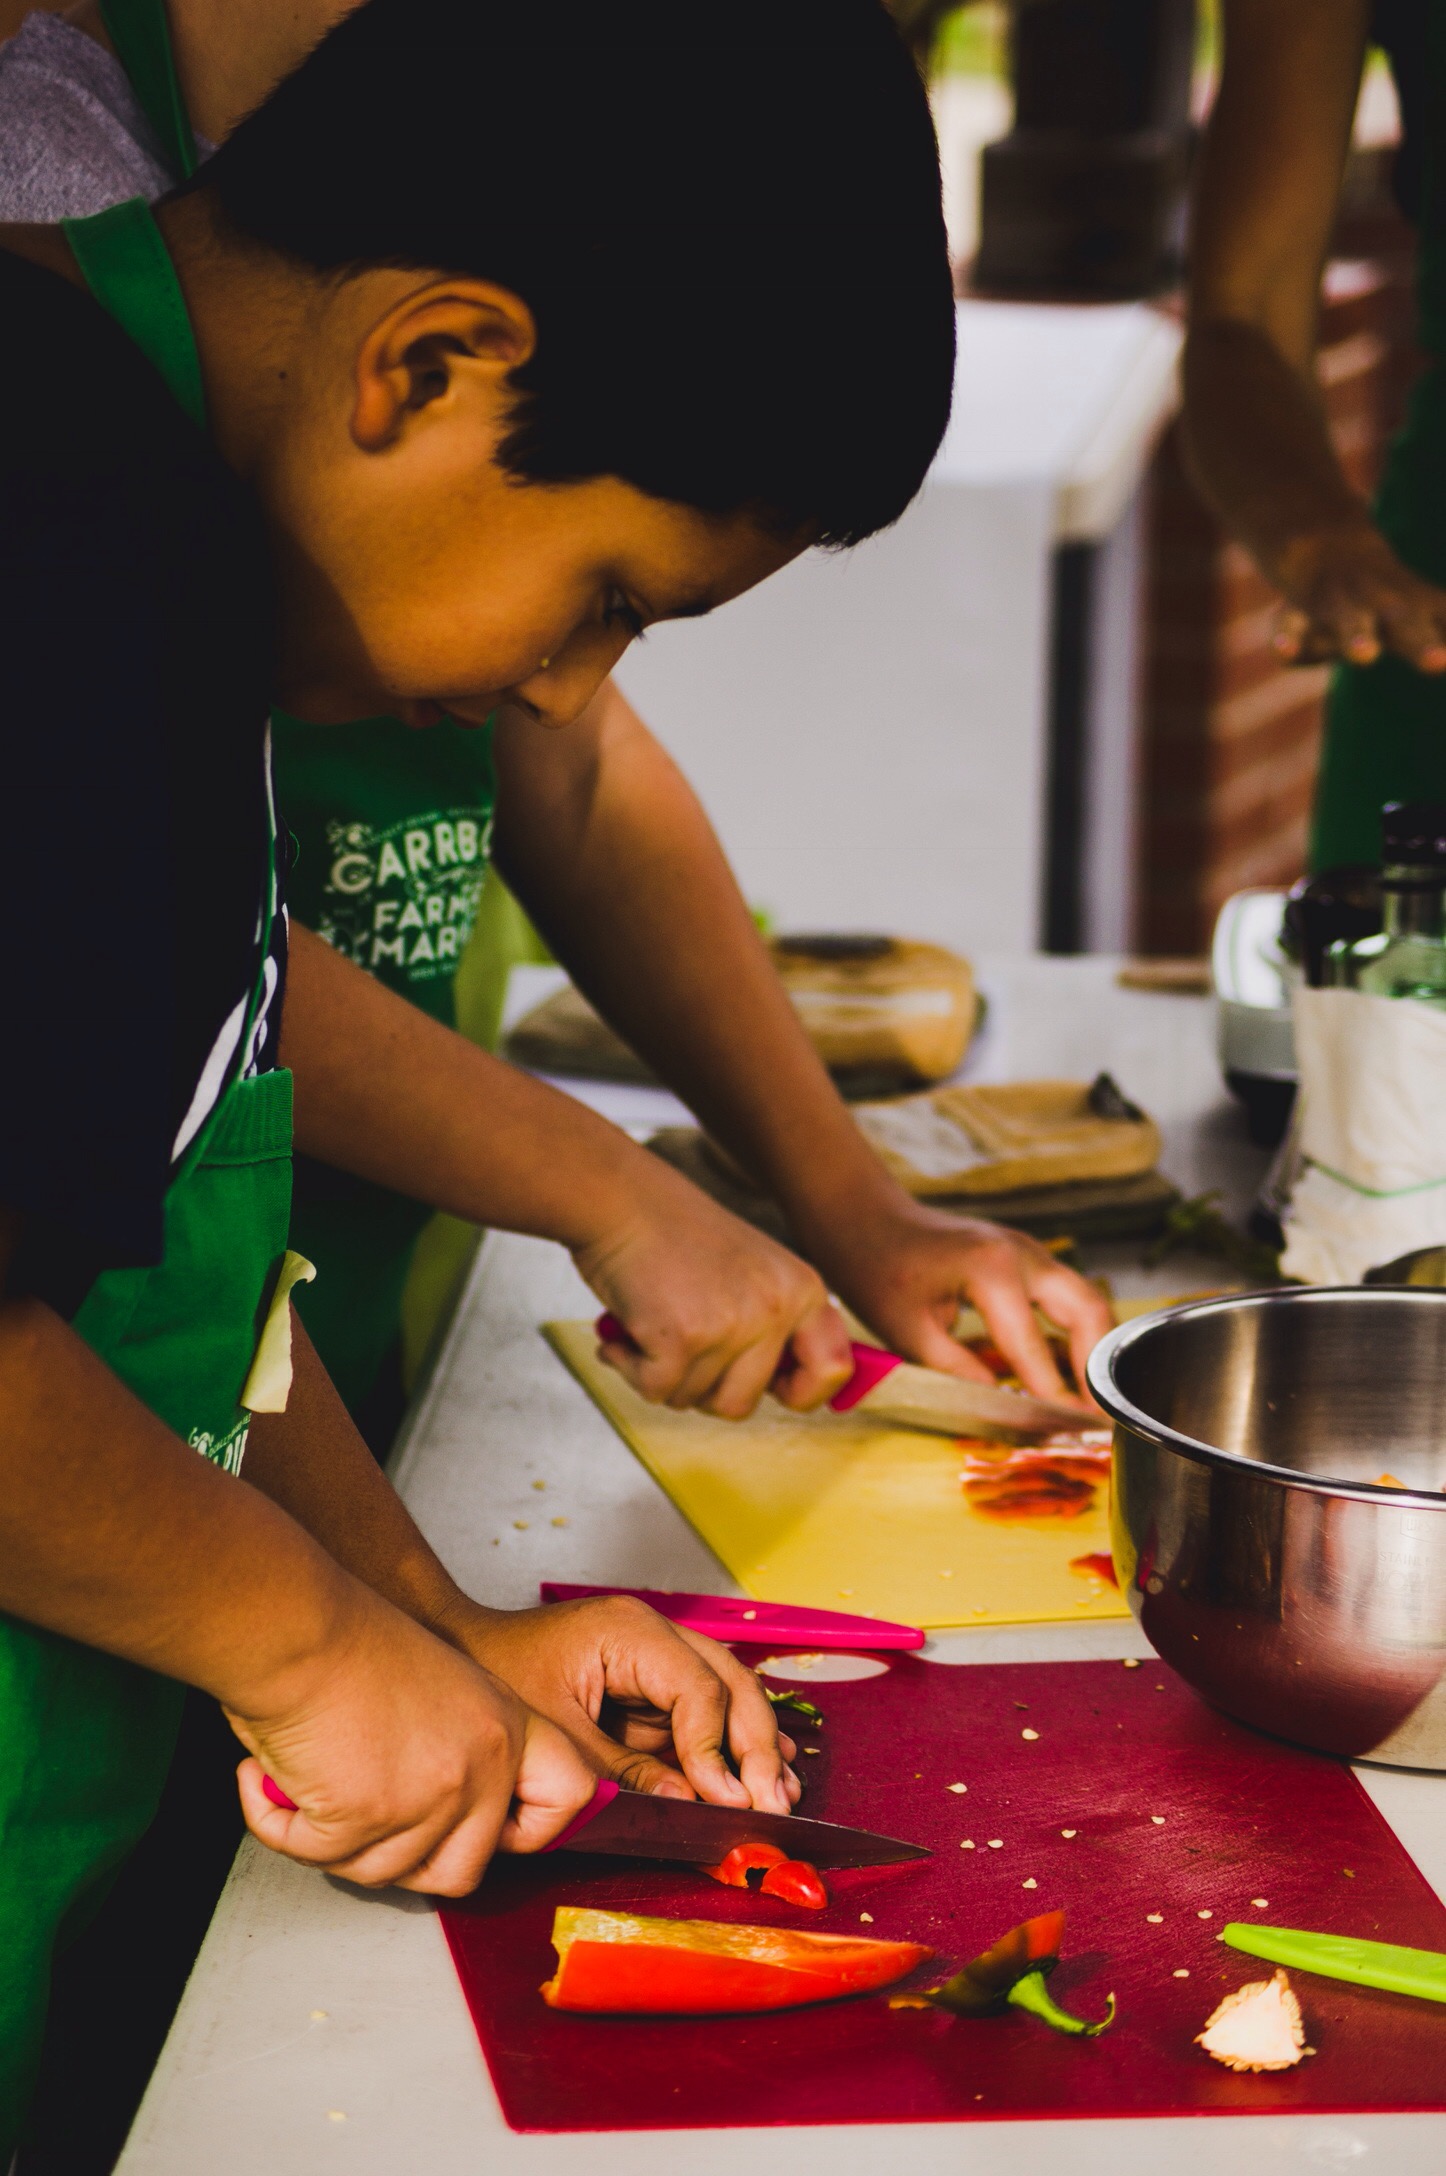
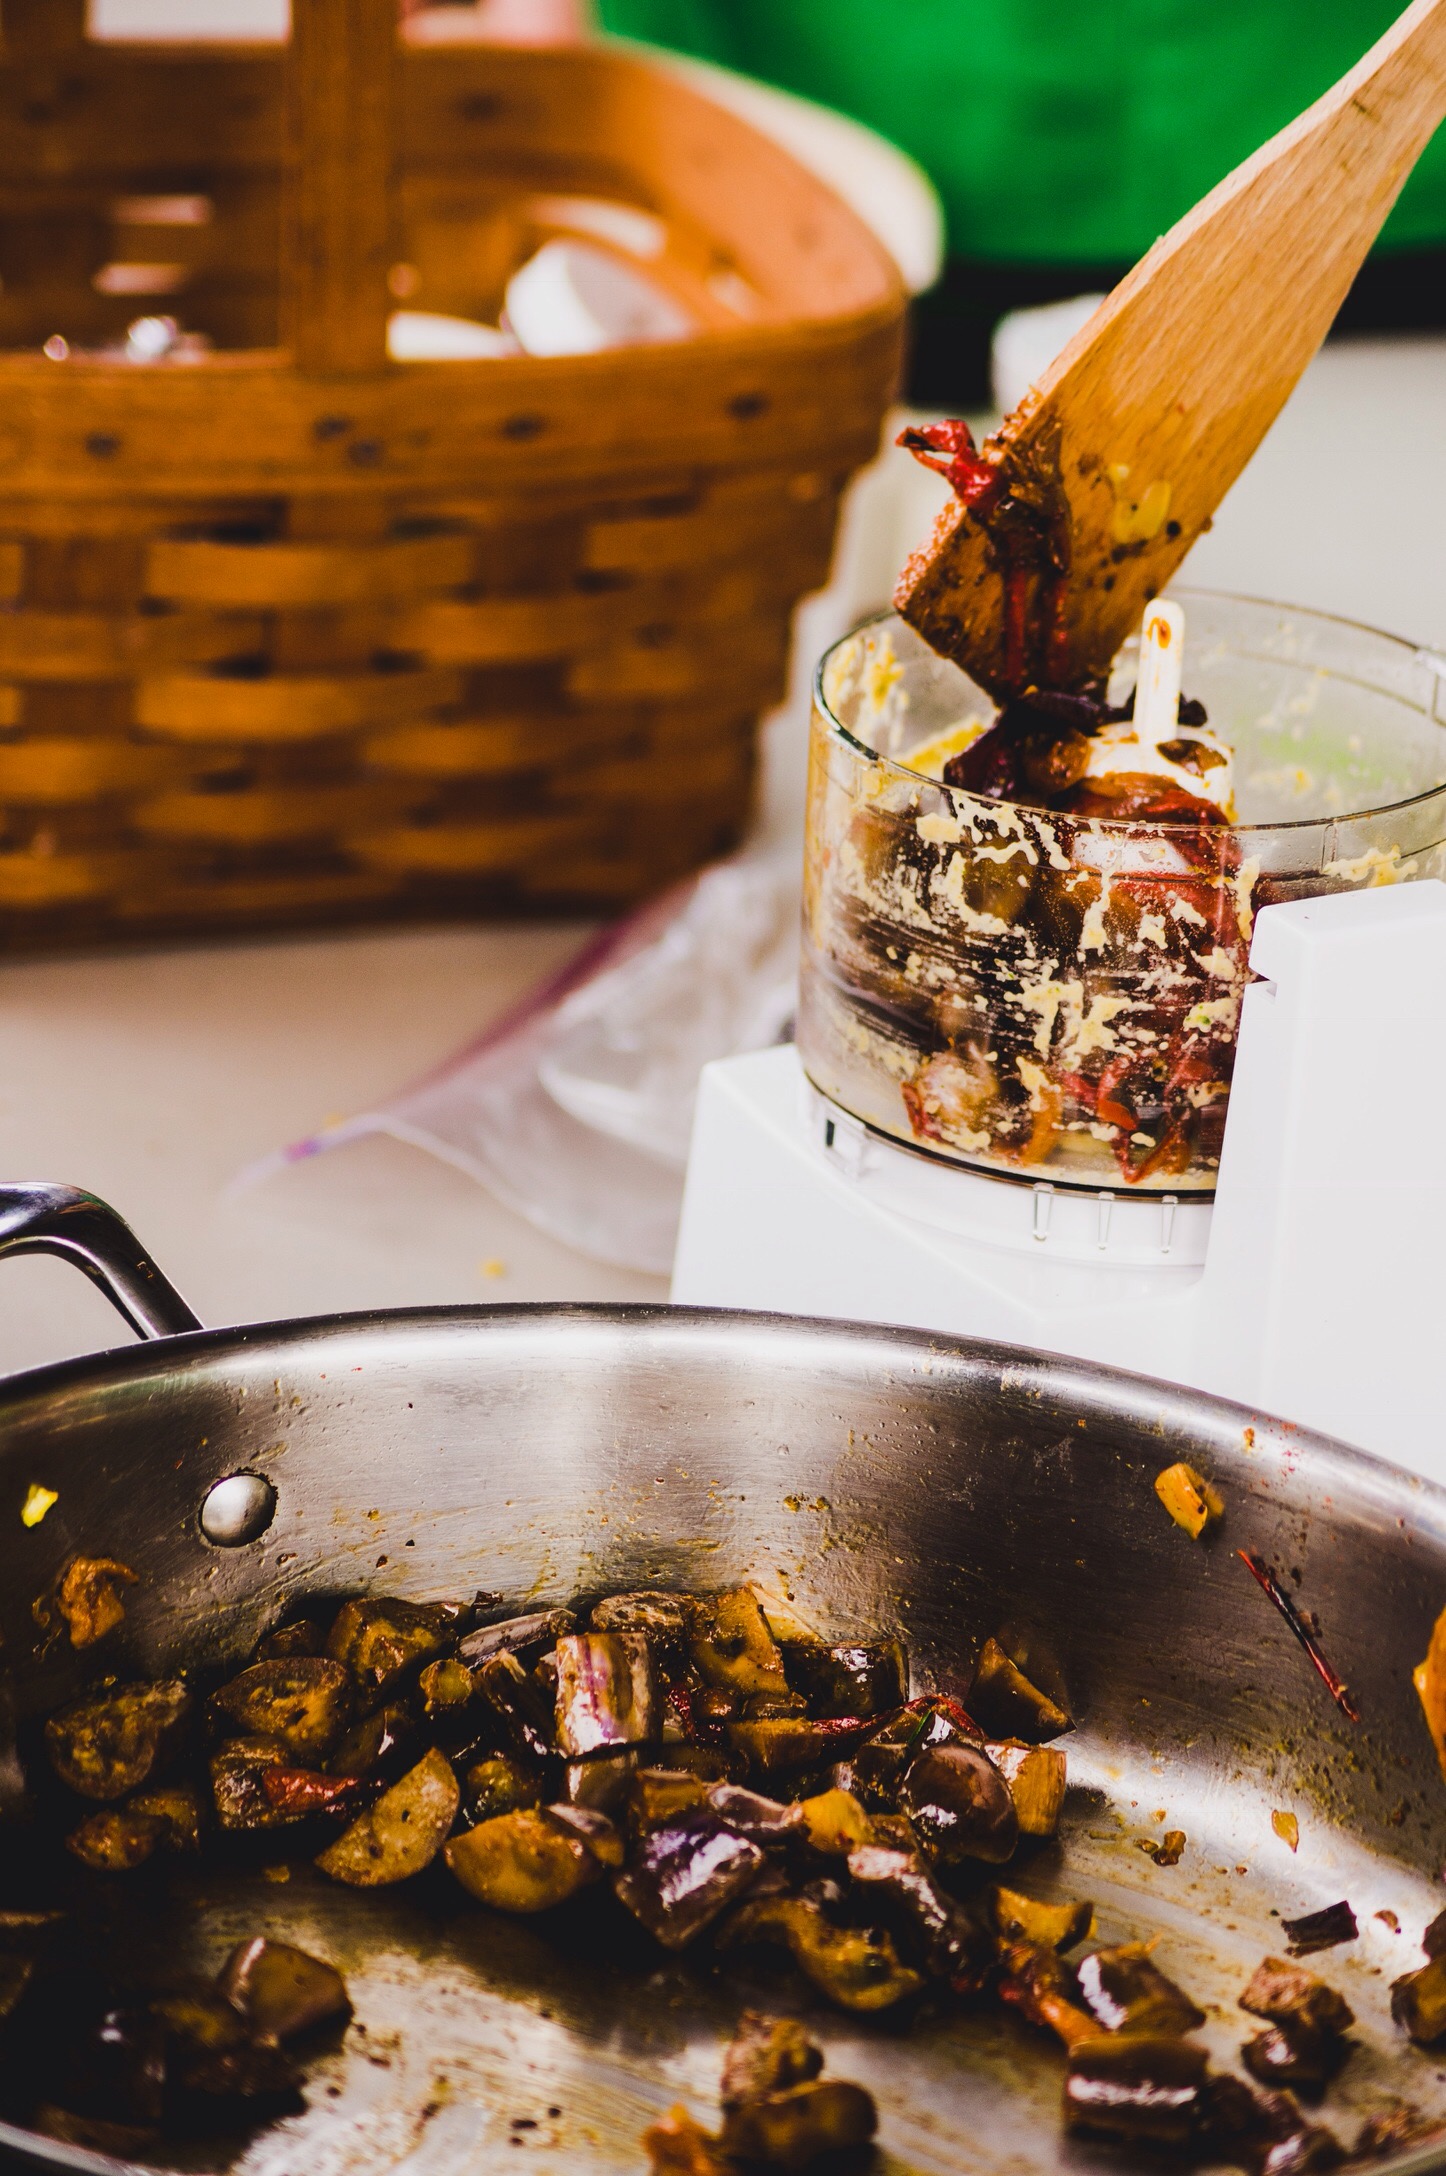
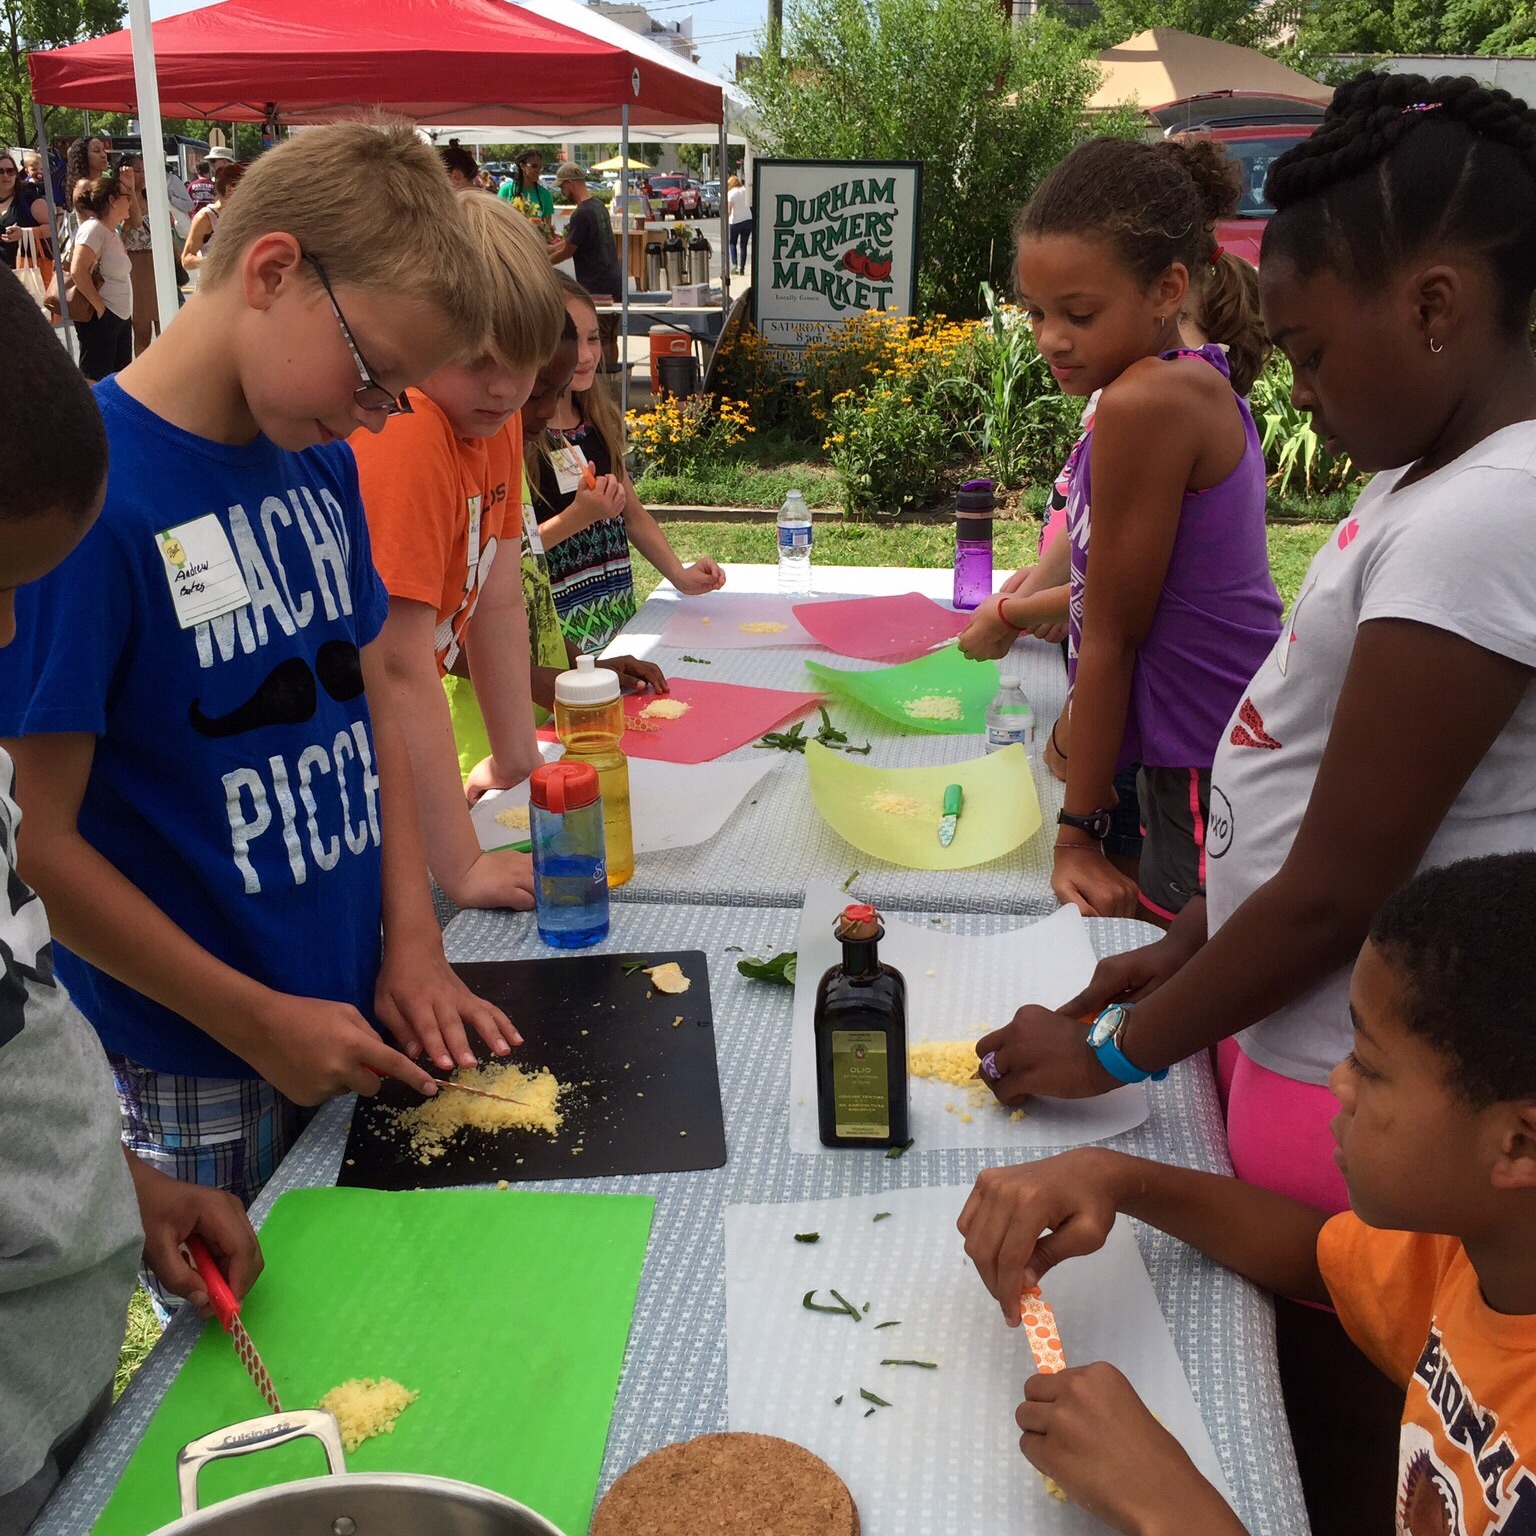
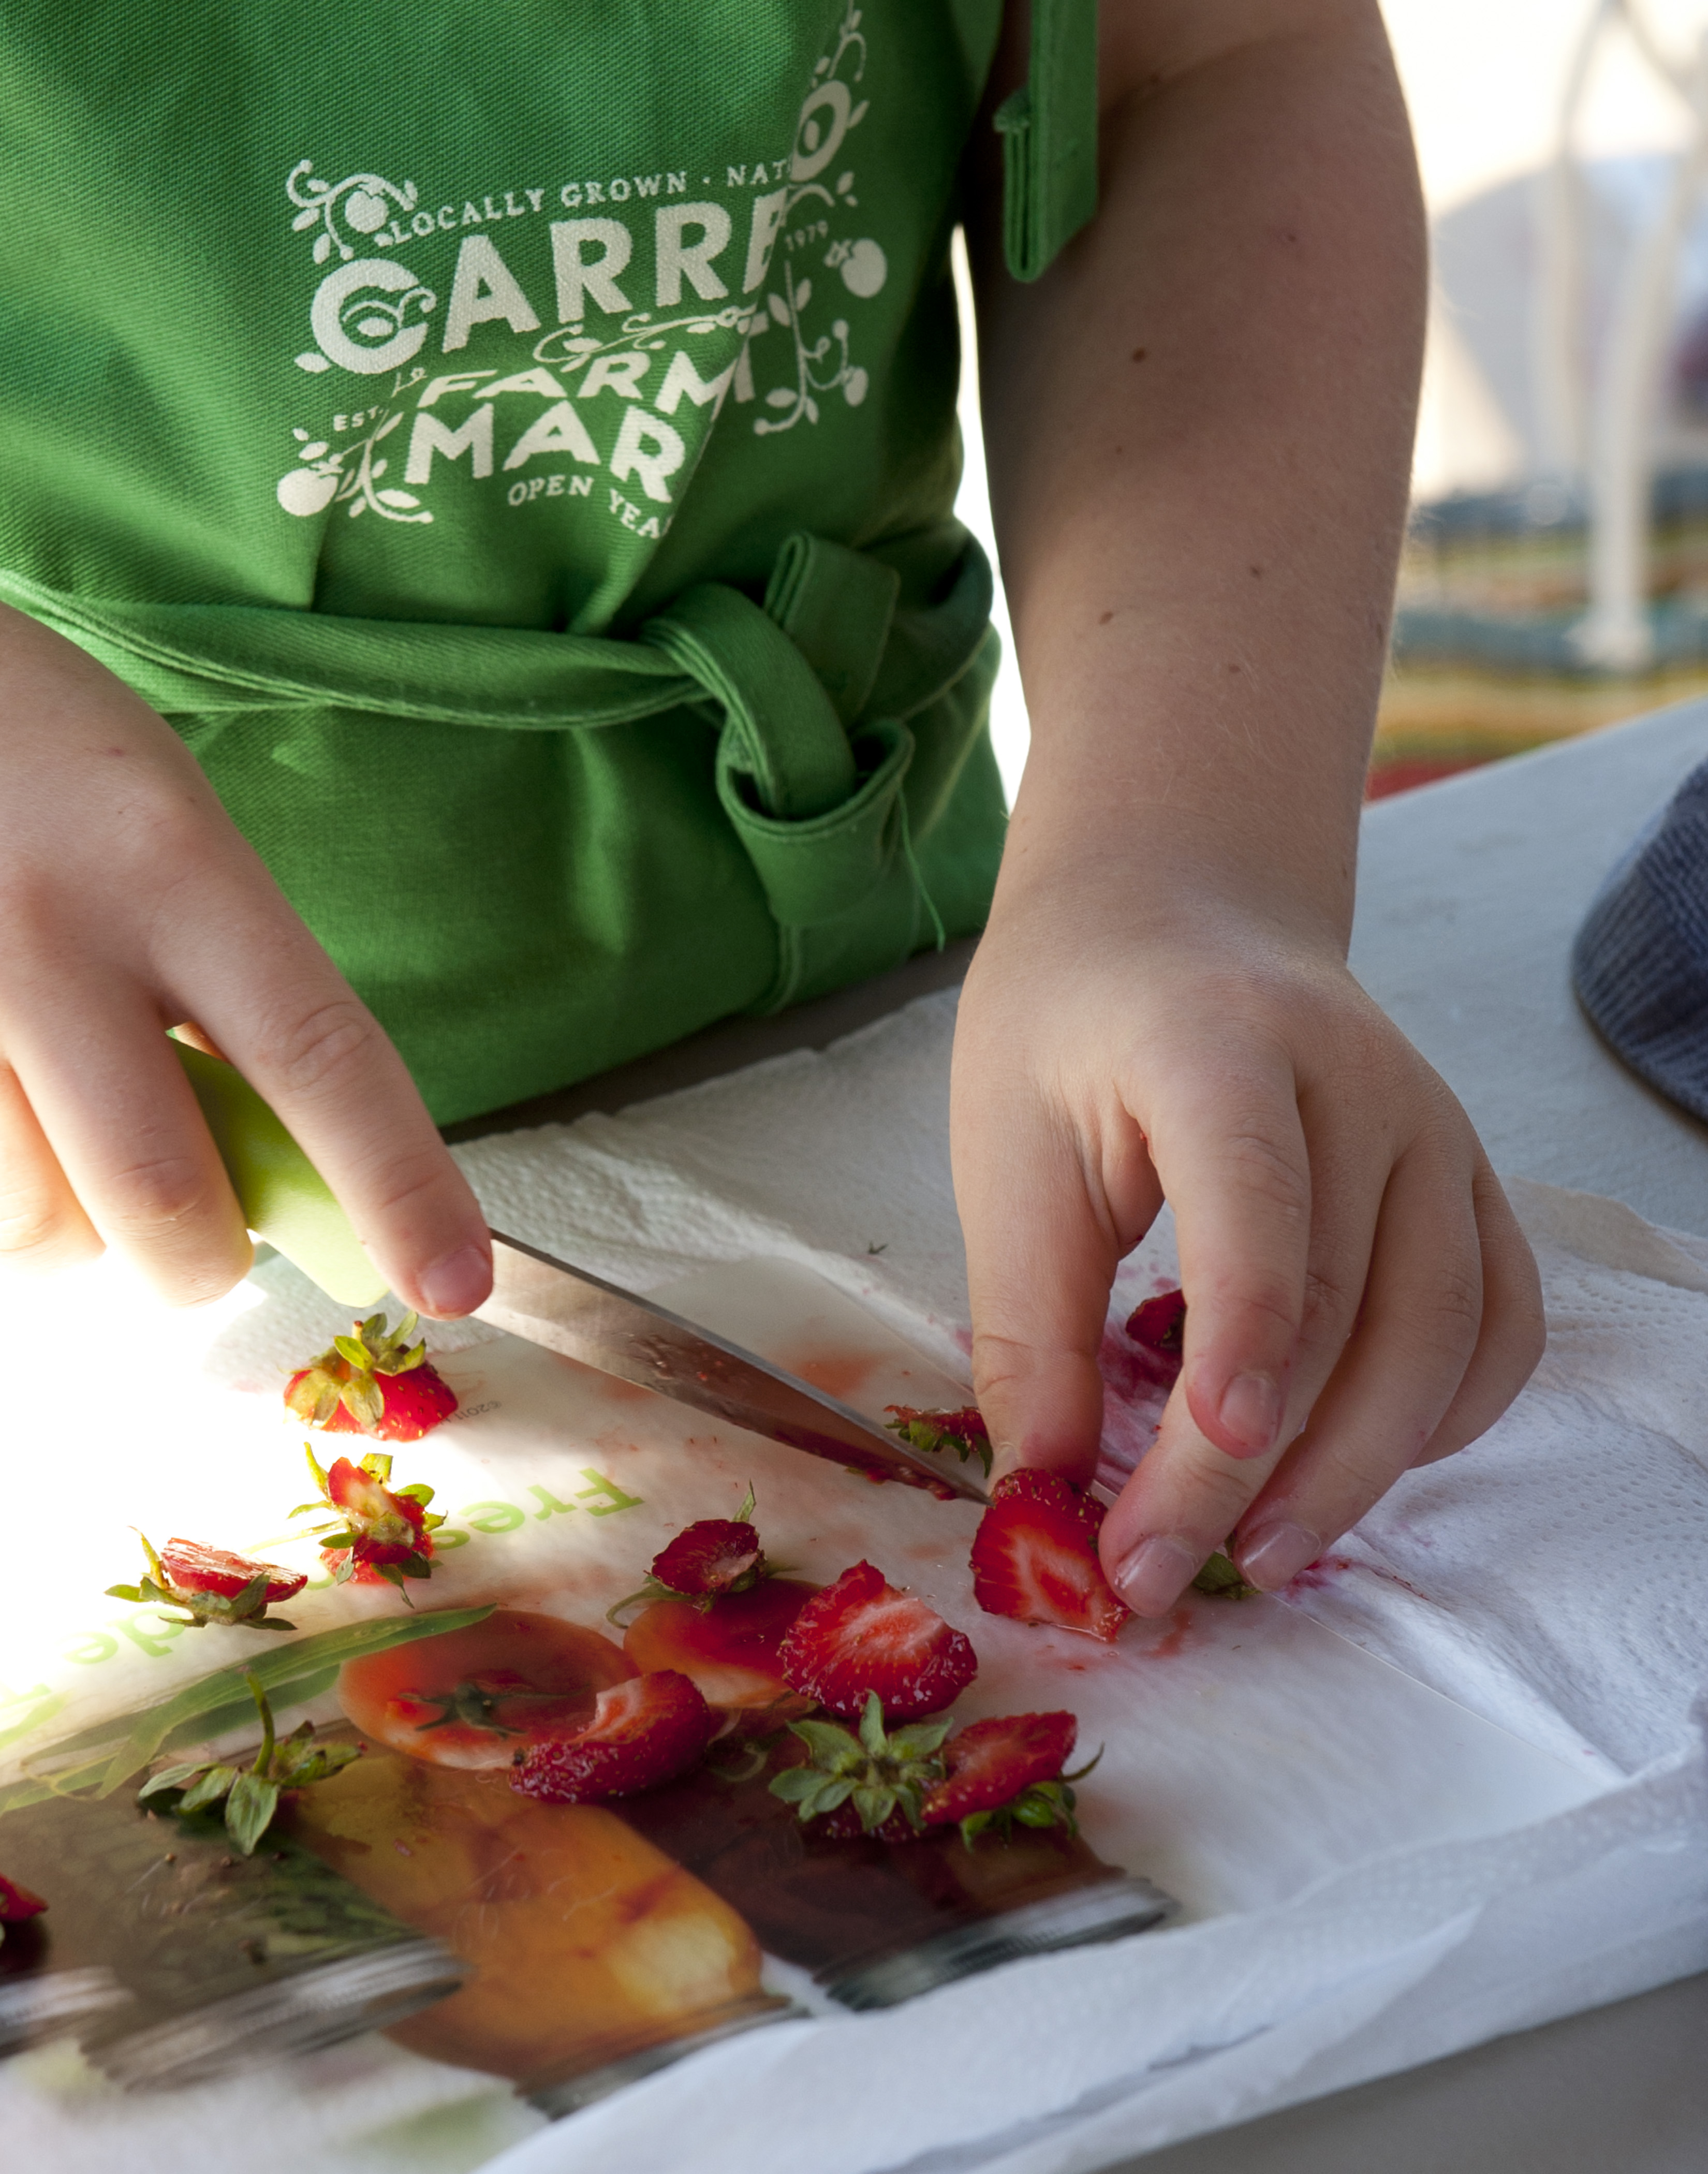
Chopping Cabbage Kimchi from Spicy Hermit for the Korean Kimchi Eggs
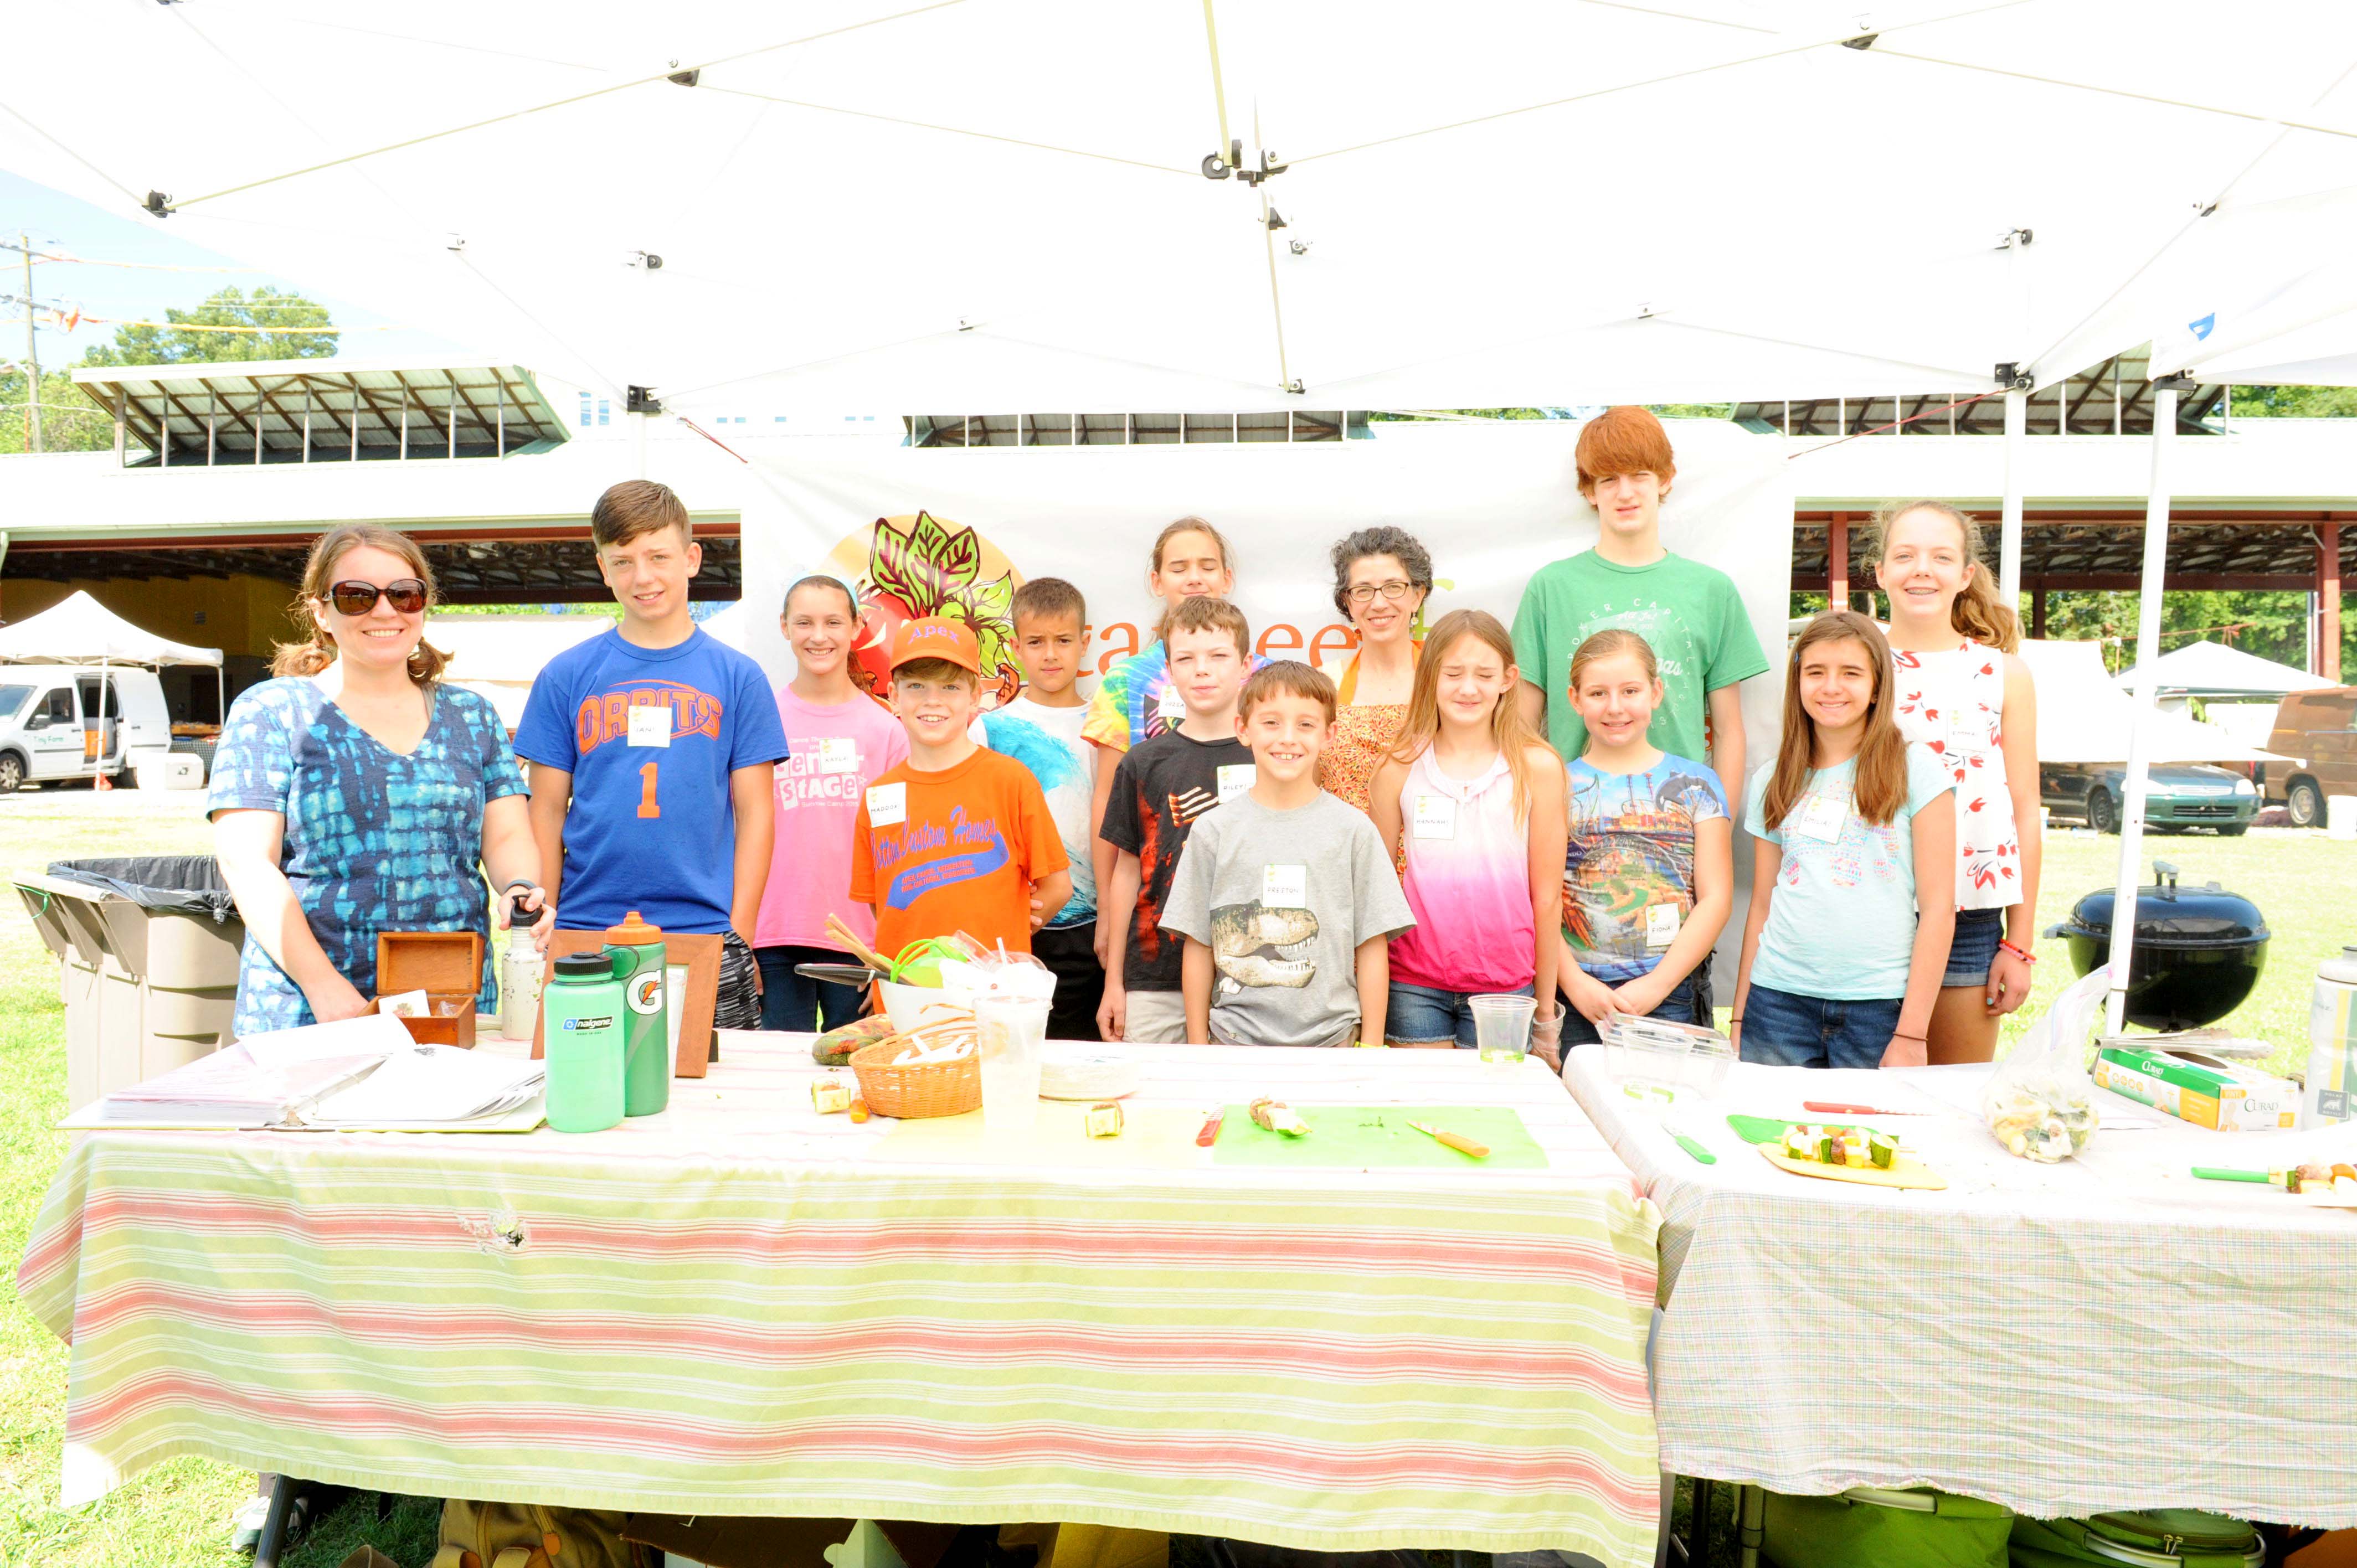
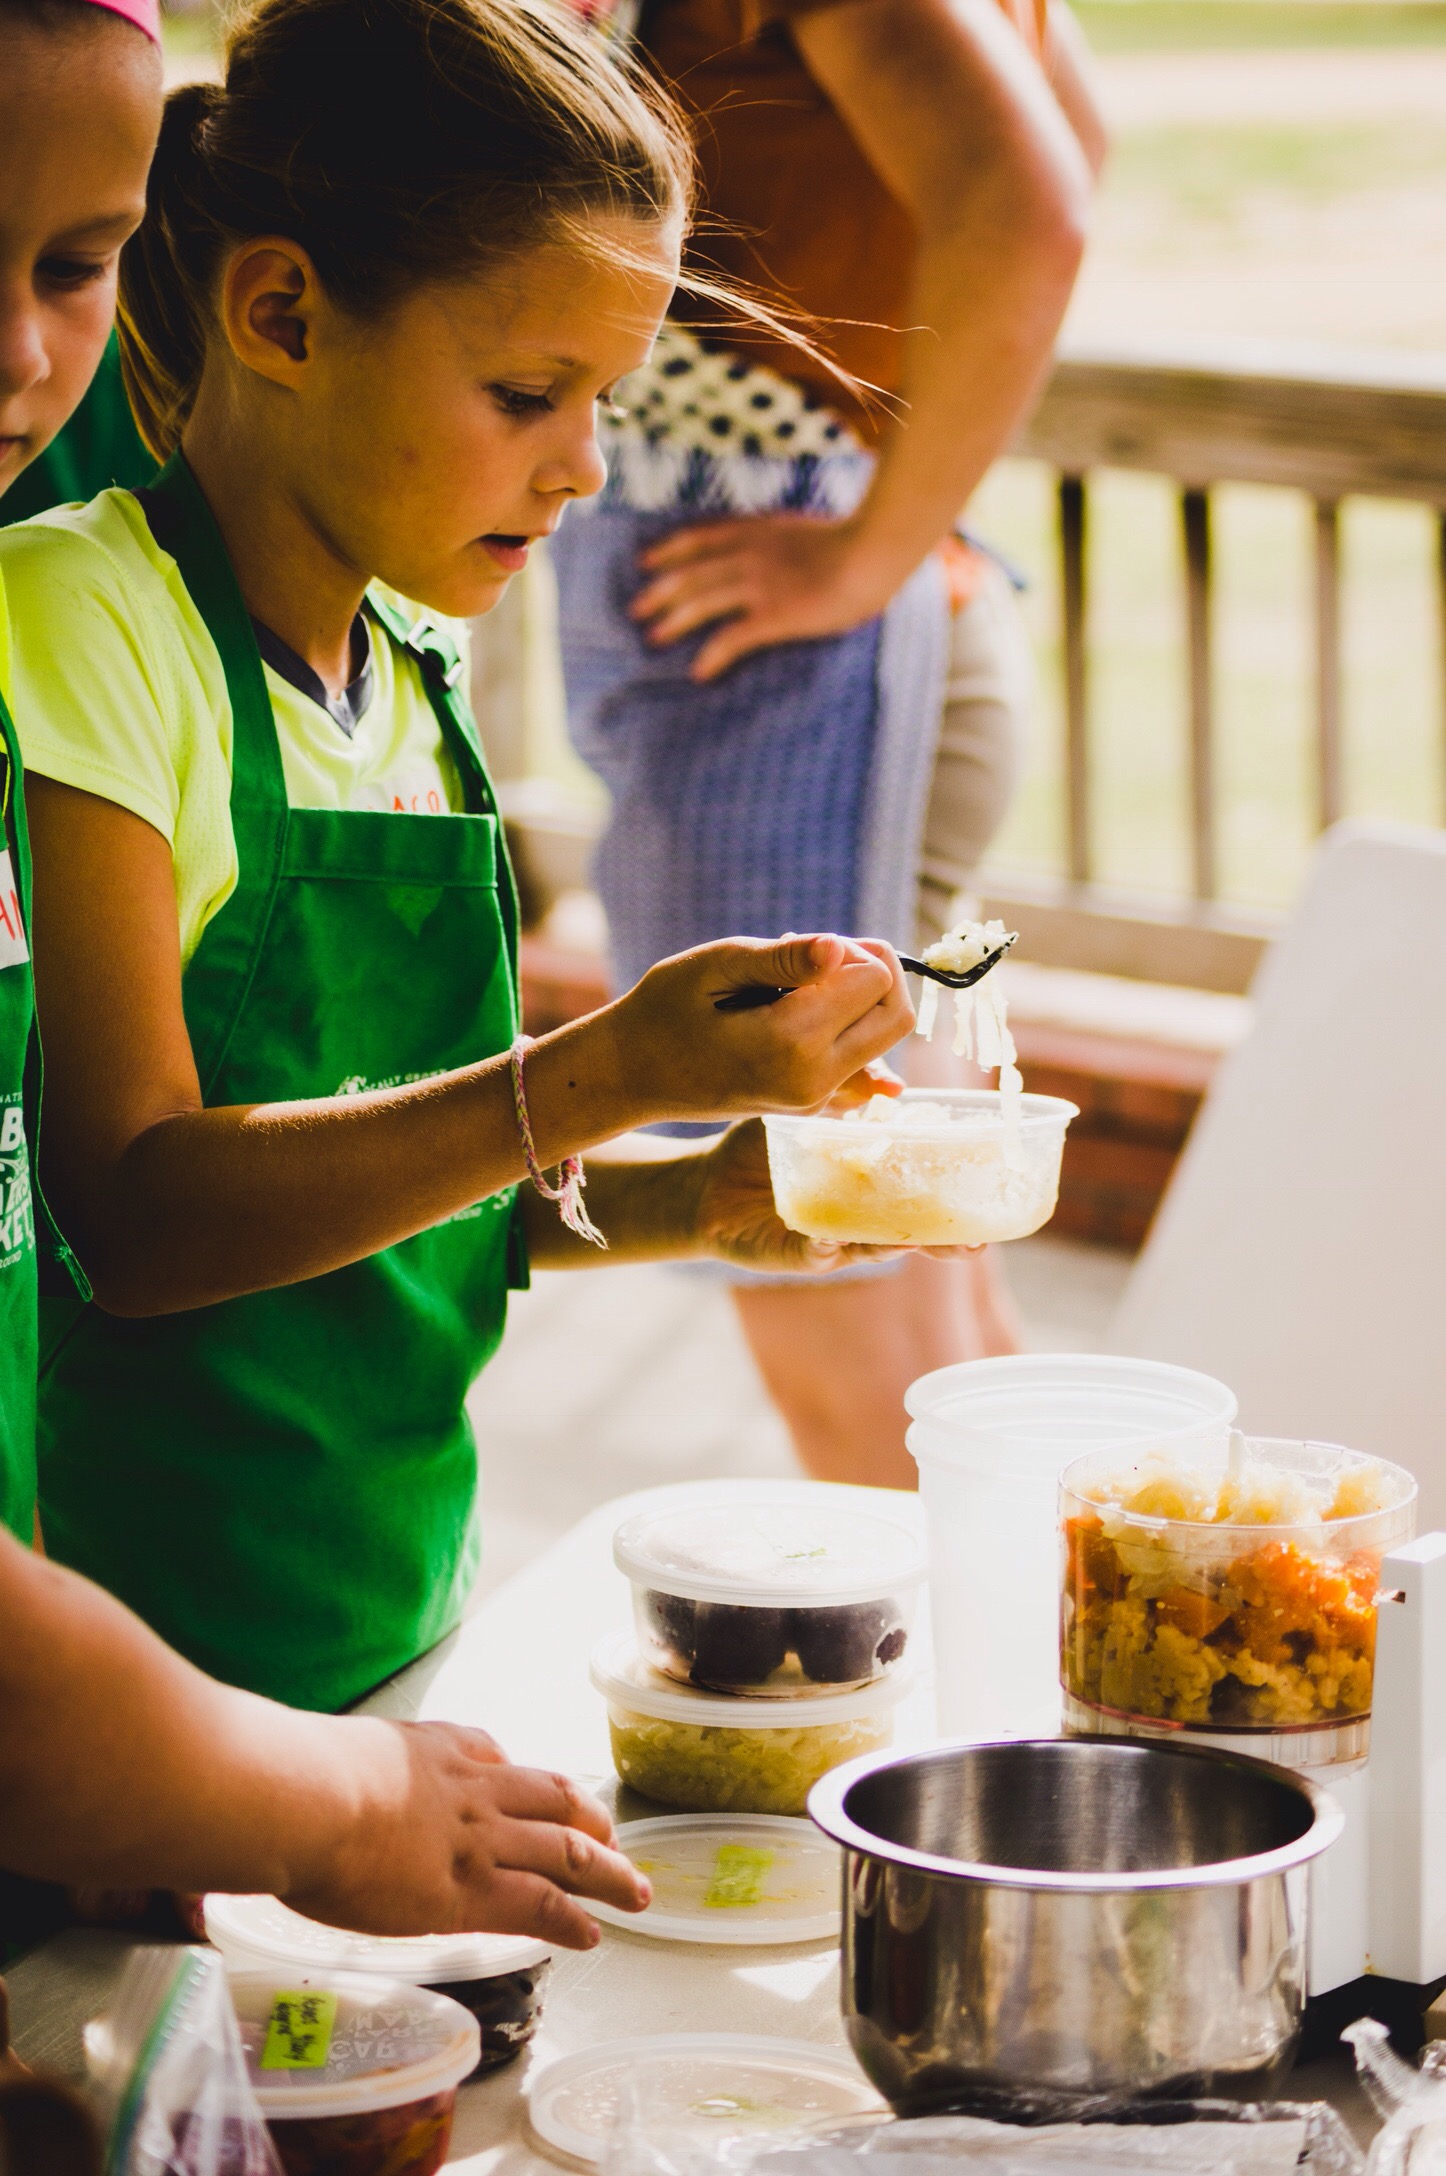
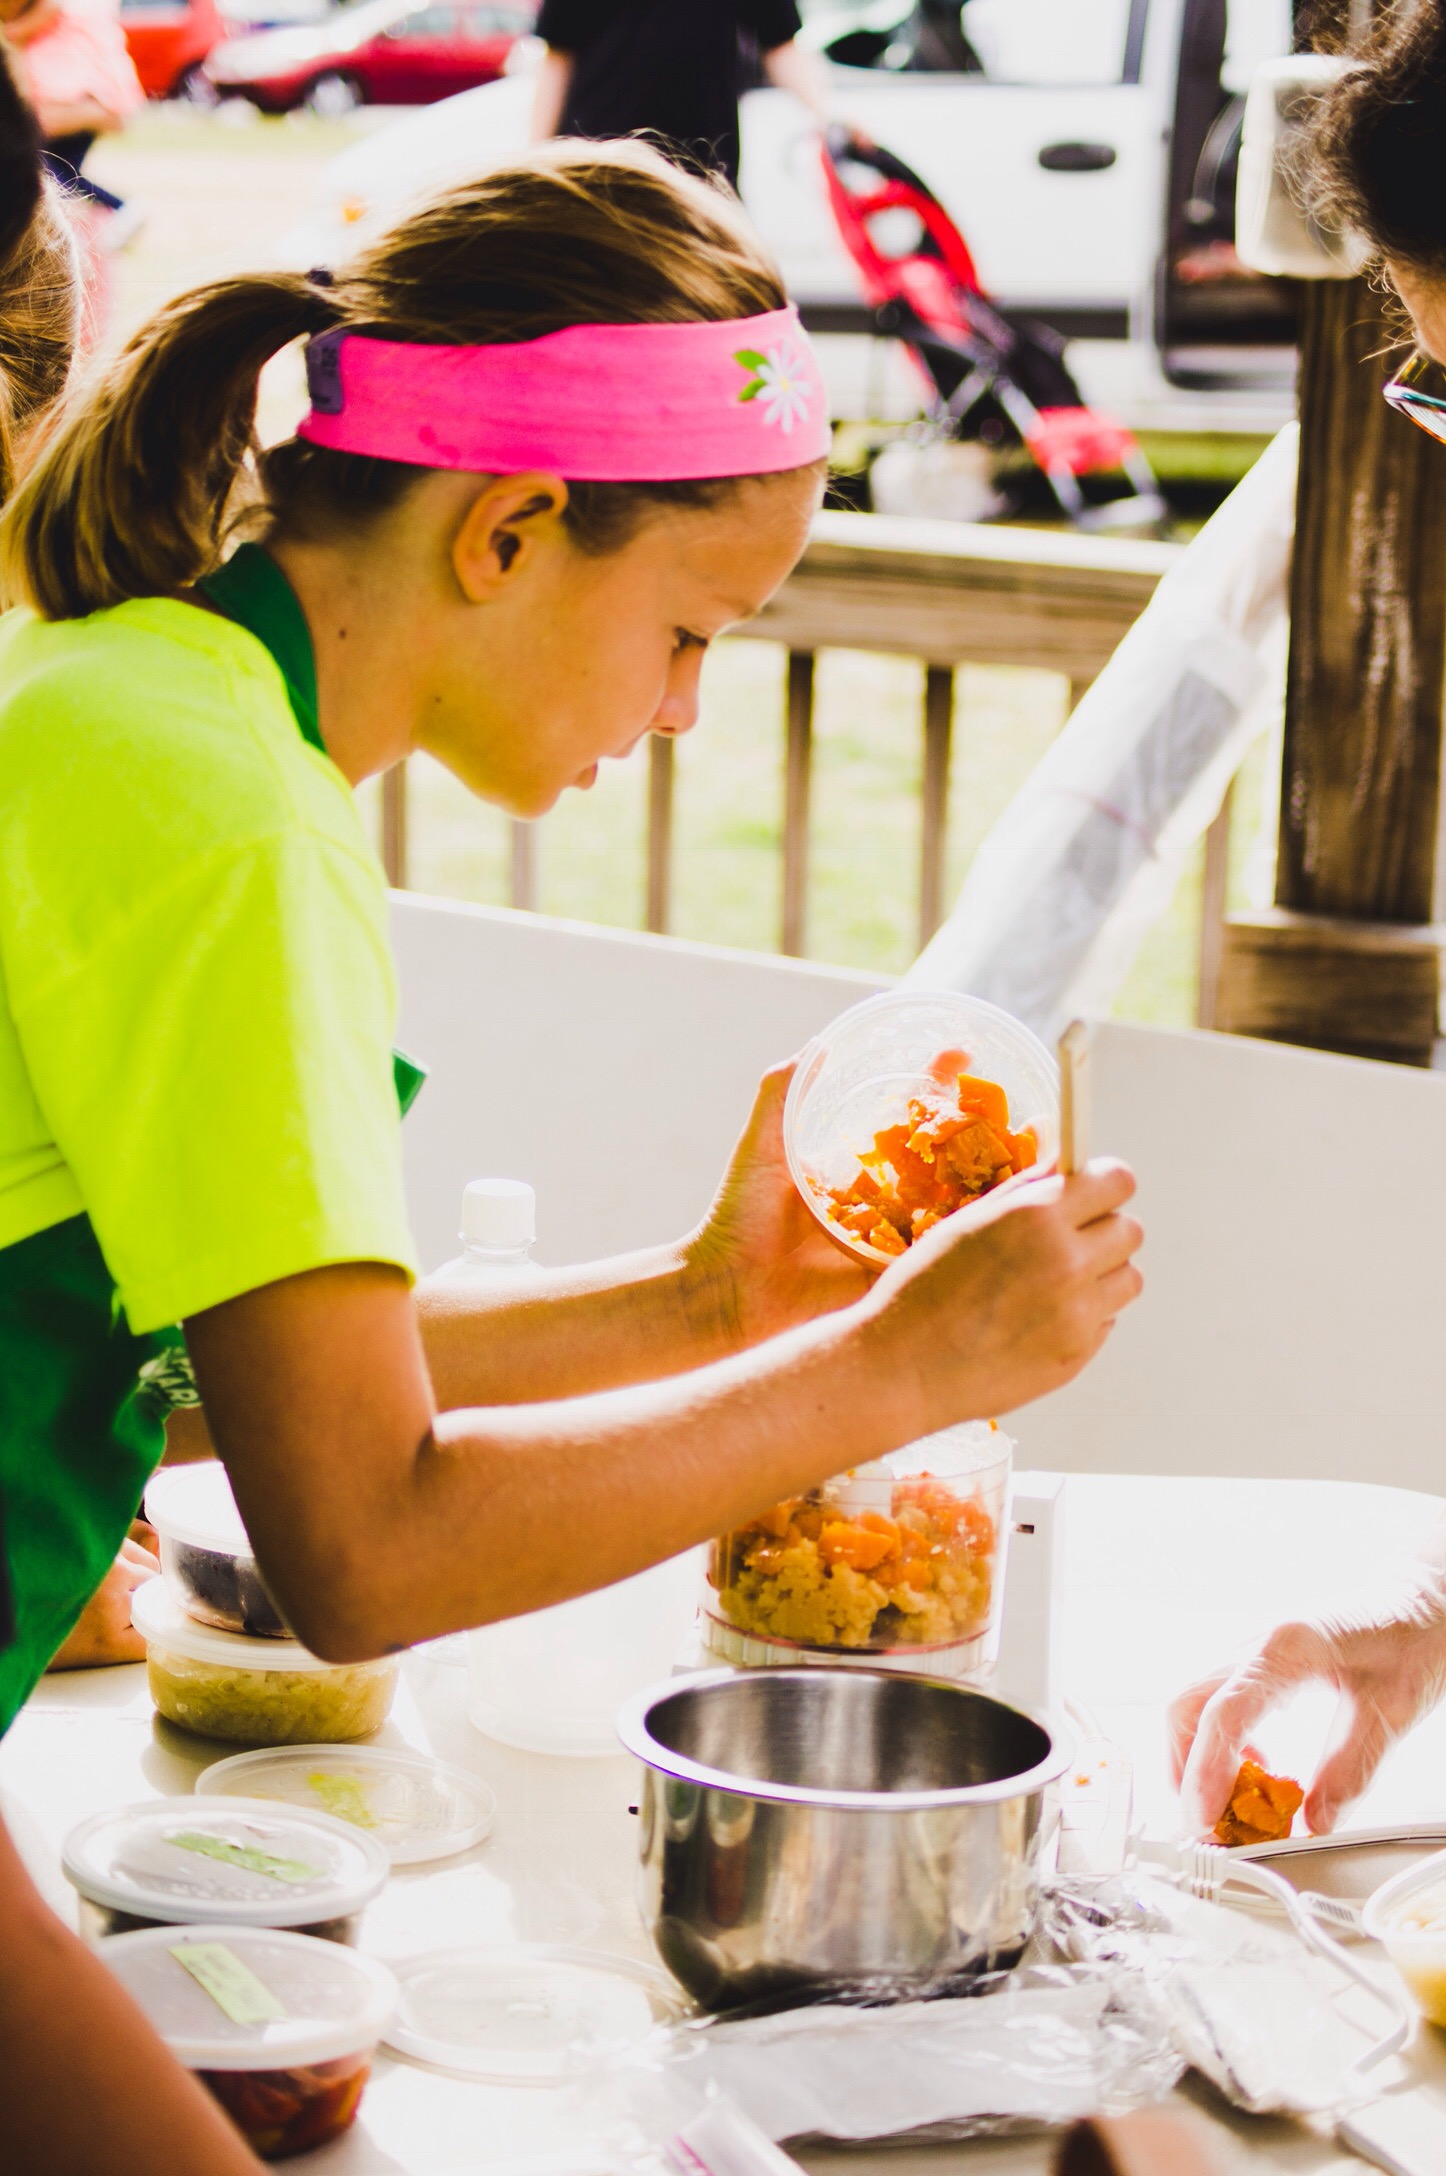
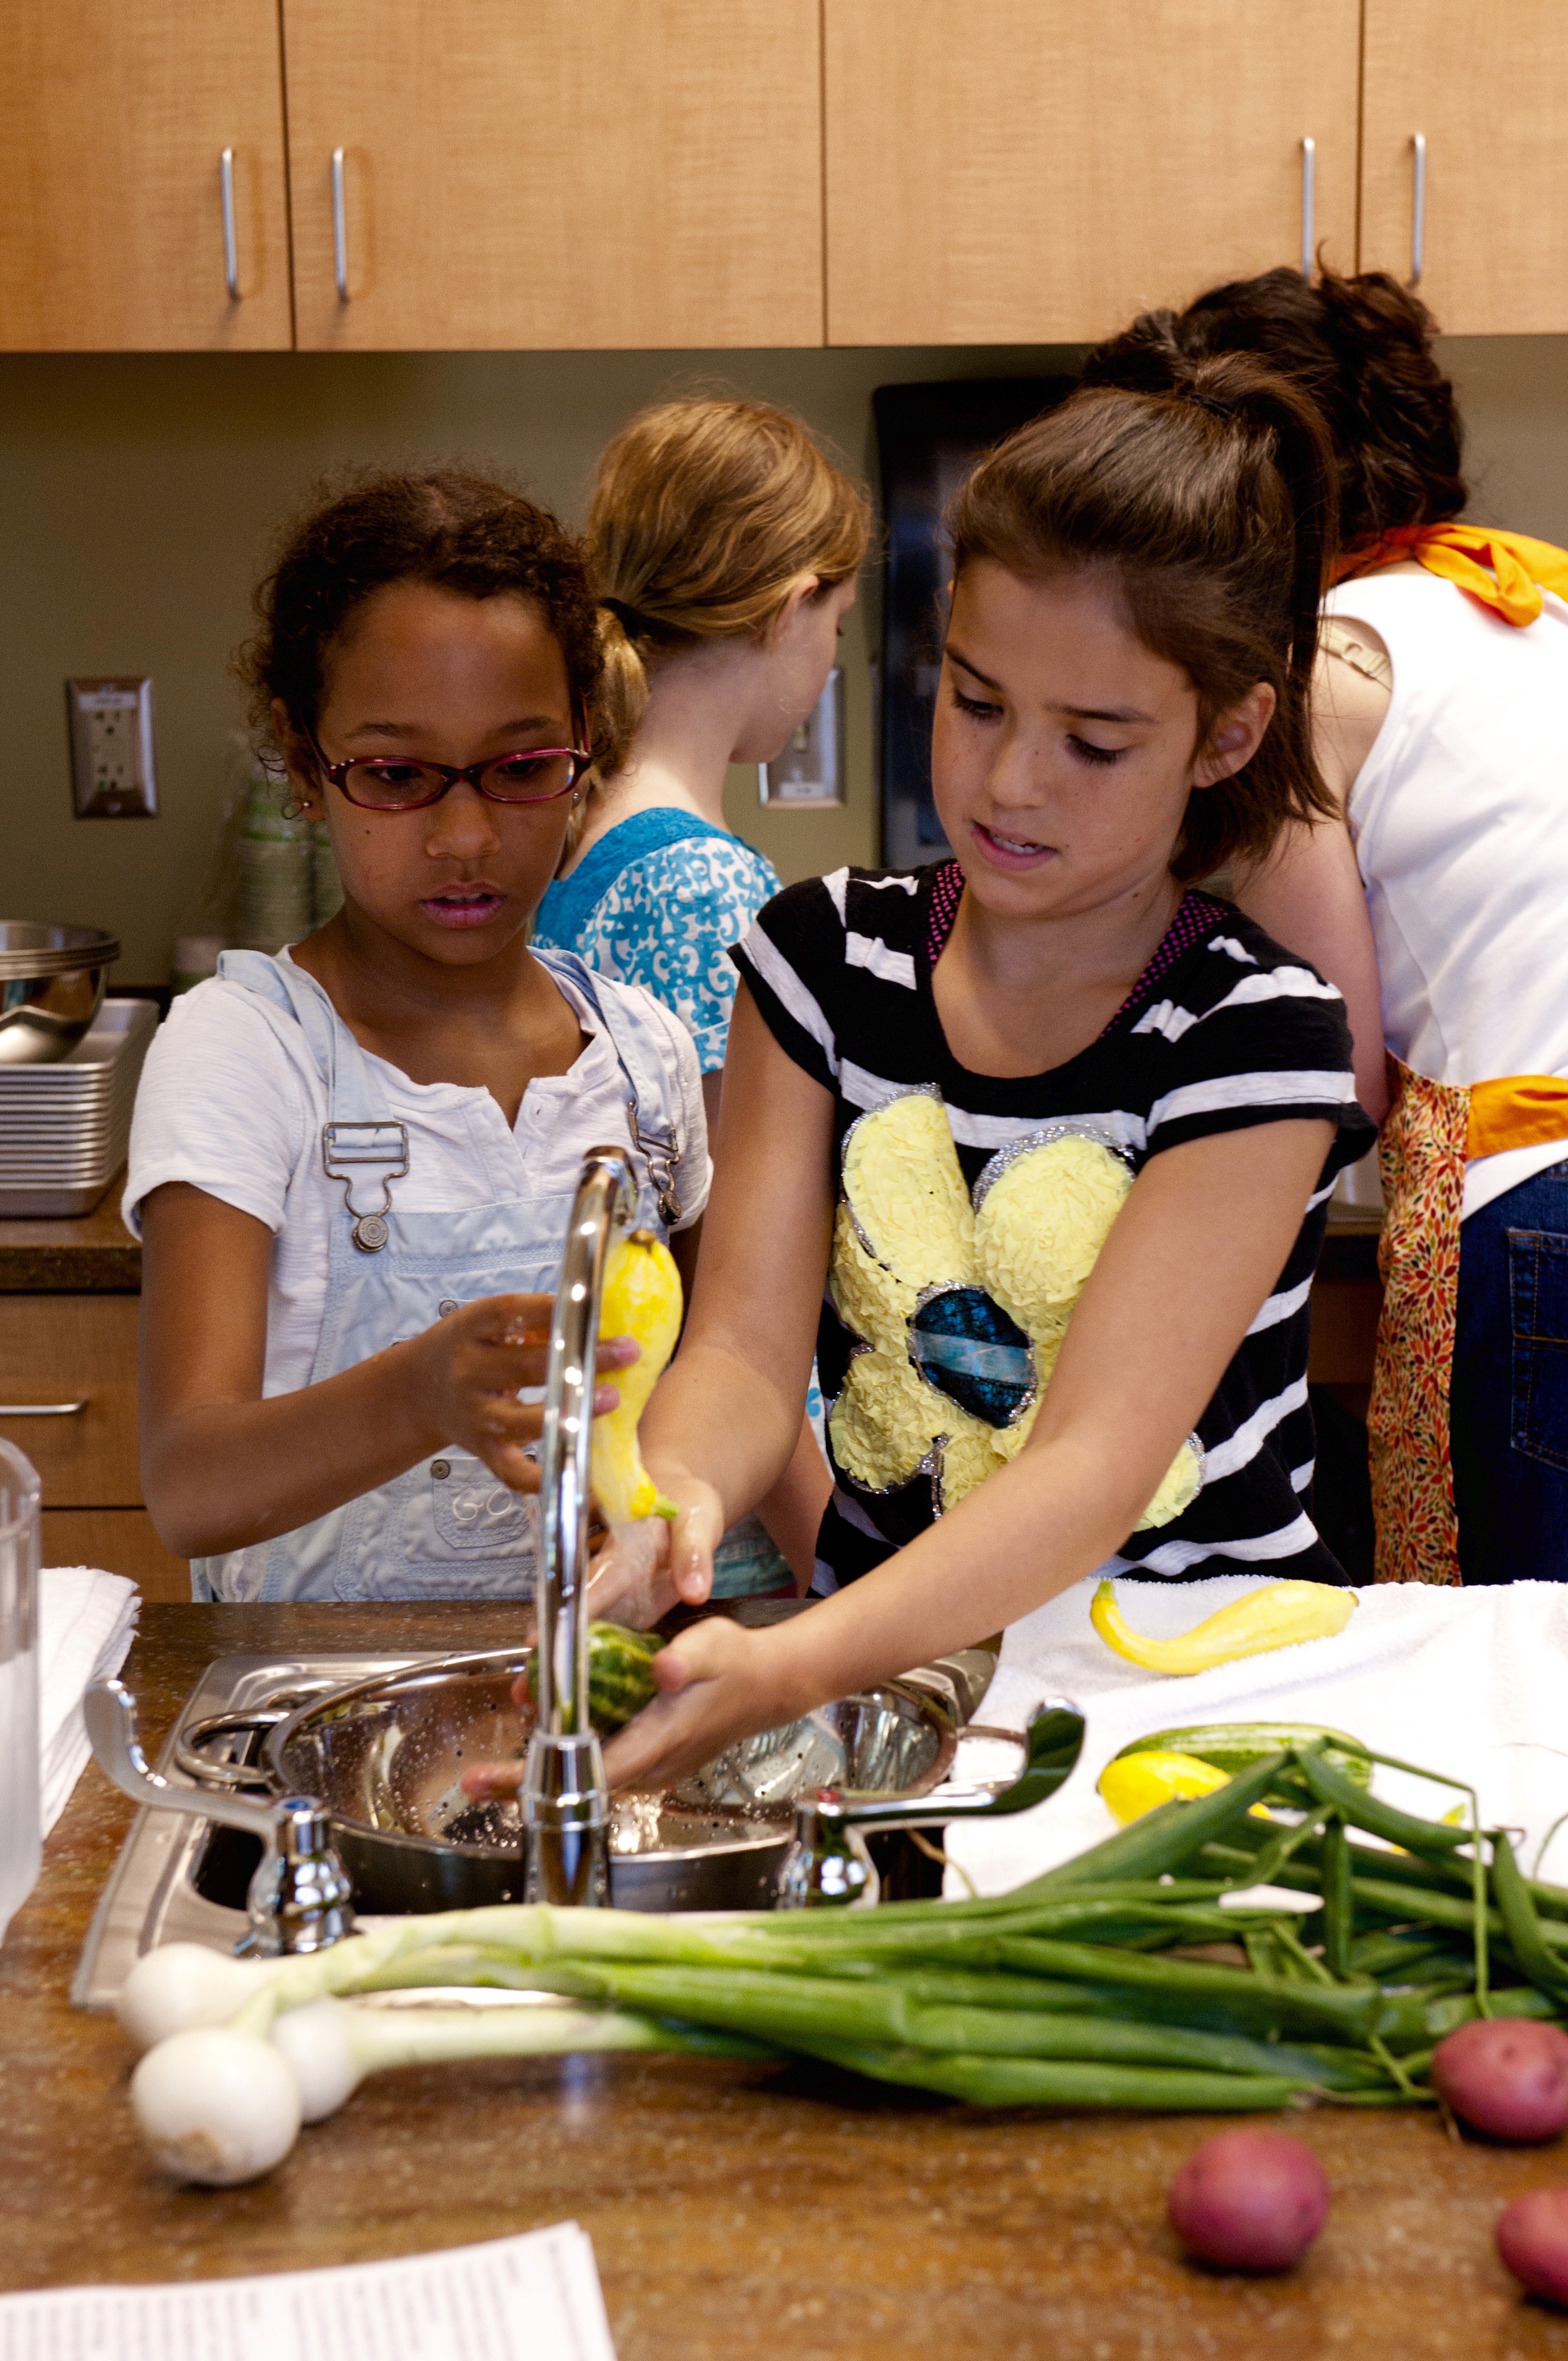
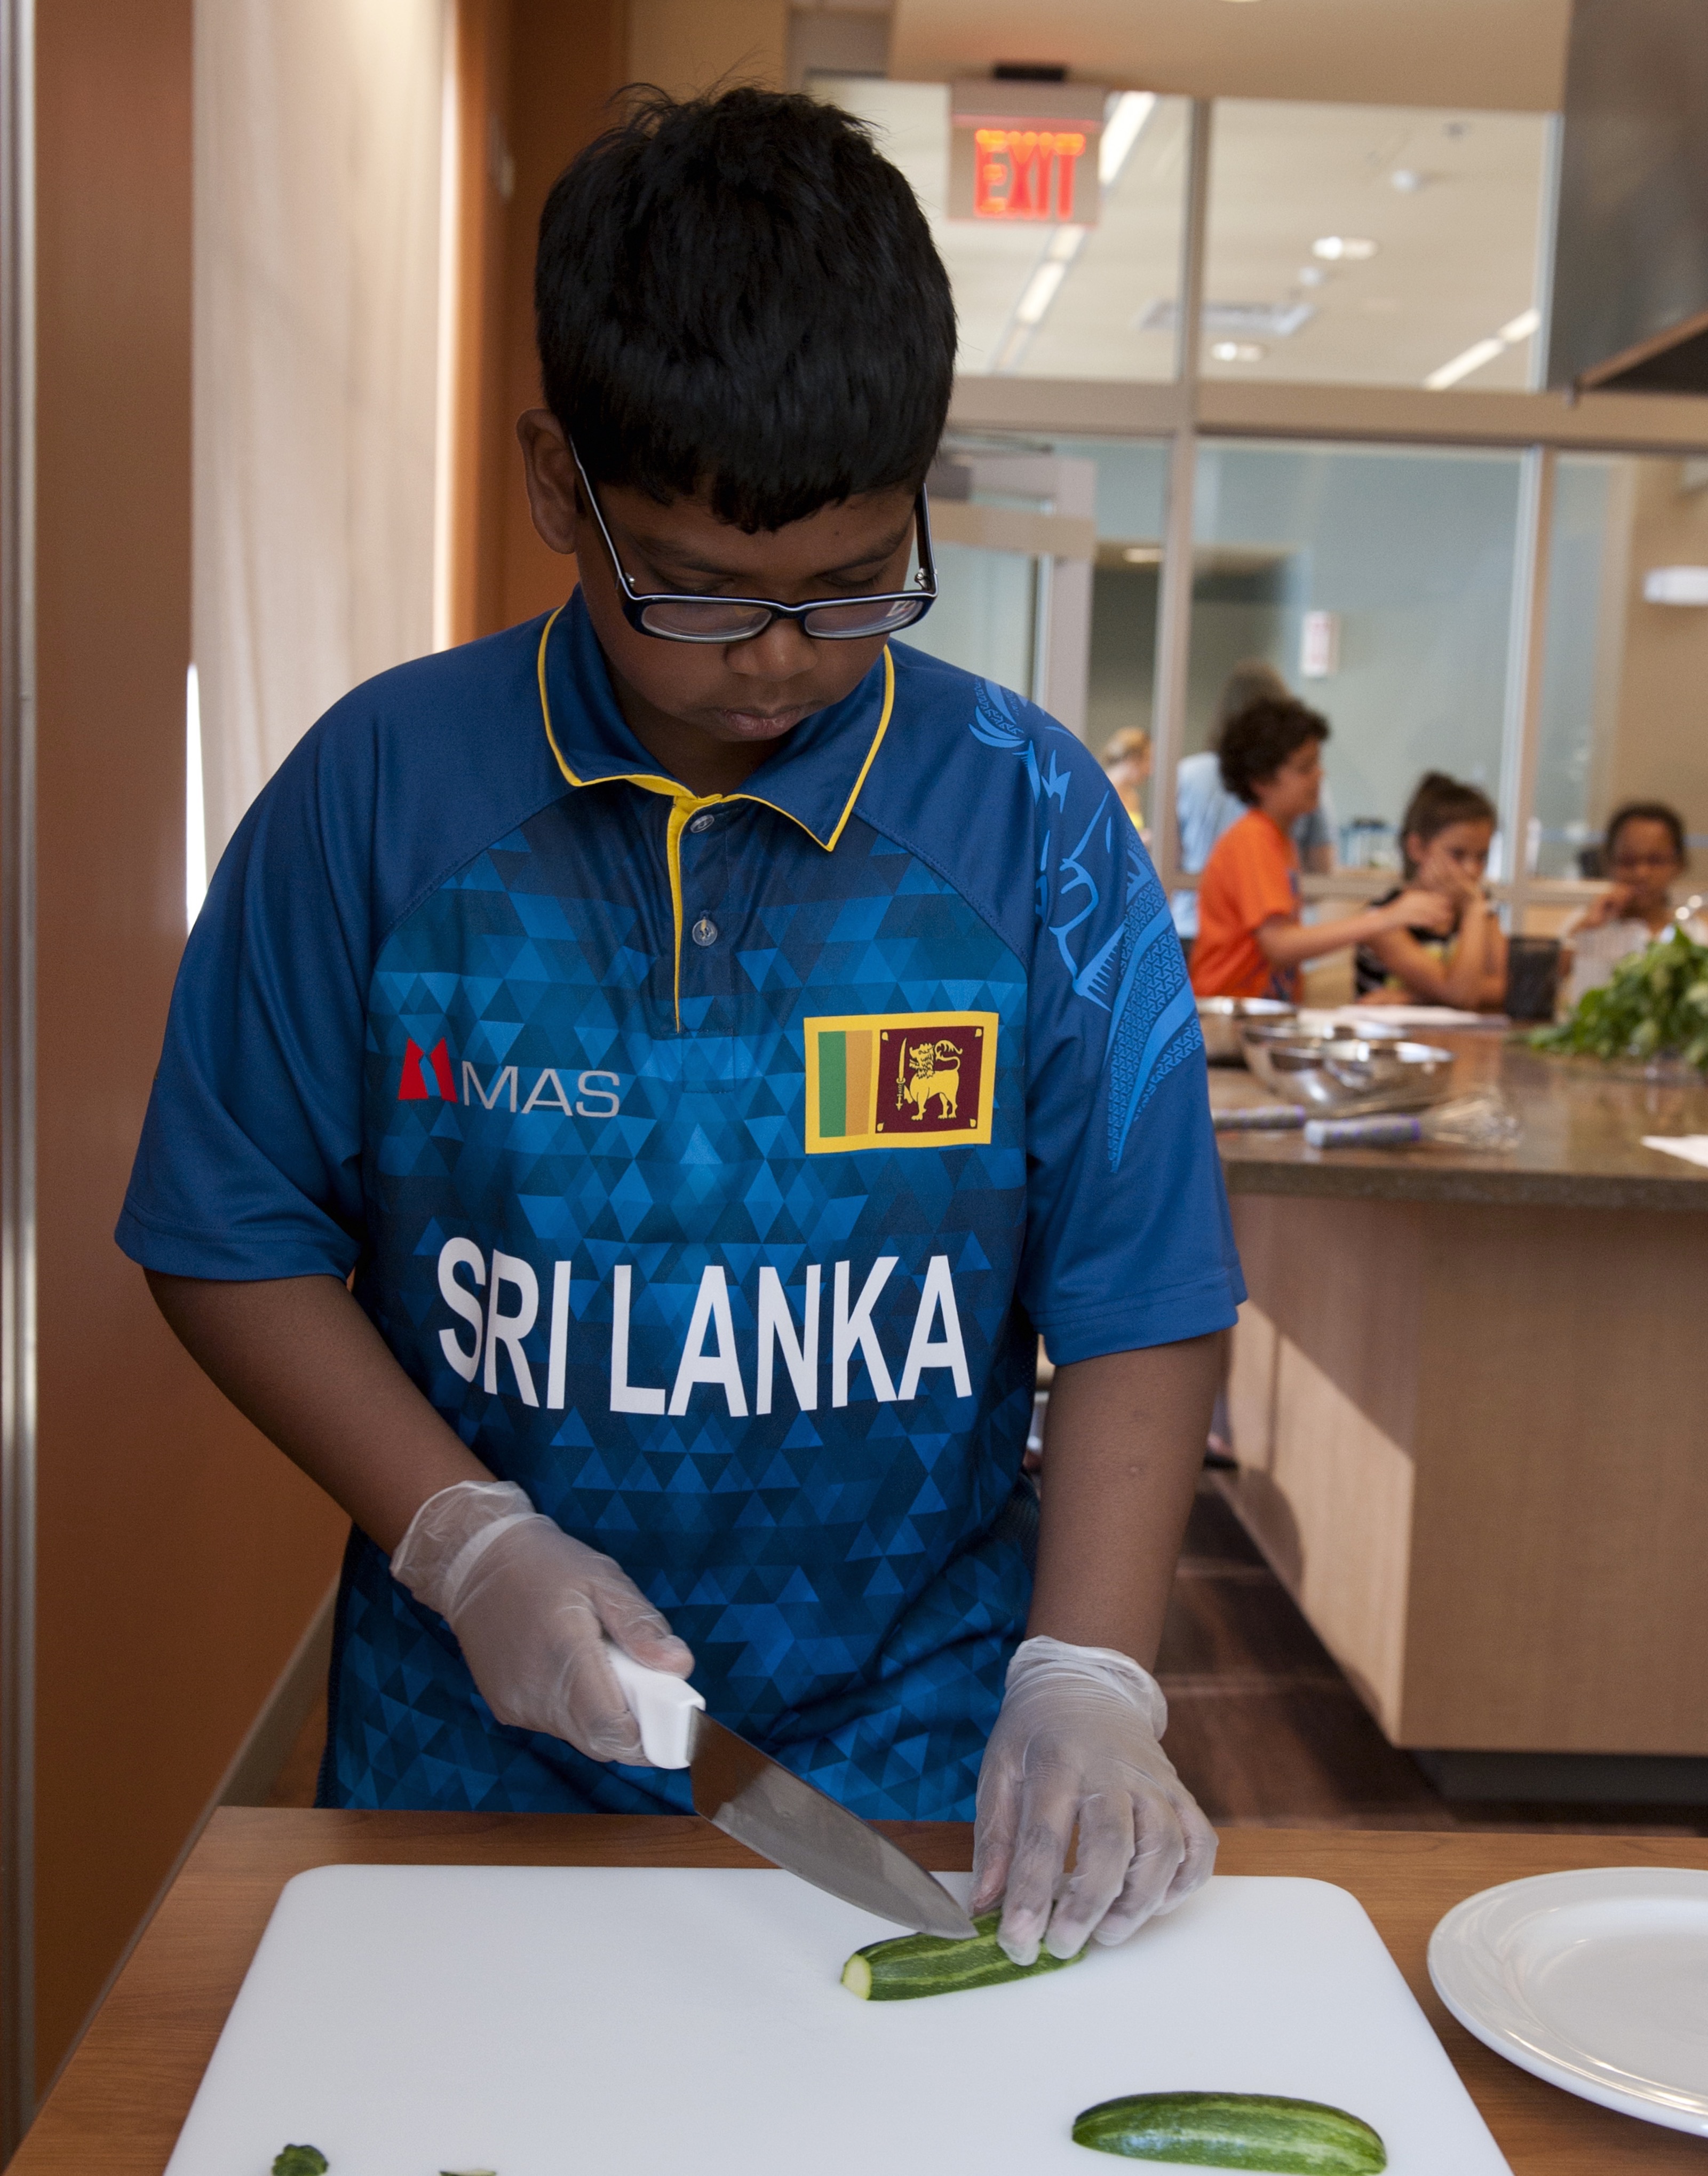
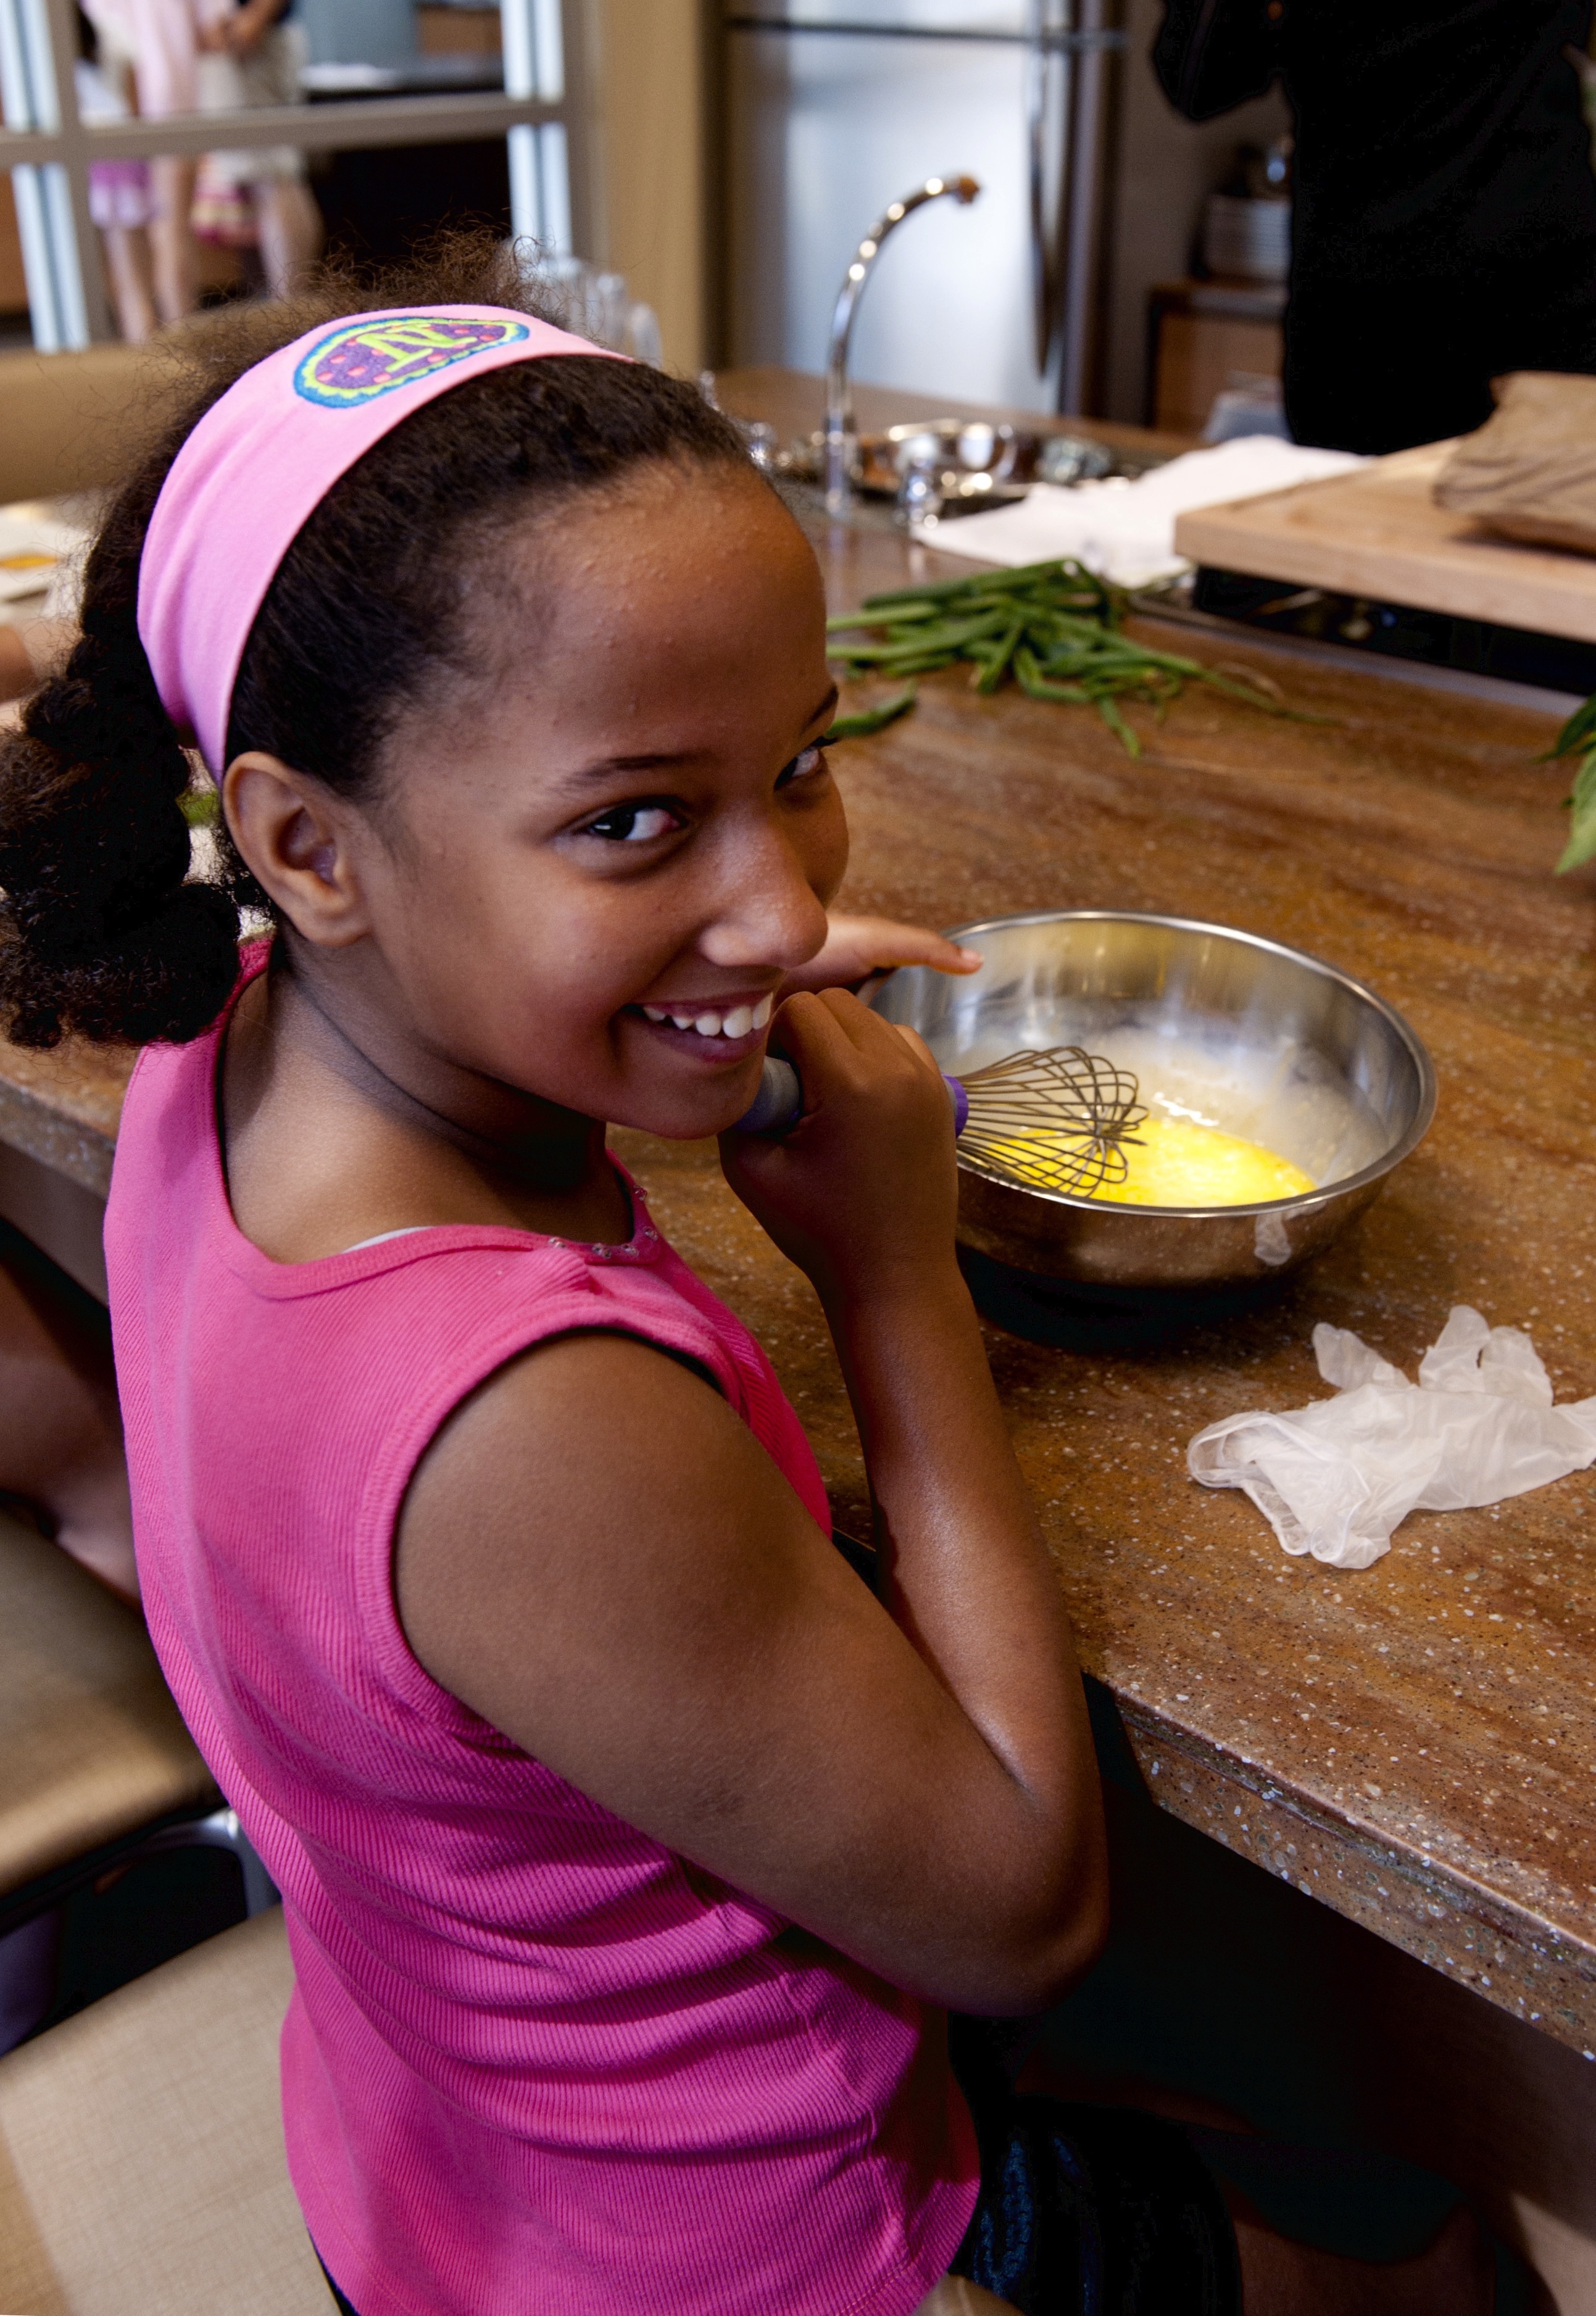
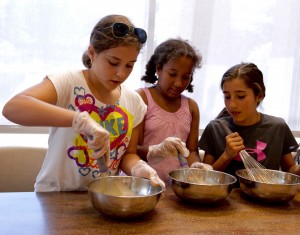
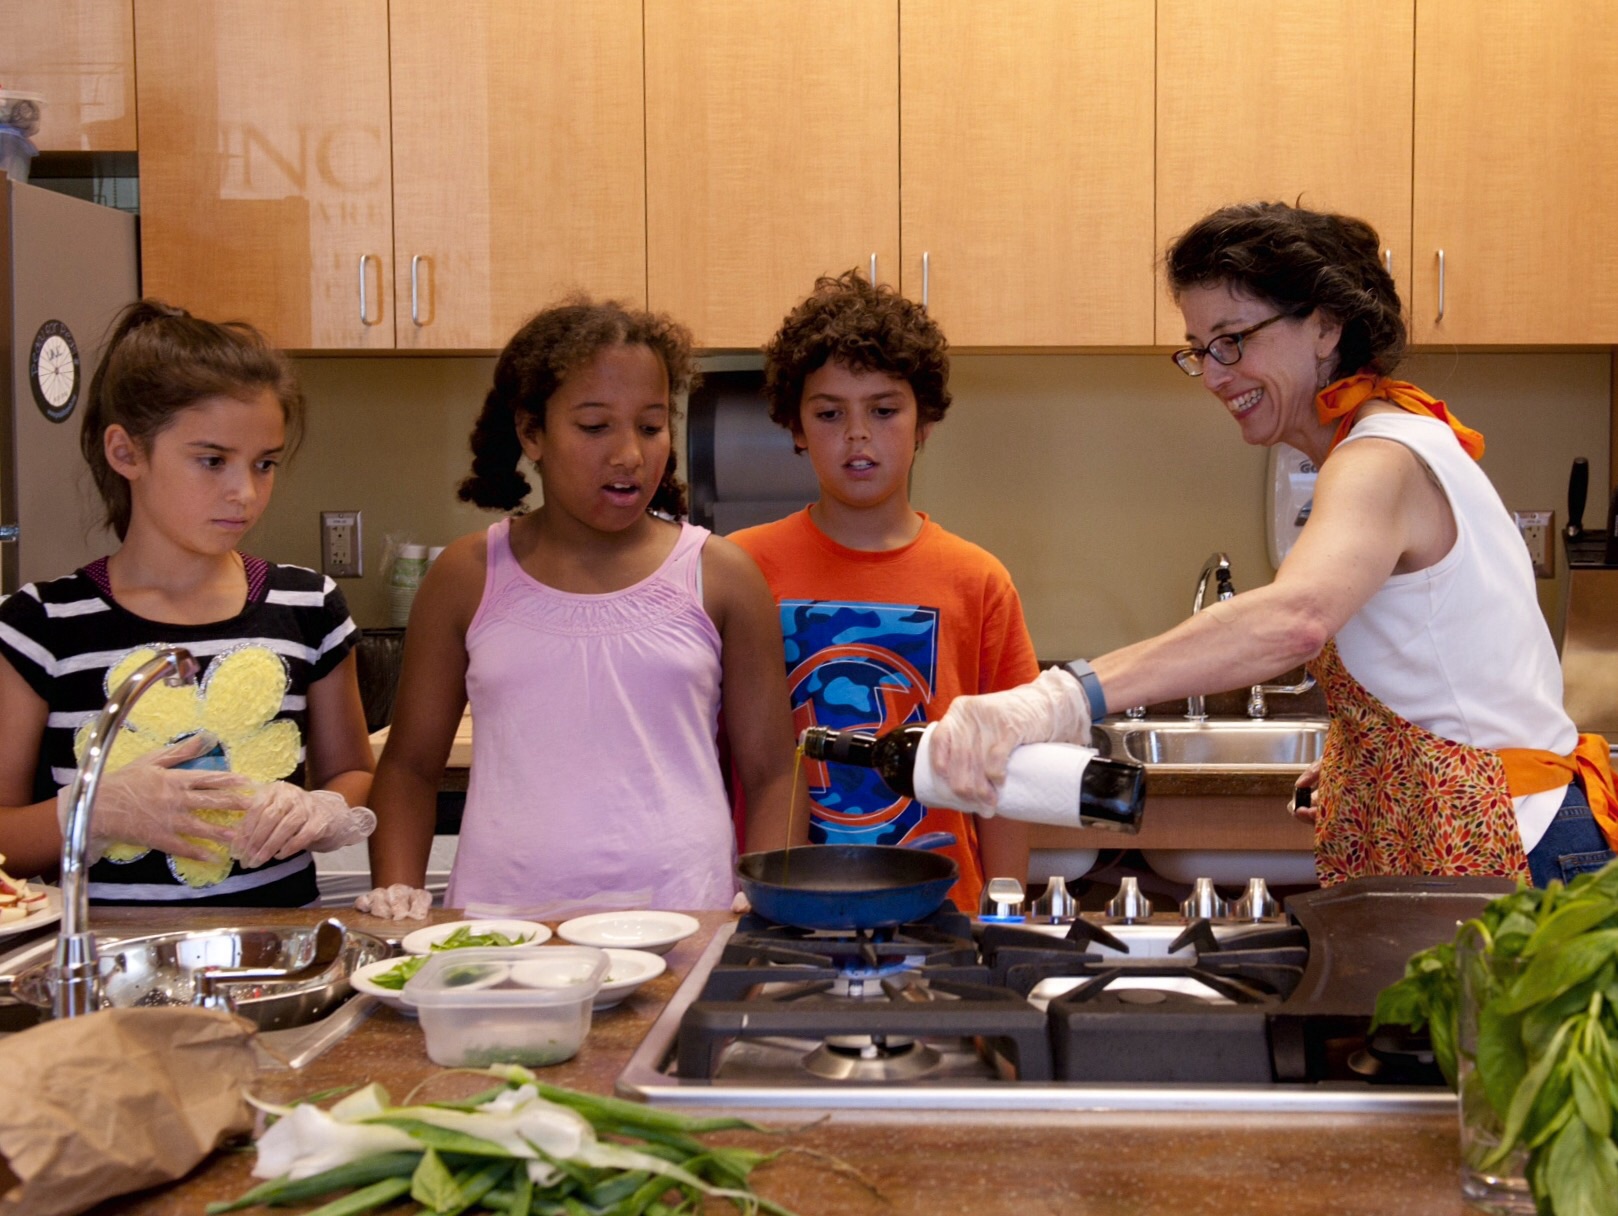
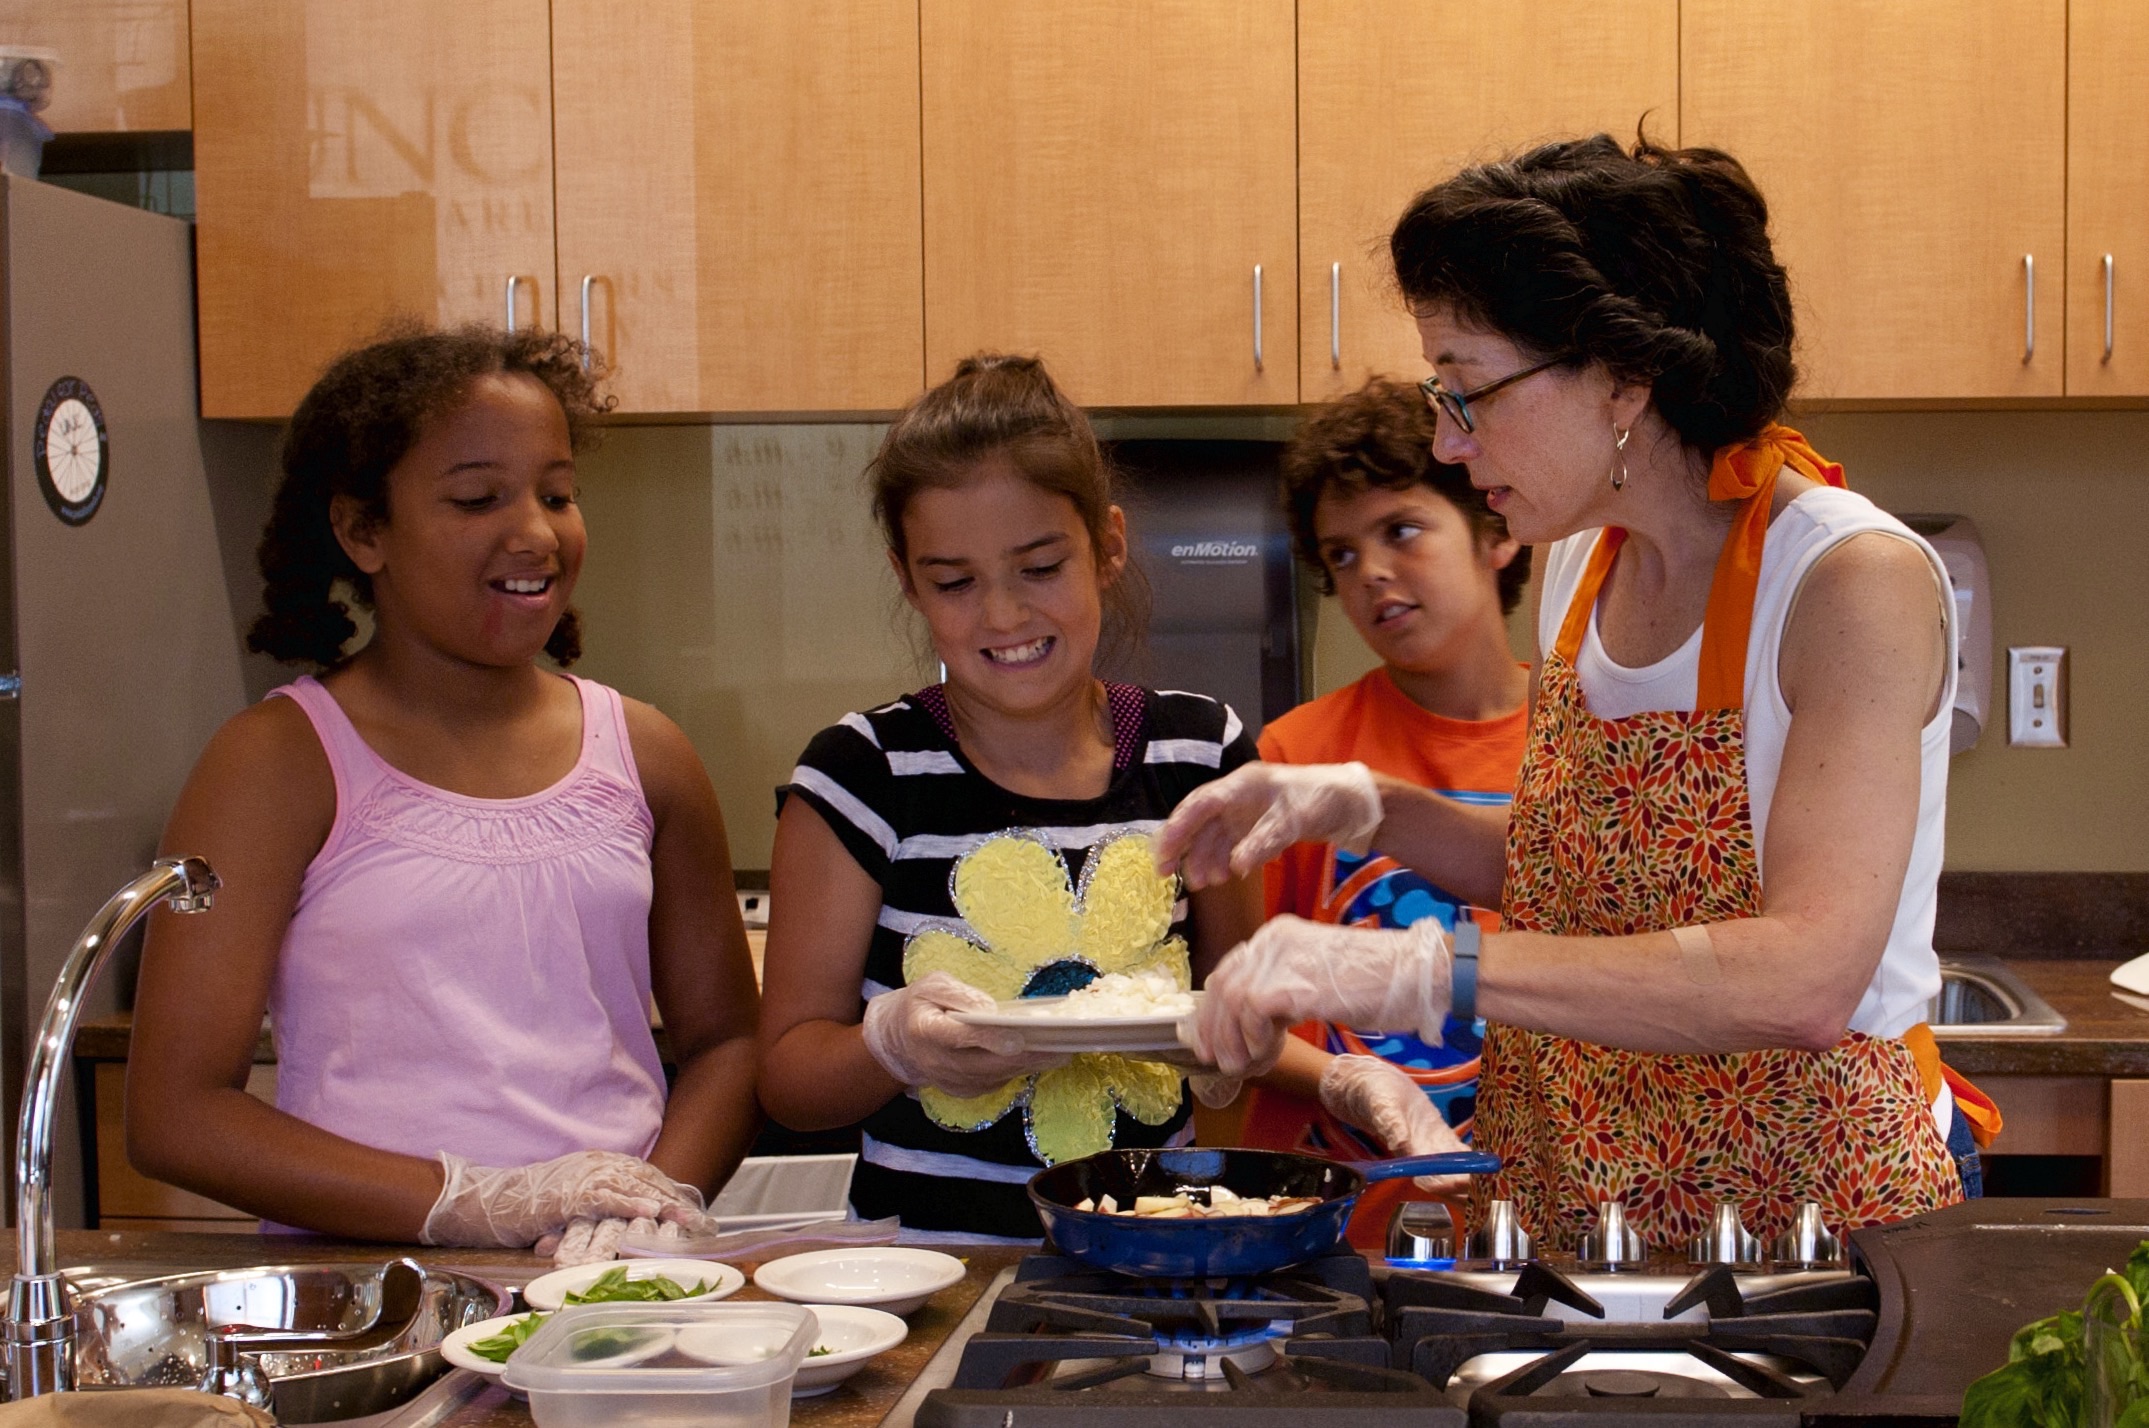
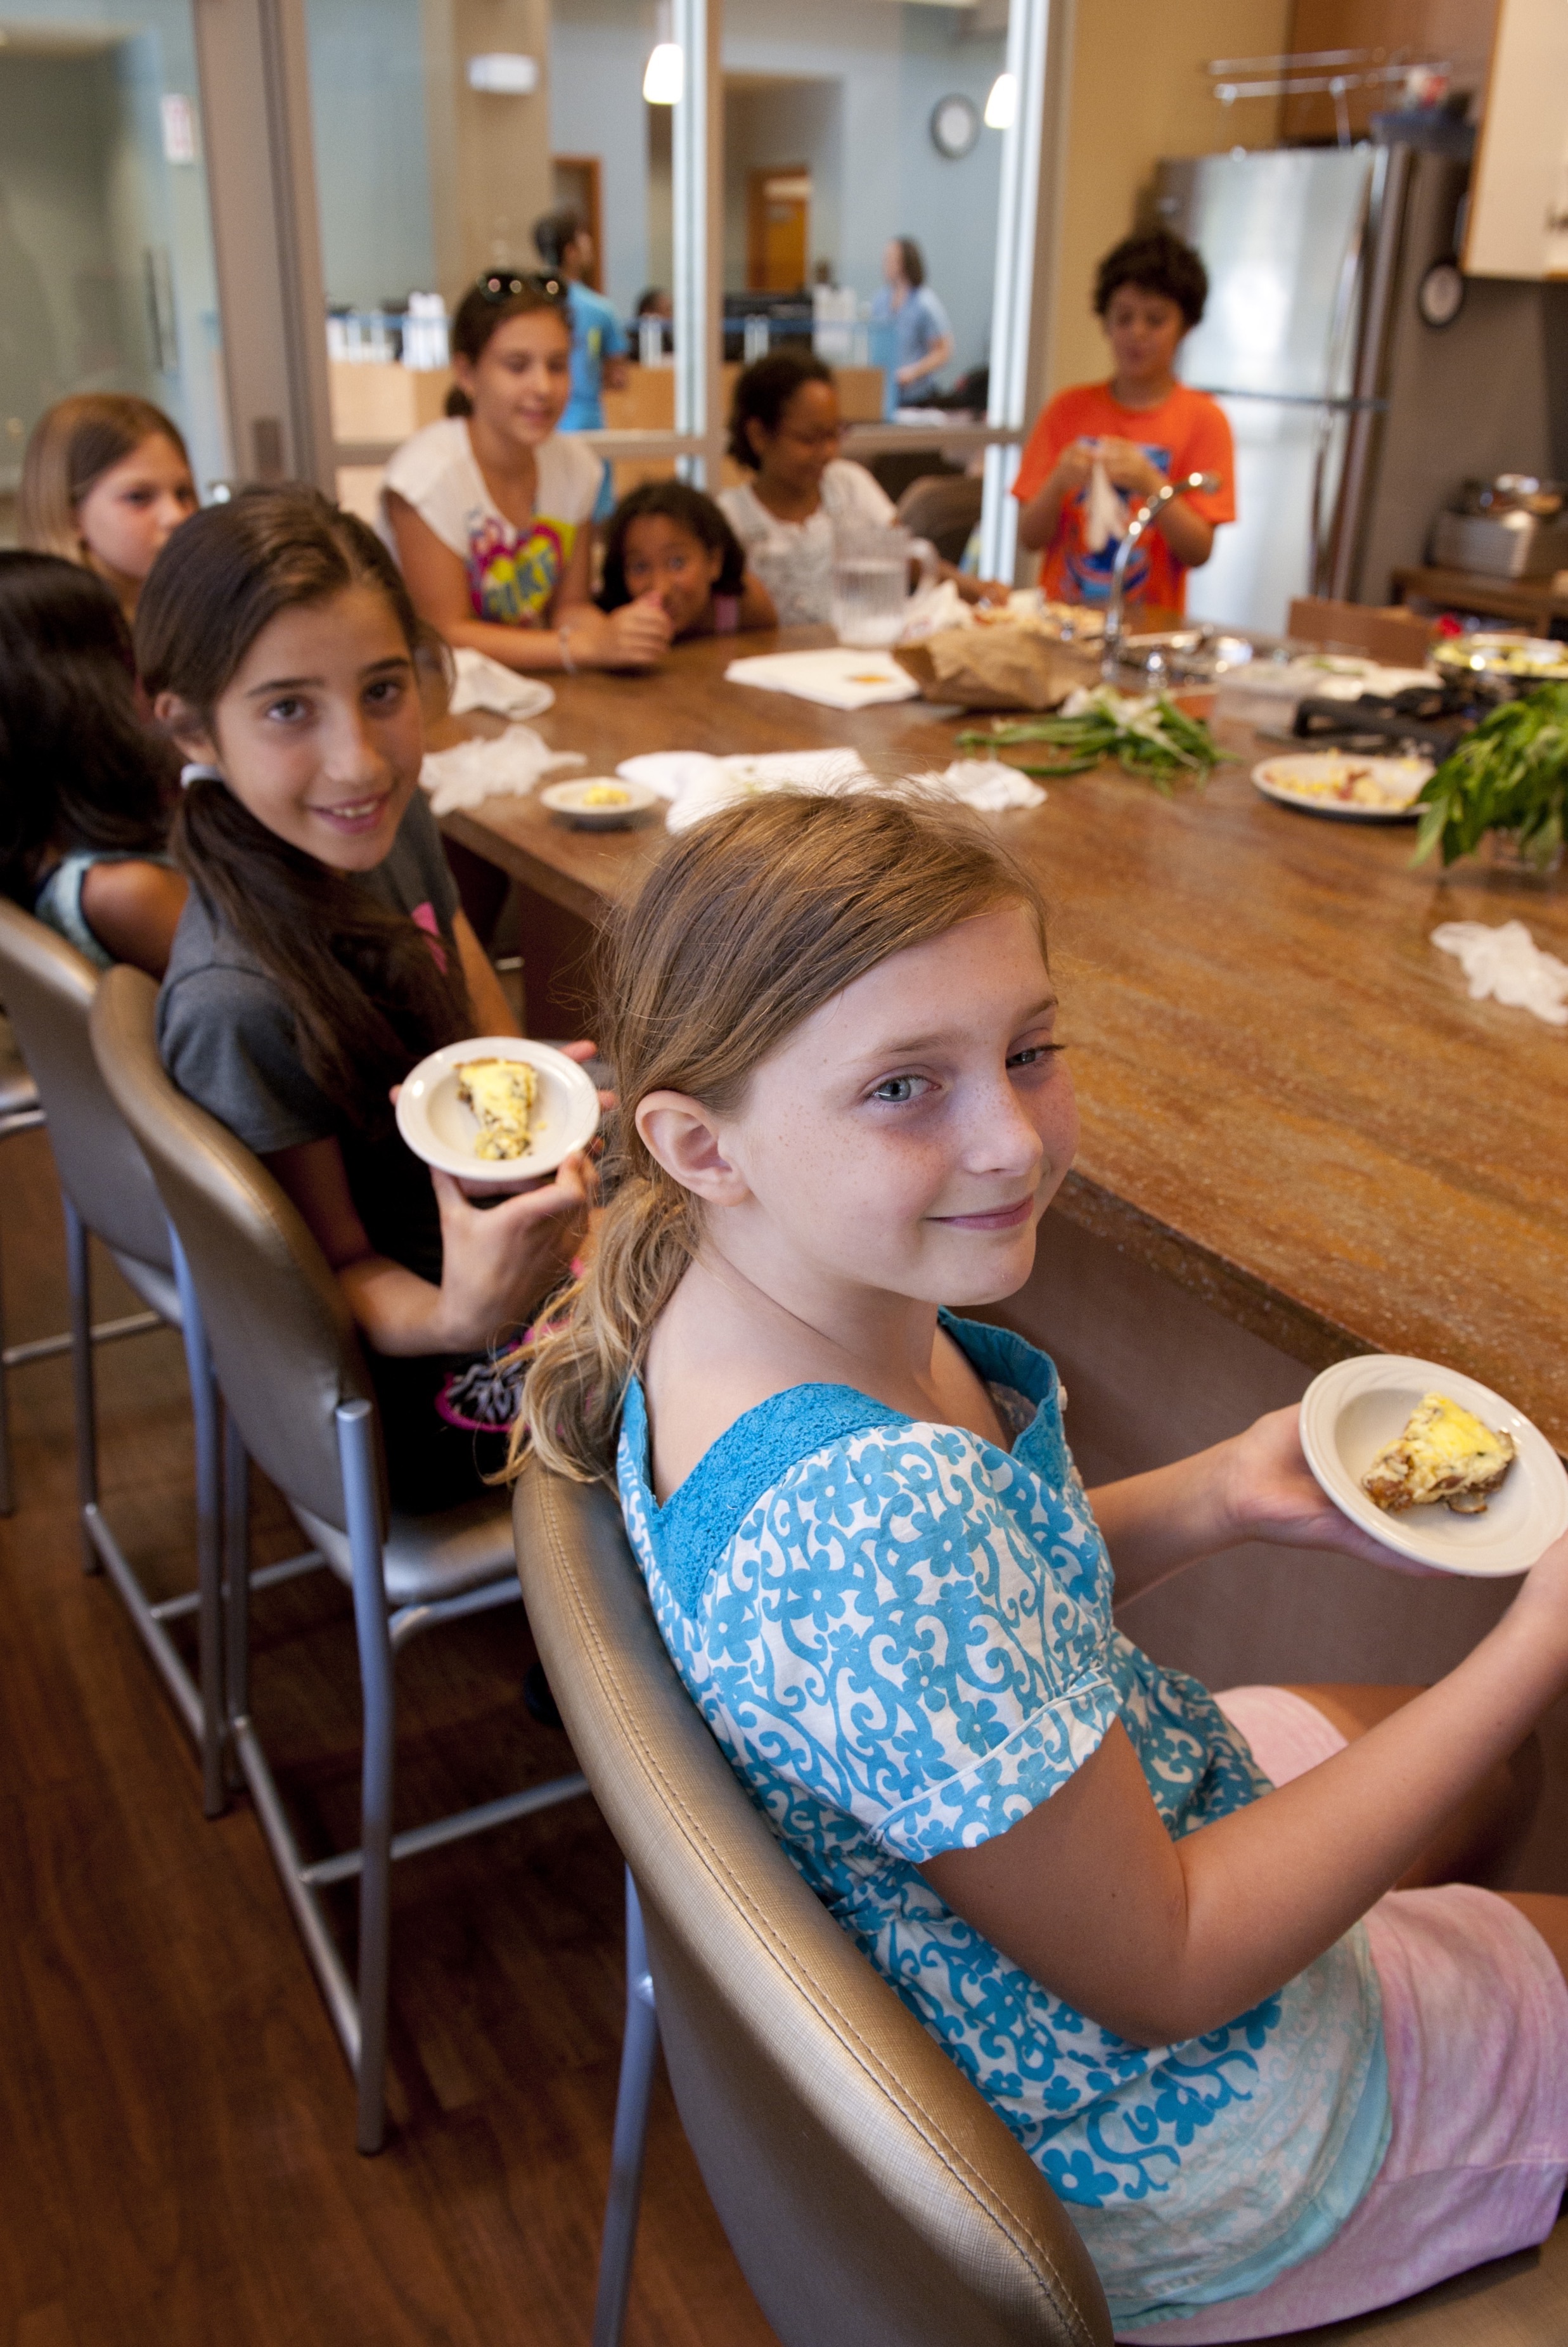
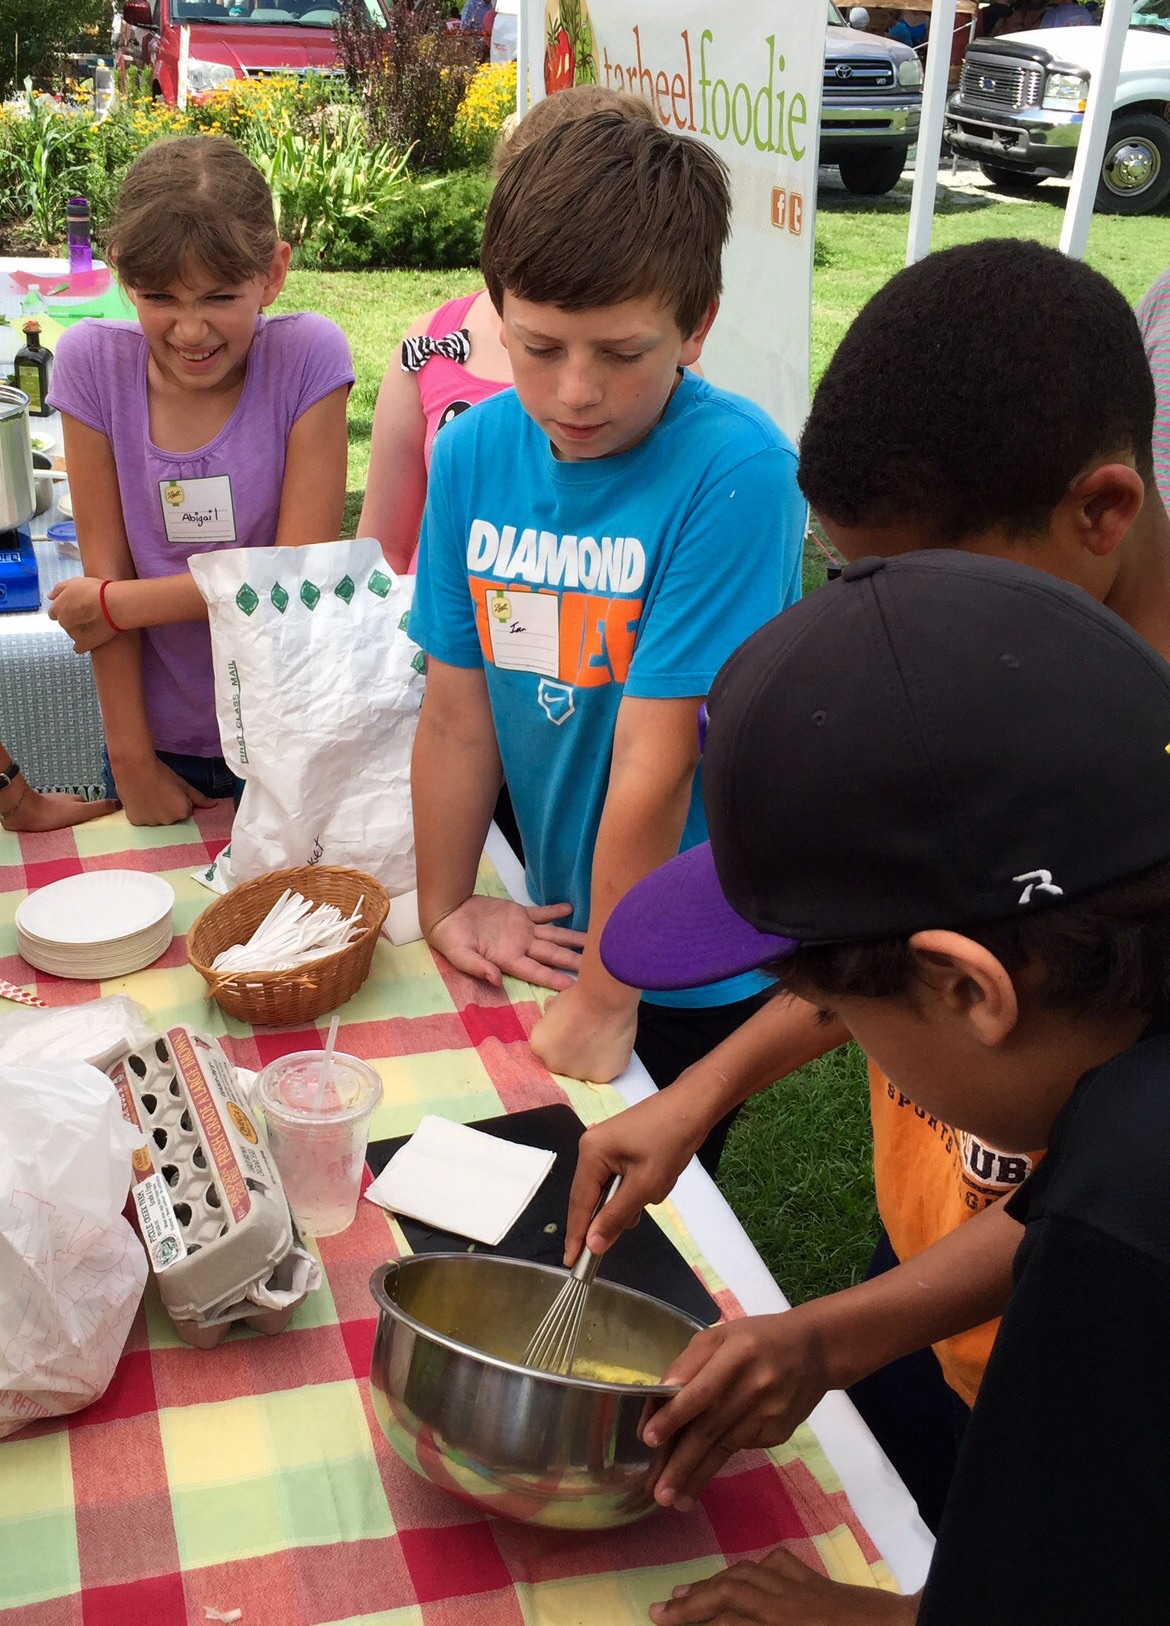
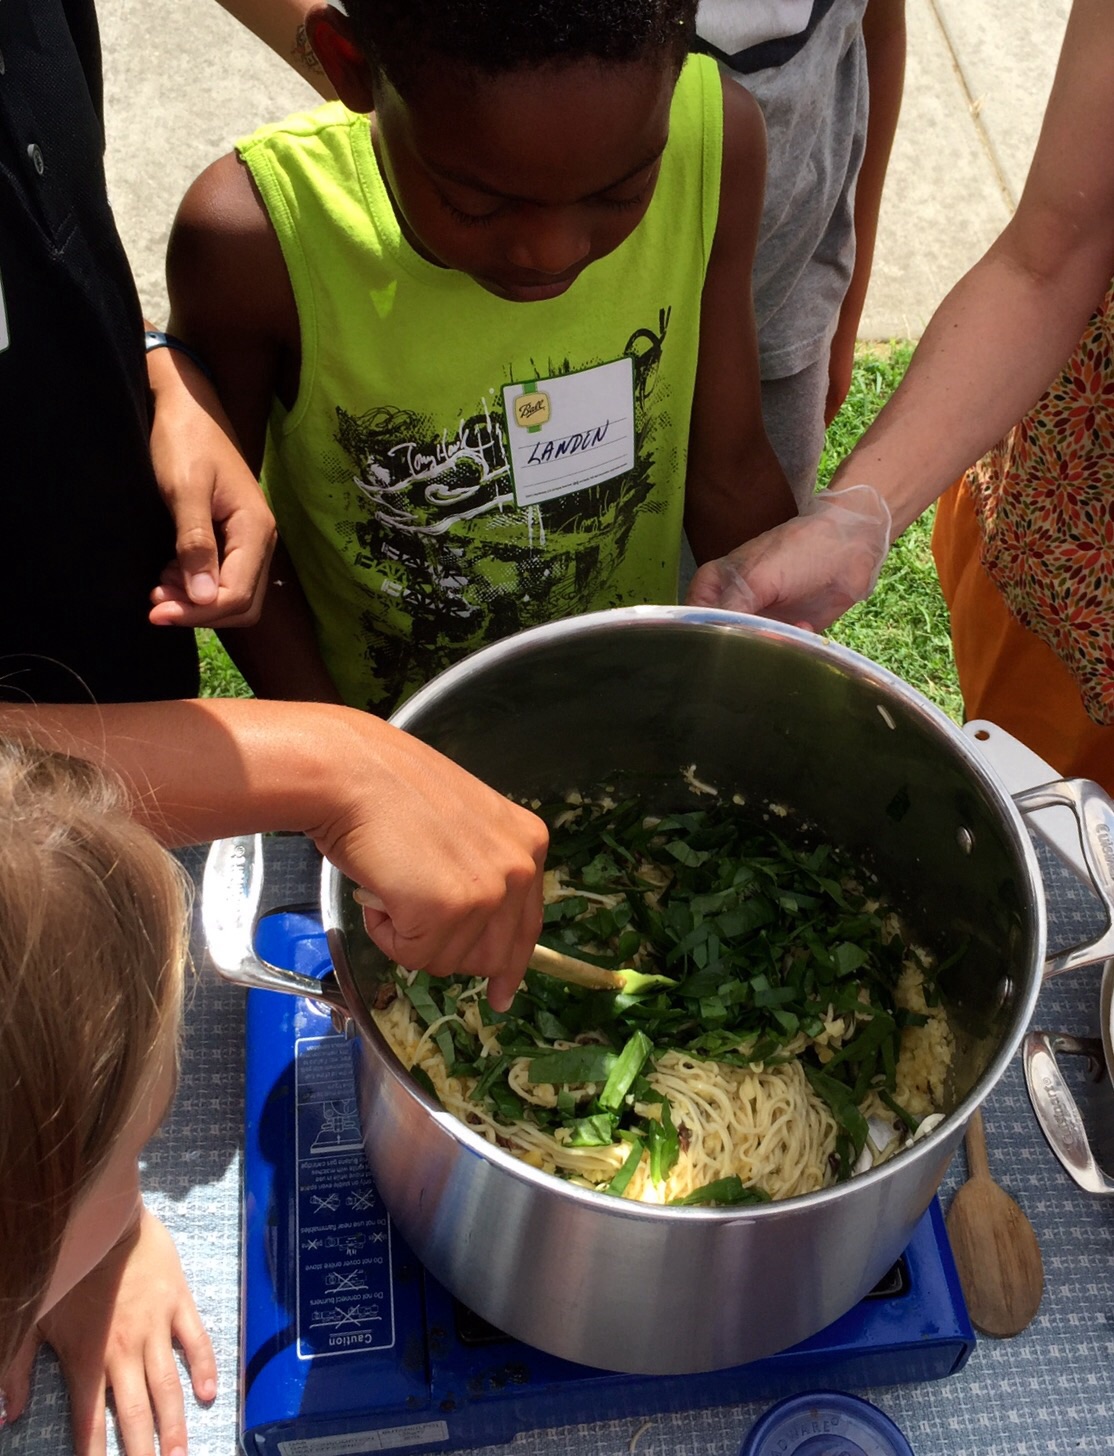
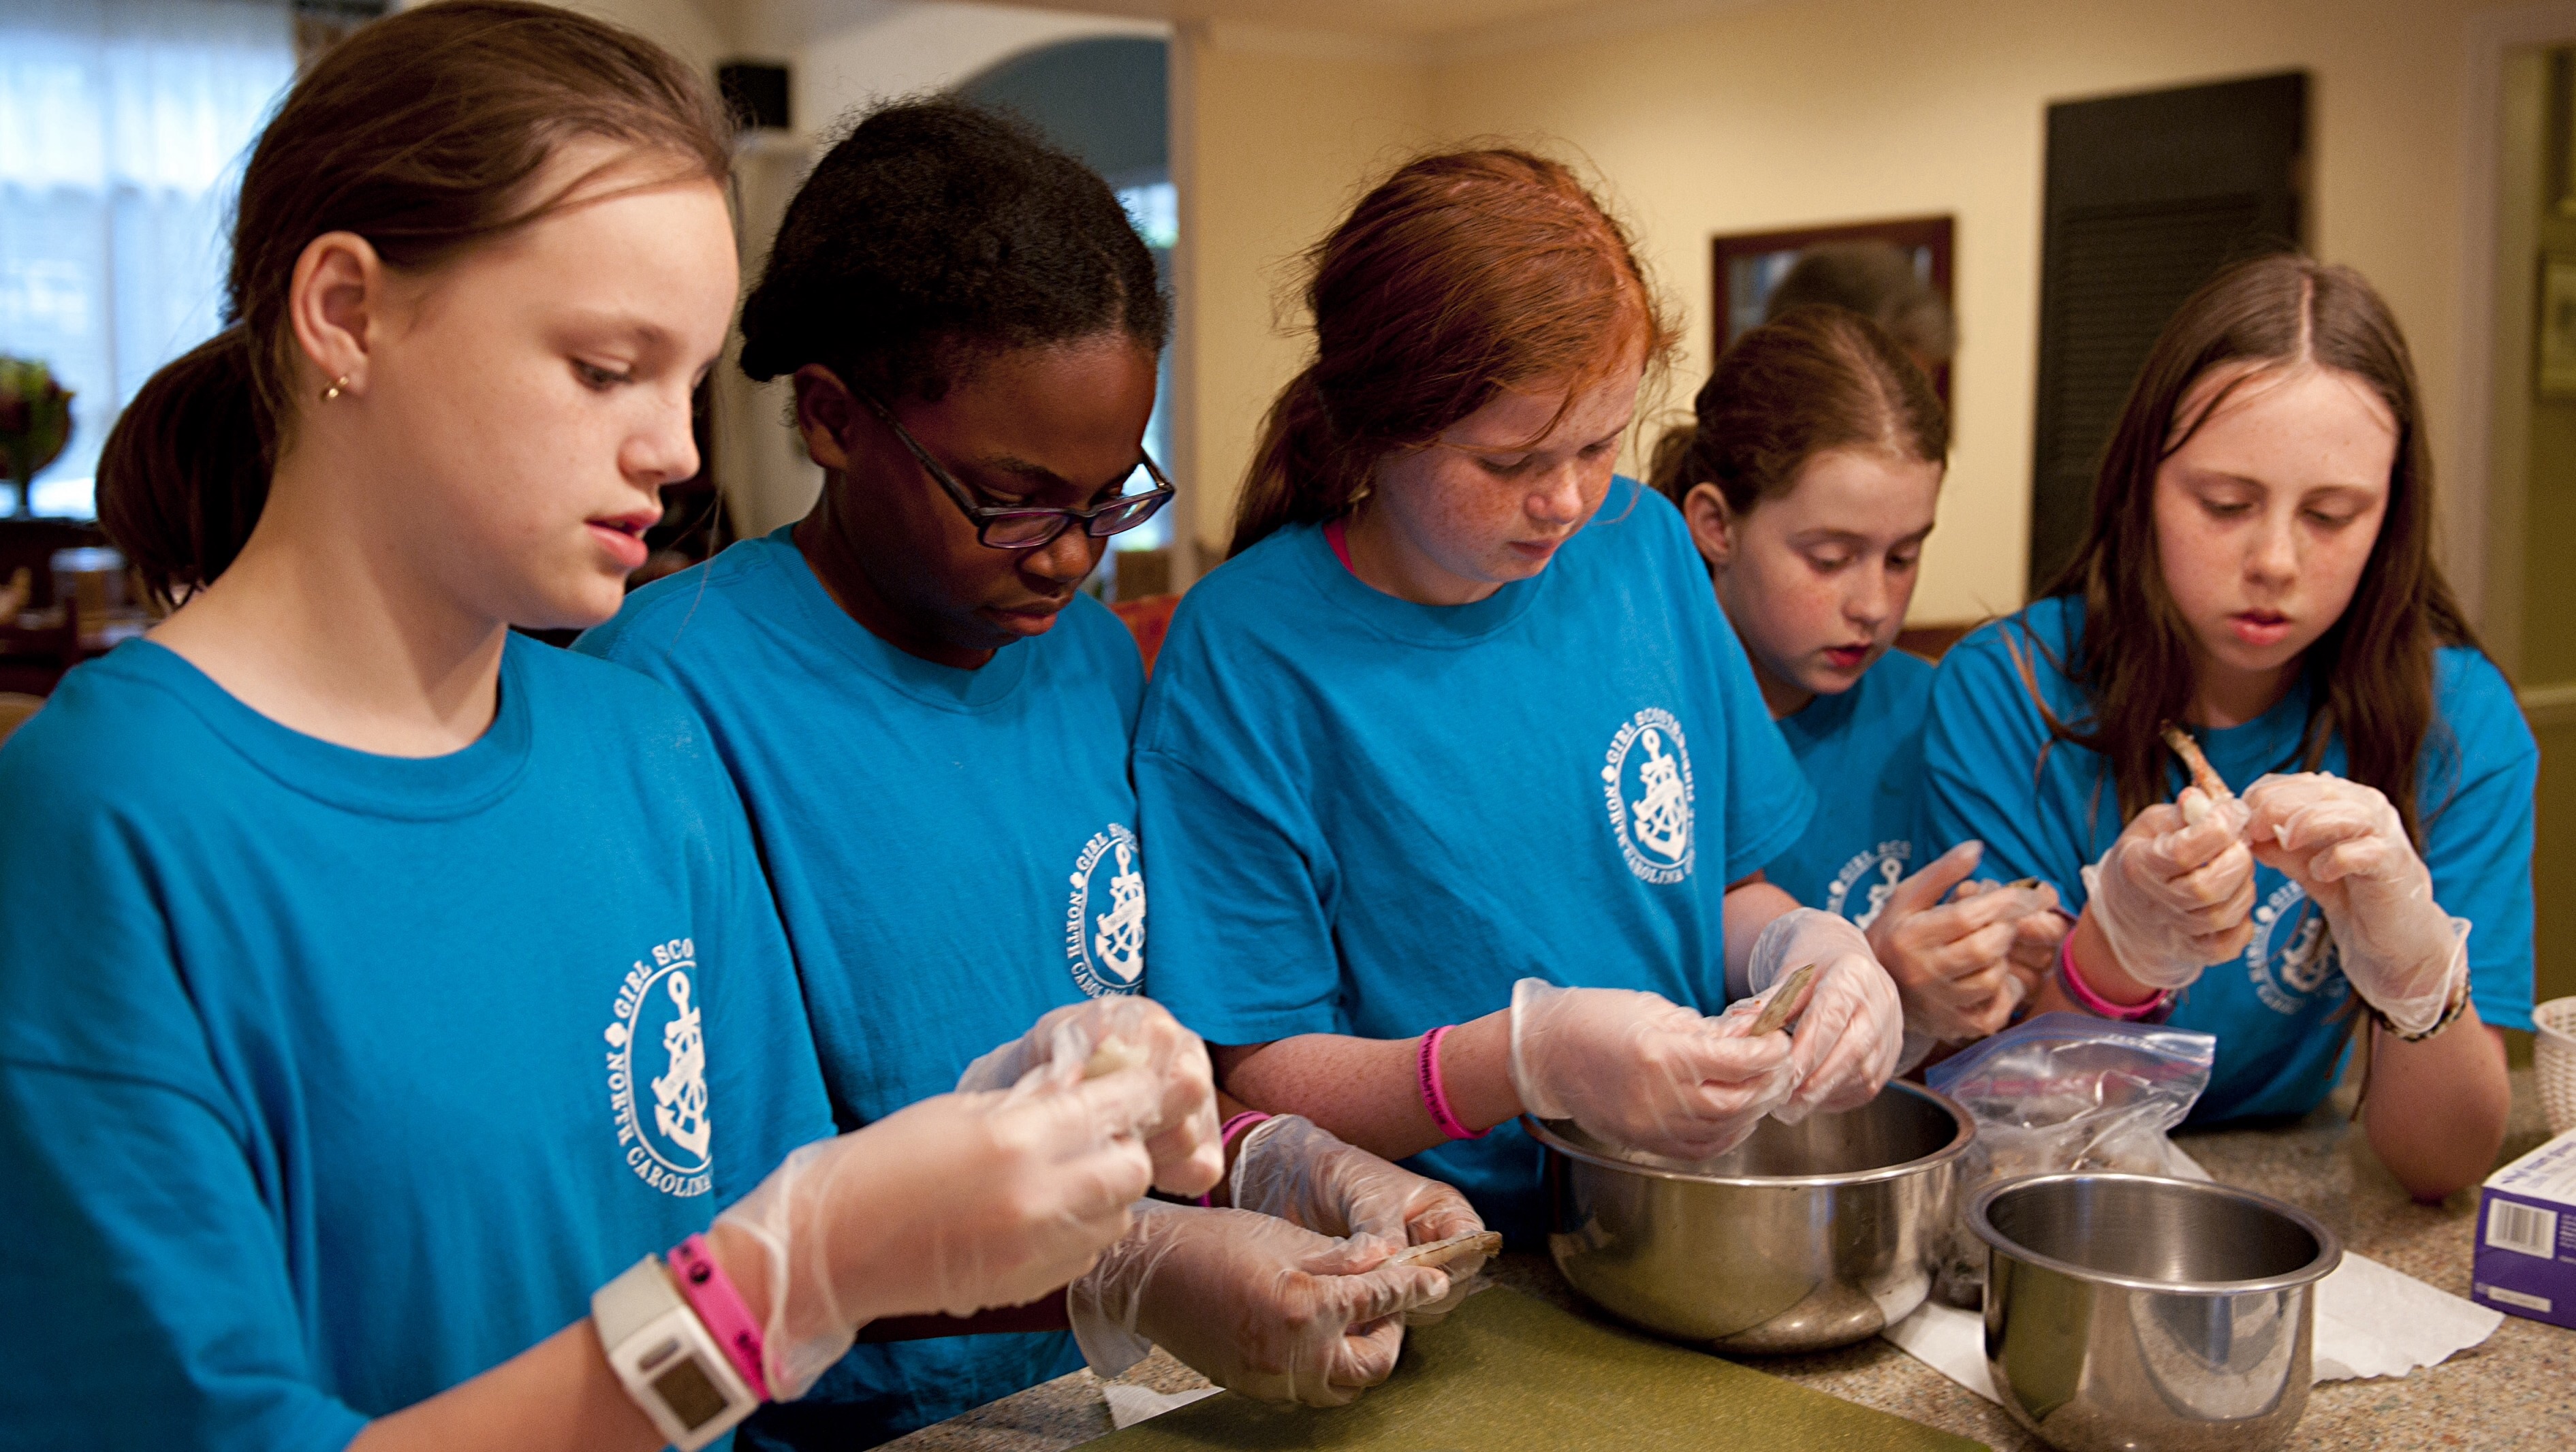
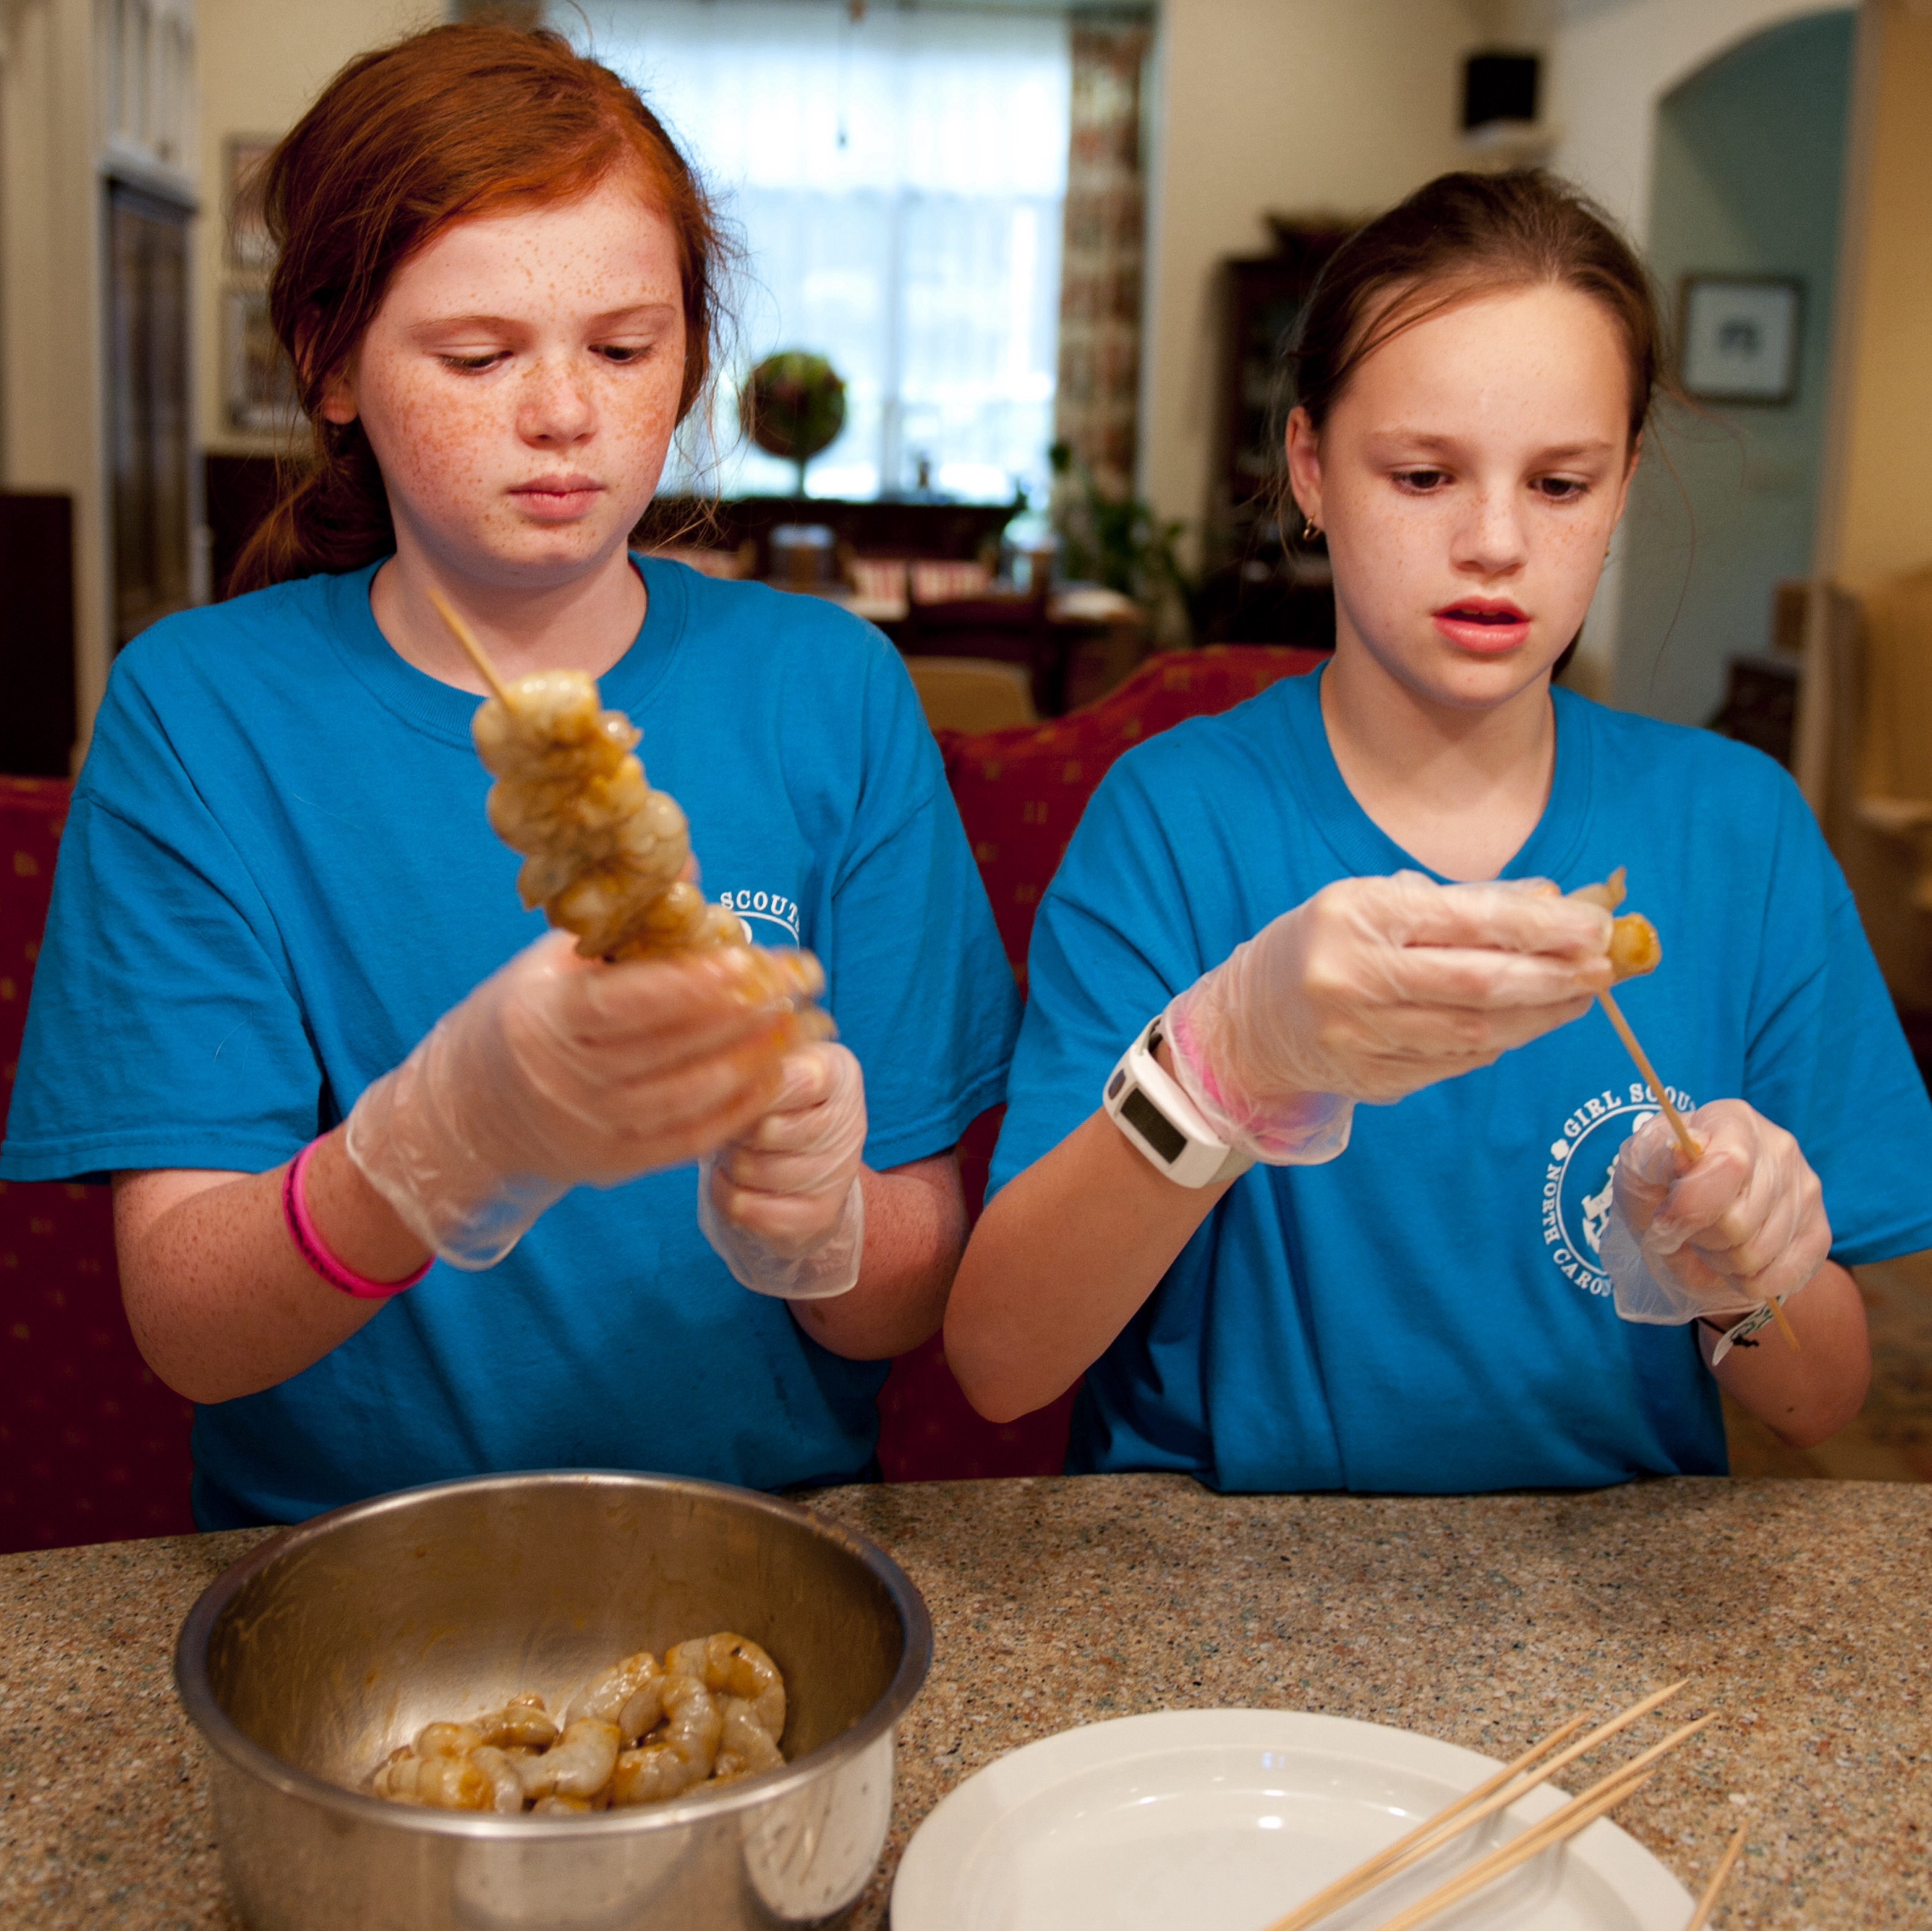
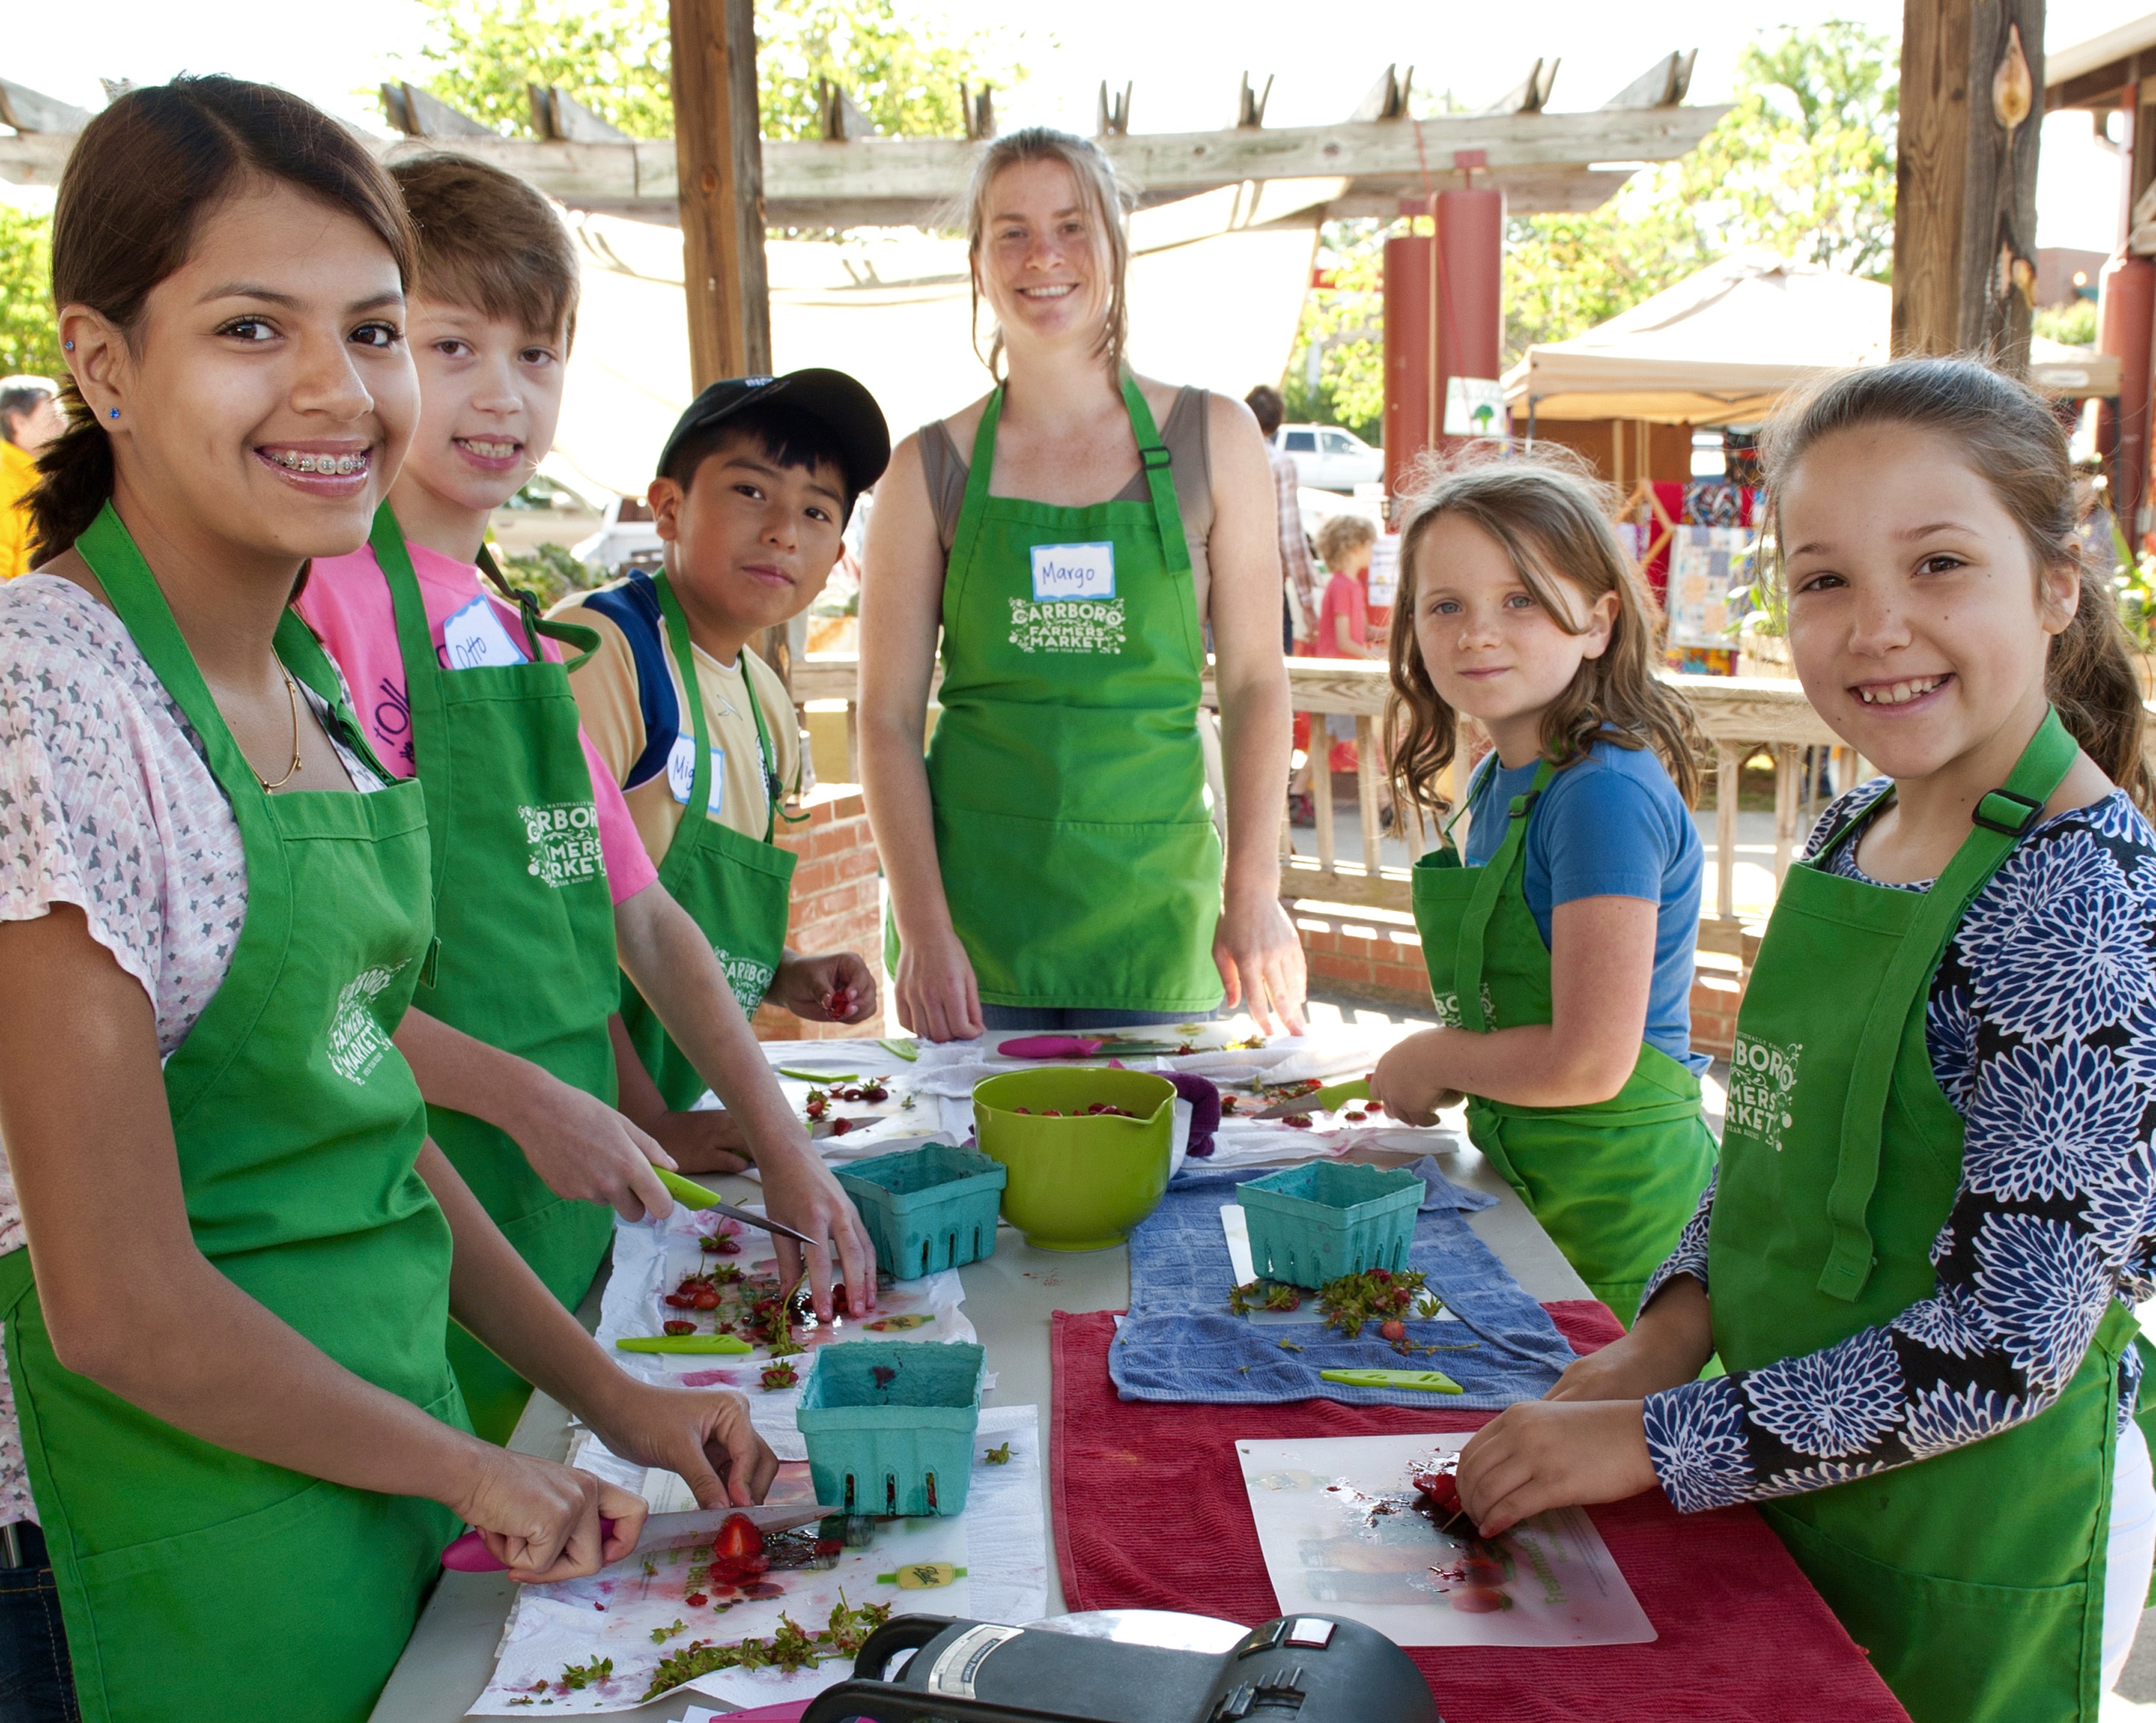
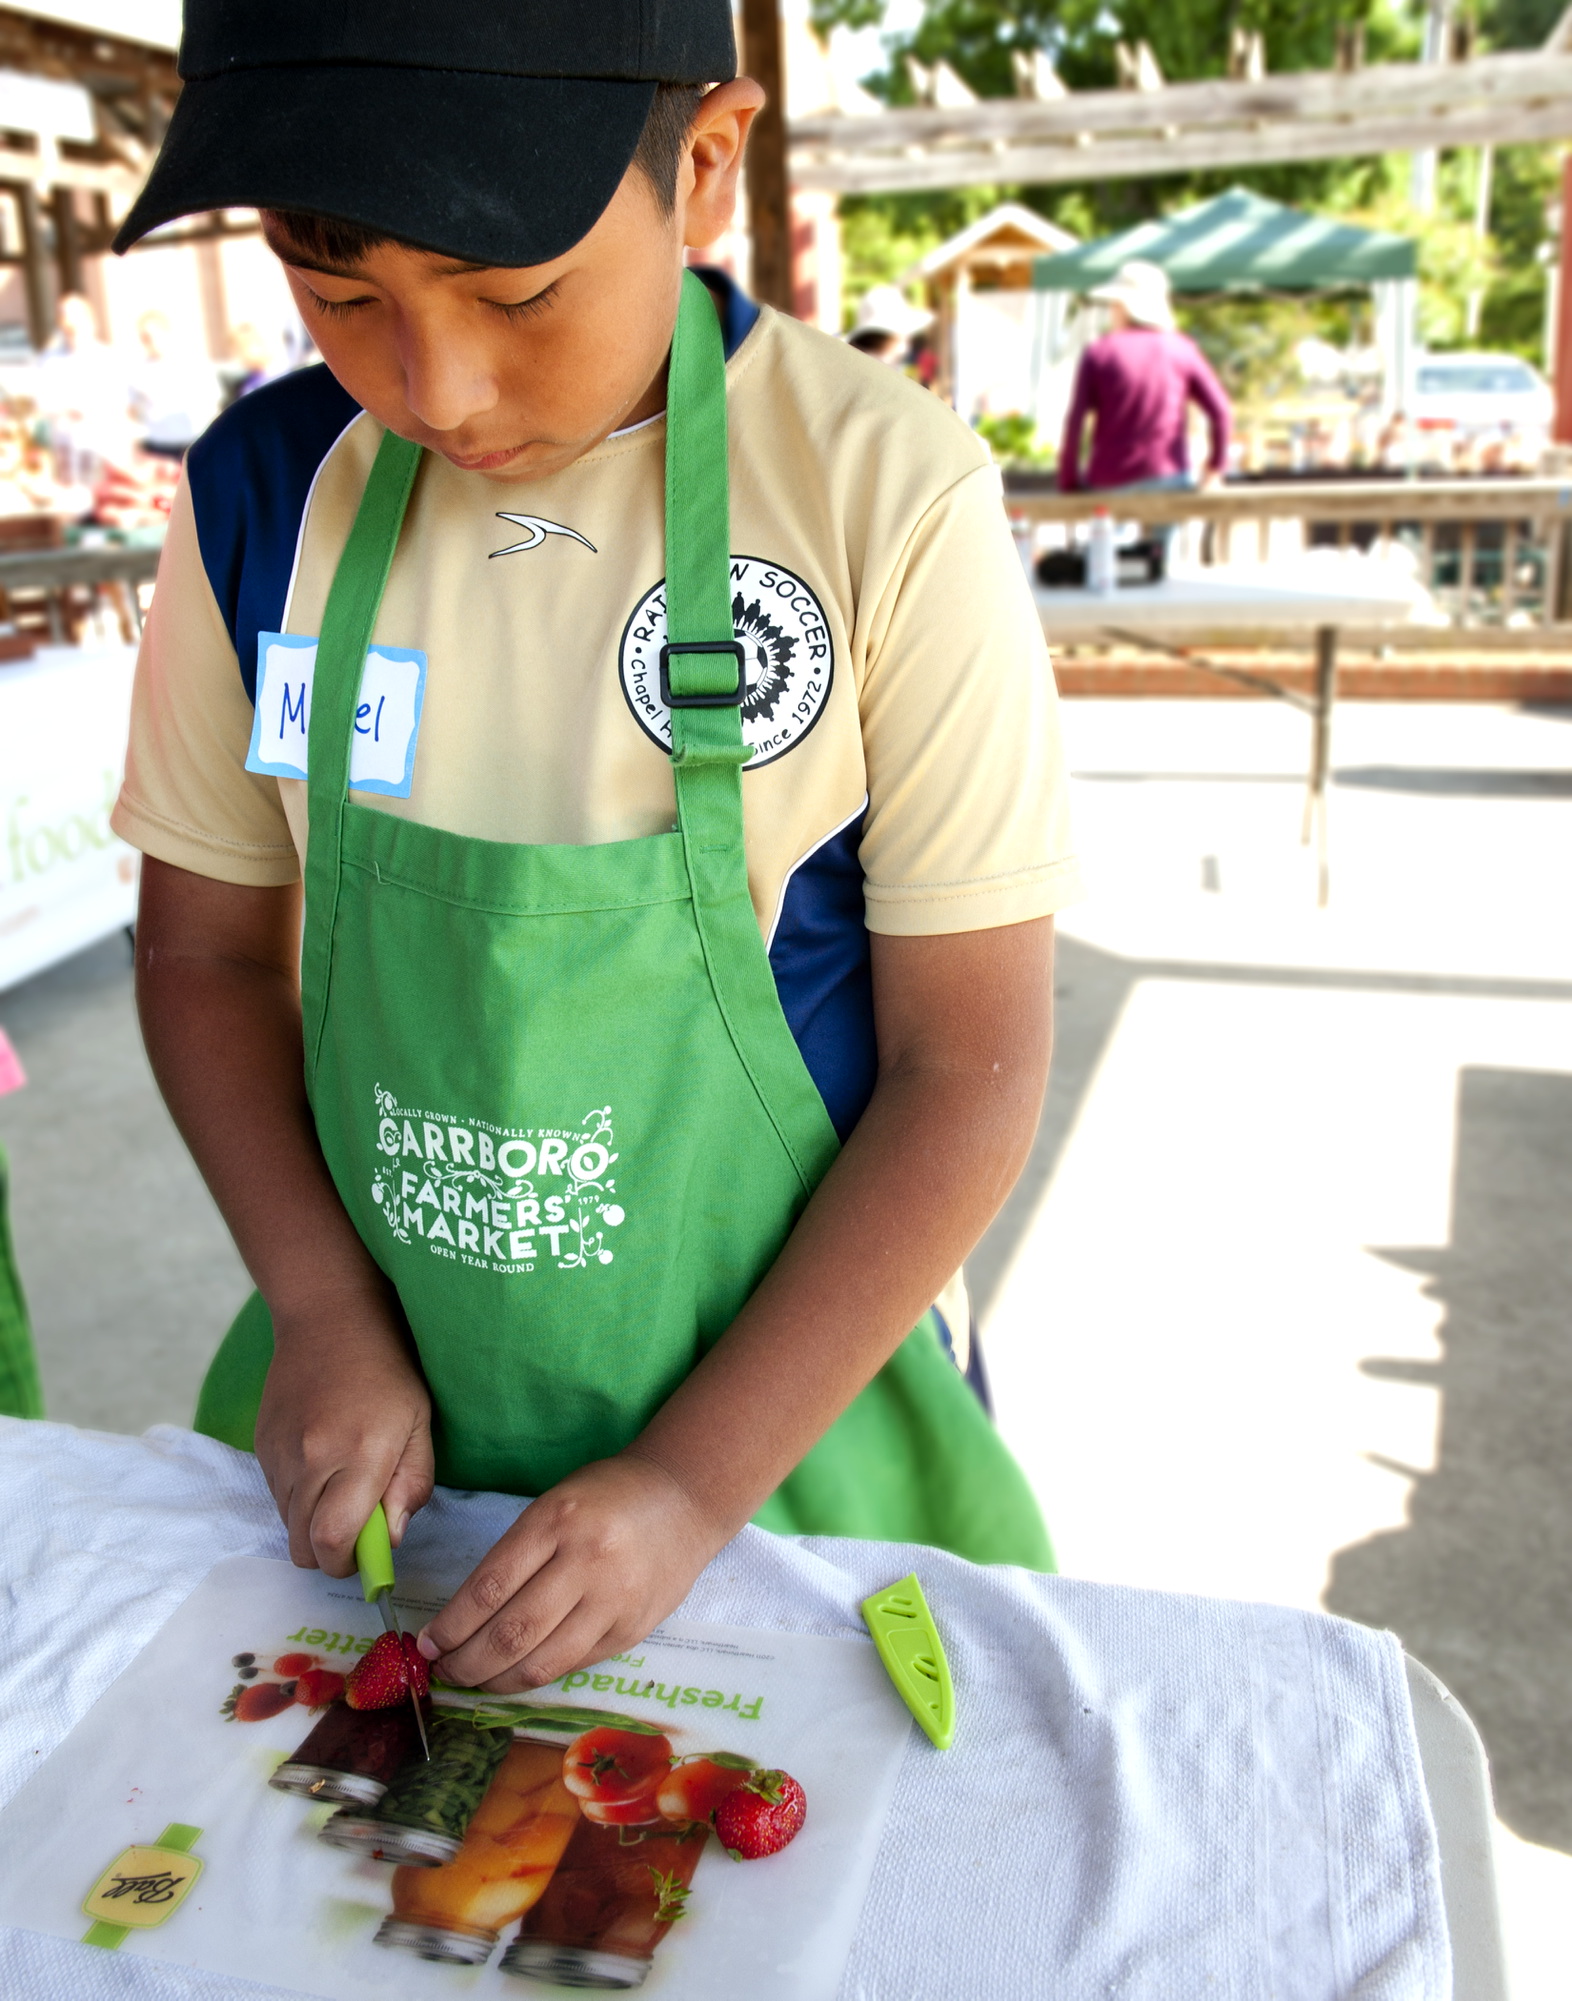
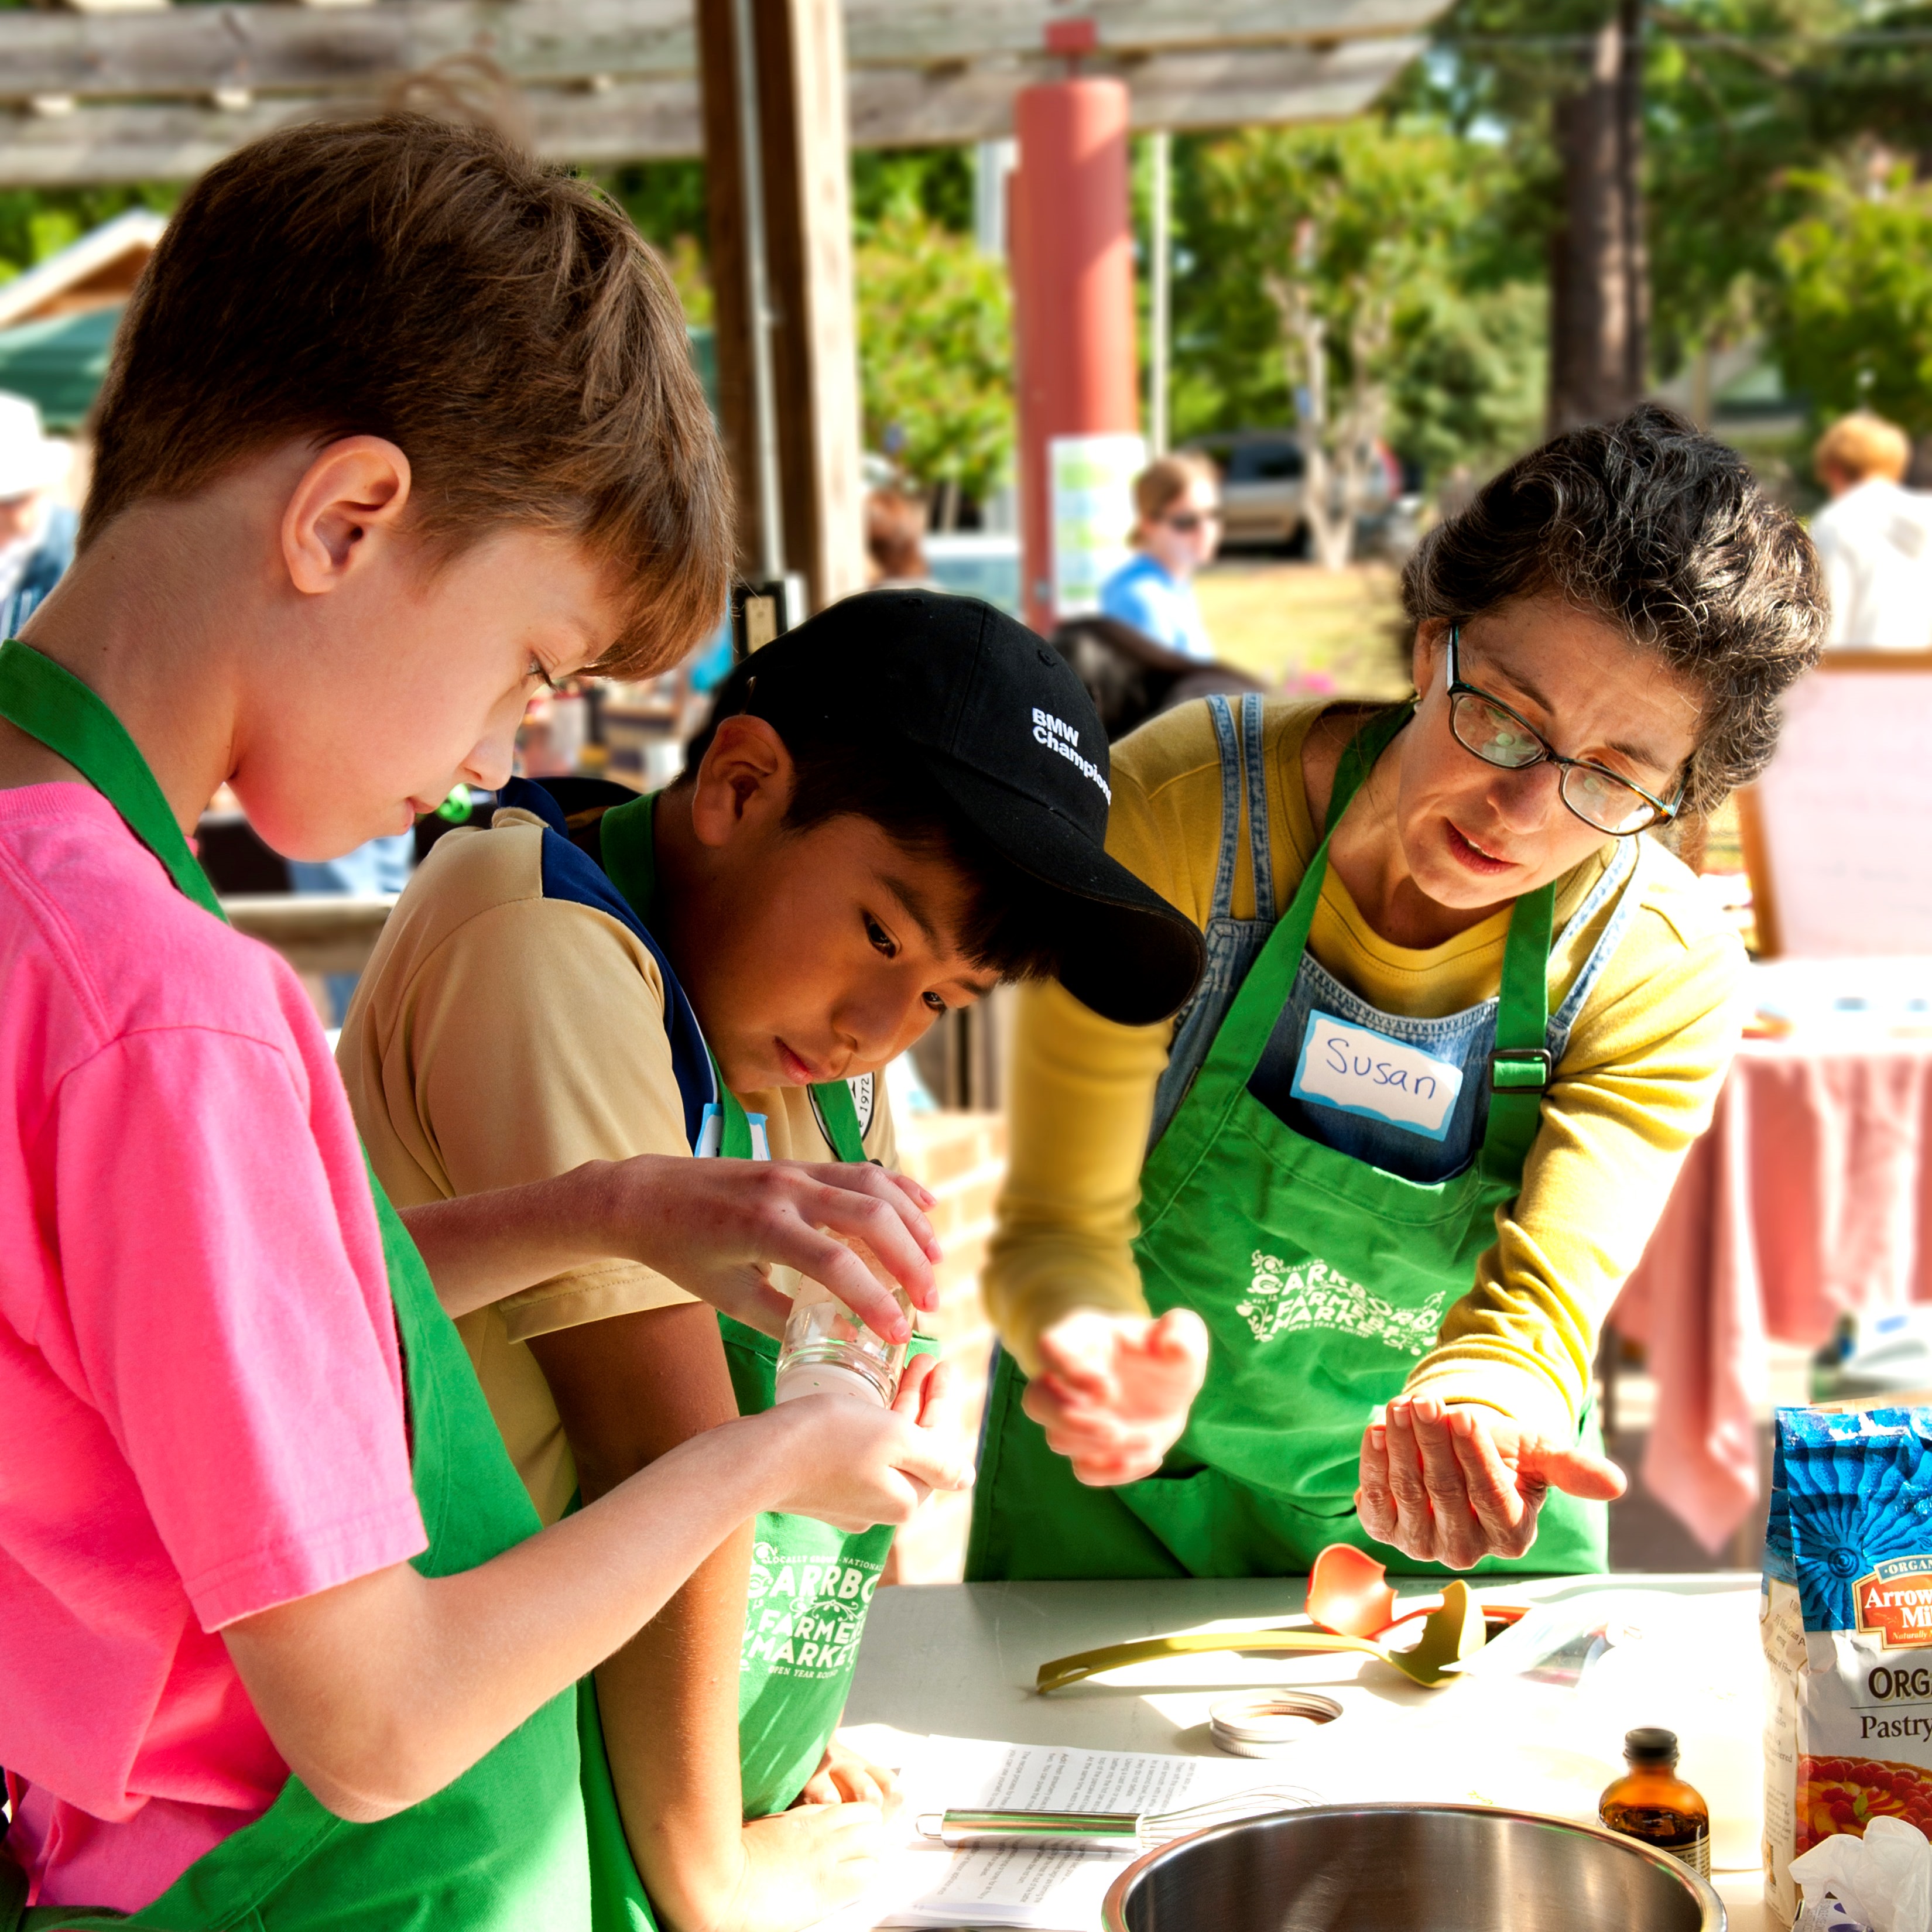
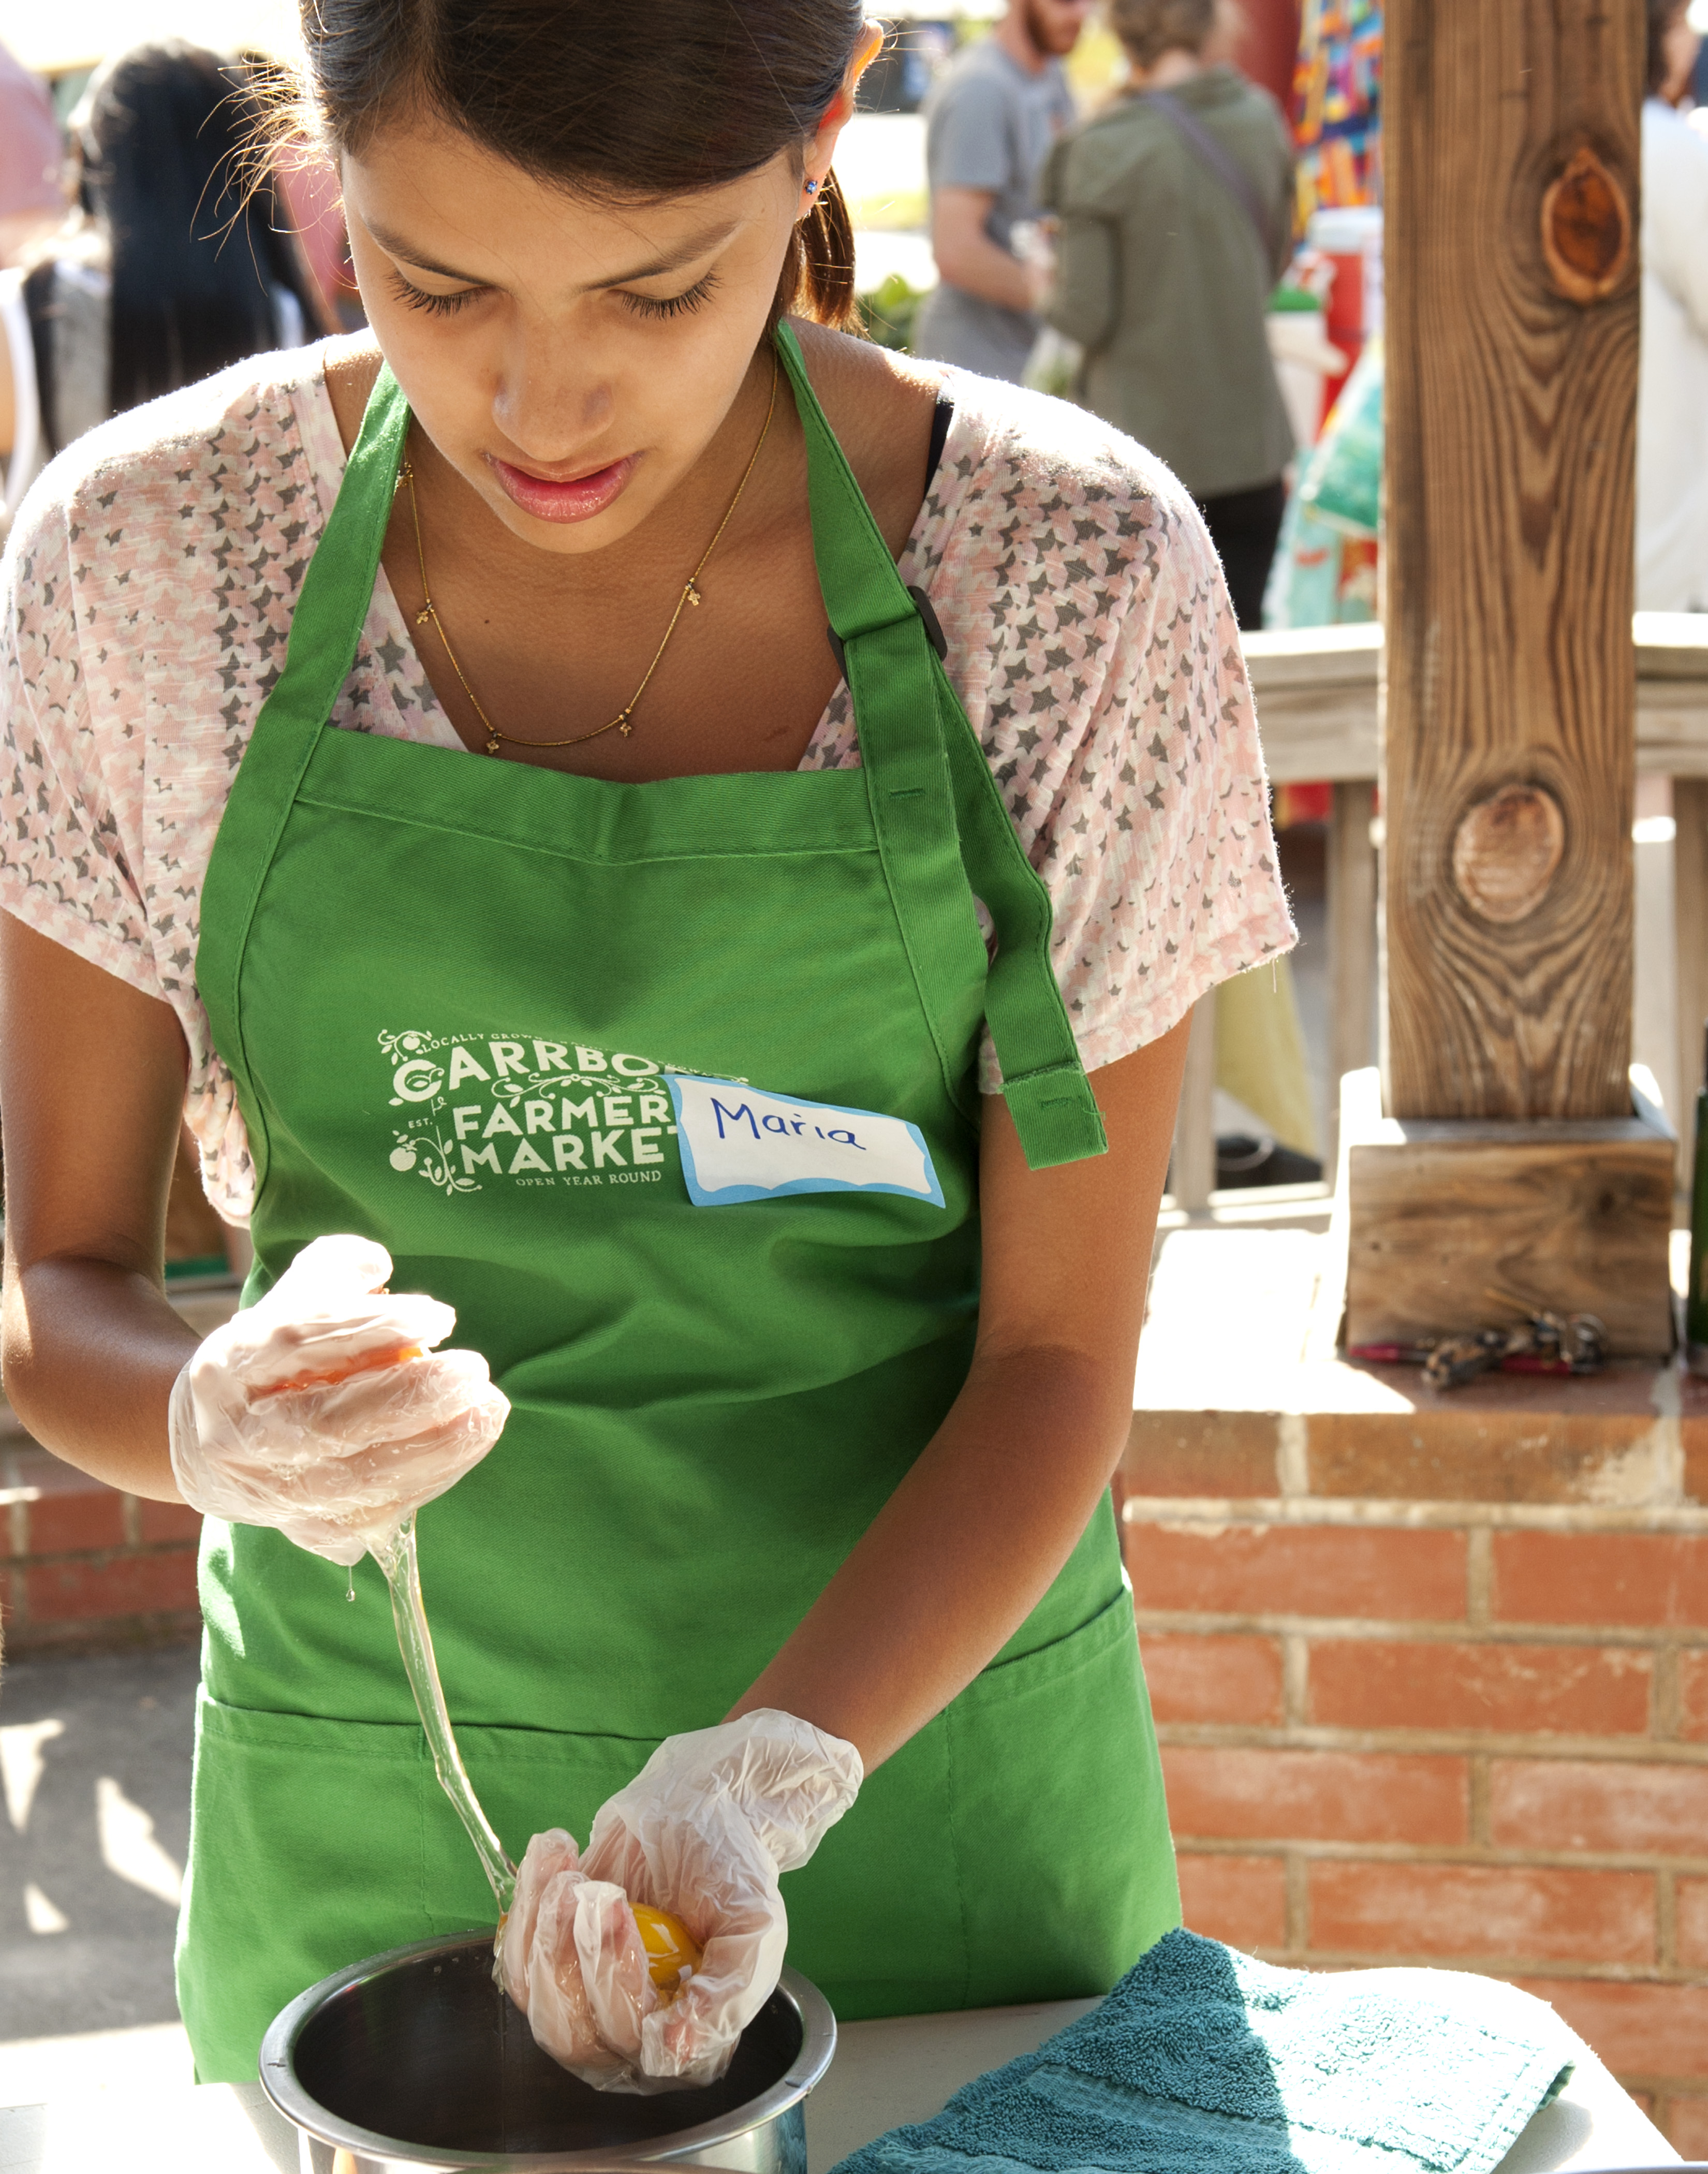
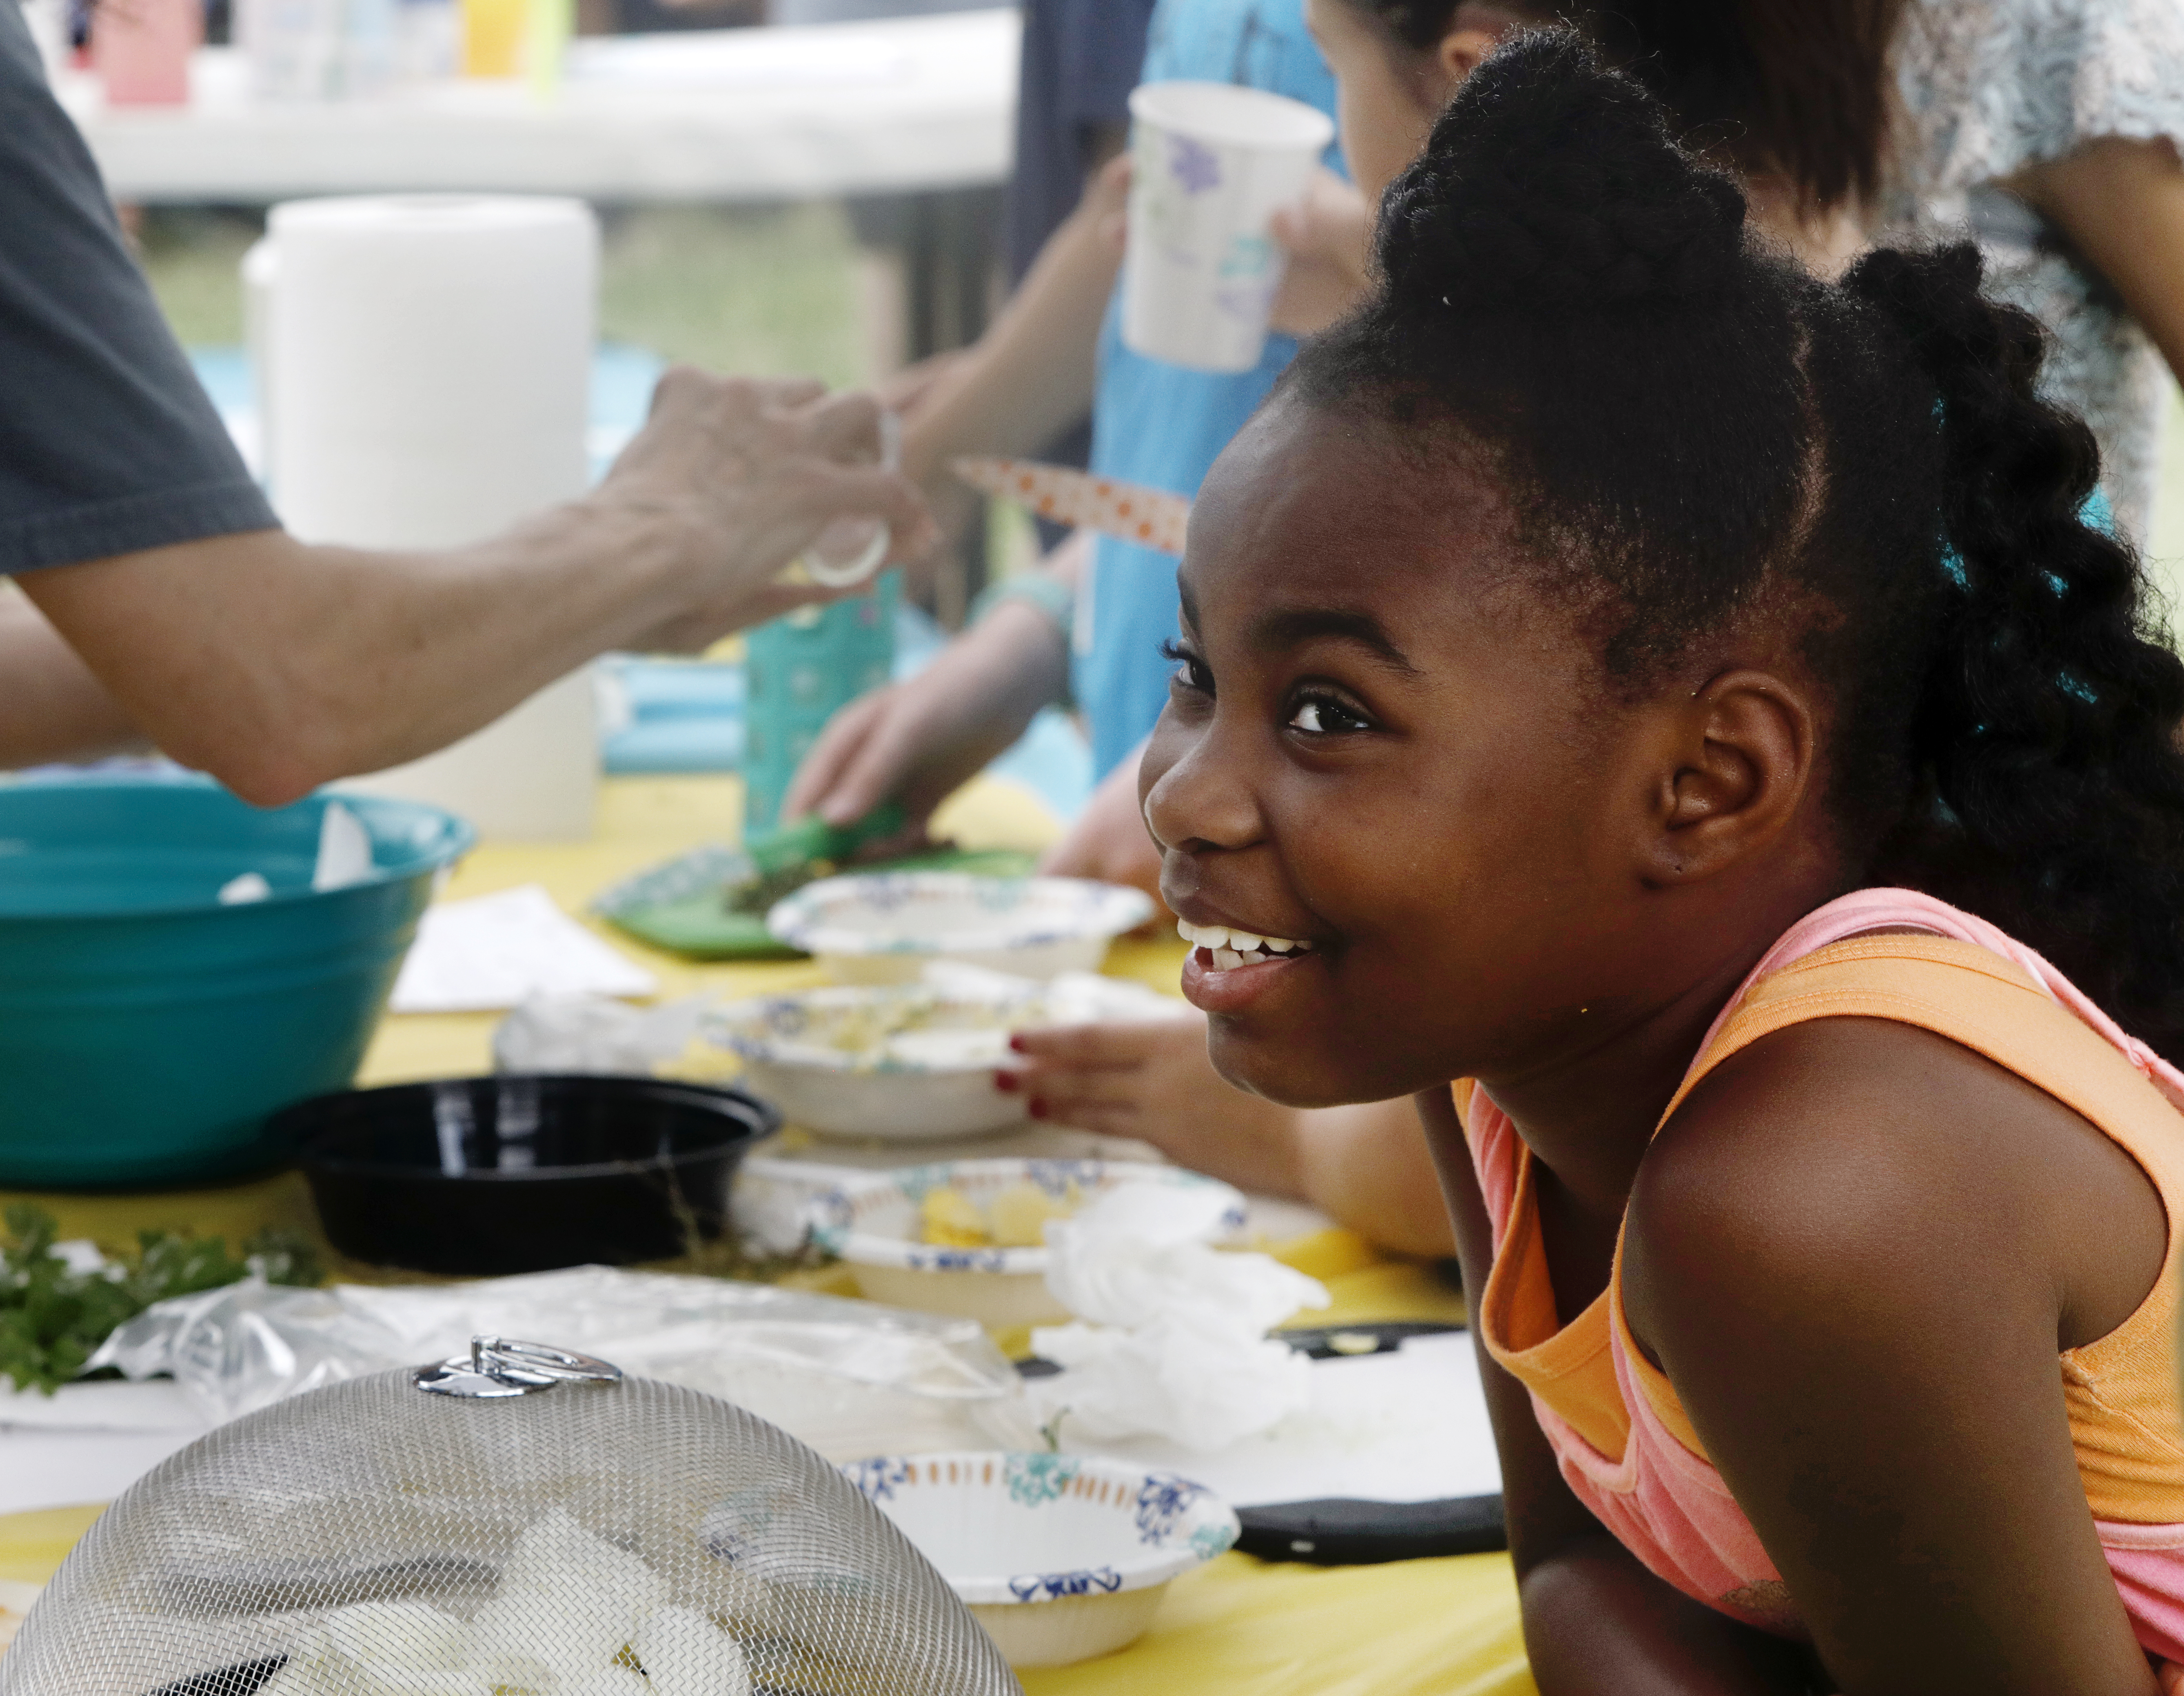
The recipes are all set up to make just a few eggs at a time, so you will need to experiment if you want to make a larger number of eggs. We had 15 young chefs that we divided up into groups and they used the recipes as a starting point. They were encouraged to taste-test the filling as they added ingredients and make changes if they liked or disliked something in the recipe.
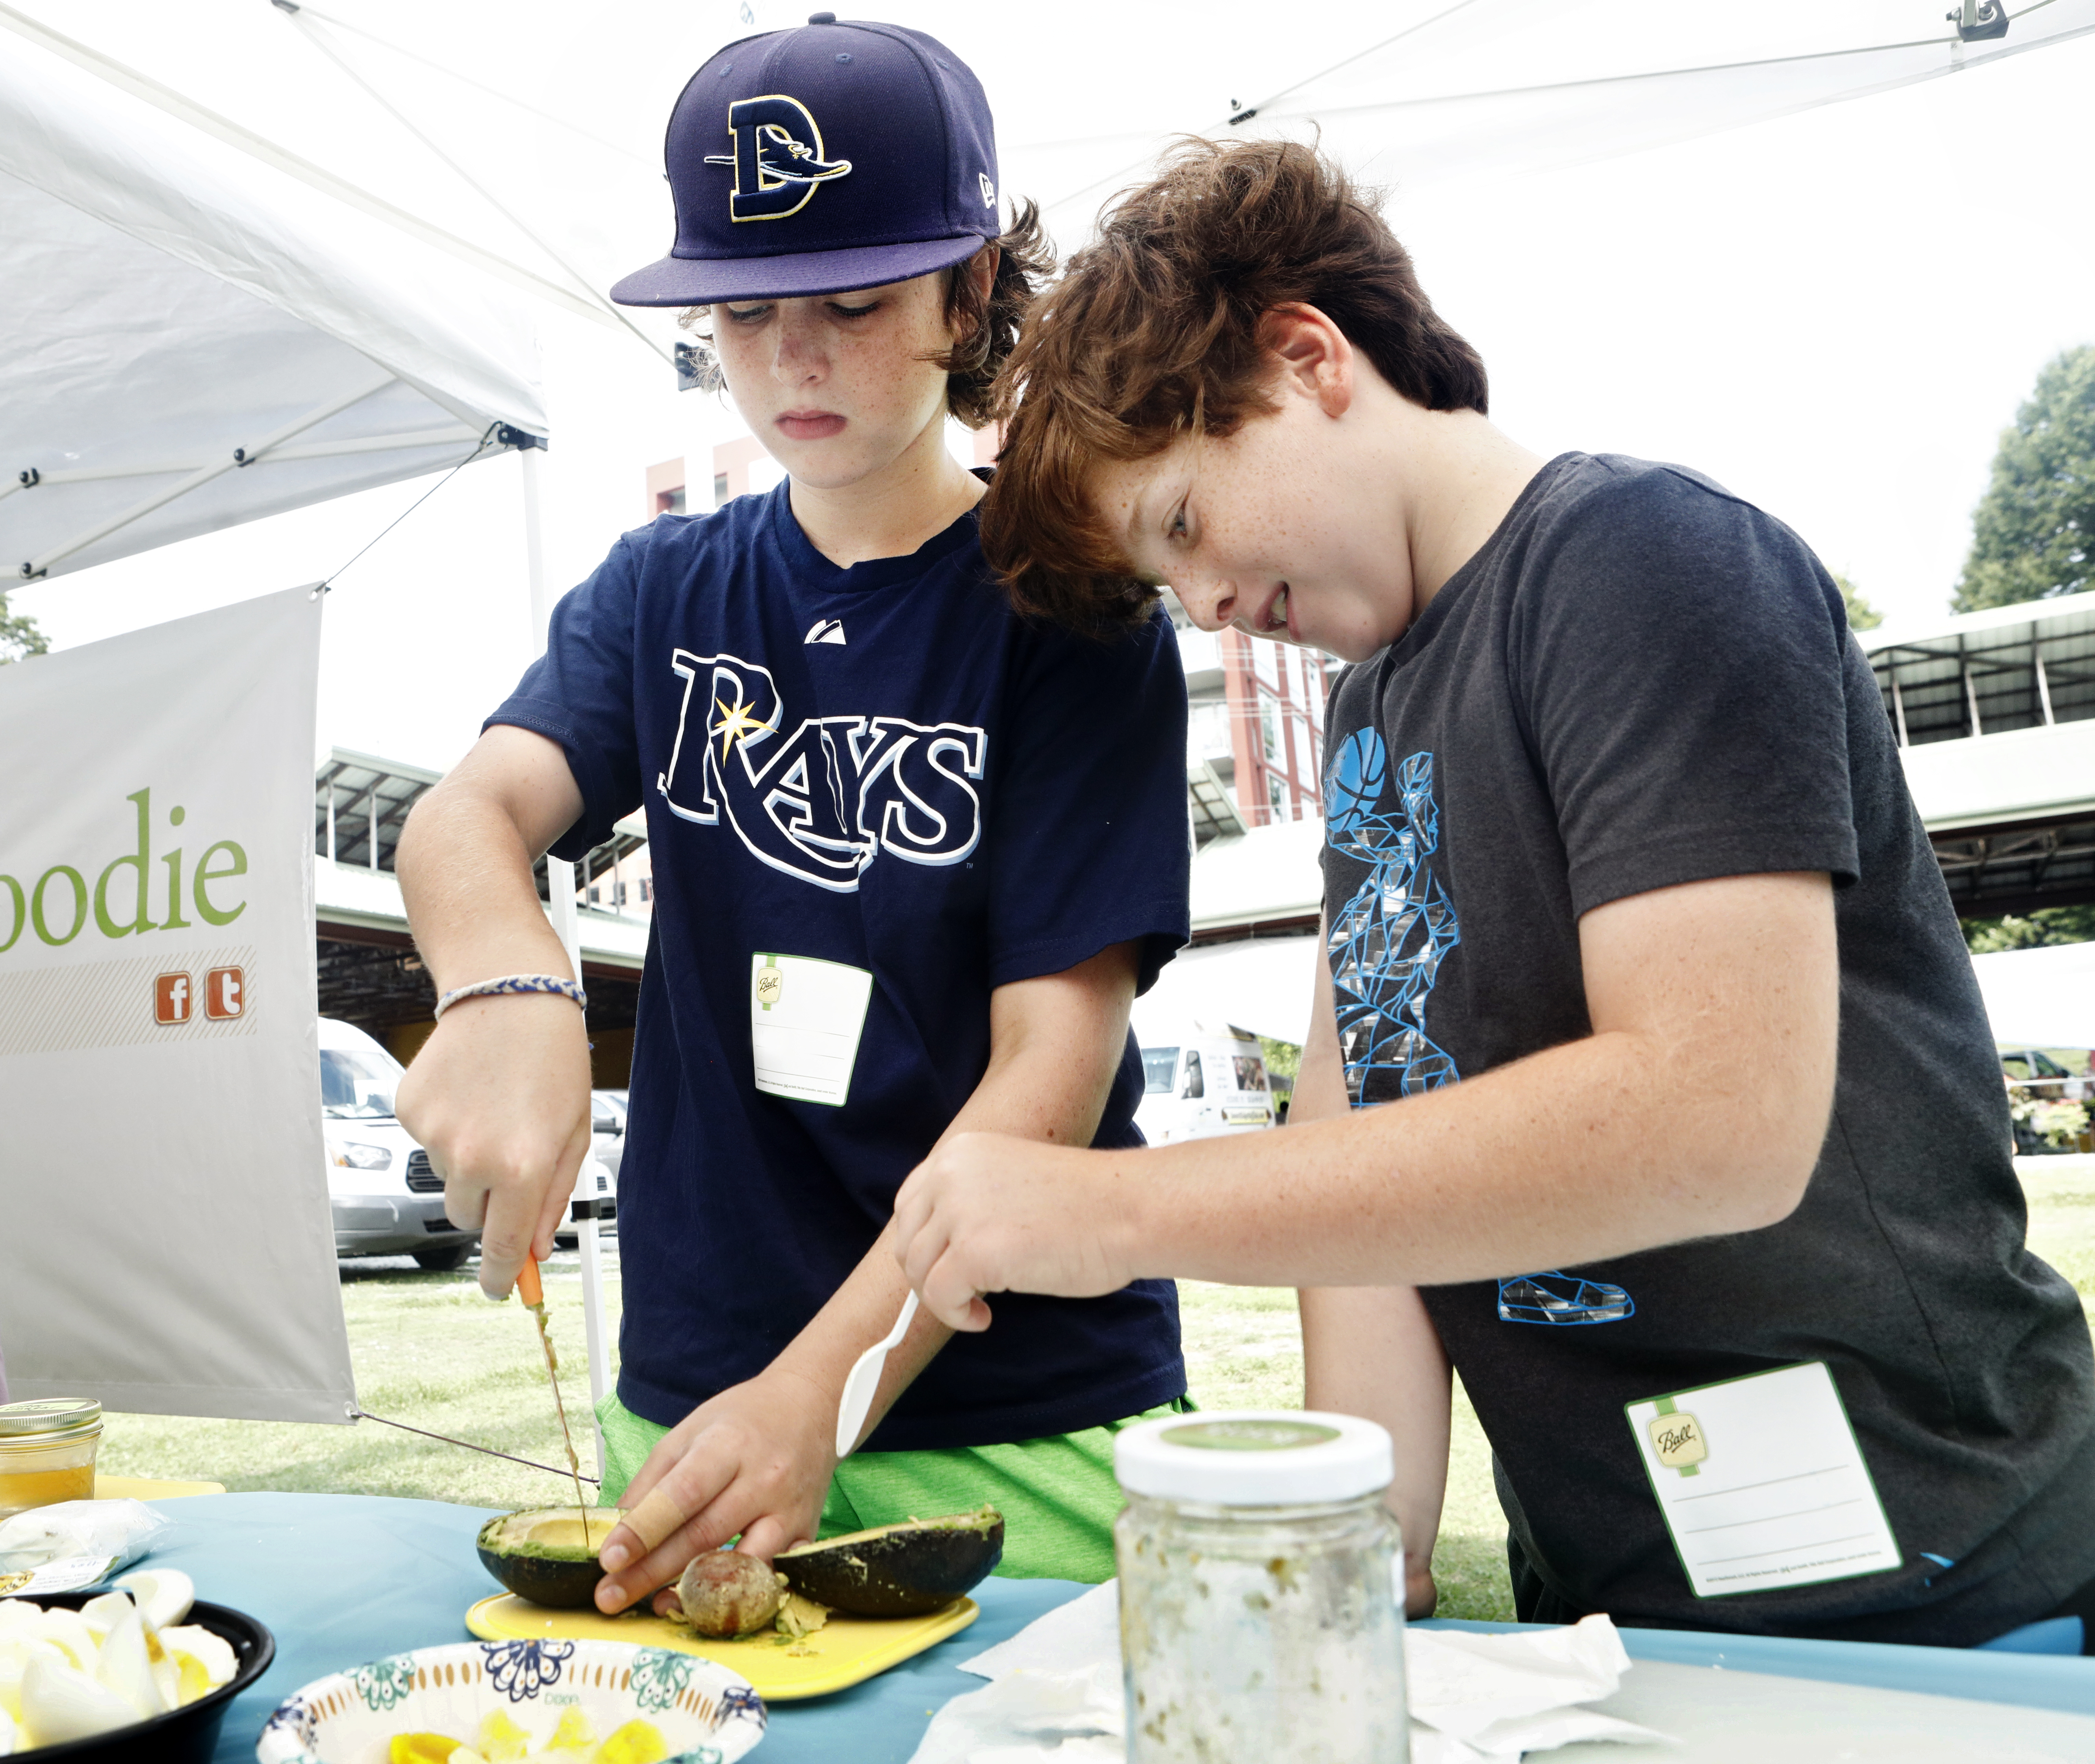
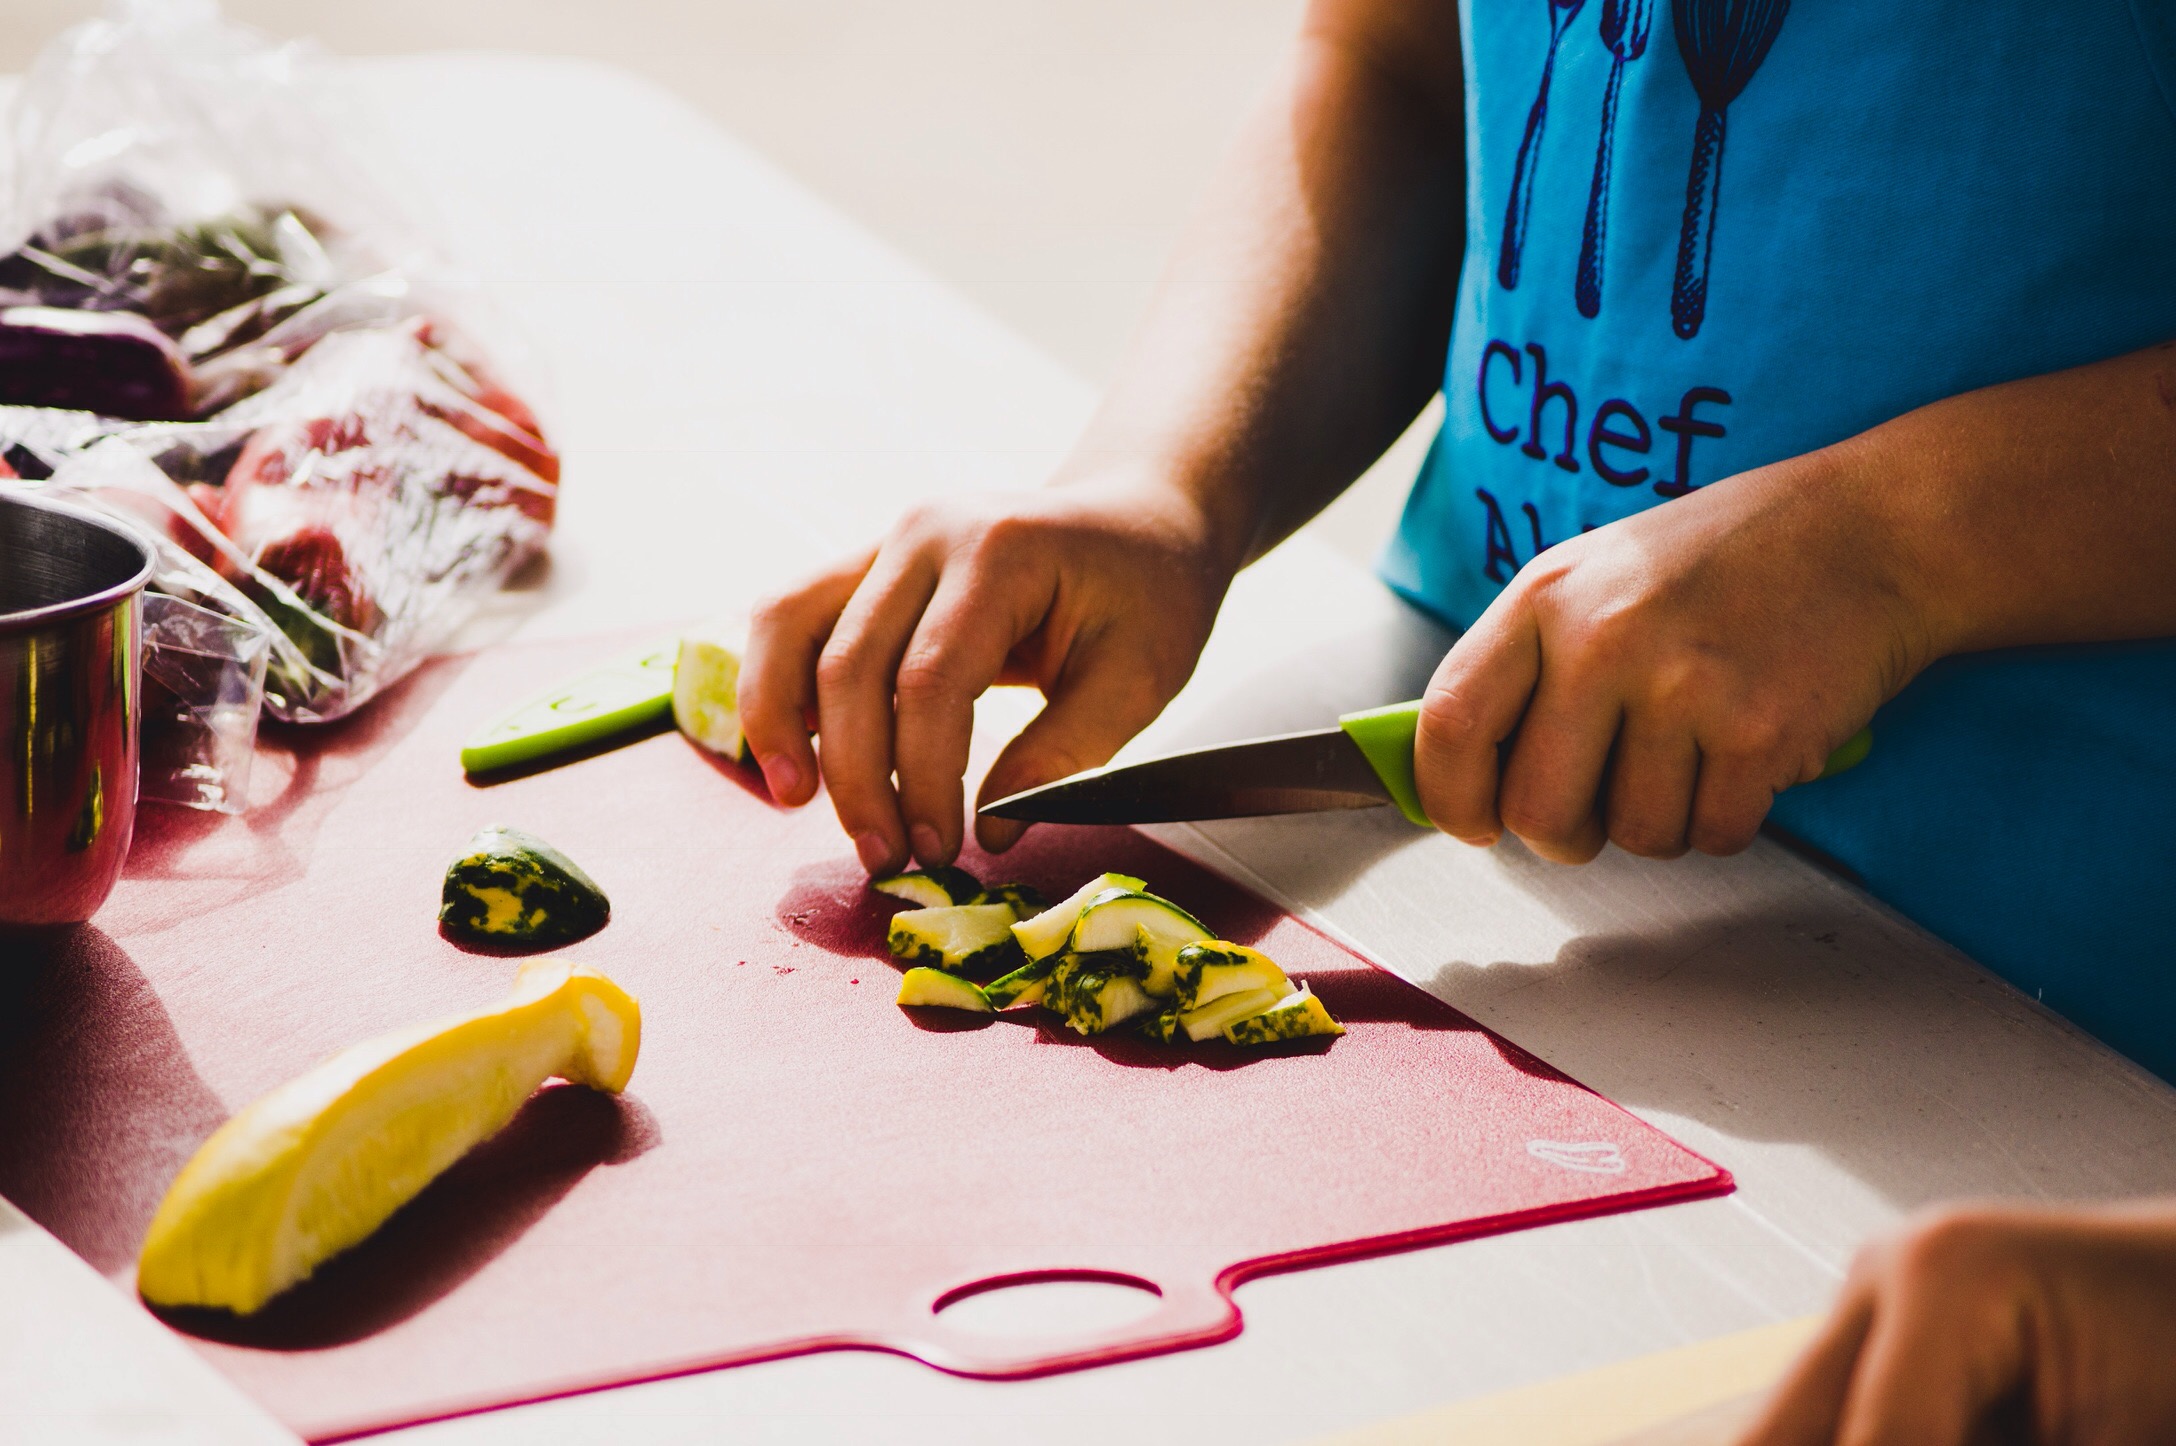
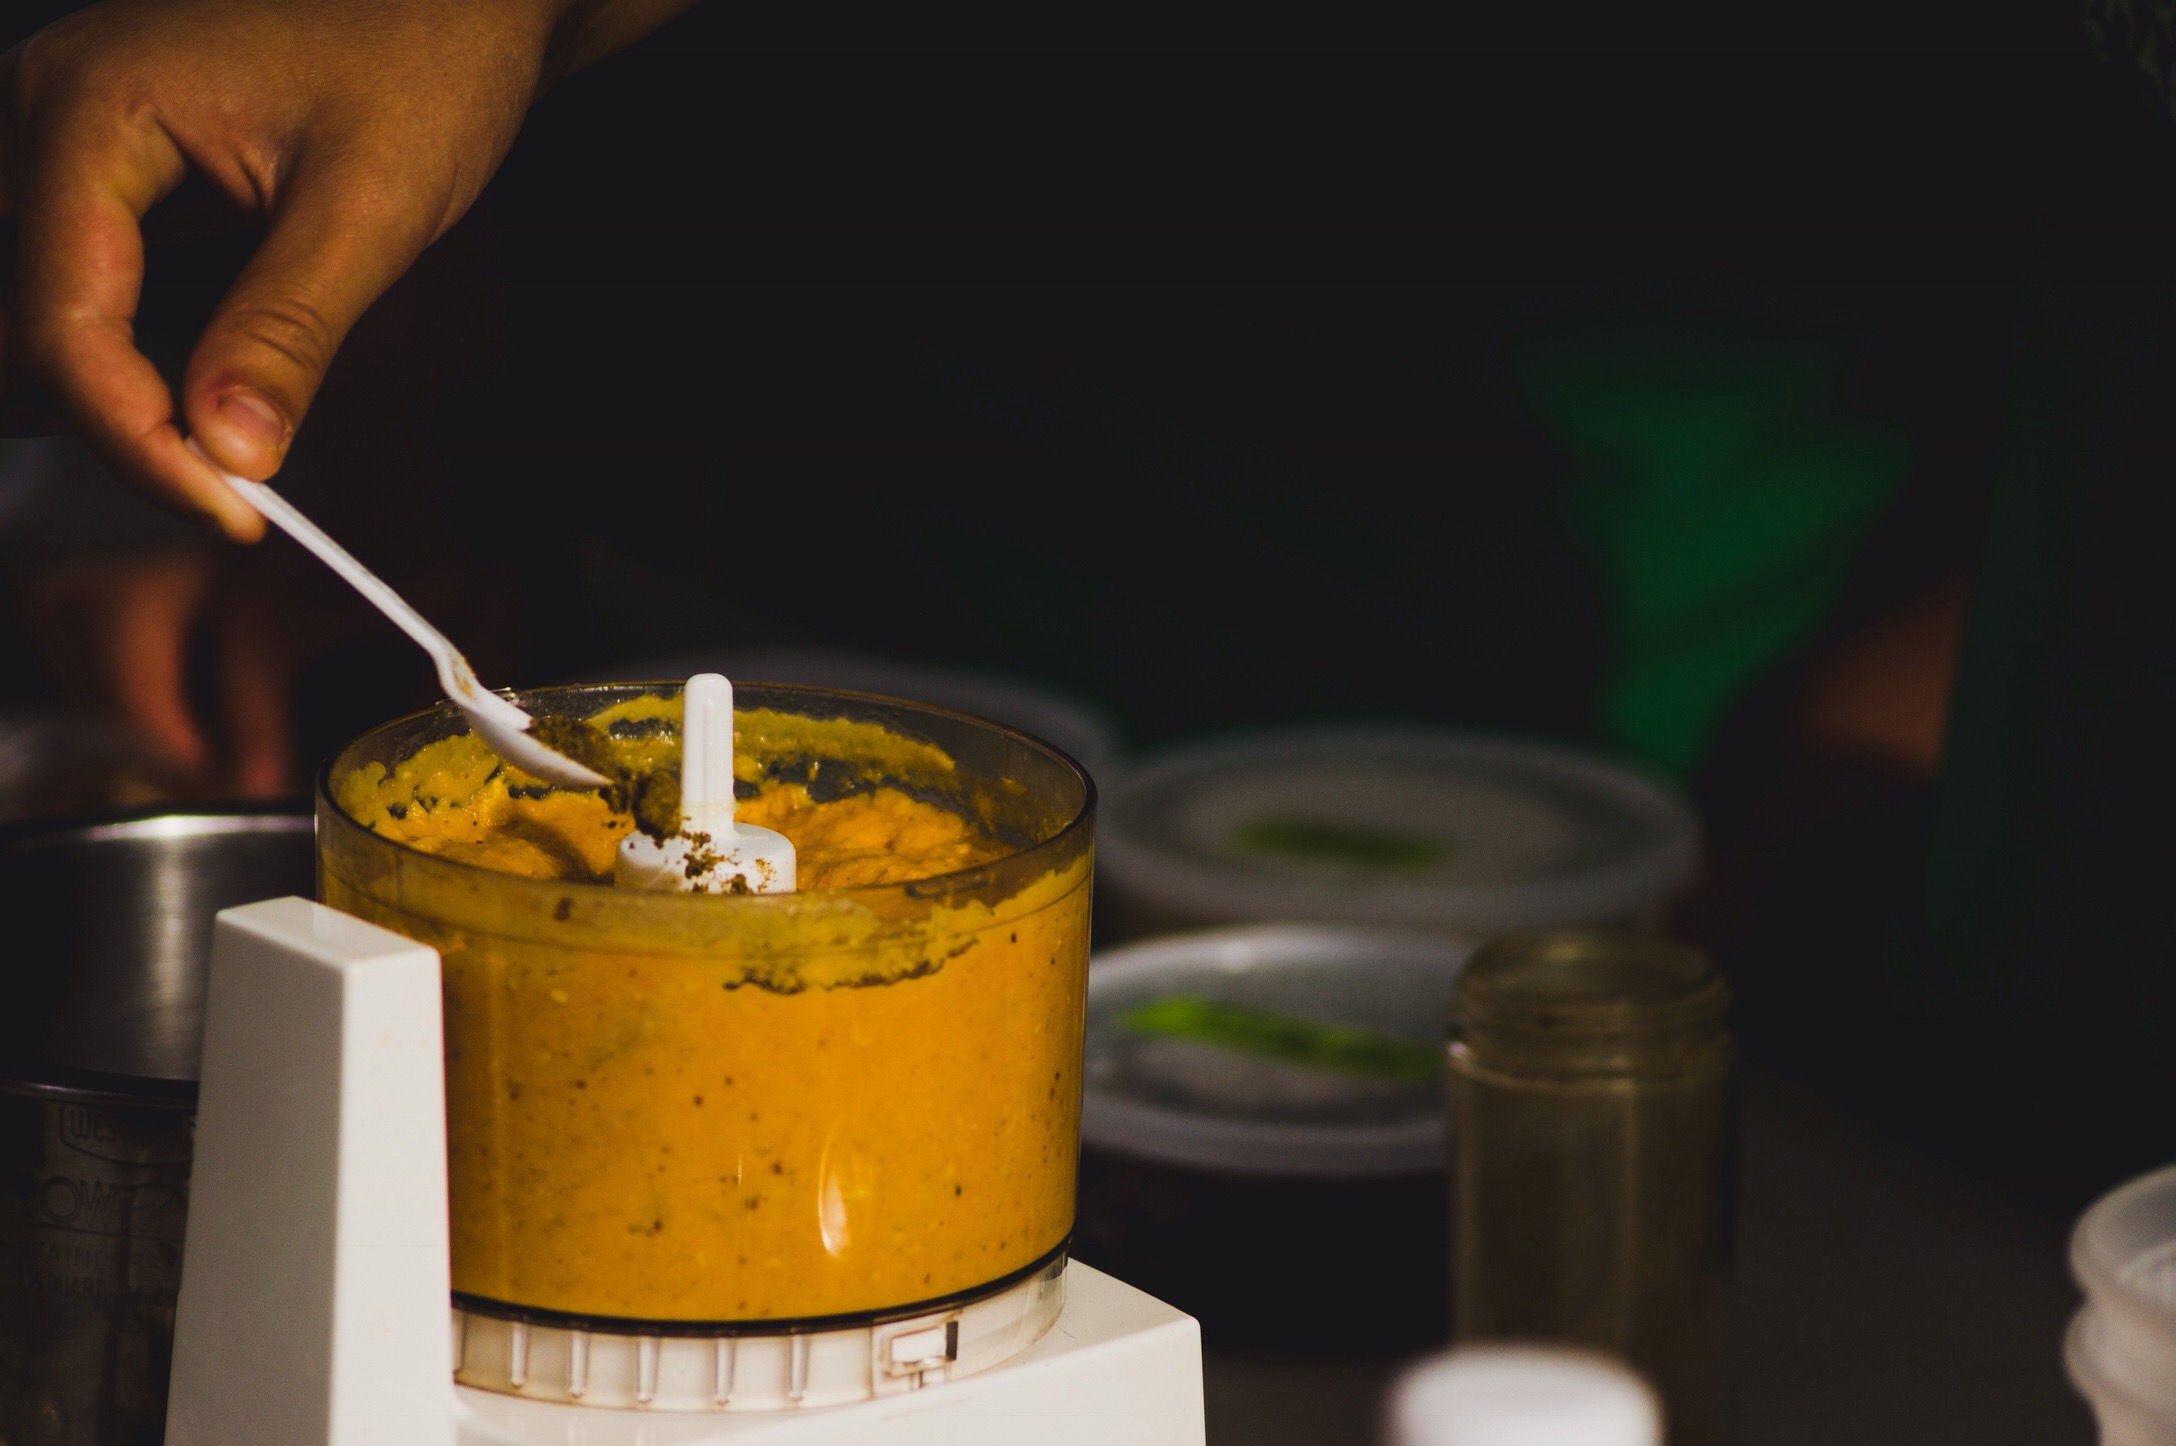
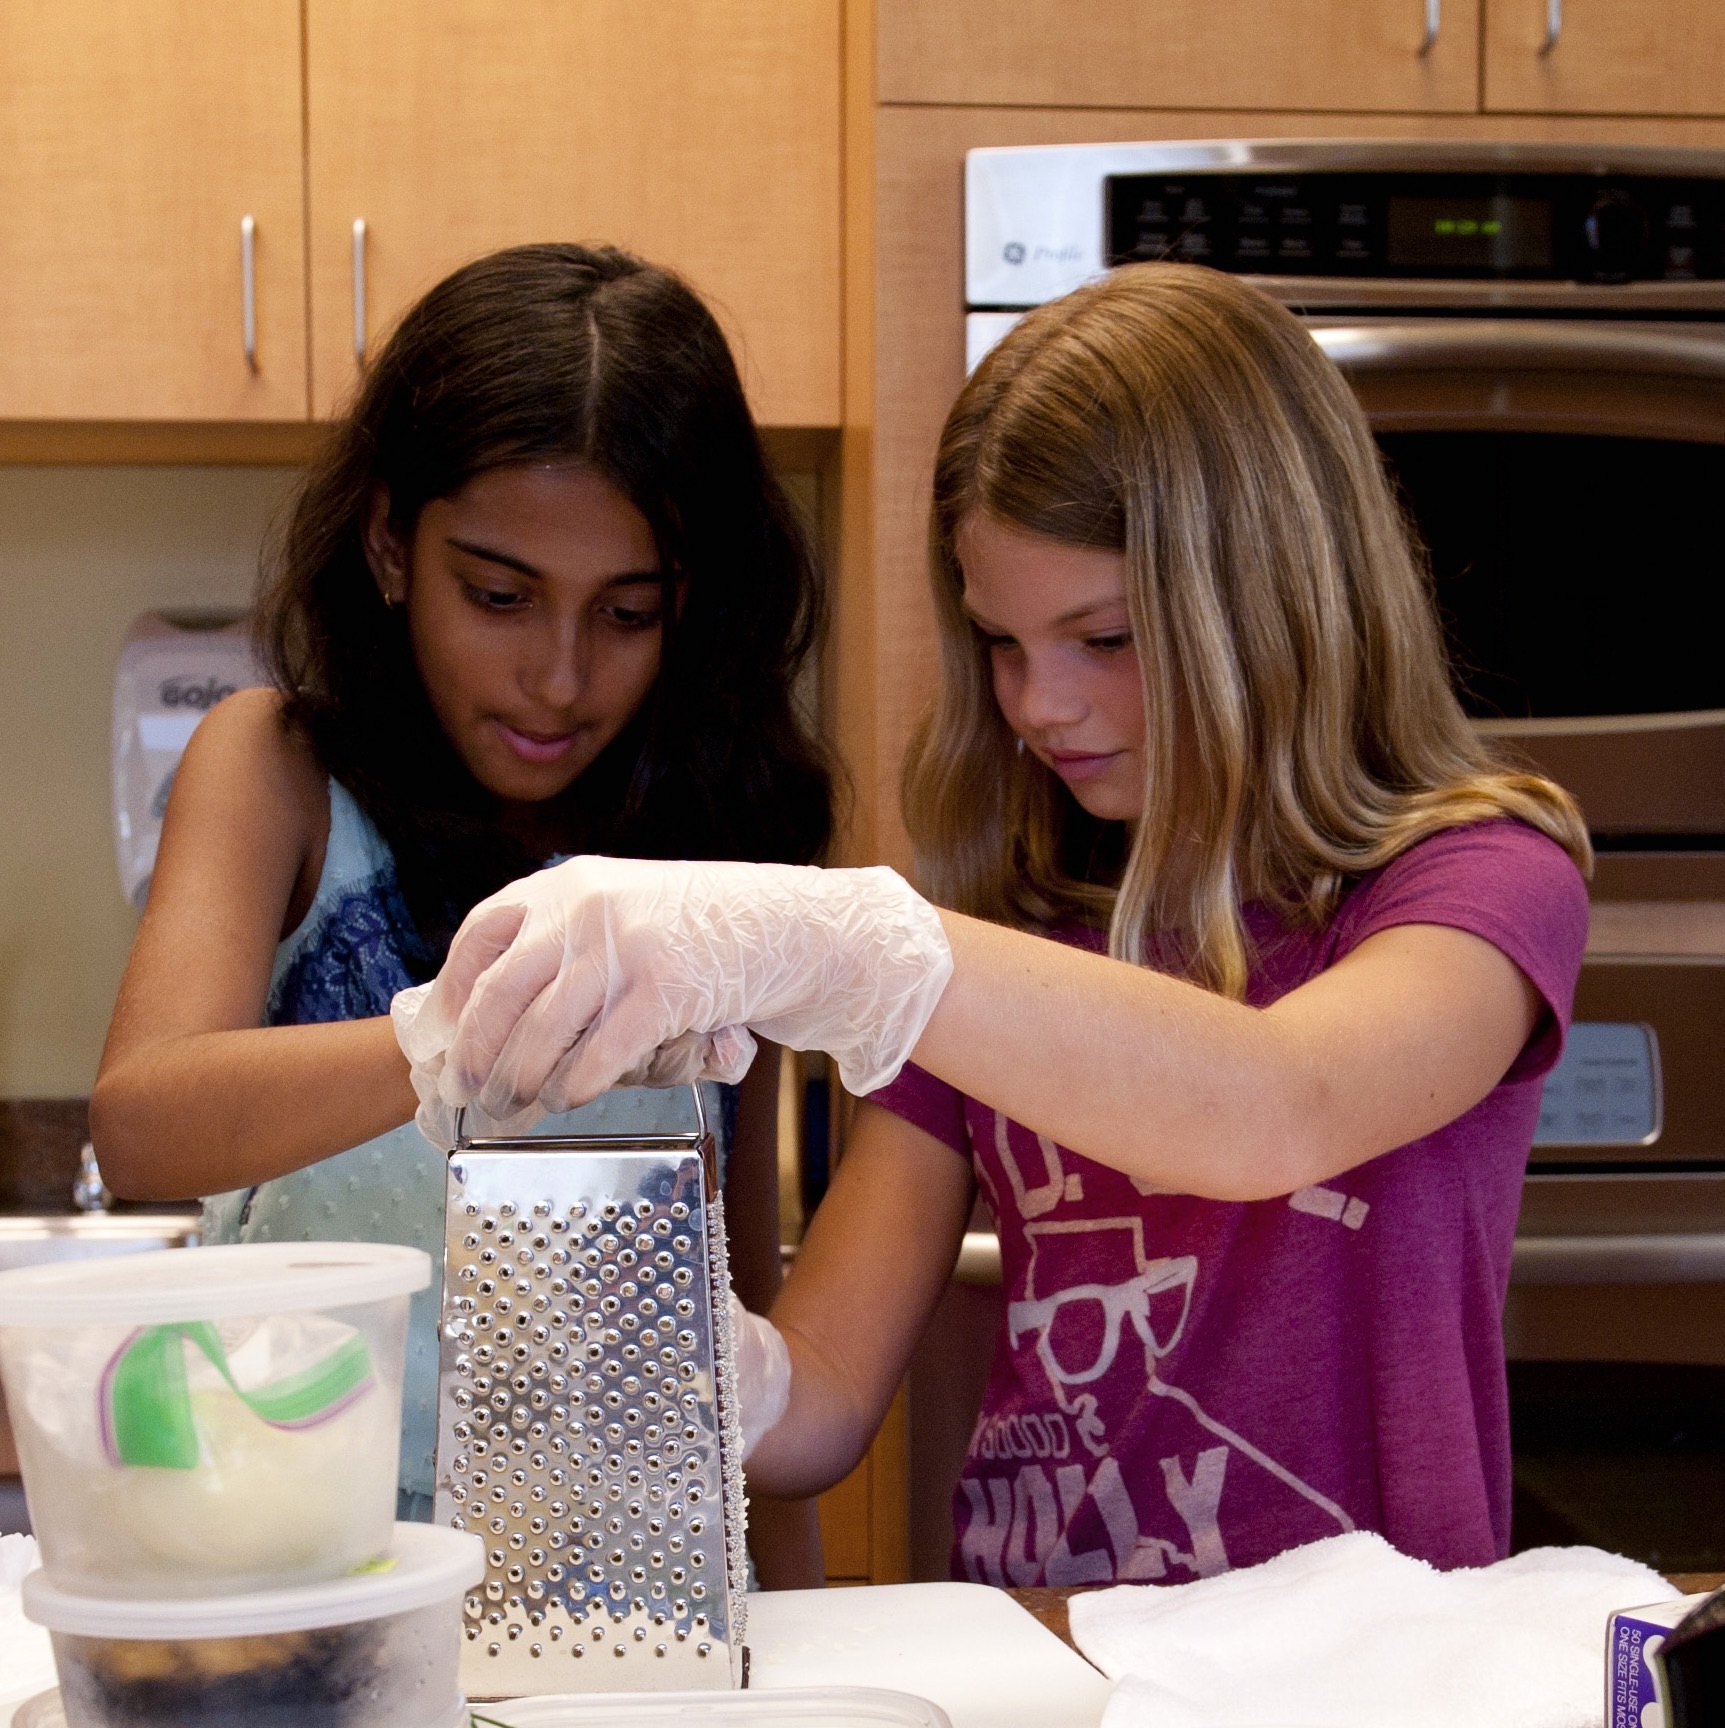
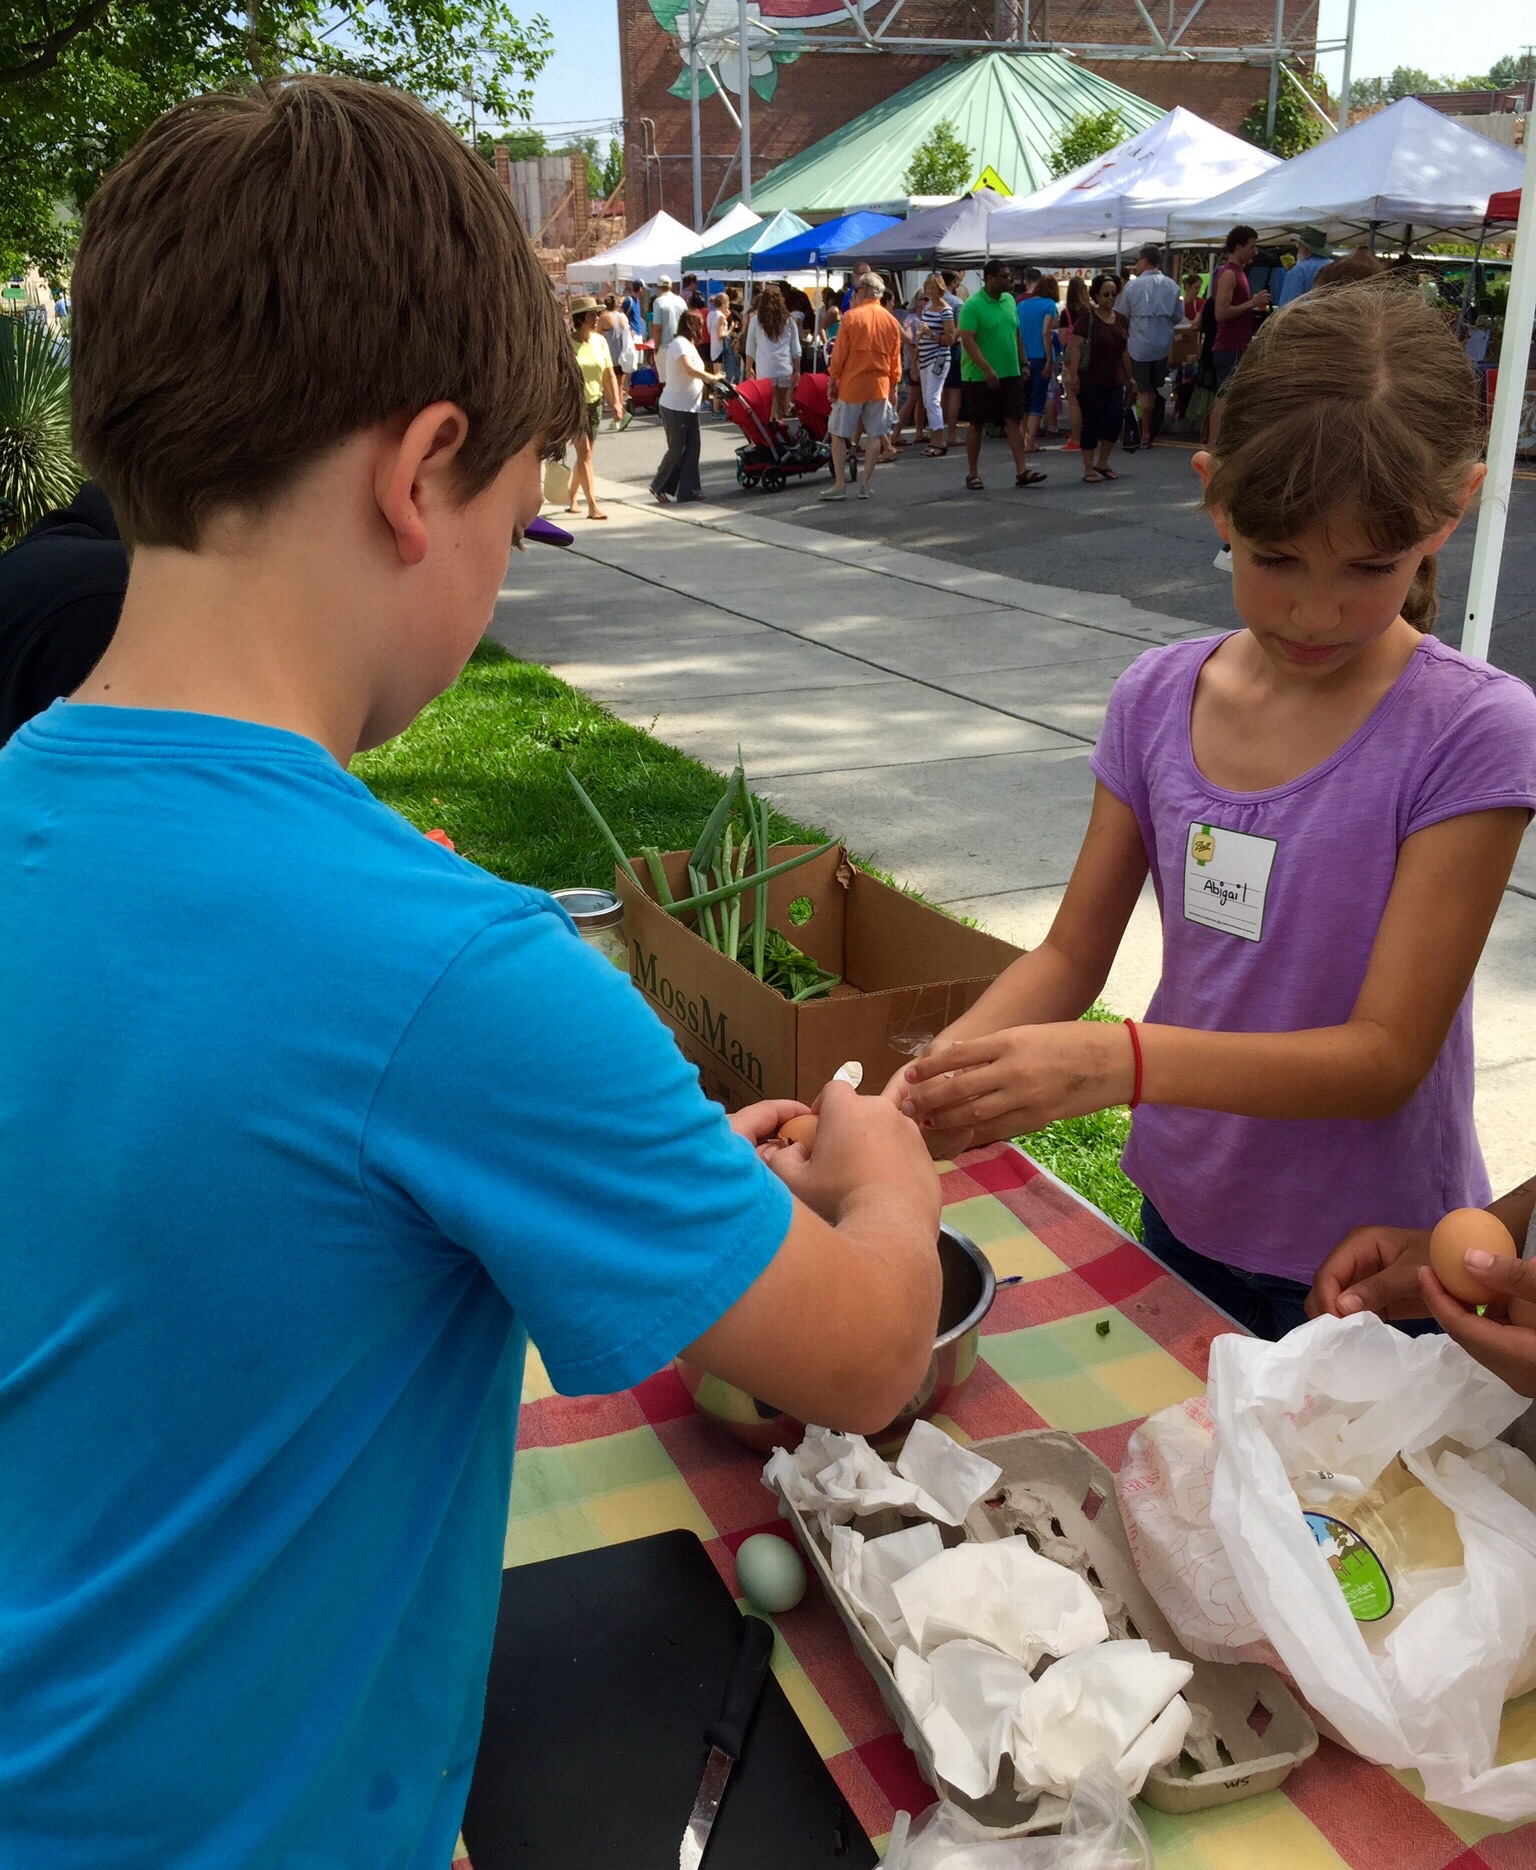
Adding avocado to the egg yolks, Jalapeño Chèvre from Elodie Farm & Salsa Verde from Cilantro Artisan Foods to make Mexican Salsa Verde Eggs.
Each recipe was based on three hard boiled eggs. With such a small amount, the kids were able to easily adjust the ingredients to get the texture and flavor the way they wanted it.
The young chefs always impress me. Most of them have some cooking & knife experience and they are willing to try just about any recipe or food they are given. Their sense of adventure and creative drive to experiment makes it all the more fun to teach this class.
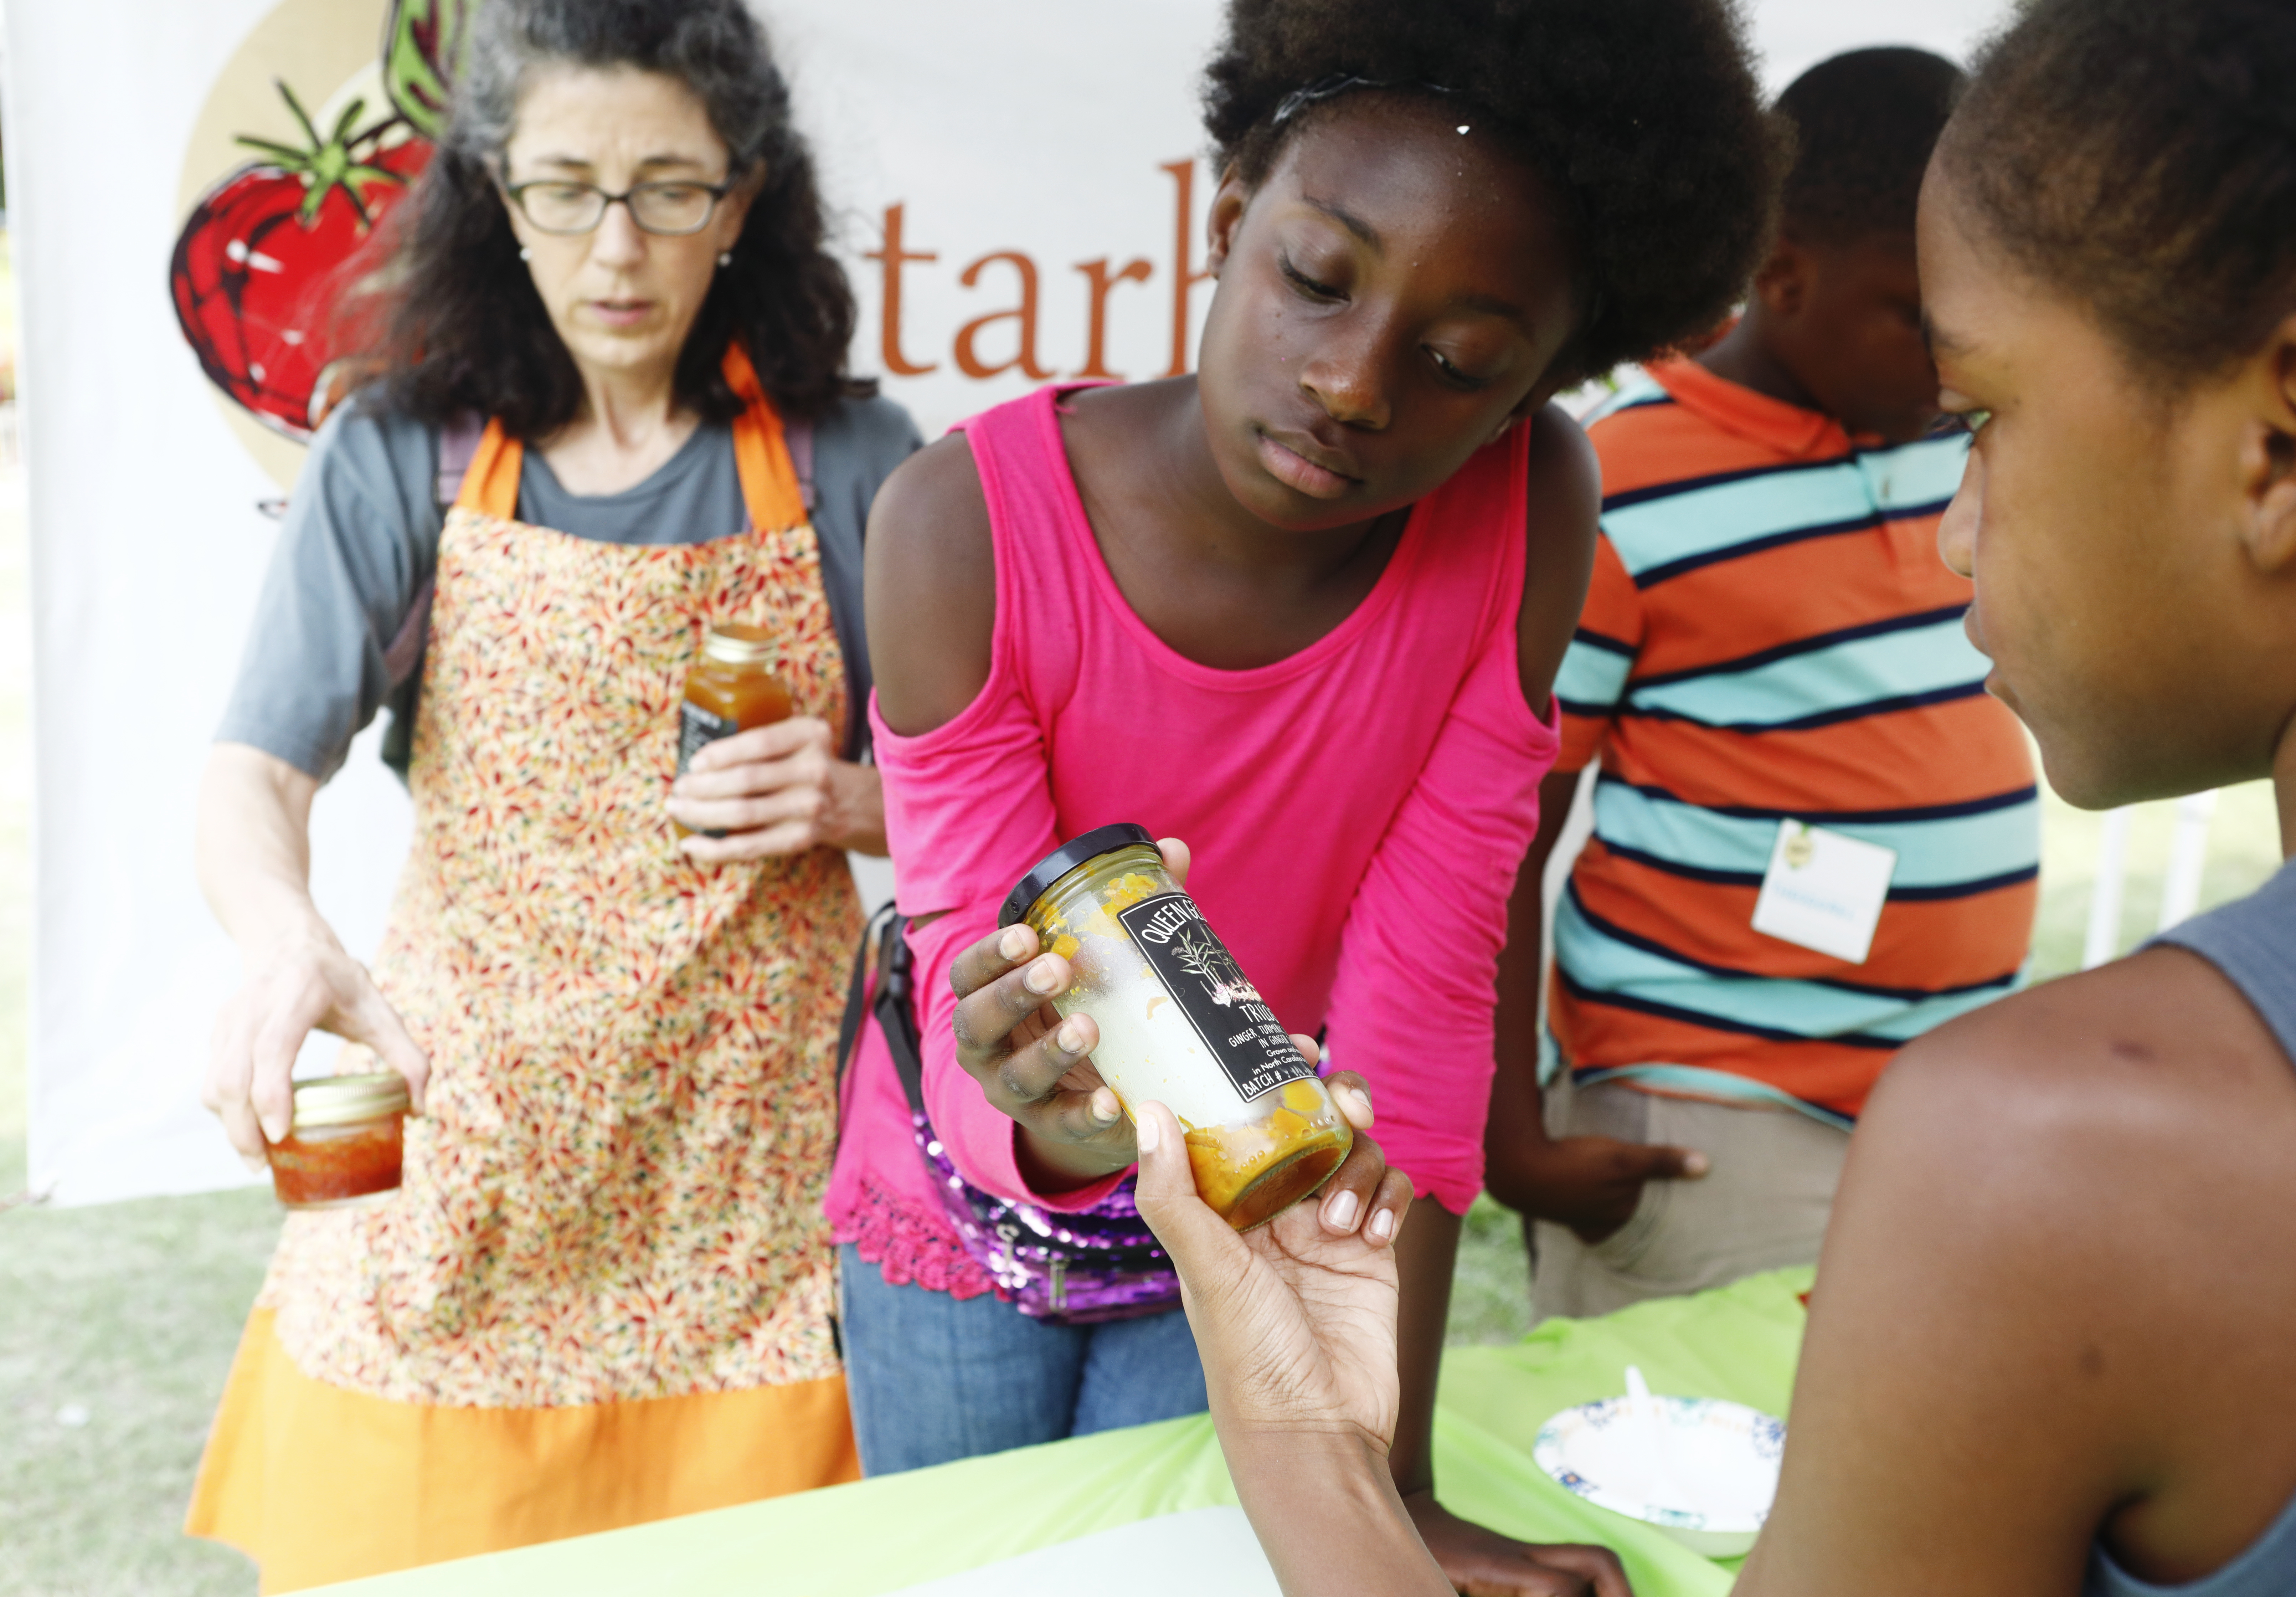
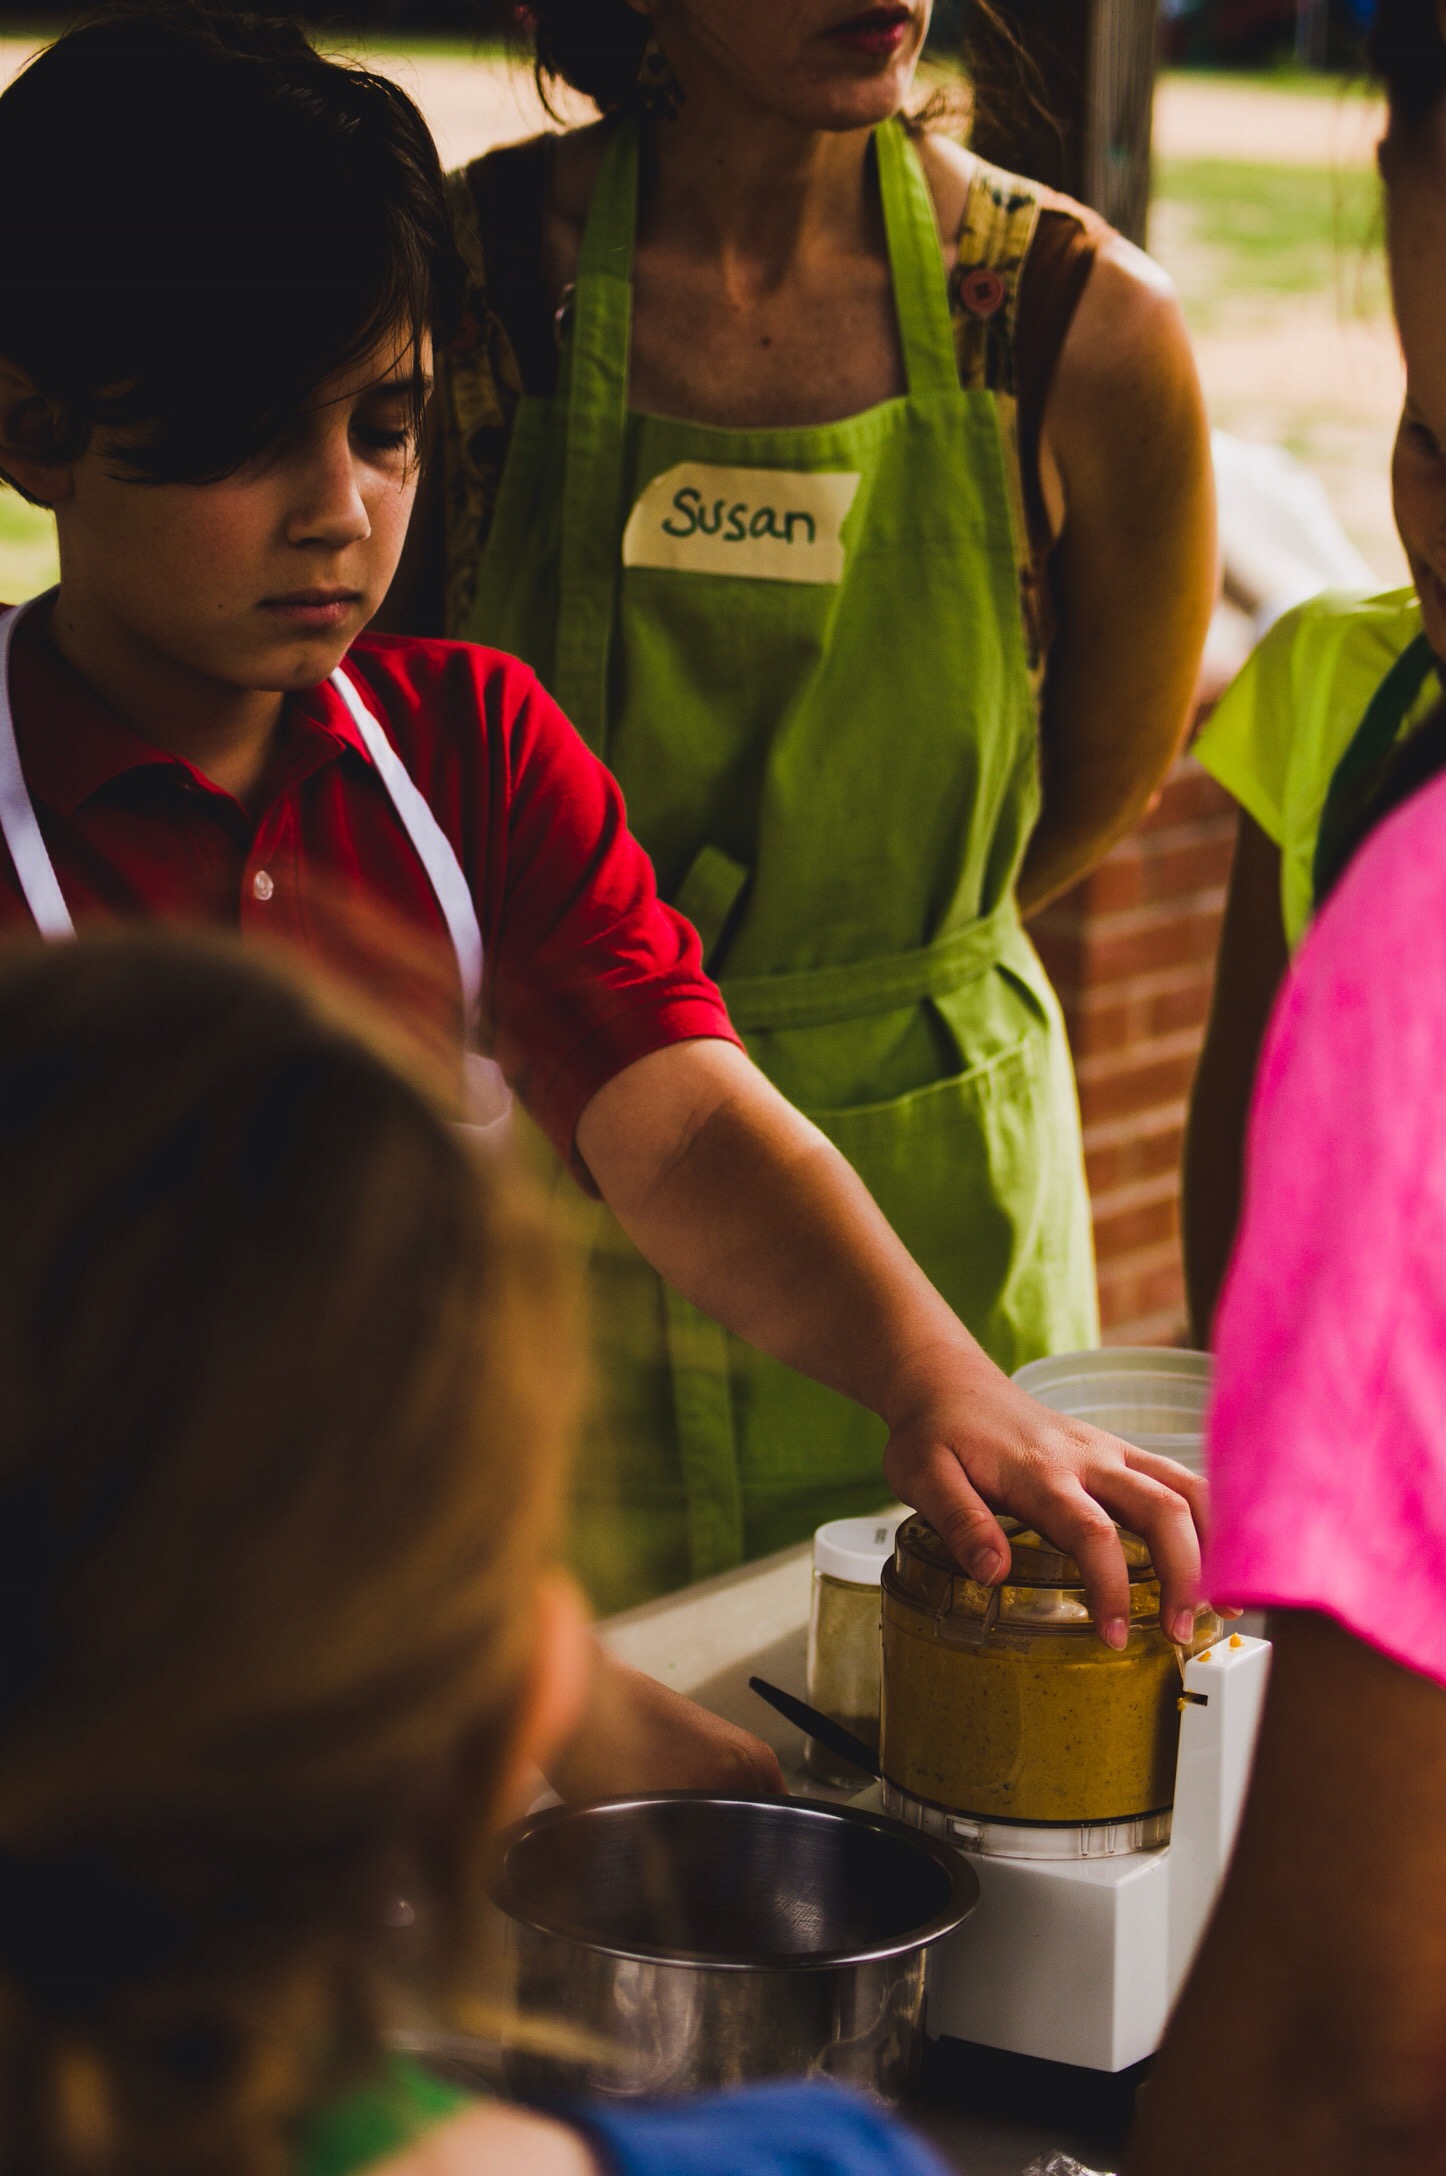
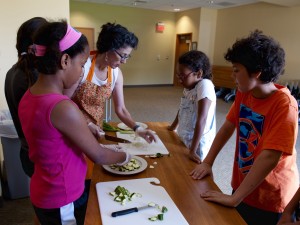
Checking out Lil’ Farm ‘Queen George’s’ Trilogy for the Indian Curry Eggs. They grow their own ginger and turmeric for their product line.
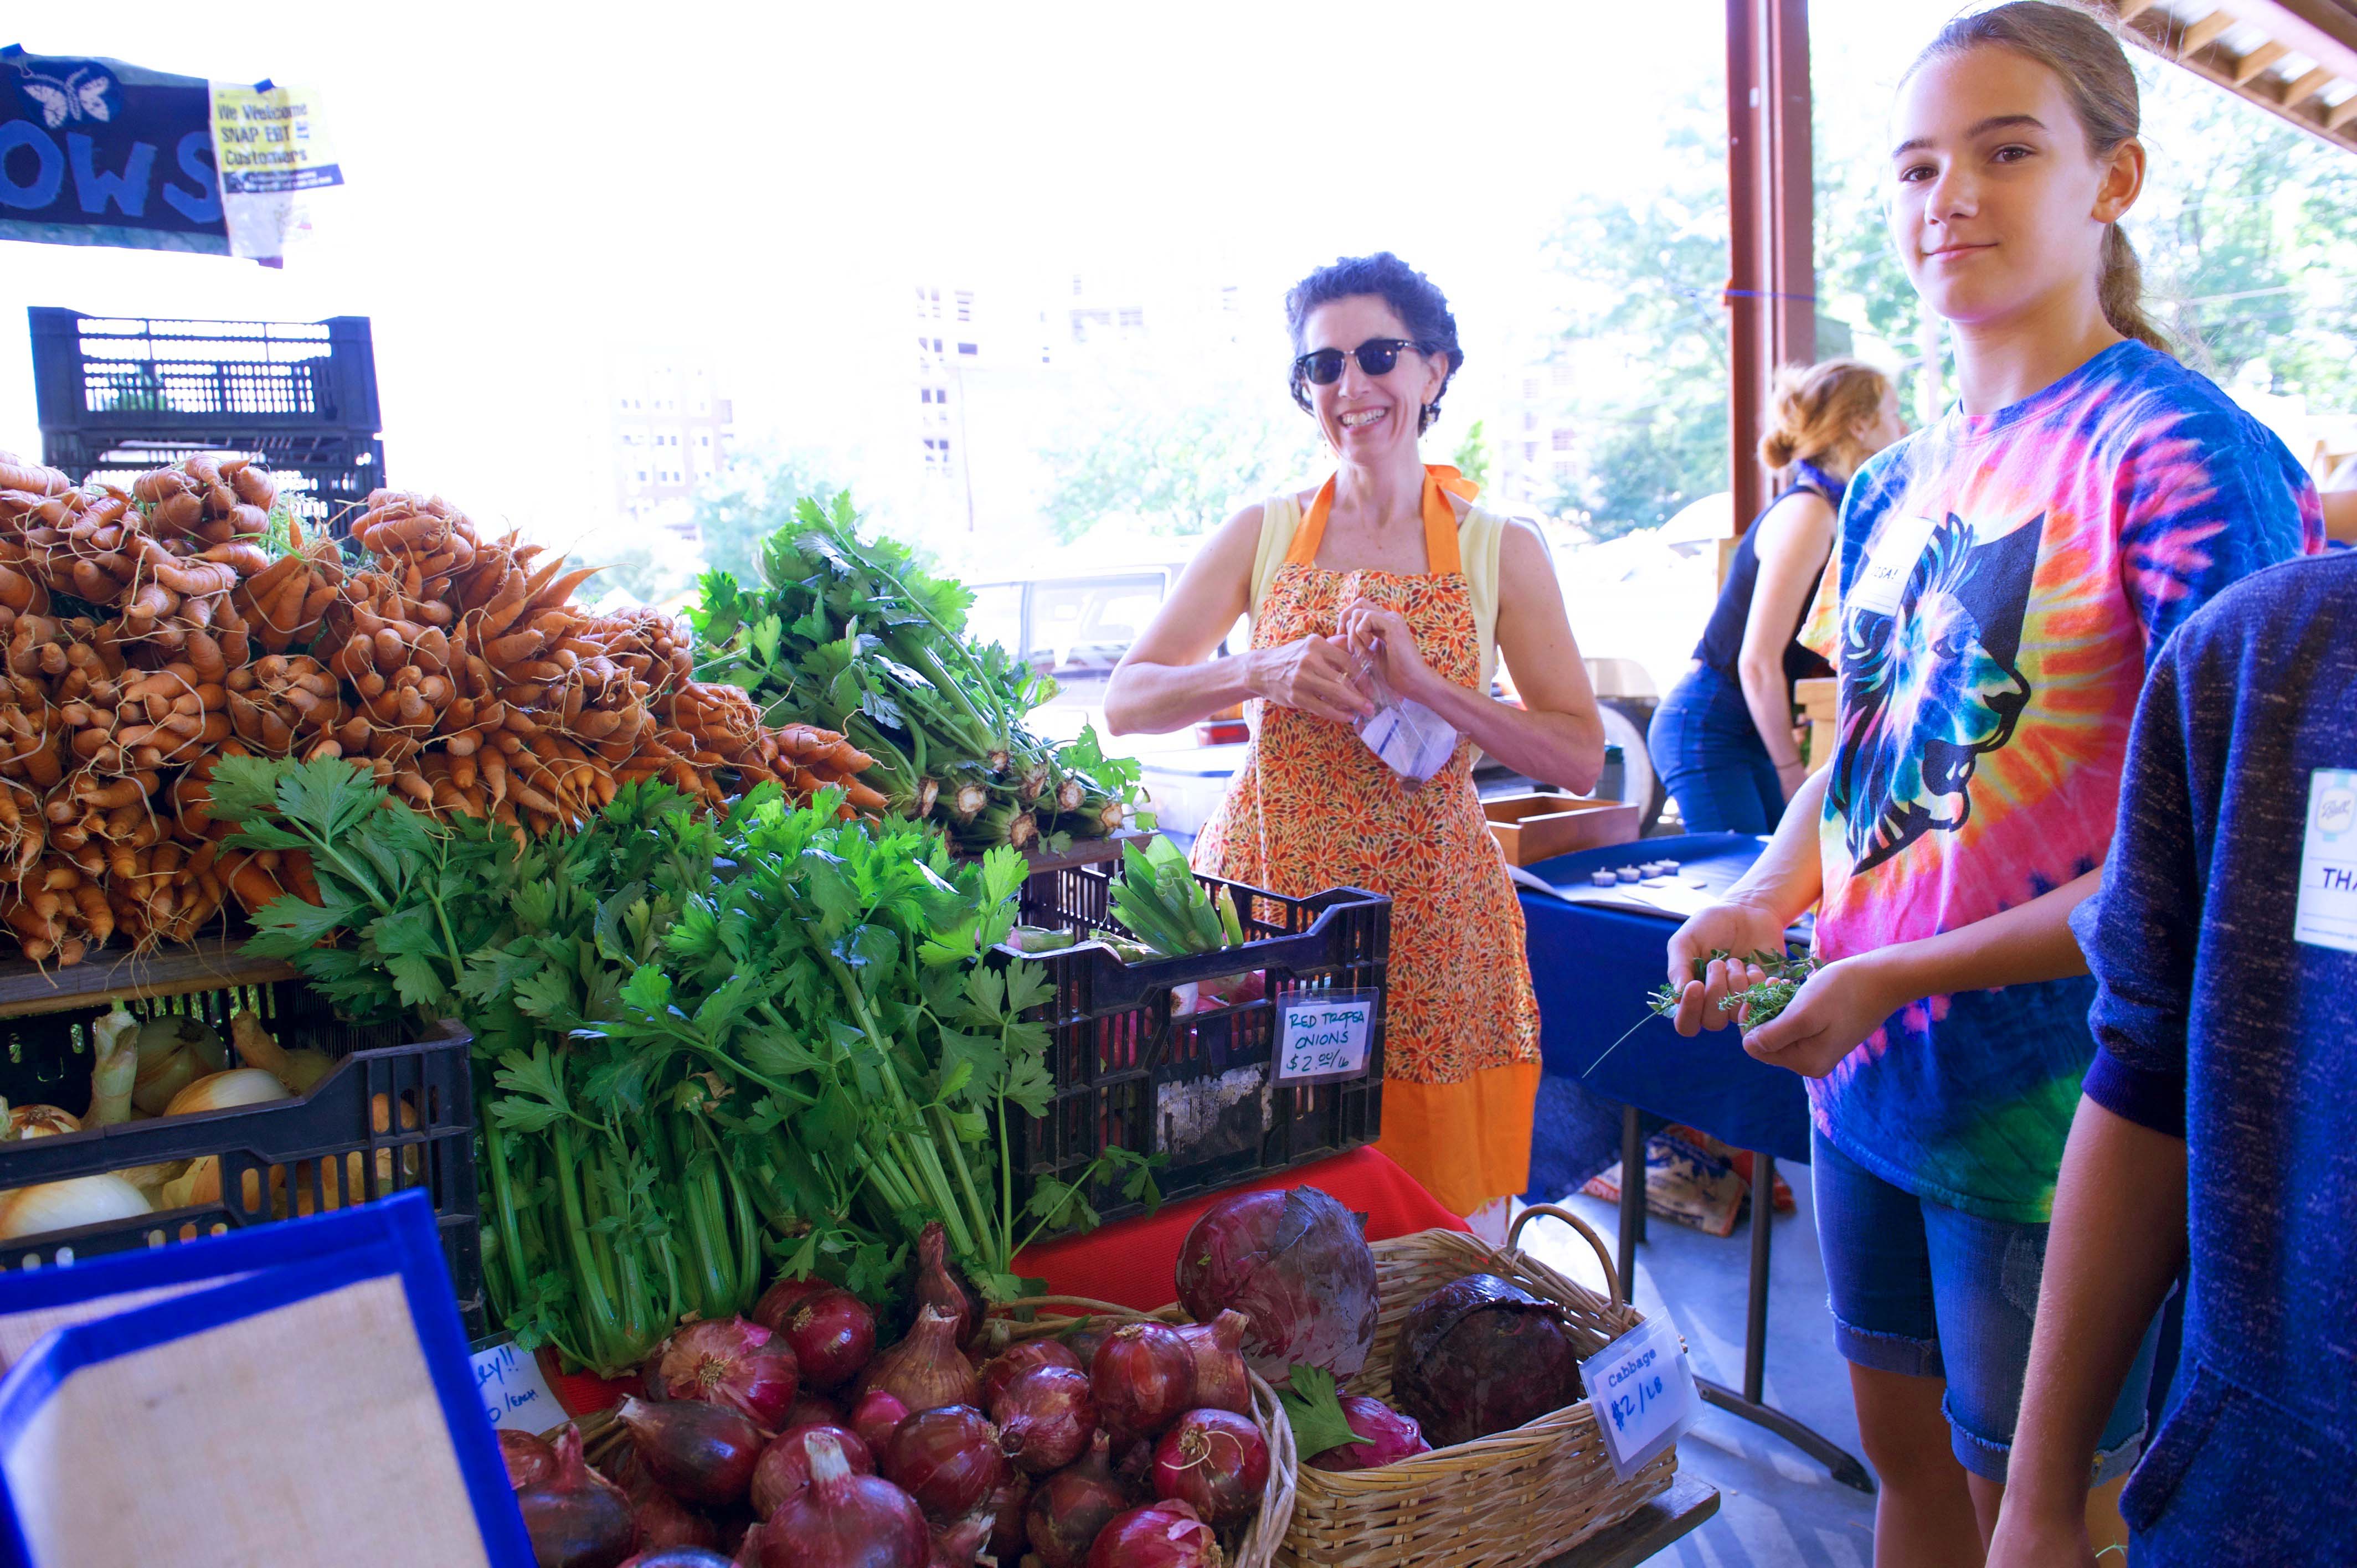
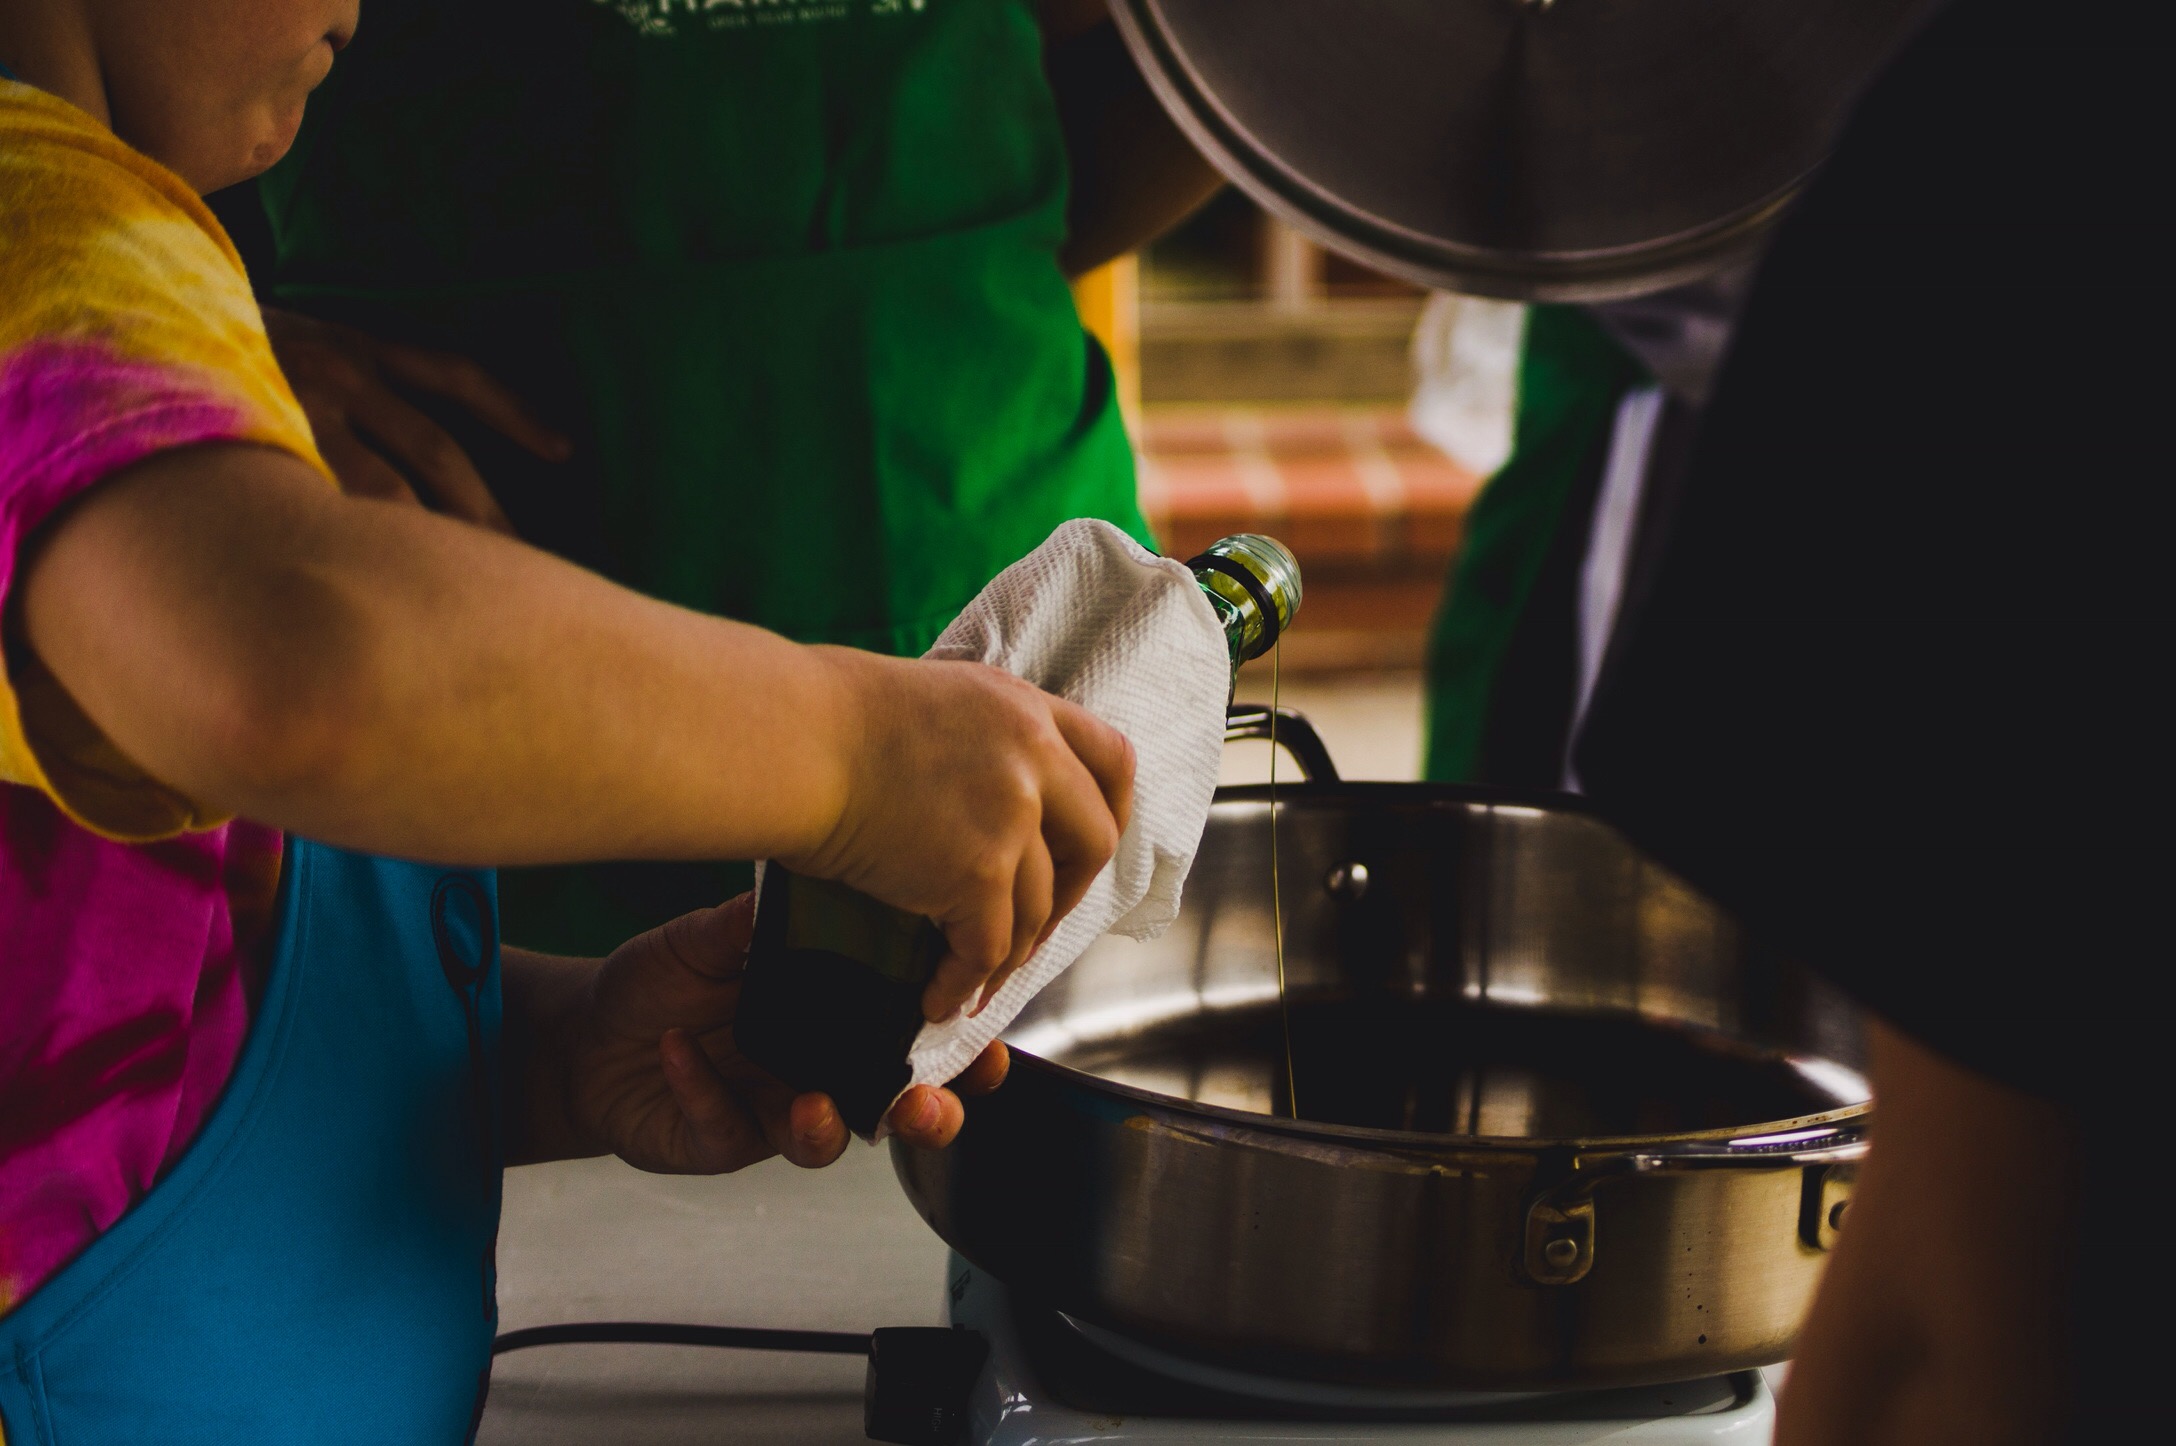
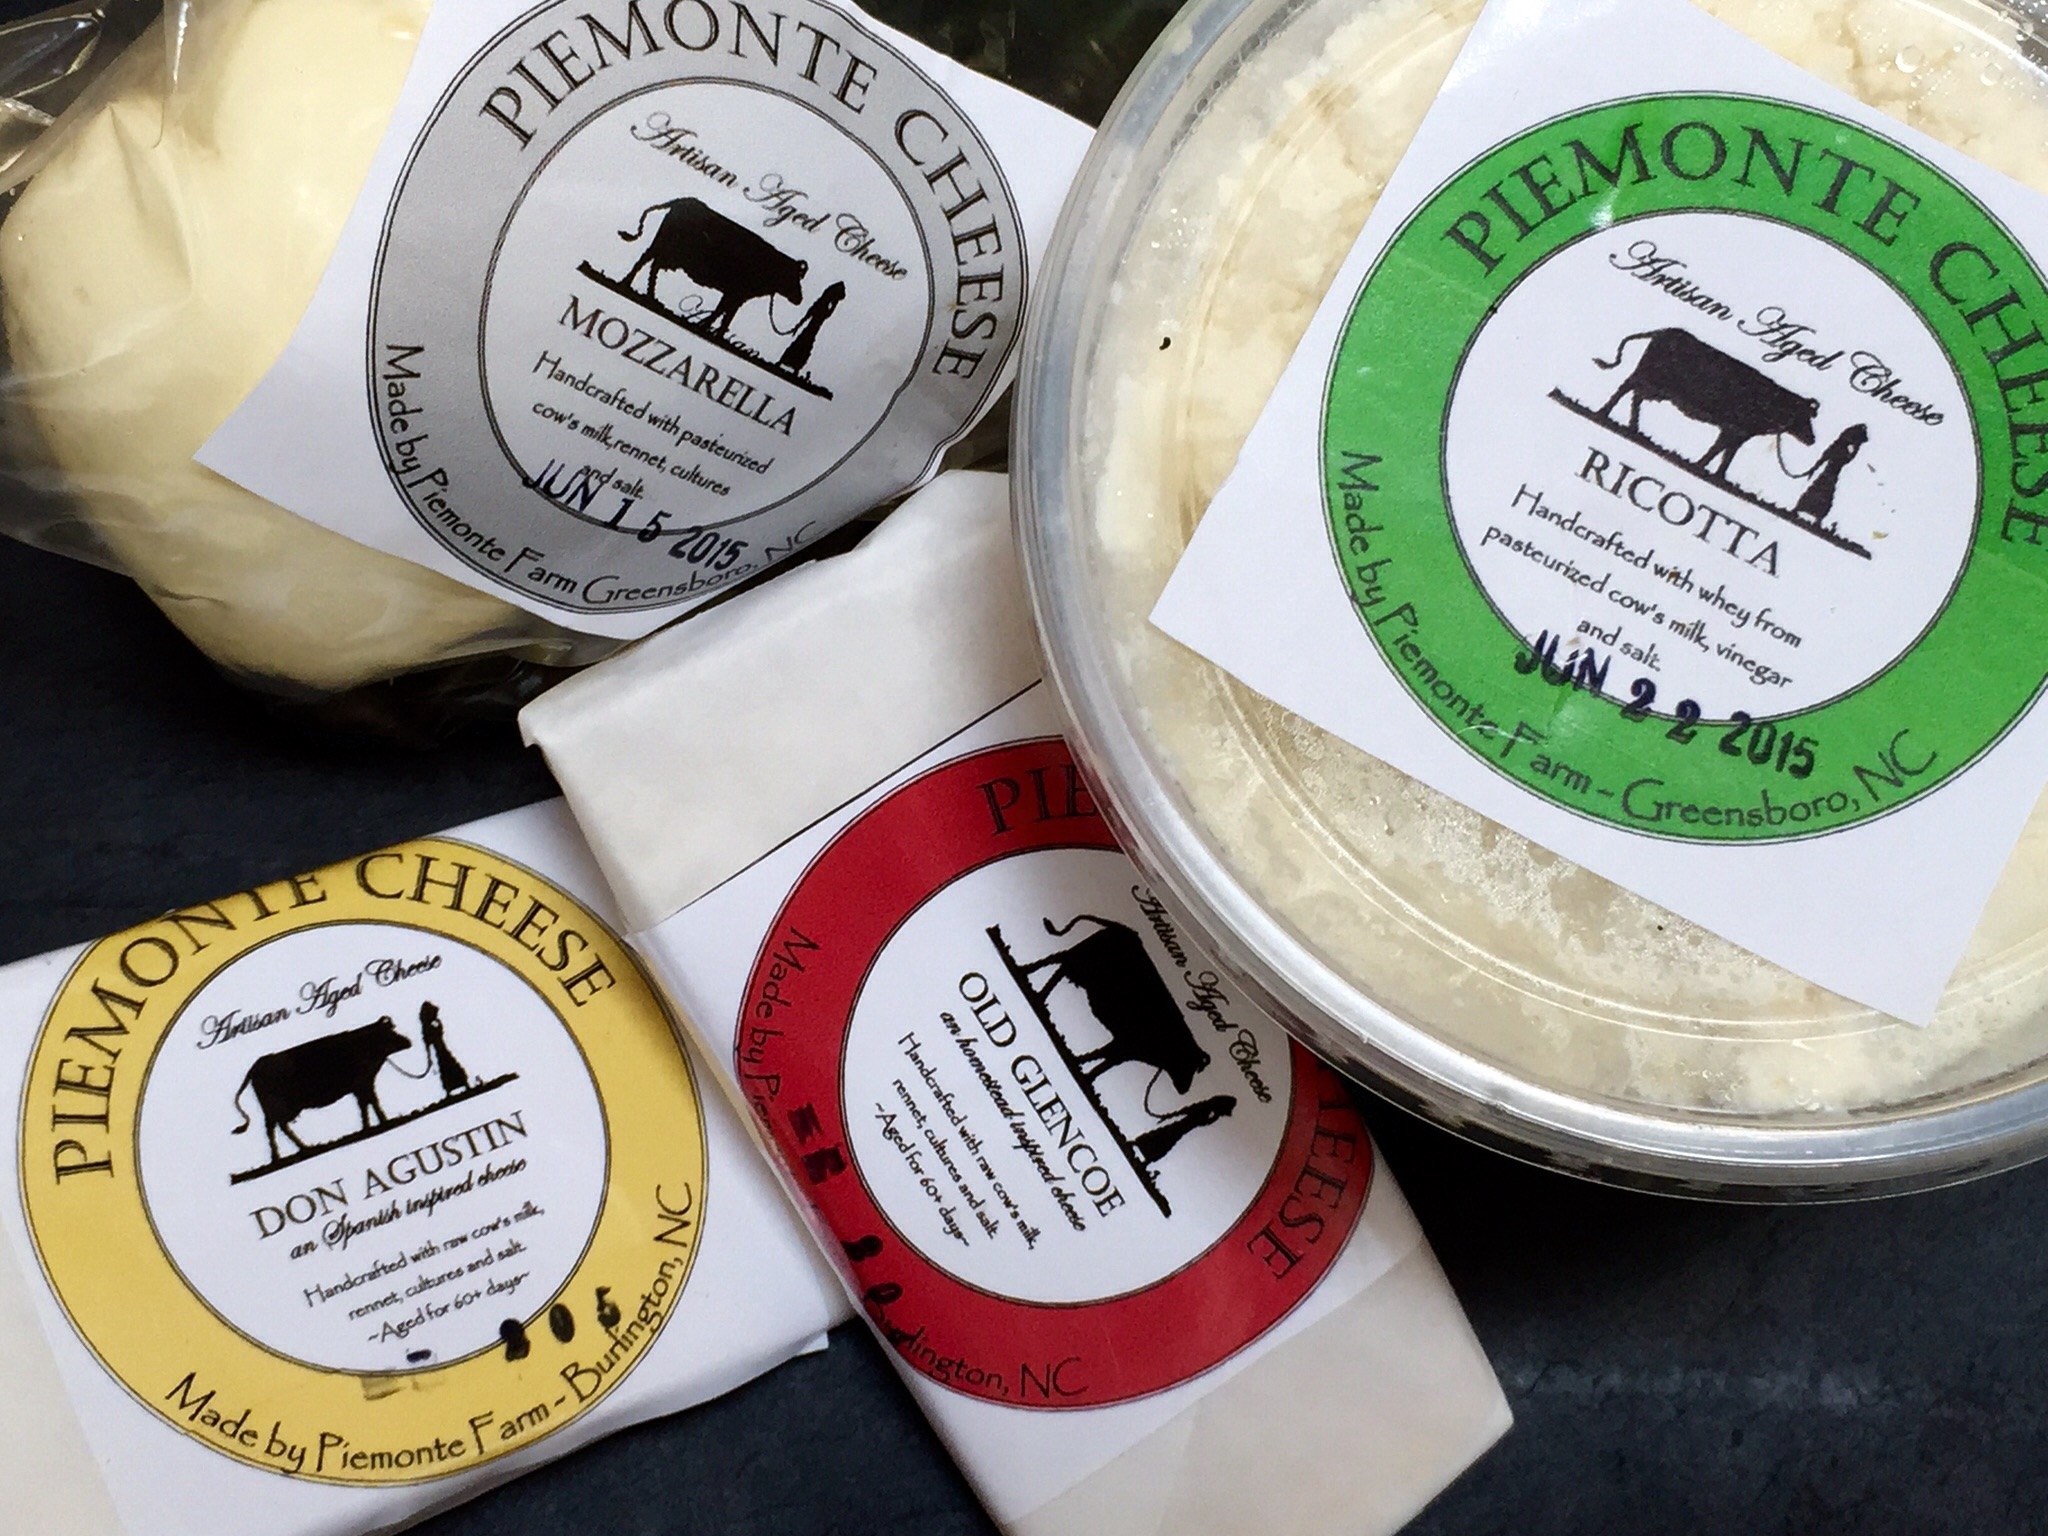
As always, a big thank you goes out to the amazing market vendors & market volunteers that always go out of their way to help. The eggs came from Harland’s Creek Farm & Fickle Creek Farm. The kimchi came from The Spicy Hermit. Cheese came from Boxcarr & Elodie. Salsa made by Cilantro Artisan Foods & mustard made by Little Tree Farm. Lil’ Farm provided syrup, ginger & turmeric candy, and a Triology of pickled items of from their ‘Queen George’s’ product line.

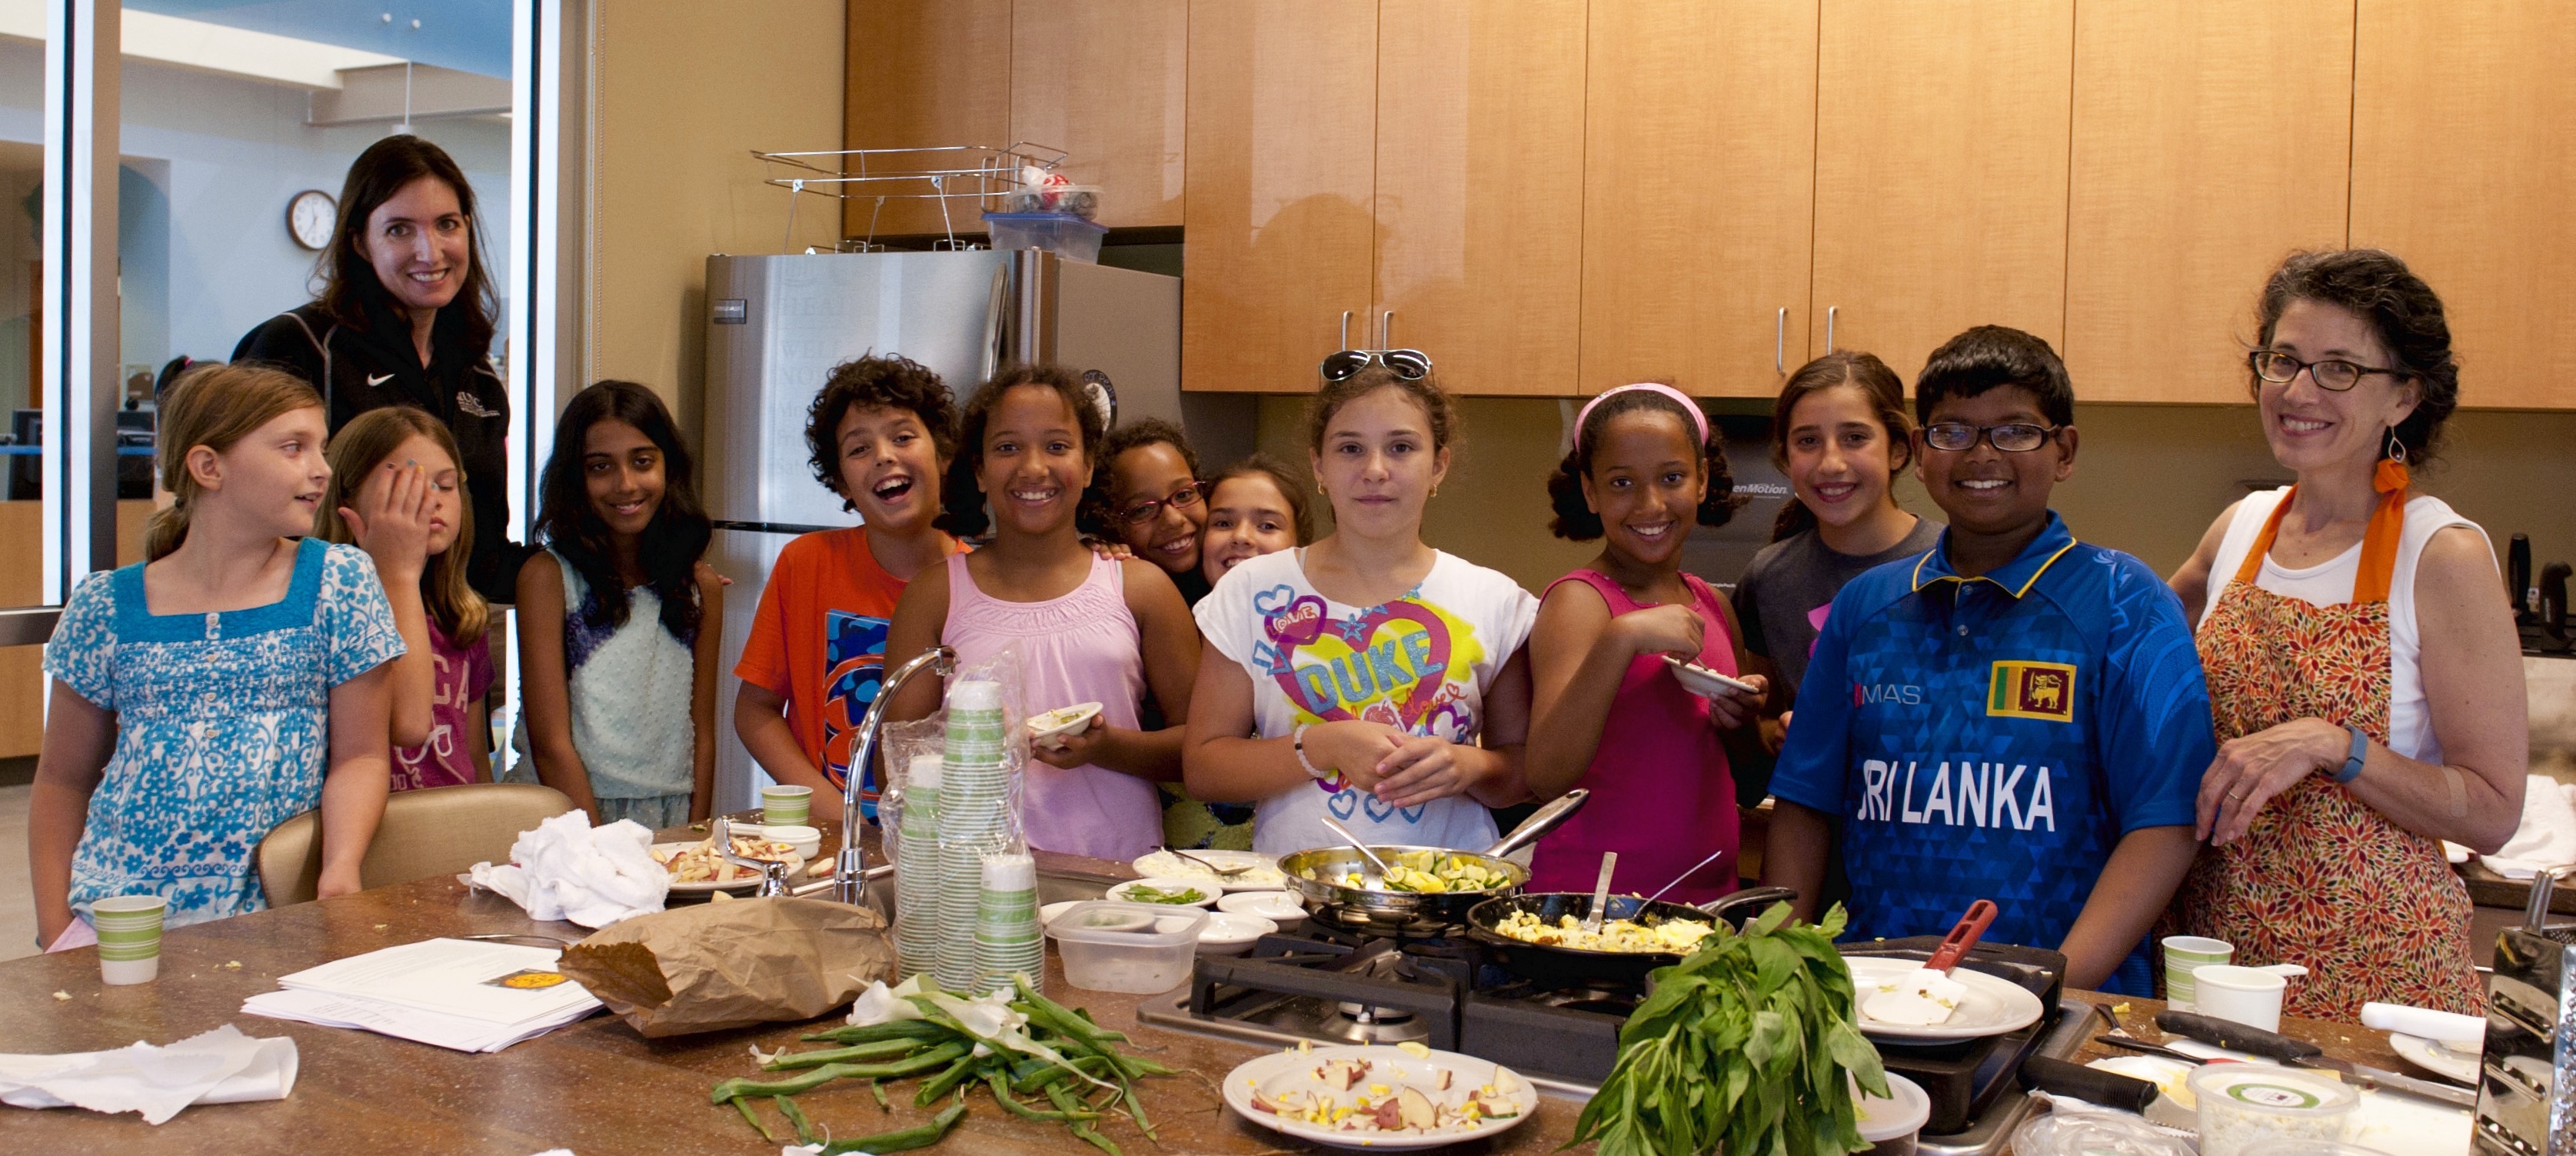
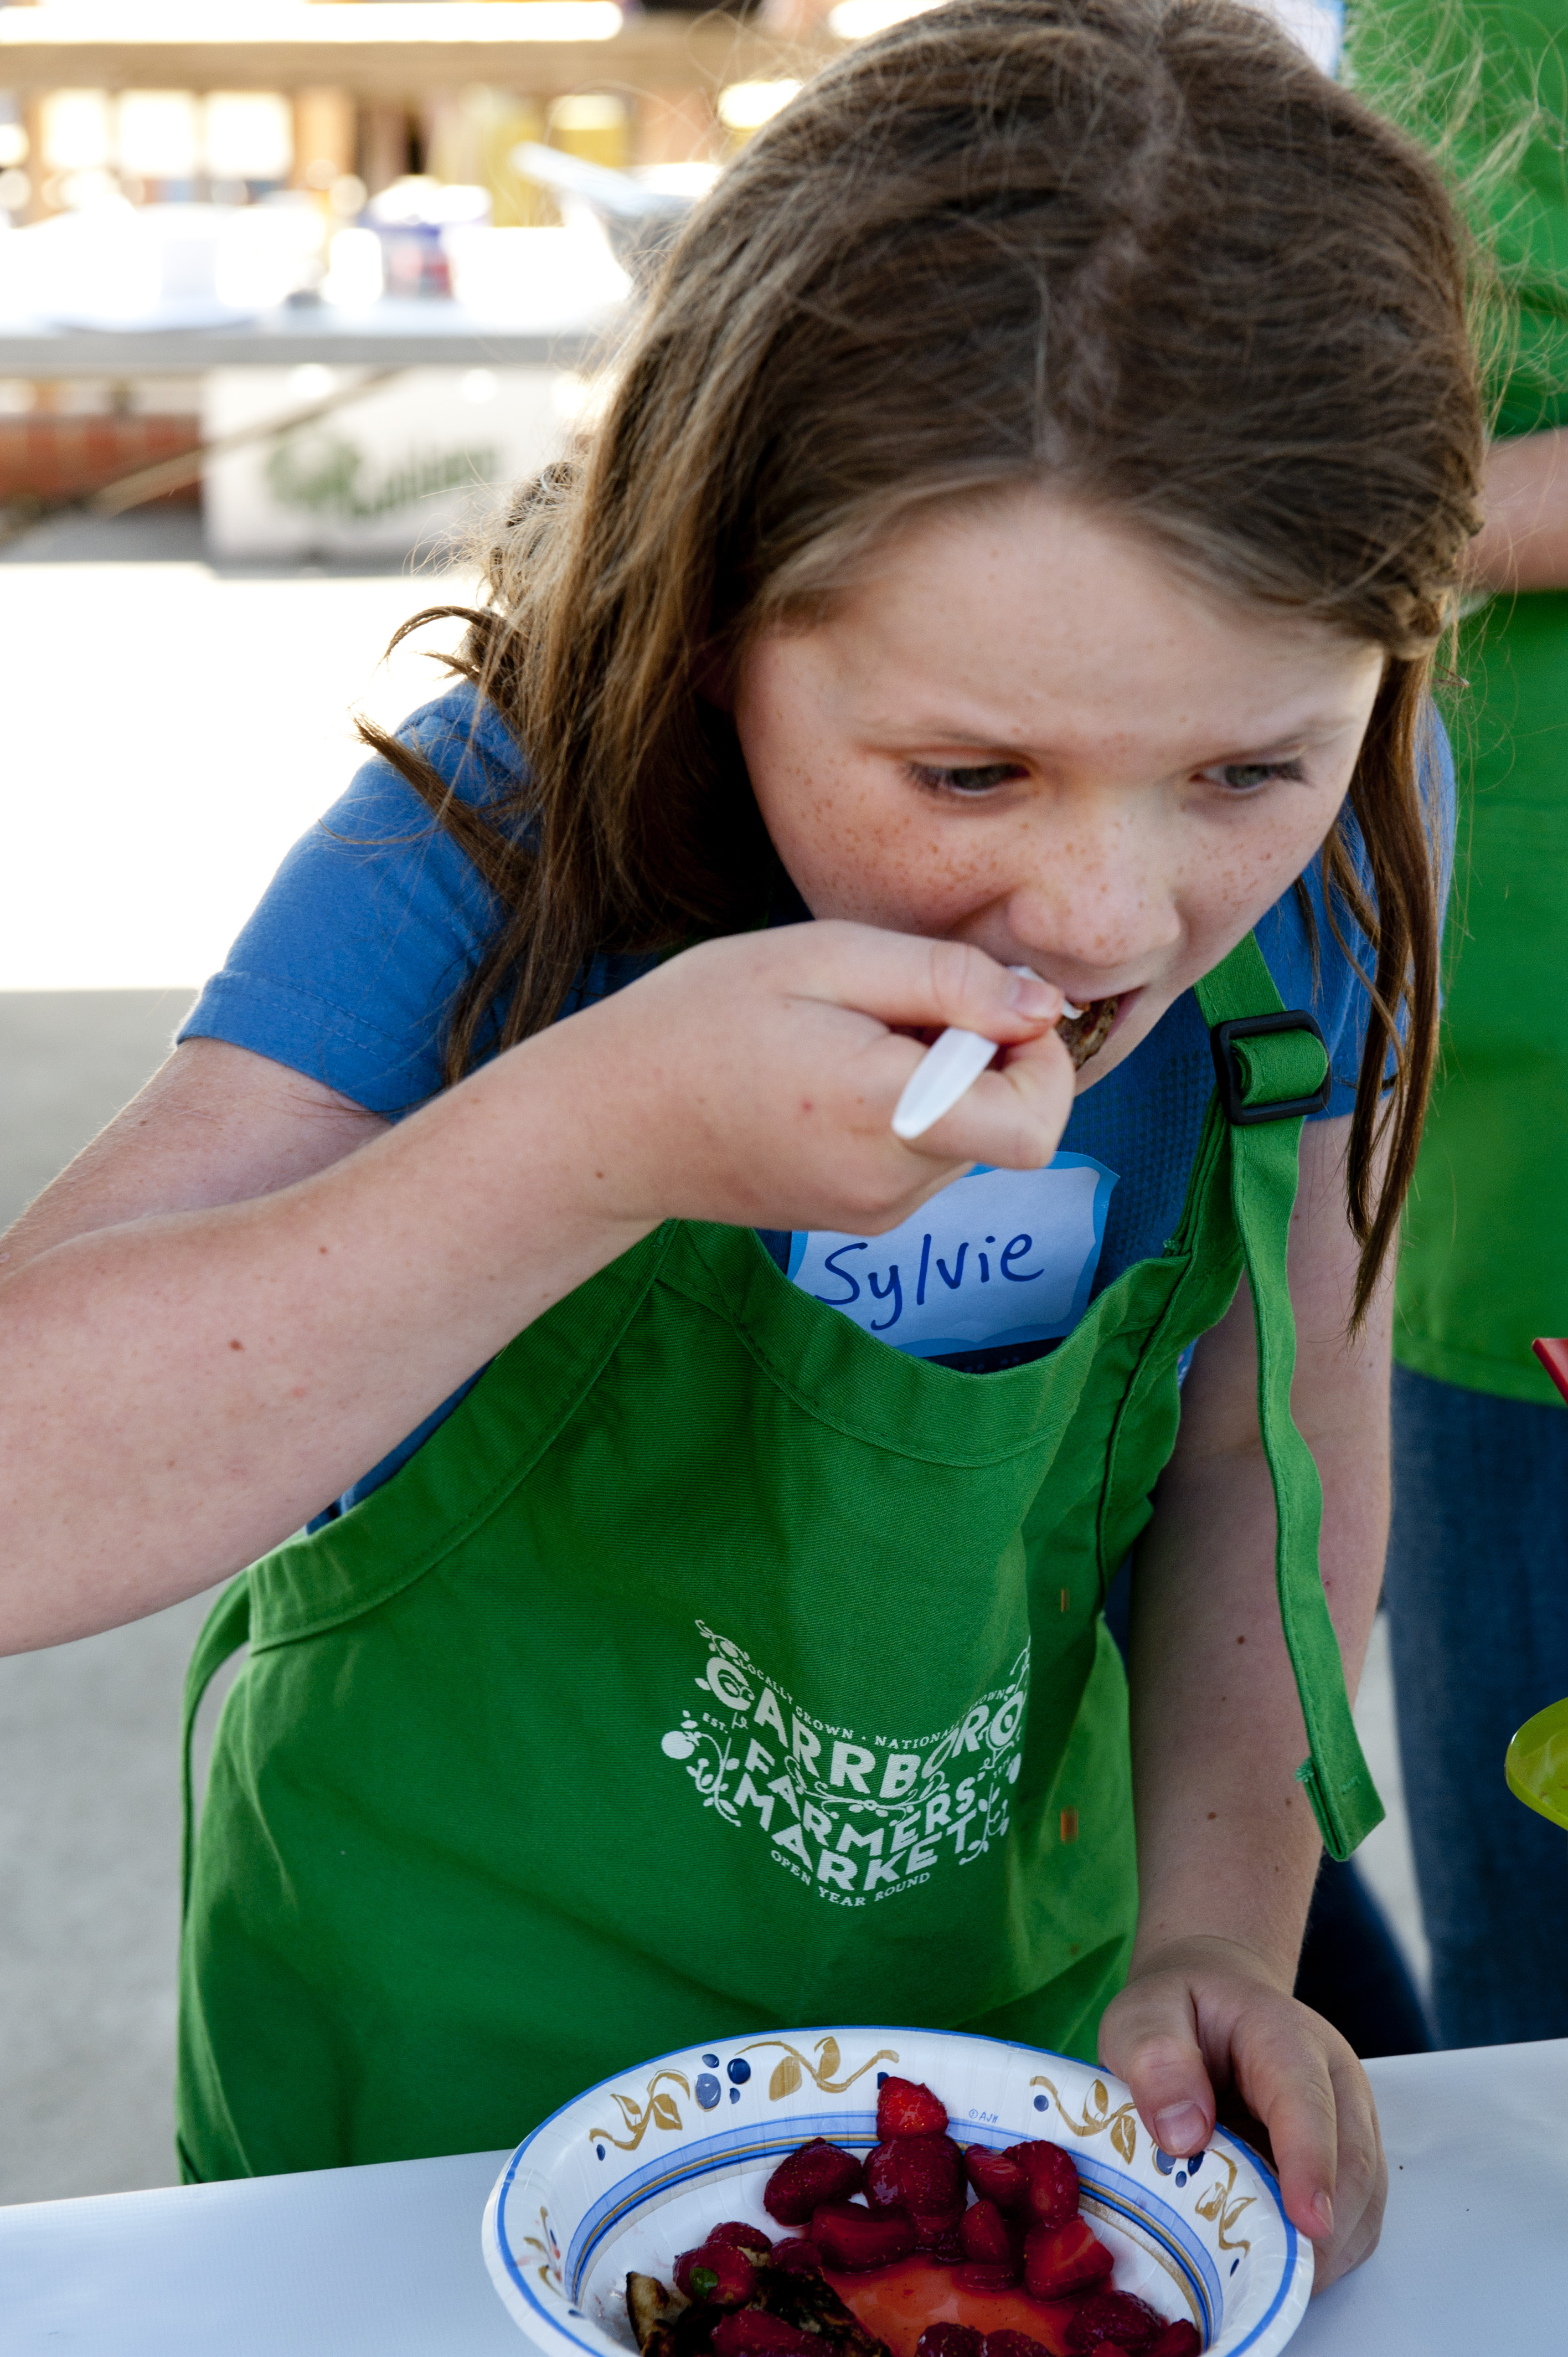
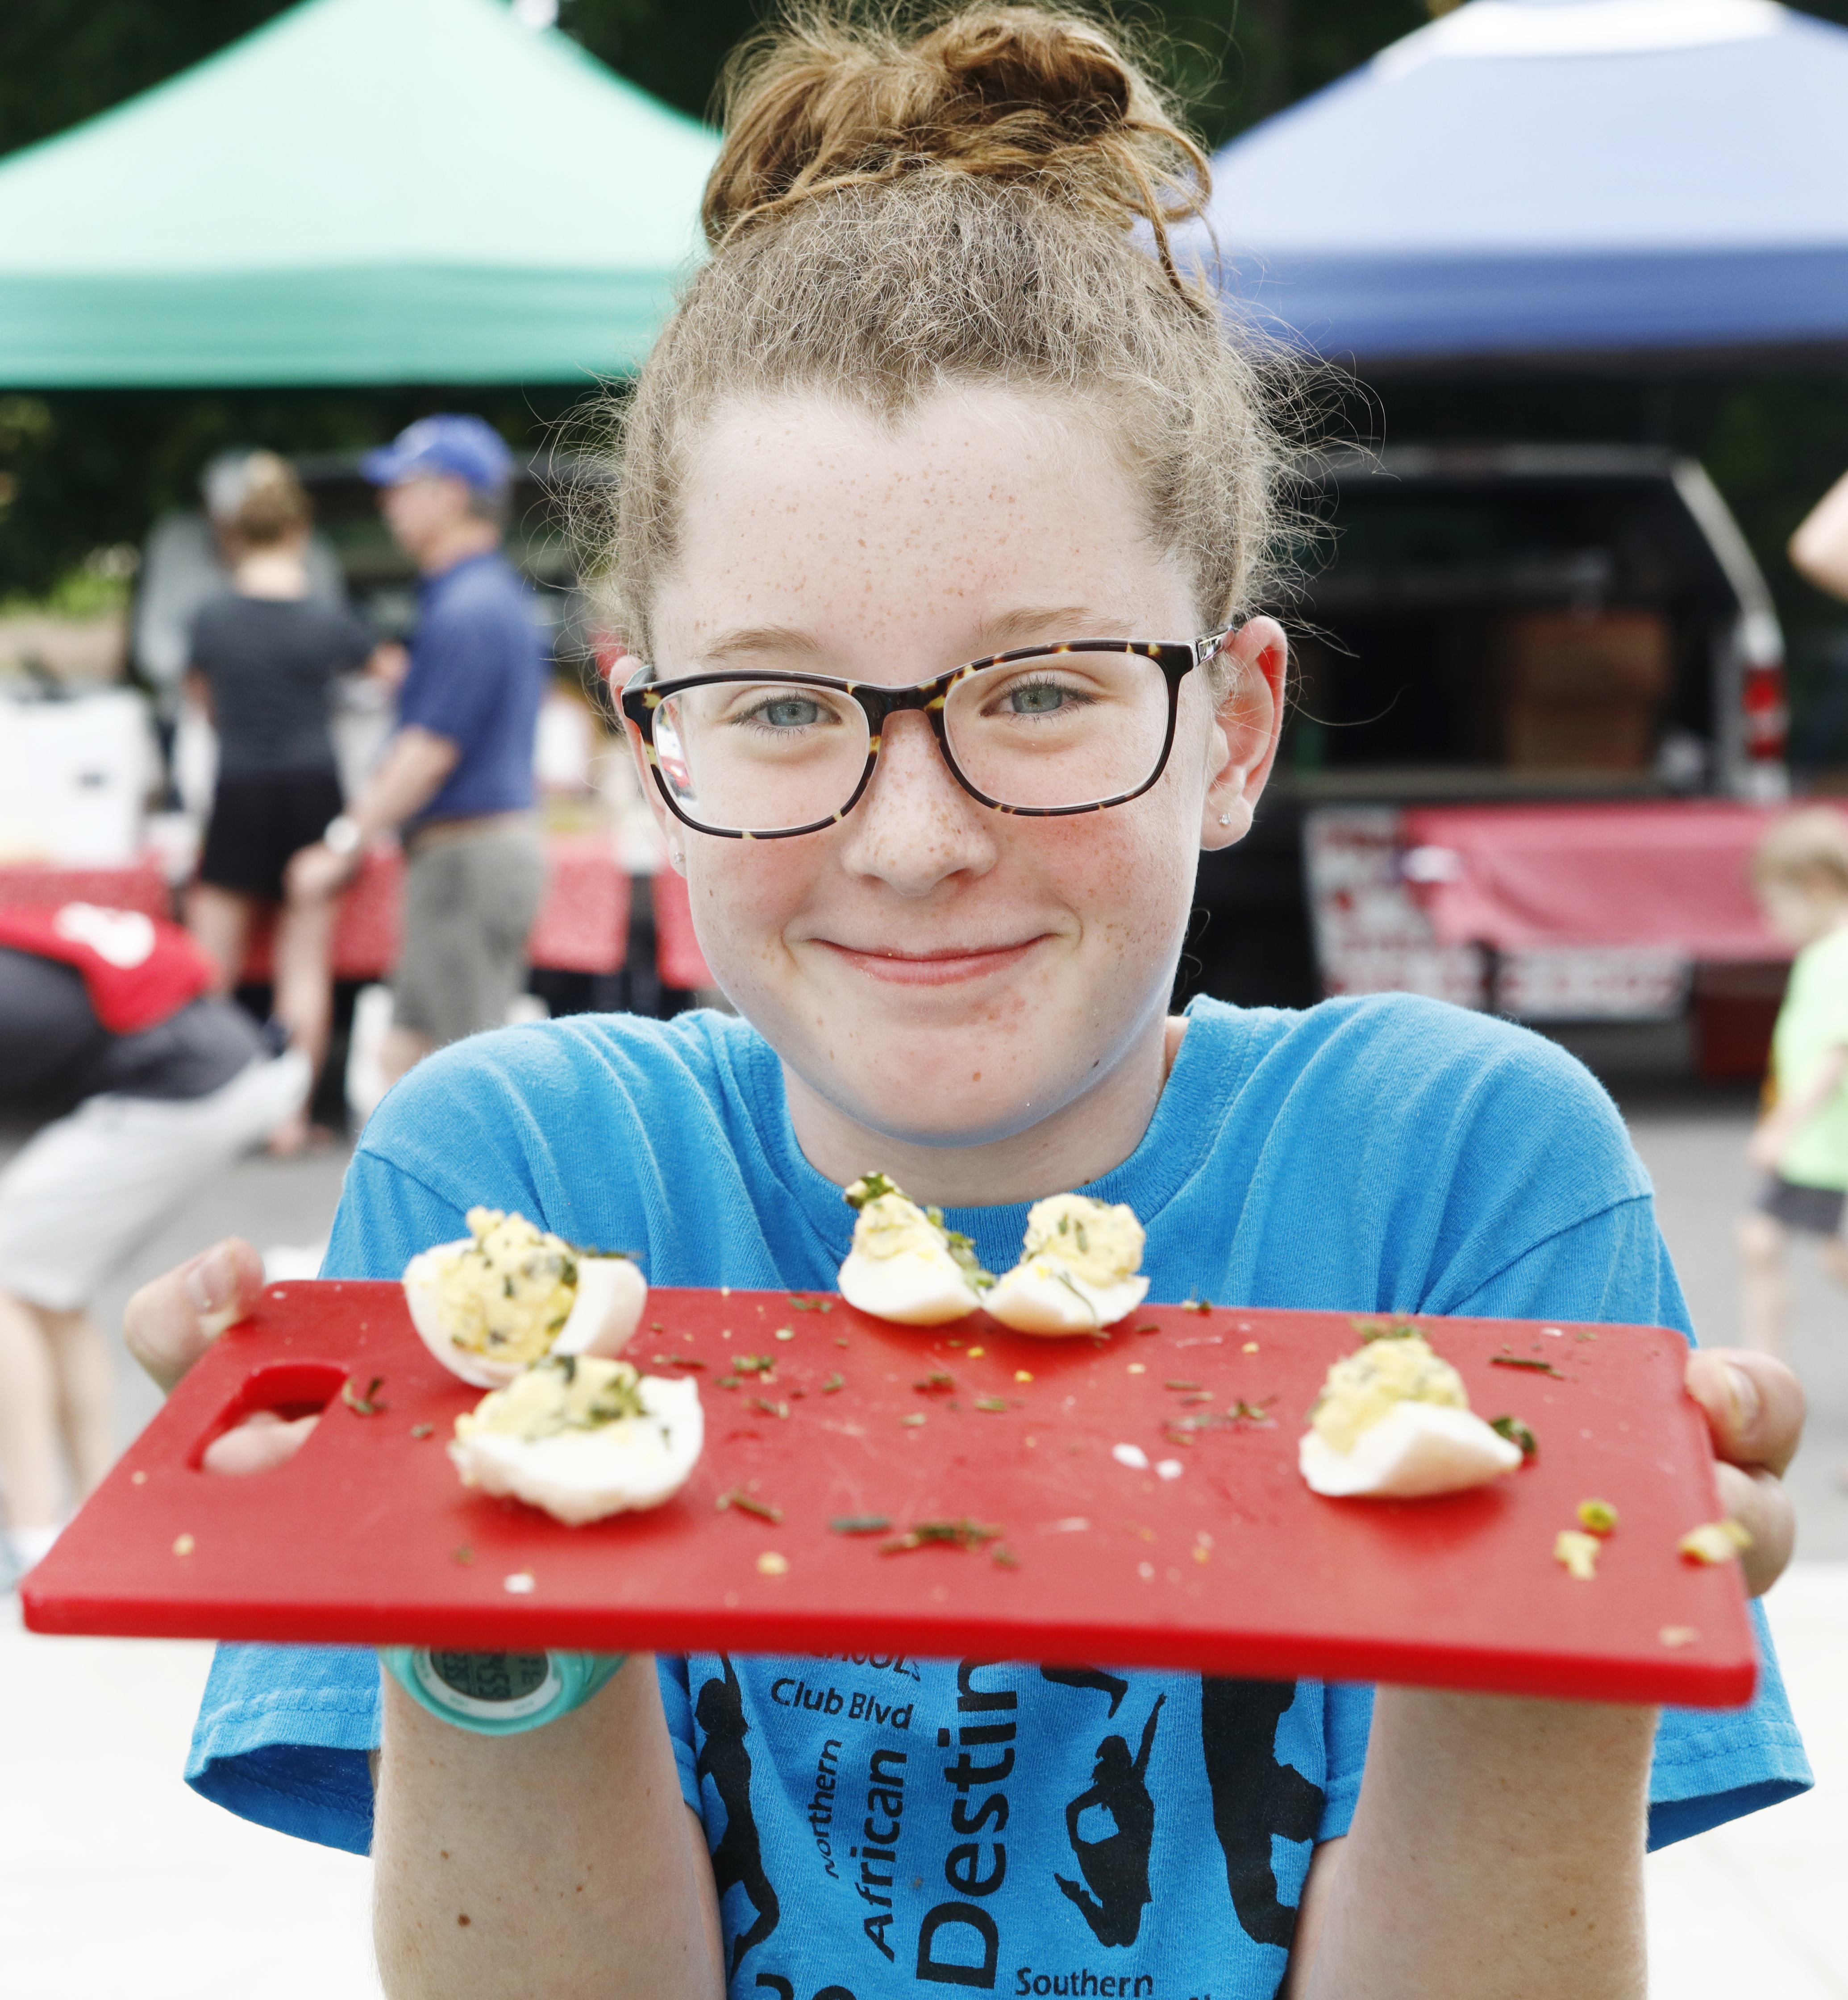
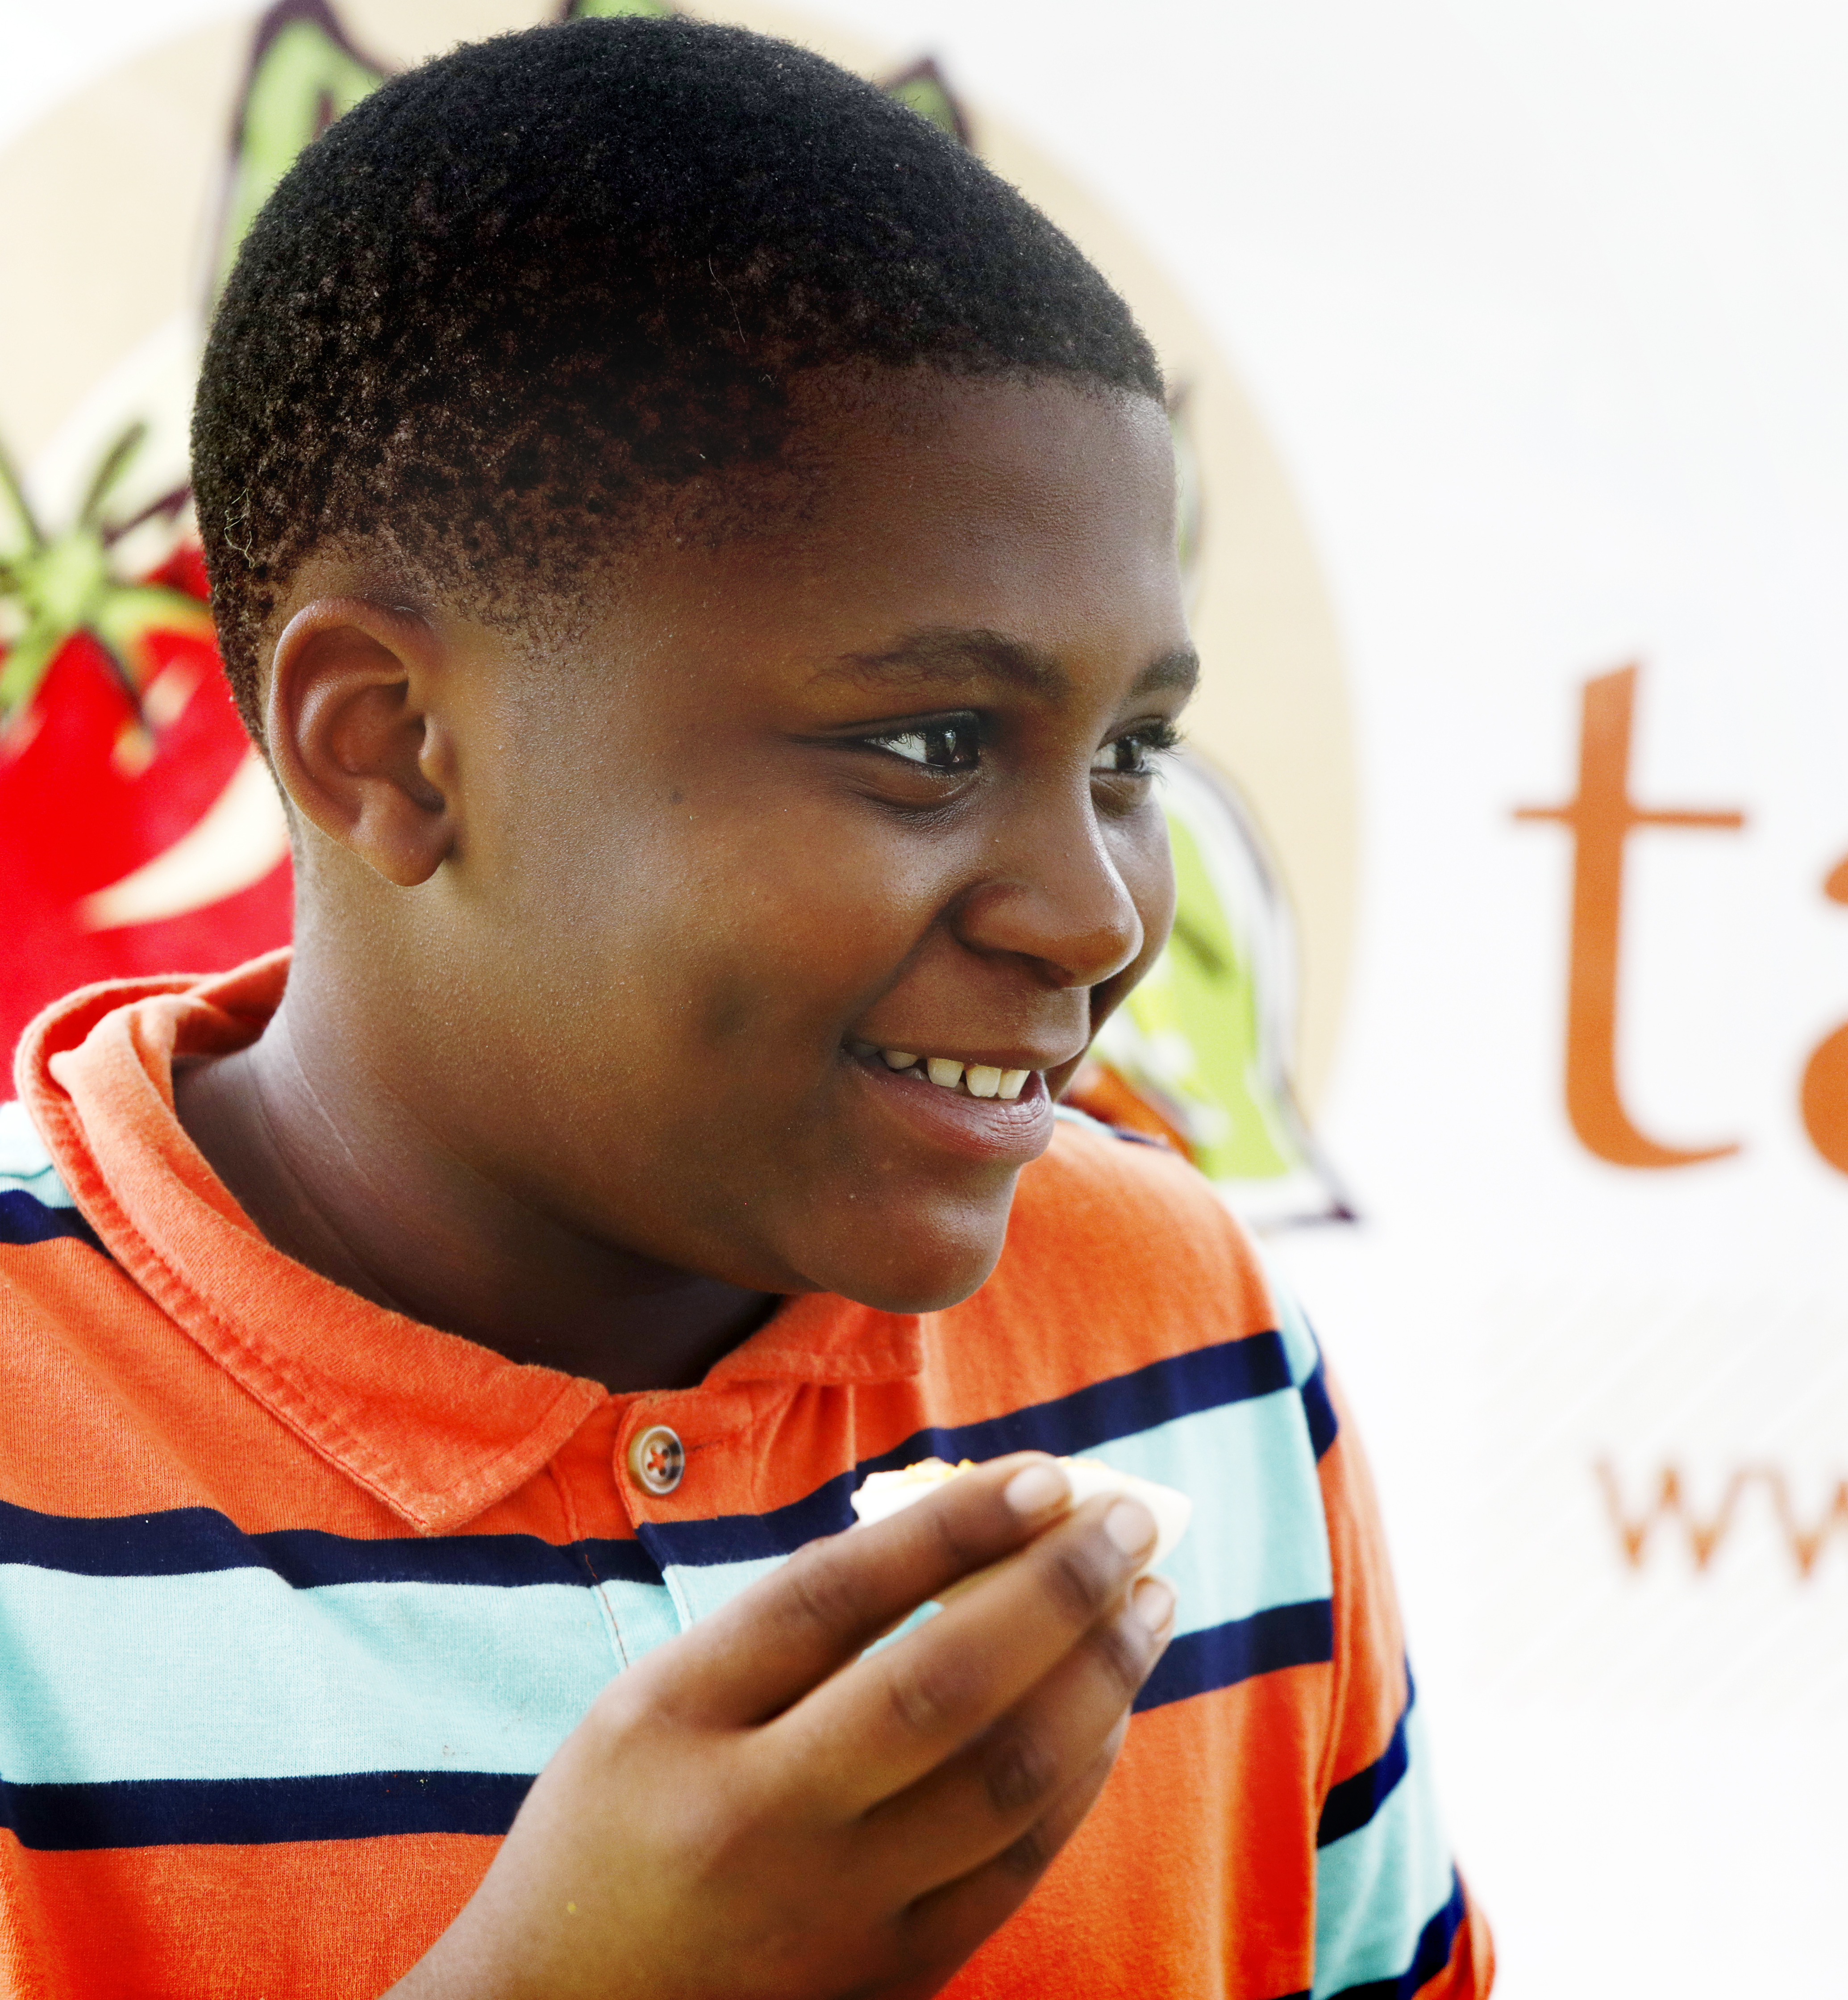
Enjoying the ‘Deviled’ Eggs
And a final thank you to Steven Mantilla from Mantilla Photography. He stepped in at the last minute to help me by taking the photos for this piece. If you choose to re-post any of his photos, please give him credit. And if you have an upcoming event, he’s very professional and great at capturing those amazing moments that most of us miss.
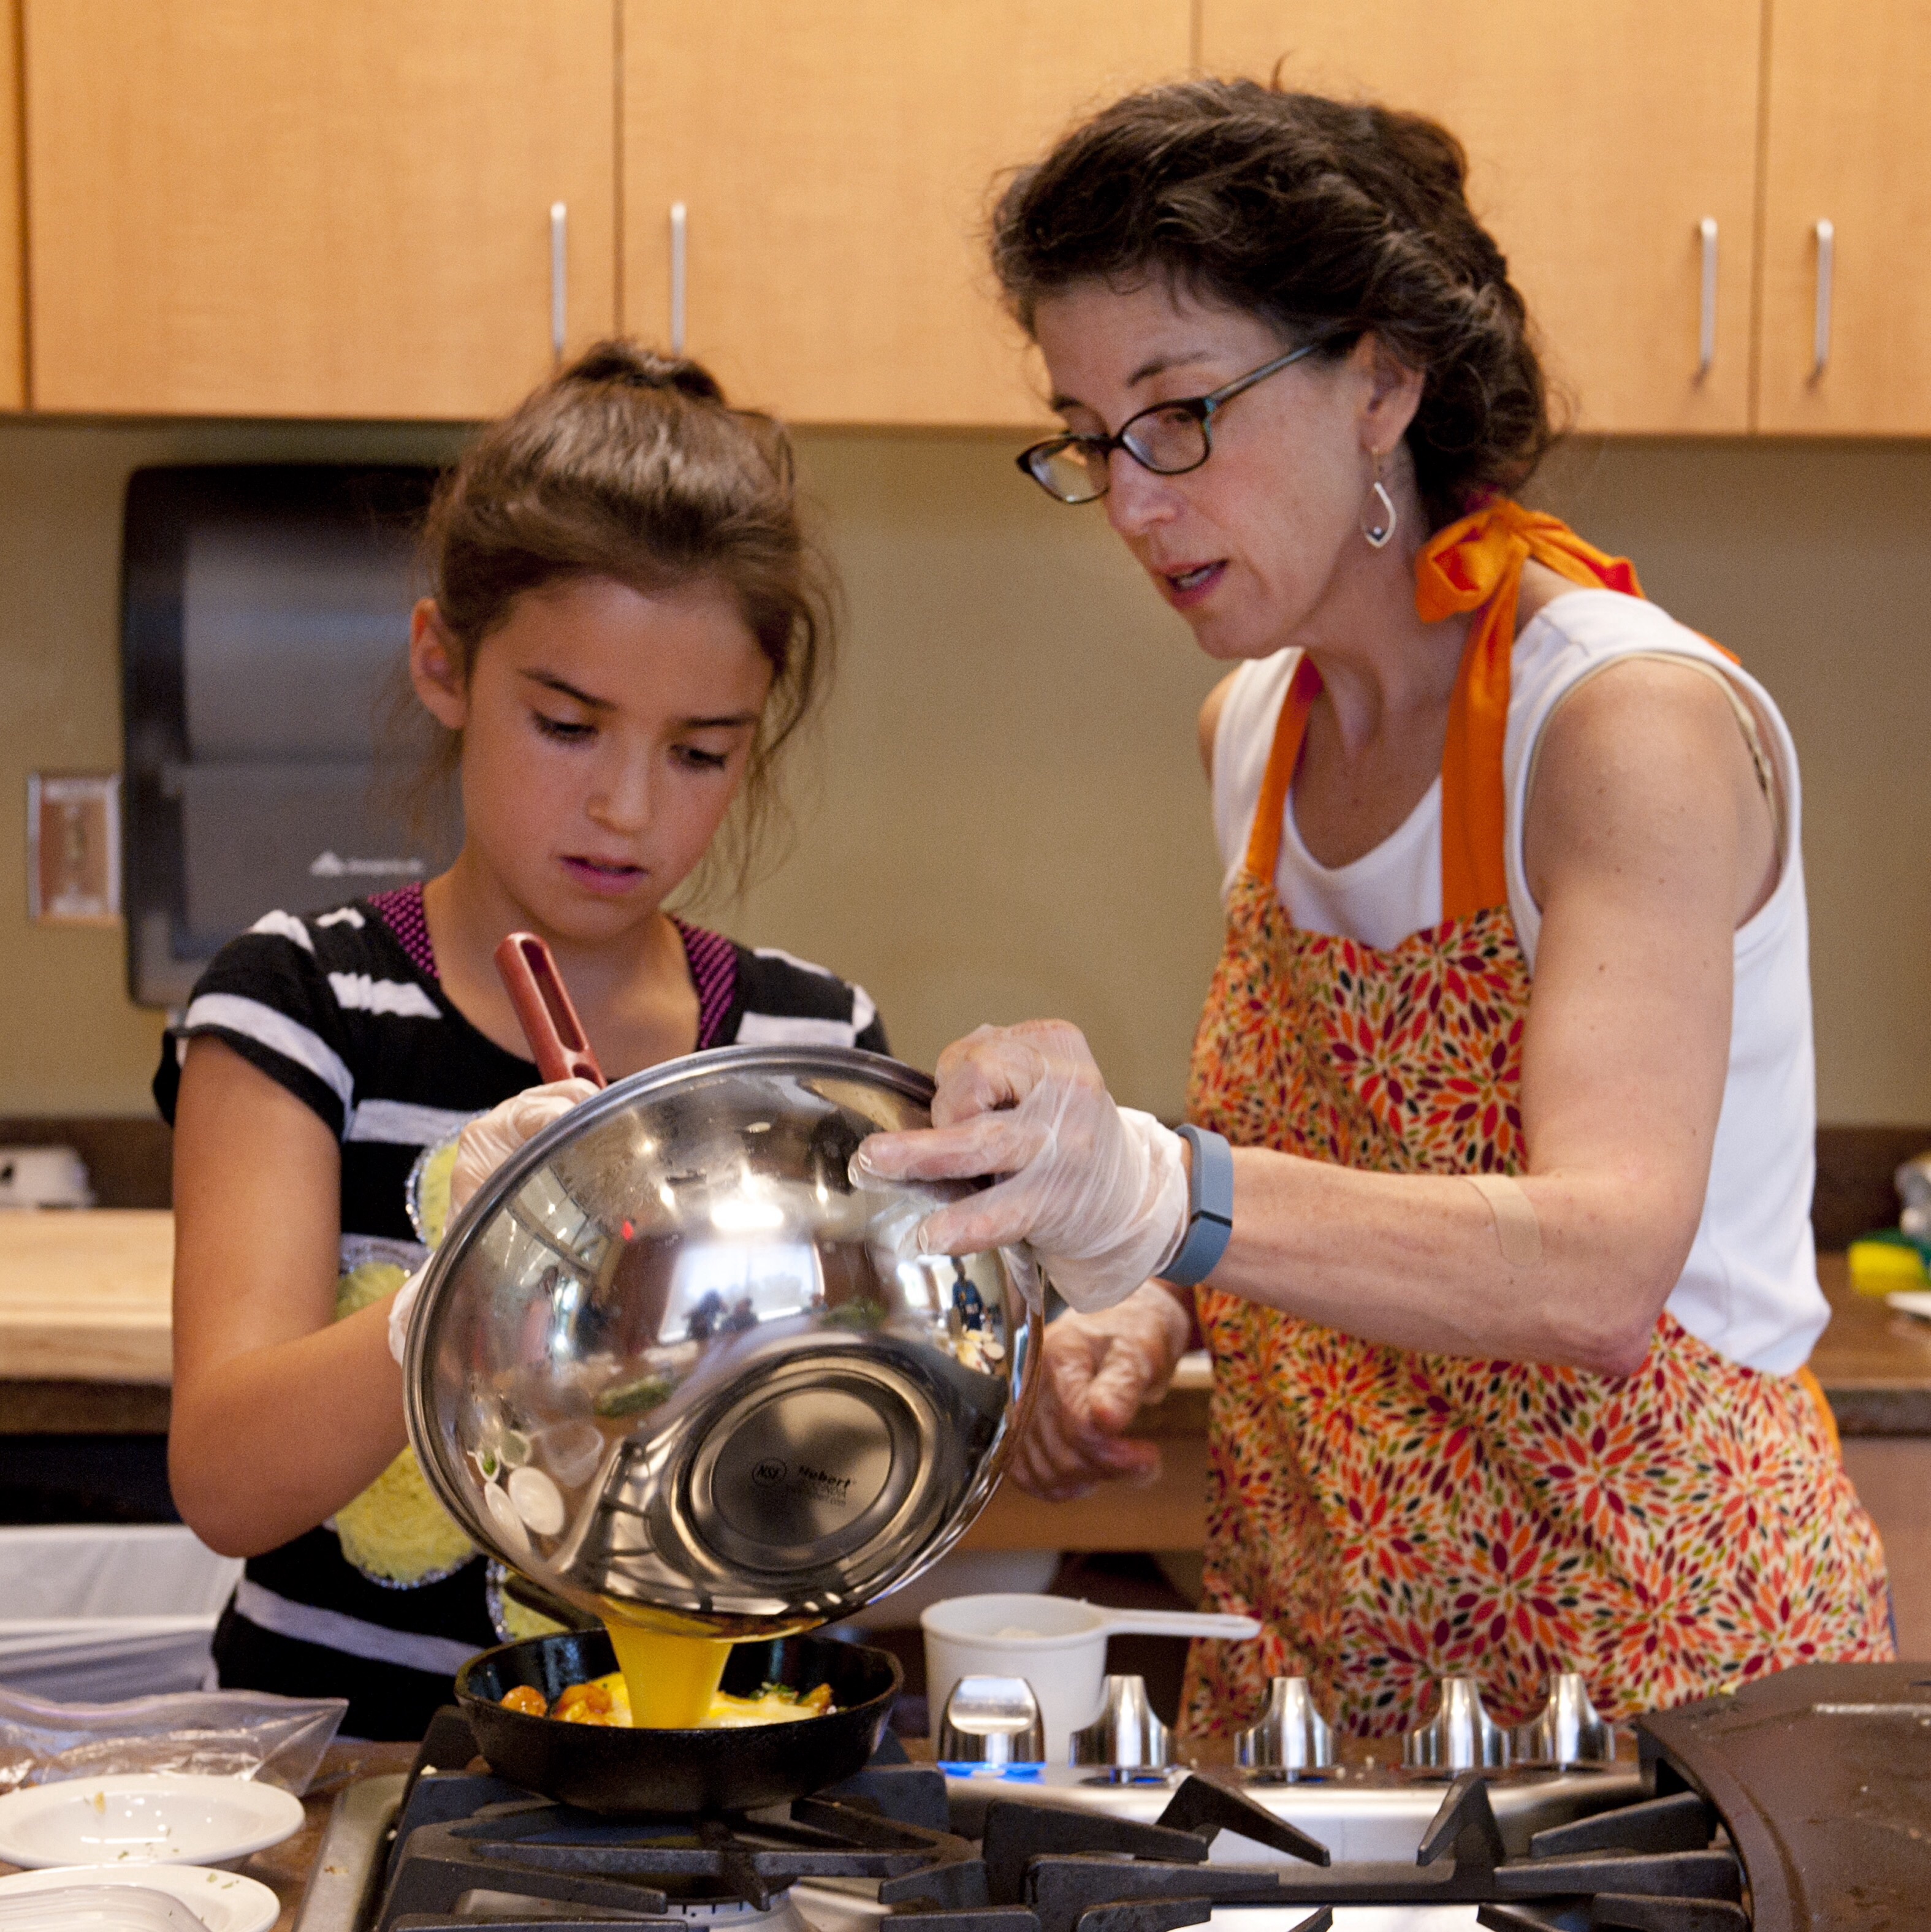
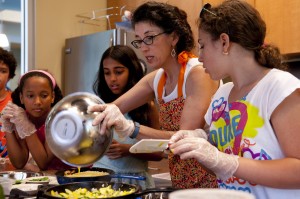
For each recipe, begin by mashing the cooked egg yolks so they are very small and crumbly. Then add the cheese or avocado. Next start to blend in the other ingredients until you have a smooth mixture that tastes good to you. You can use a plastic sandwich bag with a corner cut out to pipe the filling into the egg whites.
Home Fries @ Durham Farmers Market
Indian Curry Eggs
- 3 hard boiled egg yolks, mashed
- 1 tablespoon Plain Chèvre : Elodie Farm
- splash of Worchestershire sauce (optional)
- 1/8-1/4 teaspoon Garam Masala spice
- 1/4 teaspoon Queen George’s Triology finely chopped : Lil’ Farm
- 1/8 teaspoon Queen George’s Ginger syrup (optional): Lil’ Farm
- 1/4 teaspoon Queen George’s Ginger & Turmeric Candy: Lil’ Farm
- salt to taste
Home Fries @ Durham Farmers Market
Mexican Salsa Verde Eggs
- 3 hard boiled egg yolks, mashed
- 1 tablespoon mashed avocado
- 1 tablespoon Jalapeno Chèvre : Elodie Farm
- 1 tablespoon Salsa Verde : Cilantro Artisan Foods
- salt to taste

Home Fries @ Durham Farmers Market
Korean Kimchi Eggs
- 3 hard boiled egg yolks, mashed
- 1 tablespoon Chive Freshen Cheese : Boxcarr Handmade Cheese
- 1 teaspoon finely chopped Cabbage Kimchi : Spicy Hermit
- 1/4 teaspoon Korean Gochujang sauce
- salt to taste

Home Fries @ Durham Farmers’ Market
European Herbed Chèvre Eggs
- 3 hard boiled egg yolks, mashed
- 2 tablespoons Chive (Herb or Classic) Freshen cheese : Boxcarr Handmade Cheese
- 1 teaspoon fresh herbs like thyme, marjoram, oregano, rosemary, parsley, lovage, finely chopped (SEEDS farmers’ market garden)
- smidgen of Whole Grain Mustard : Little Tree Farm
- smidgen of sugar cane syrup or honey
- or substitute a bit of sweet pickle relish
- salt & pepper to taste