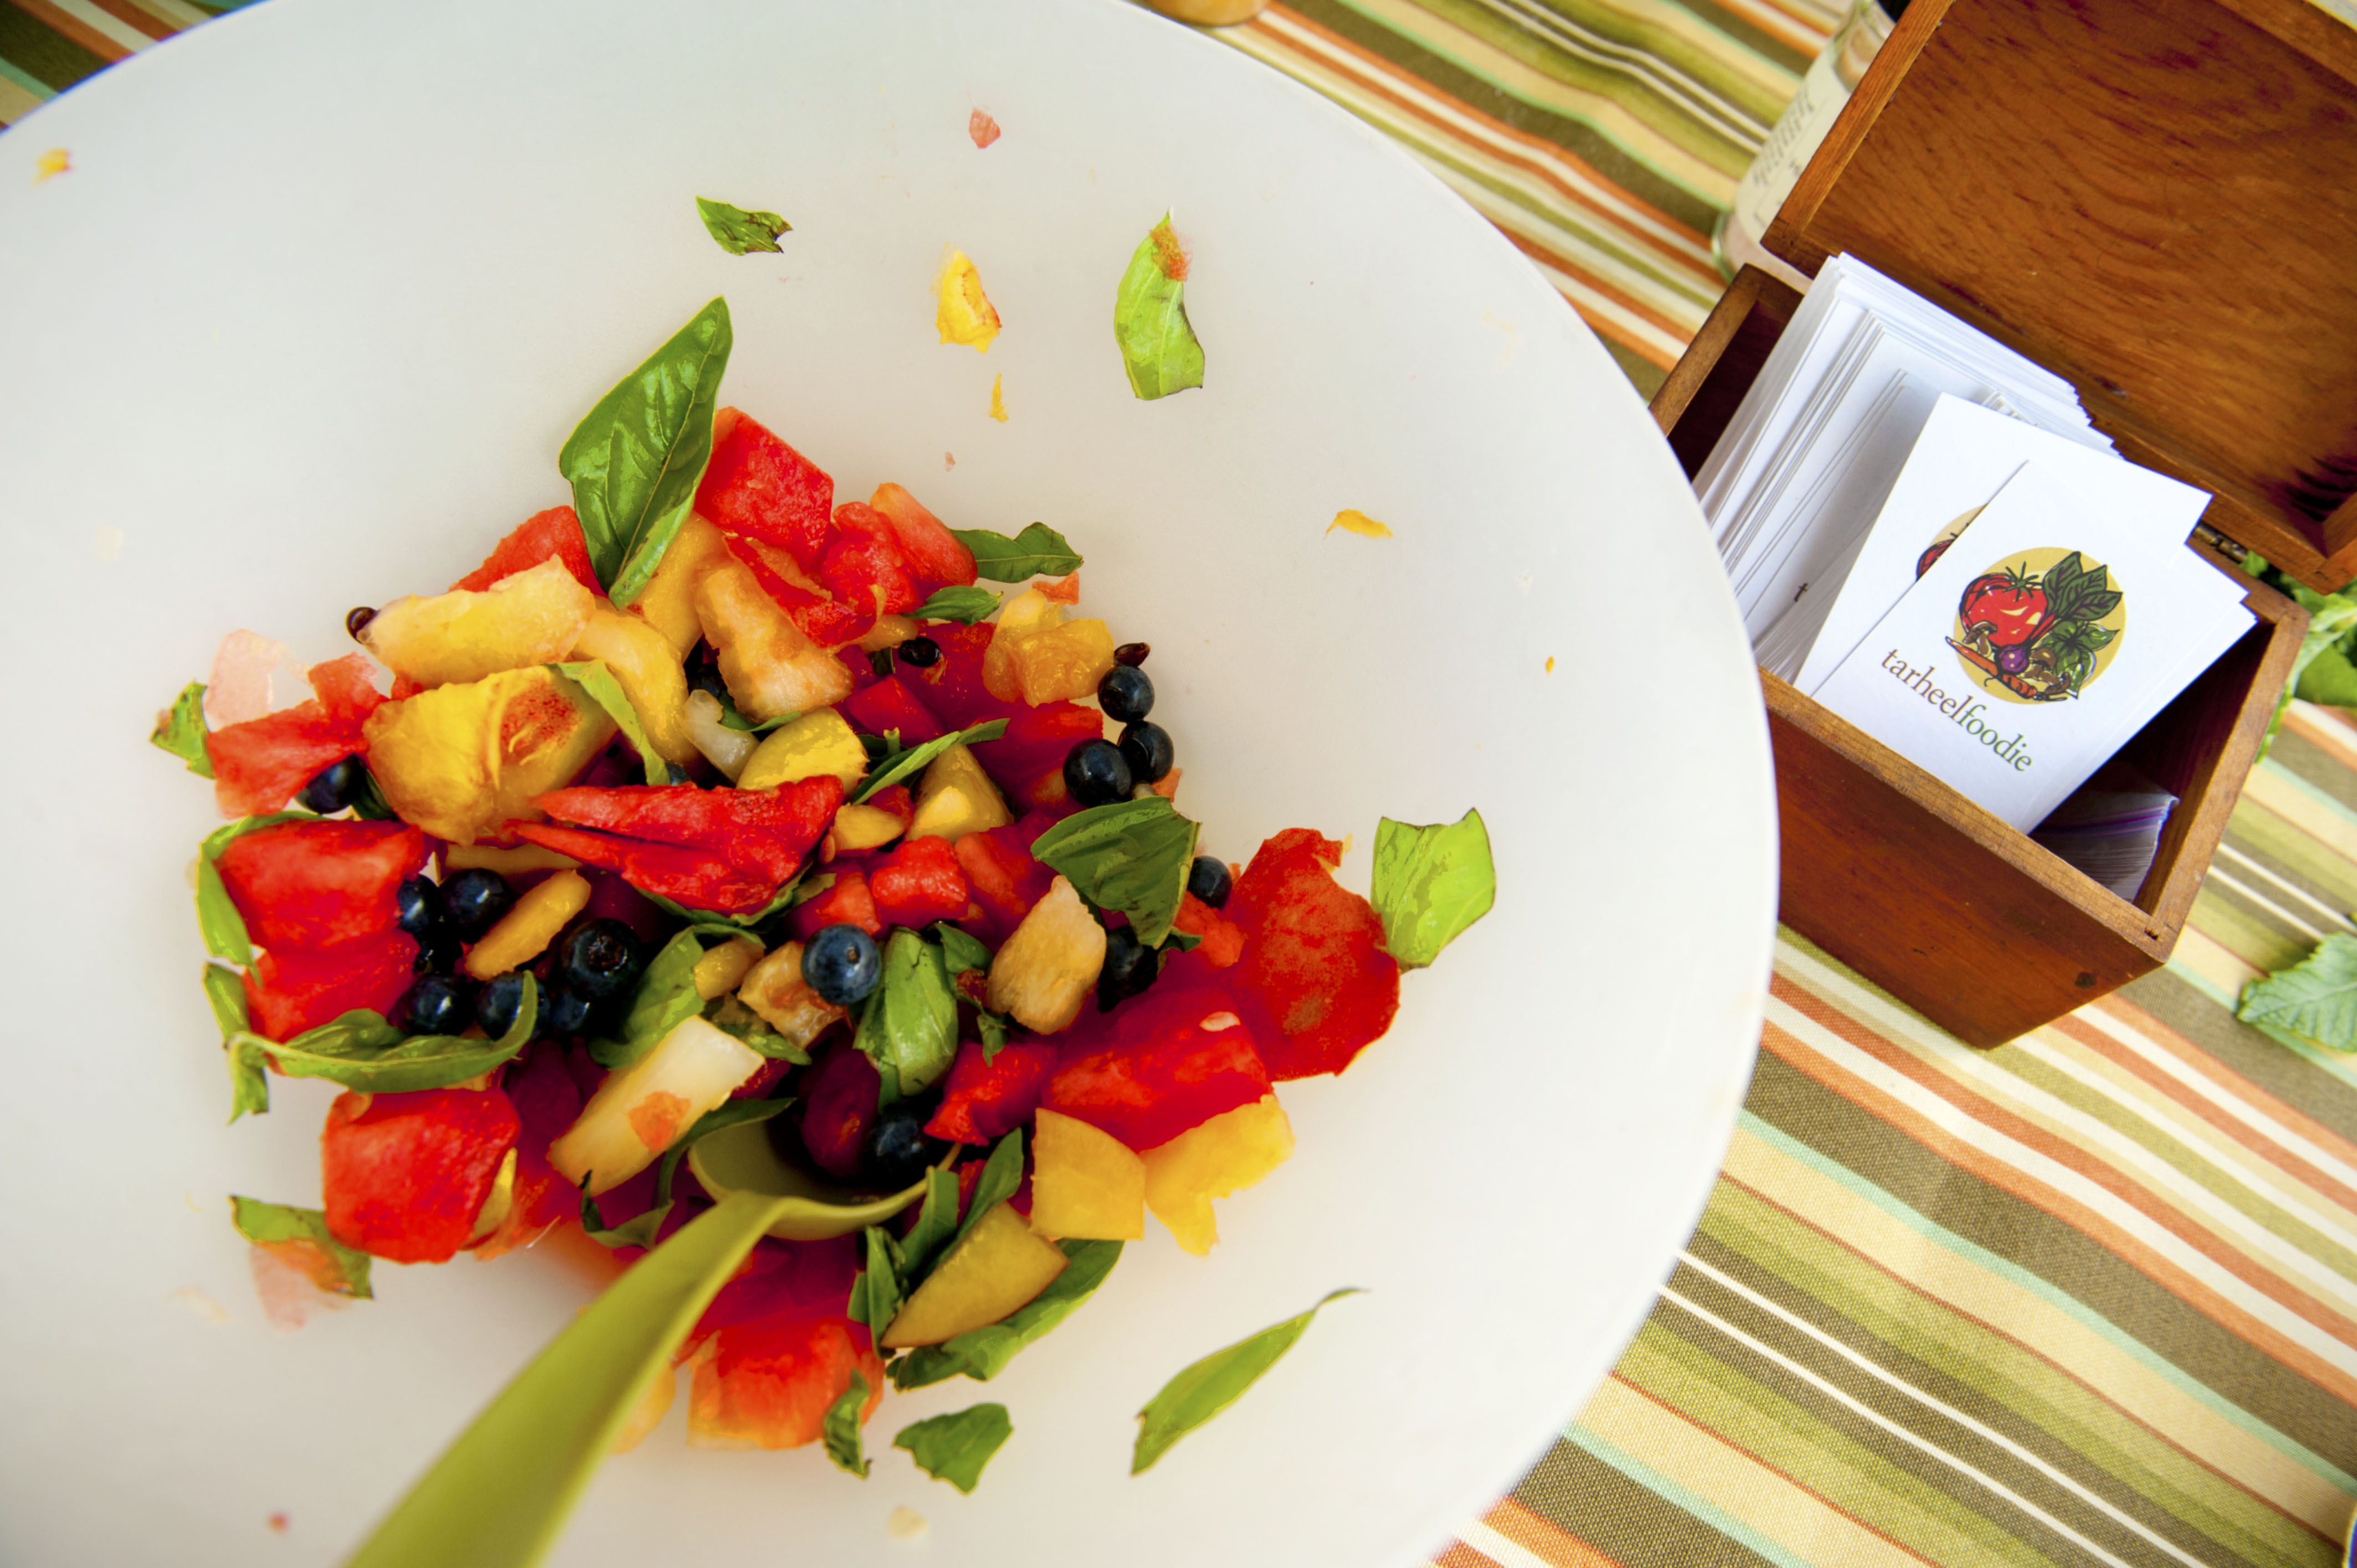
Summer Peach & Melon Salad at the Durham Farmers’ Market with the HomeFries Cooking Team. July 2014. Photo Copyright Casey Boone
Saturday’s HomeFries Class was all about staying cool using melons. Let’s face it, most people aren’t comfortable with the words “soup” and “chilled” pushed together as something to eat in the middle of a hot summer day. But if you mention “smoothie”, you’ll get an entirely different set of facial expressions when it’s above 90F. So teaching the “HomeFries” that chilled soups and smoothies are really only separated by a savory ingredient or two was a lot of fun. Even better was the knowledge that they could make these at home and go further making popsicles too. And, we had time to enjoy a seed spitting contest when we were finished!

HomeFries Watermelon Seed Spitting at the Durham Farmers Market. July 2014. Photo Copyright: Casey Boone
The recipes for this class were simple because the main points we wanted to cover included:
1. how to think about & combine flavors
2. ratios of liquid to solid & frozen to fresh to get a smooth texture
3. swapping base liquids and melons for seasonal or regional availability
There were some hits to the class and some clear misses. The cucumber drink that I adore was a miss in my opinion, mainly because I could not find the lime that I thought was packed. It’s probably a science experiment somewhere at this point. The lime adds a bit of punch to cut through the cucumber and balances the honey and salt. This is one case where one ingredient does make a huge difference.
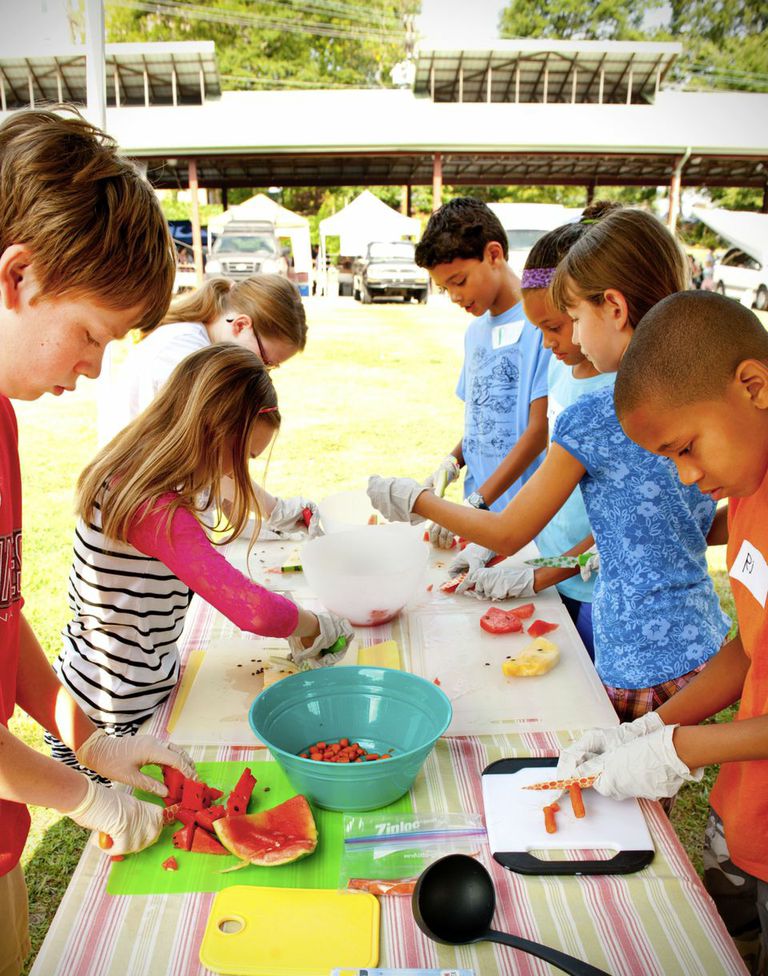
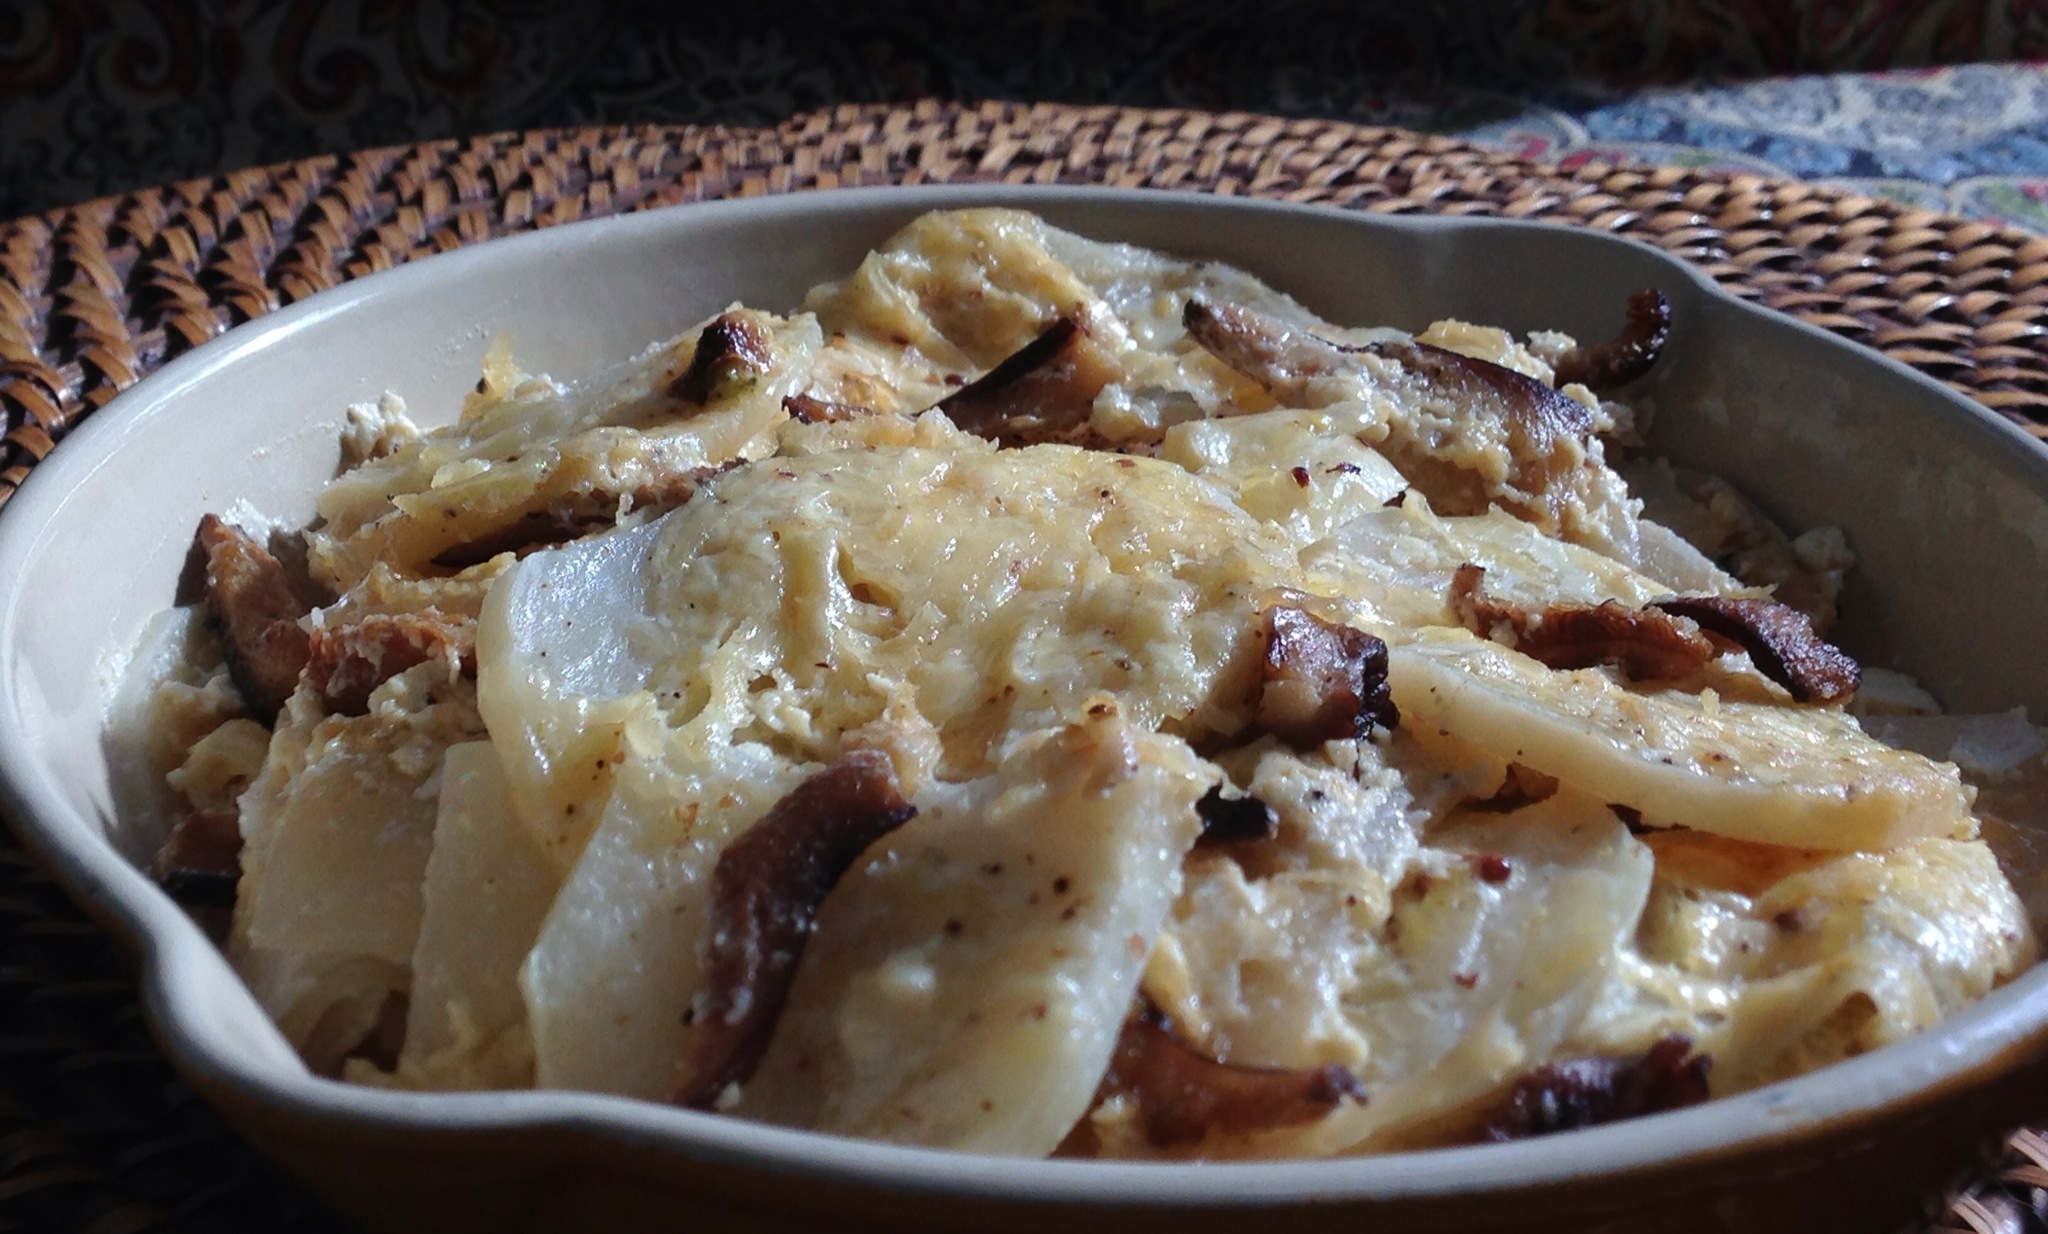
HomeFries Team cutting up the melon & peaches for Summer Salad & Skewers at the Durham Farmers’ Market. Photo Copyright Casey Boone
All the kids of the Durham Farmers’ Market HomeFries class were able to customize their salads with some additional mint, basil and goat cheese. Photo Copyright Casey Boone.
The HomeFries team members had the opportunity to cut up fresh fruit provided by the local farmers for a salad. And, we even had a nice woman stop by and offer us a few fresh peaches for the salad that she had just purchased from the market. The kids didn’t take long to get those cleaned up, cut, and added to the salad. They tried adding a little mint to their individual bowls with the fruit; and then a little basil to compare. The recipe calls for some tender baby greens like baby arugula or micro-greens, but we couldn’t find exactly what we needed, (there’s a micro-greens vendor at the Durham Saturday market), so we adapted the recipe for what was available from the farmers on Saturday.
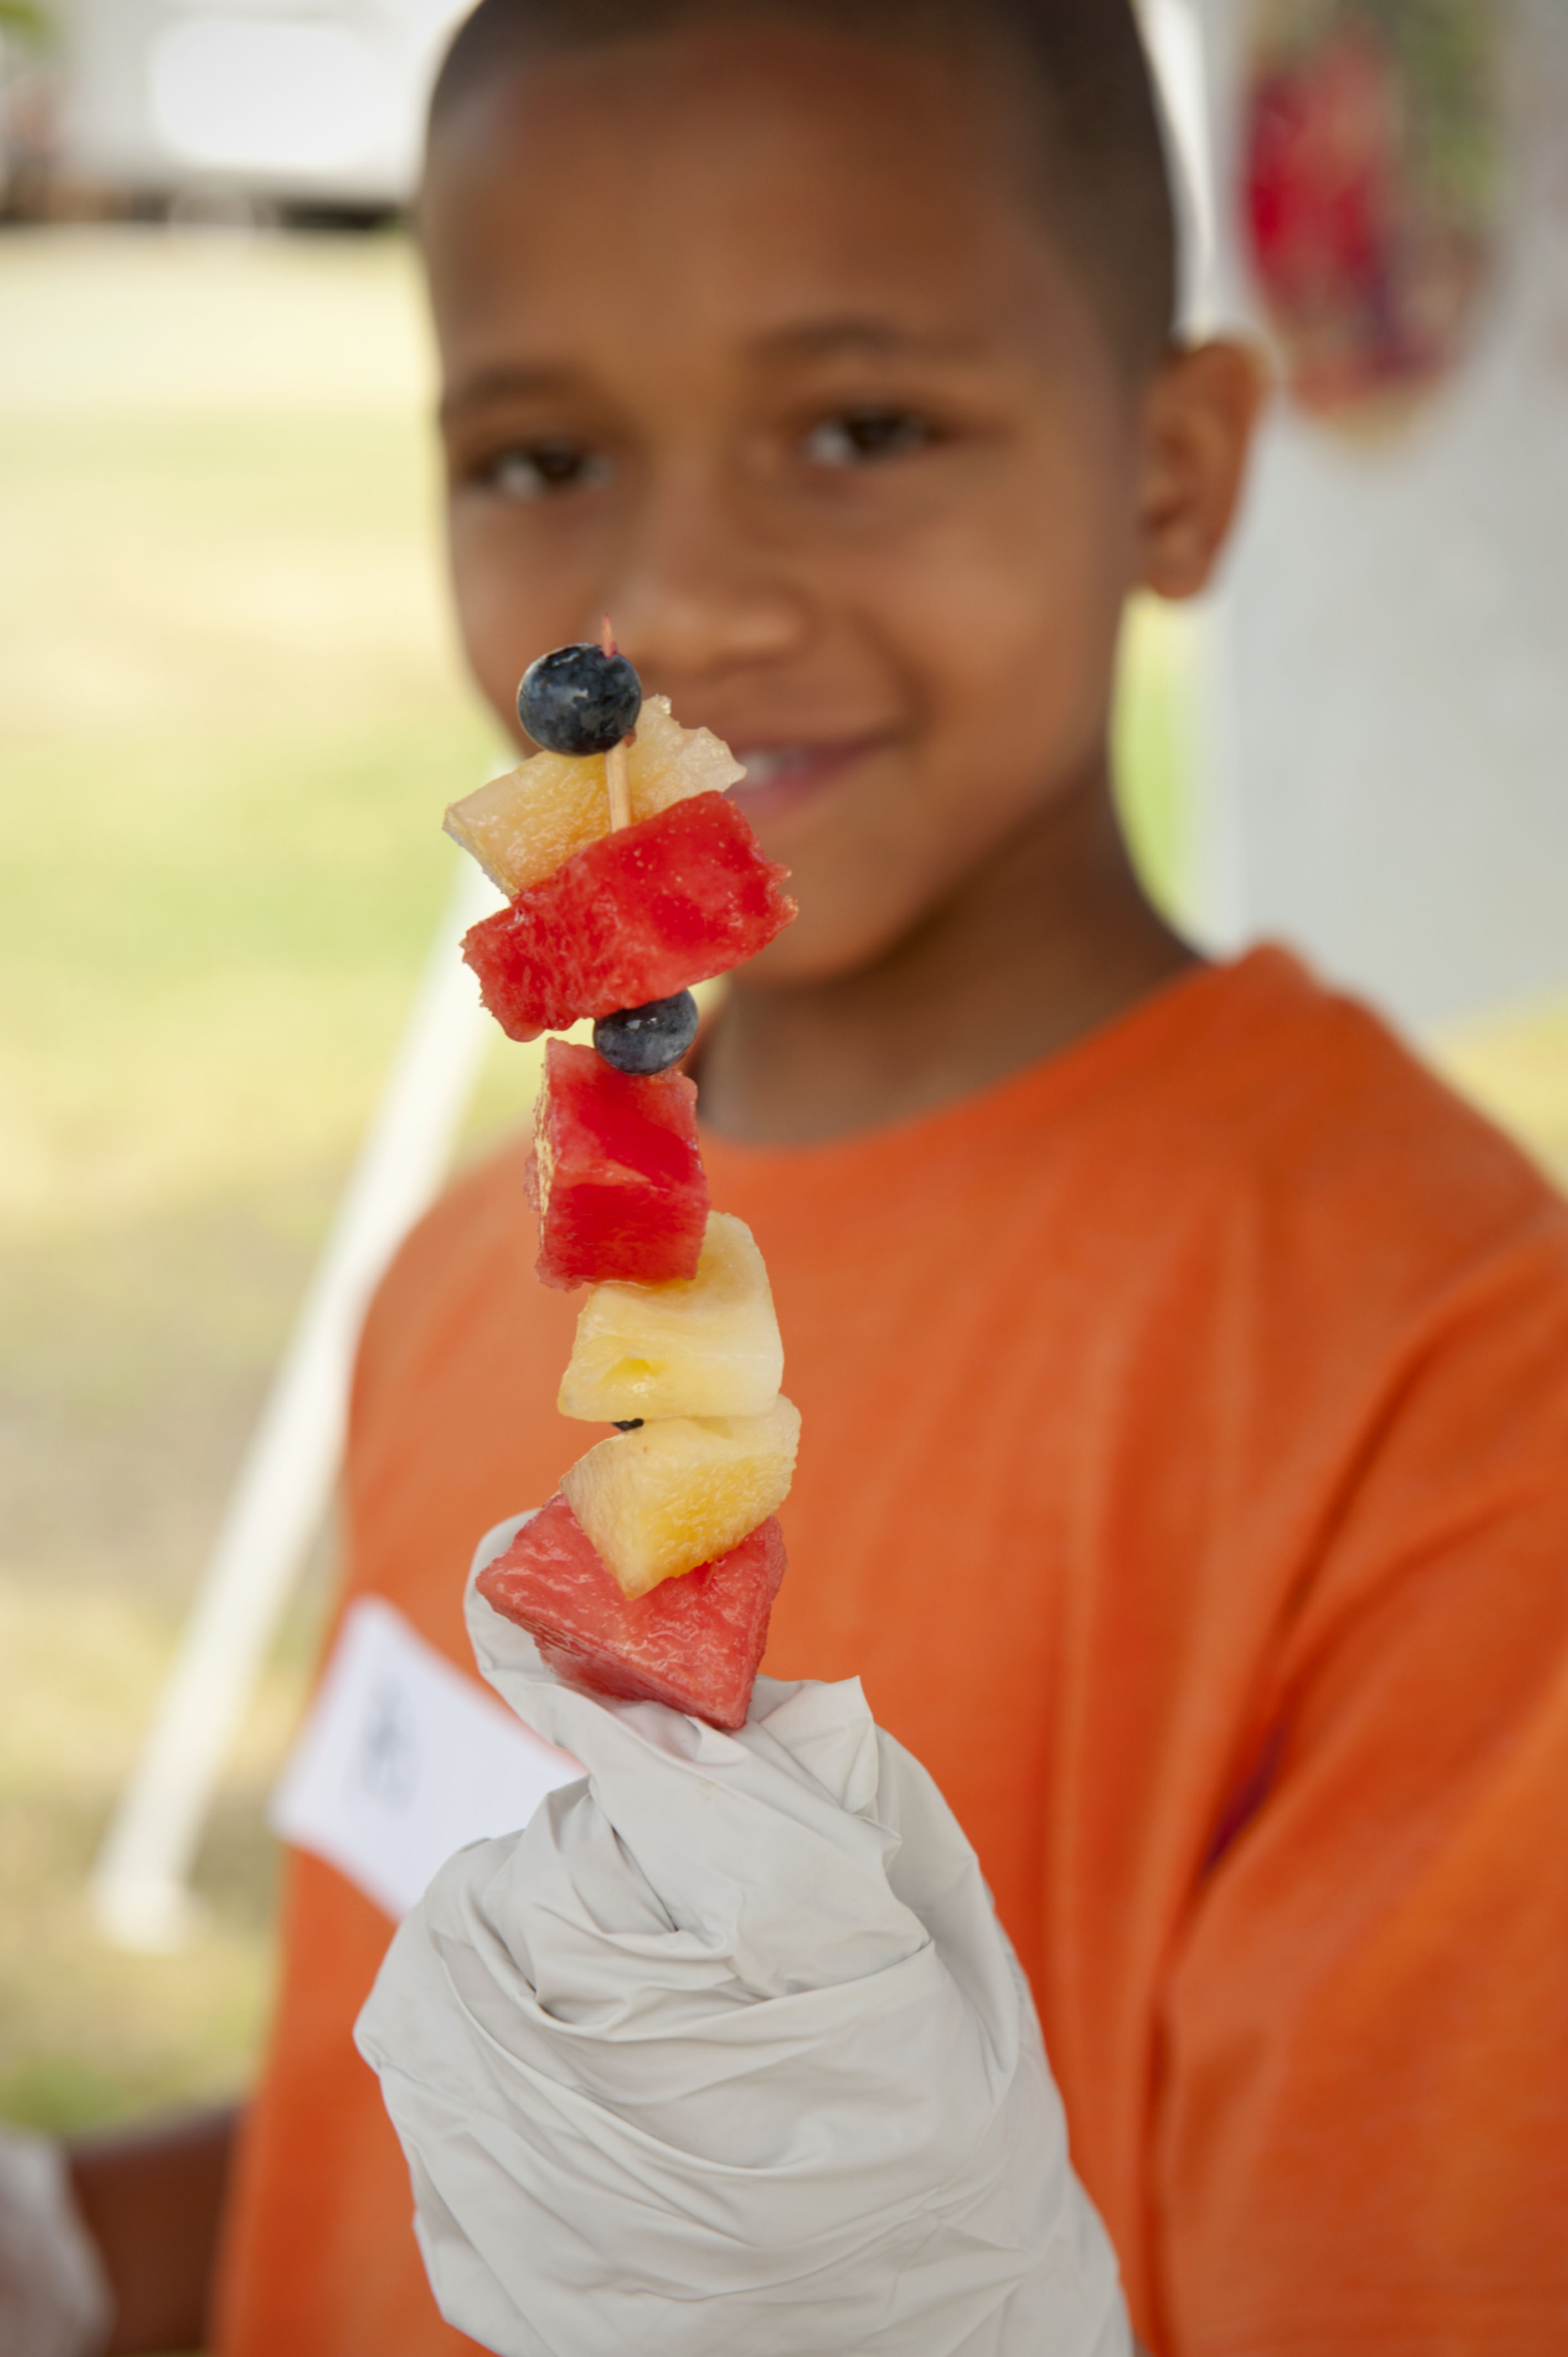
Individual Fruit Skewers prepared by the HomeFries Team at the Durham Farmers’ Market. Photo Copyright Casey Boone
The salad was a big hit and the kids took the extra pieces of melon and blueberries and made fruit skewers that would be ideal for a party or picnic. We had a chance to talk about ways to adapt the skewers for the season changes with strawberries earlier in the season and apples and pears later in the season. And they were able to taste a couple different herbs with the fruit and decide which flavors worked best for each of the fruits. The beauty of these two ‘recipes’ is that the kids are able to customize their salads from a base if the salad is set up with ‘toppings’ like herb leaves, goat cheese or nuts.
The first two recipes don’t require sweeteners, so the group spent time talking about honey, sorghum, and maple syrup as natural sweeteners for the next batch of recipes and how the season might influence the choice of sweeteners. We also talked a lot about substitutes for dairy like almond milk, coconut milk, coconut water, and kefir (which is nearly lactose-free). Each of these creates subtle changes to each recipe and the HomeFries played with a couple during class. Almond milk is thin, but adds a bit of sweetness like coconut water. Coconut milk and kefir are a bit heavier and provide a creamy texture that many chilled soups and smoothies require. Coconut milk, coconut water and almond milk can be frozen into ice cubes if the other components are fresh, eliminating the need for ice that would melt faster and diminish the flavor.
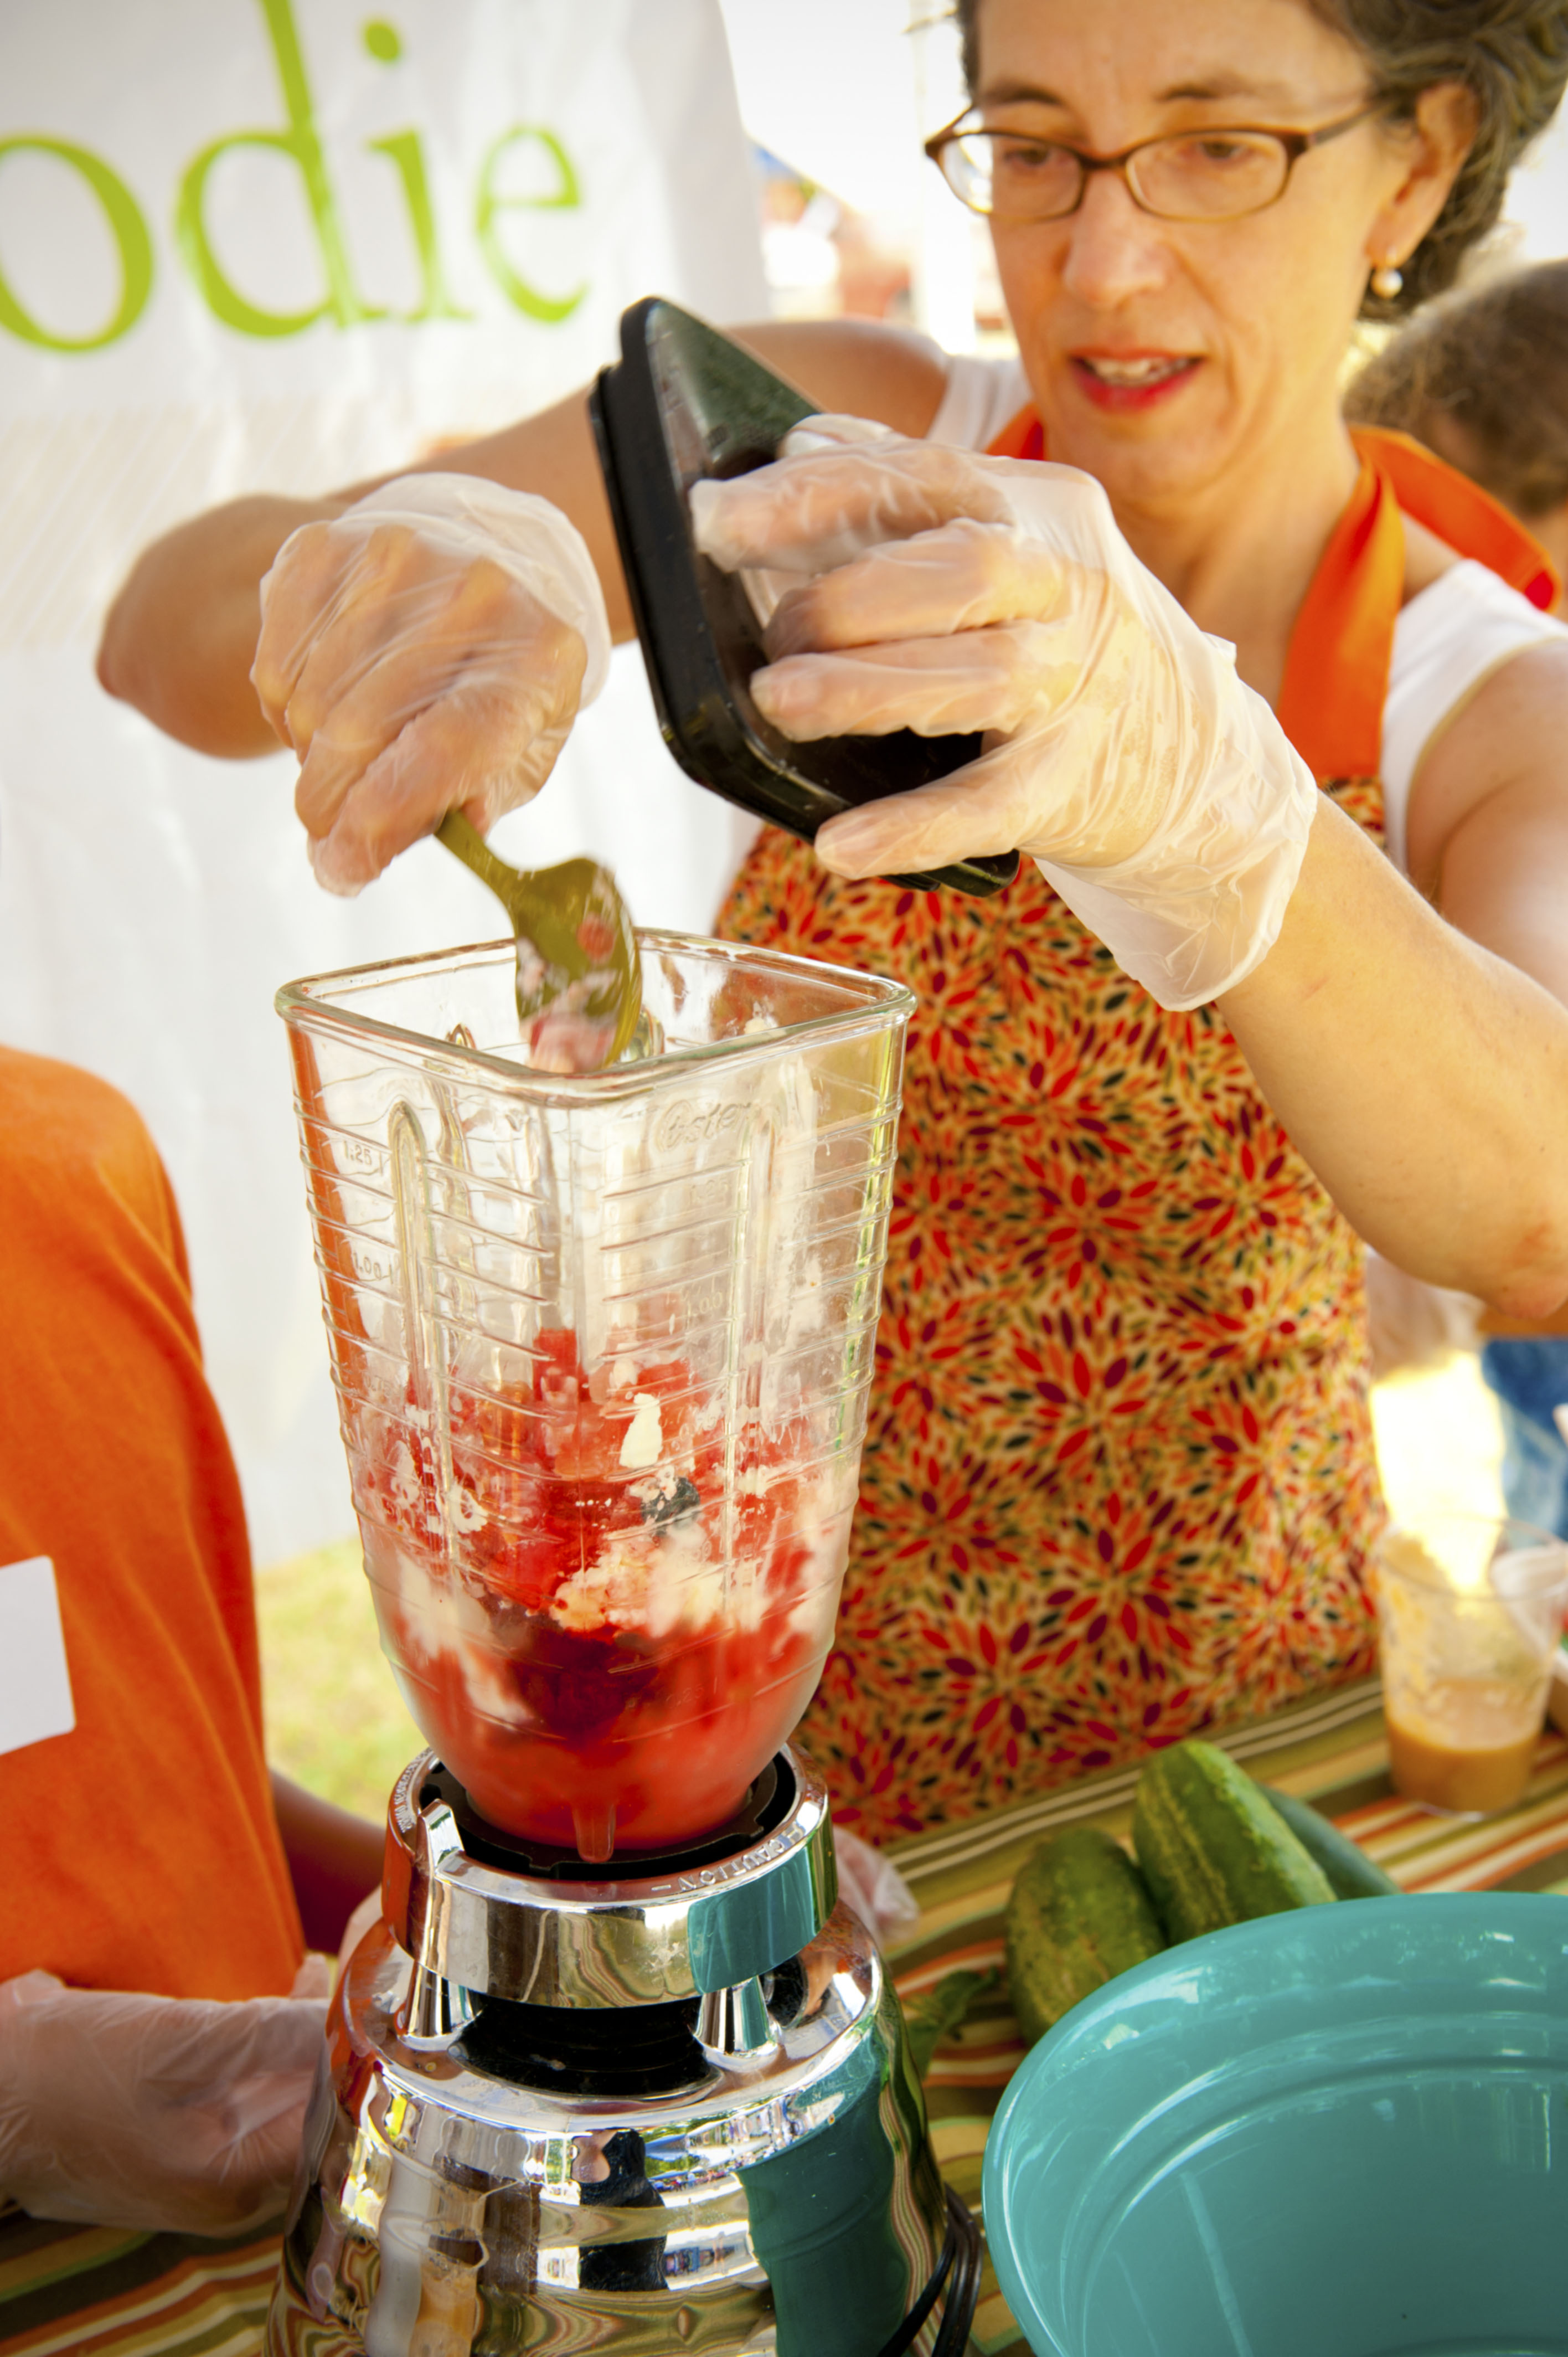
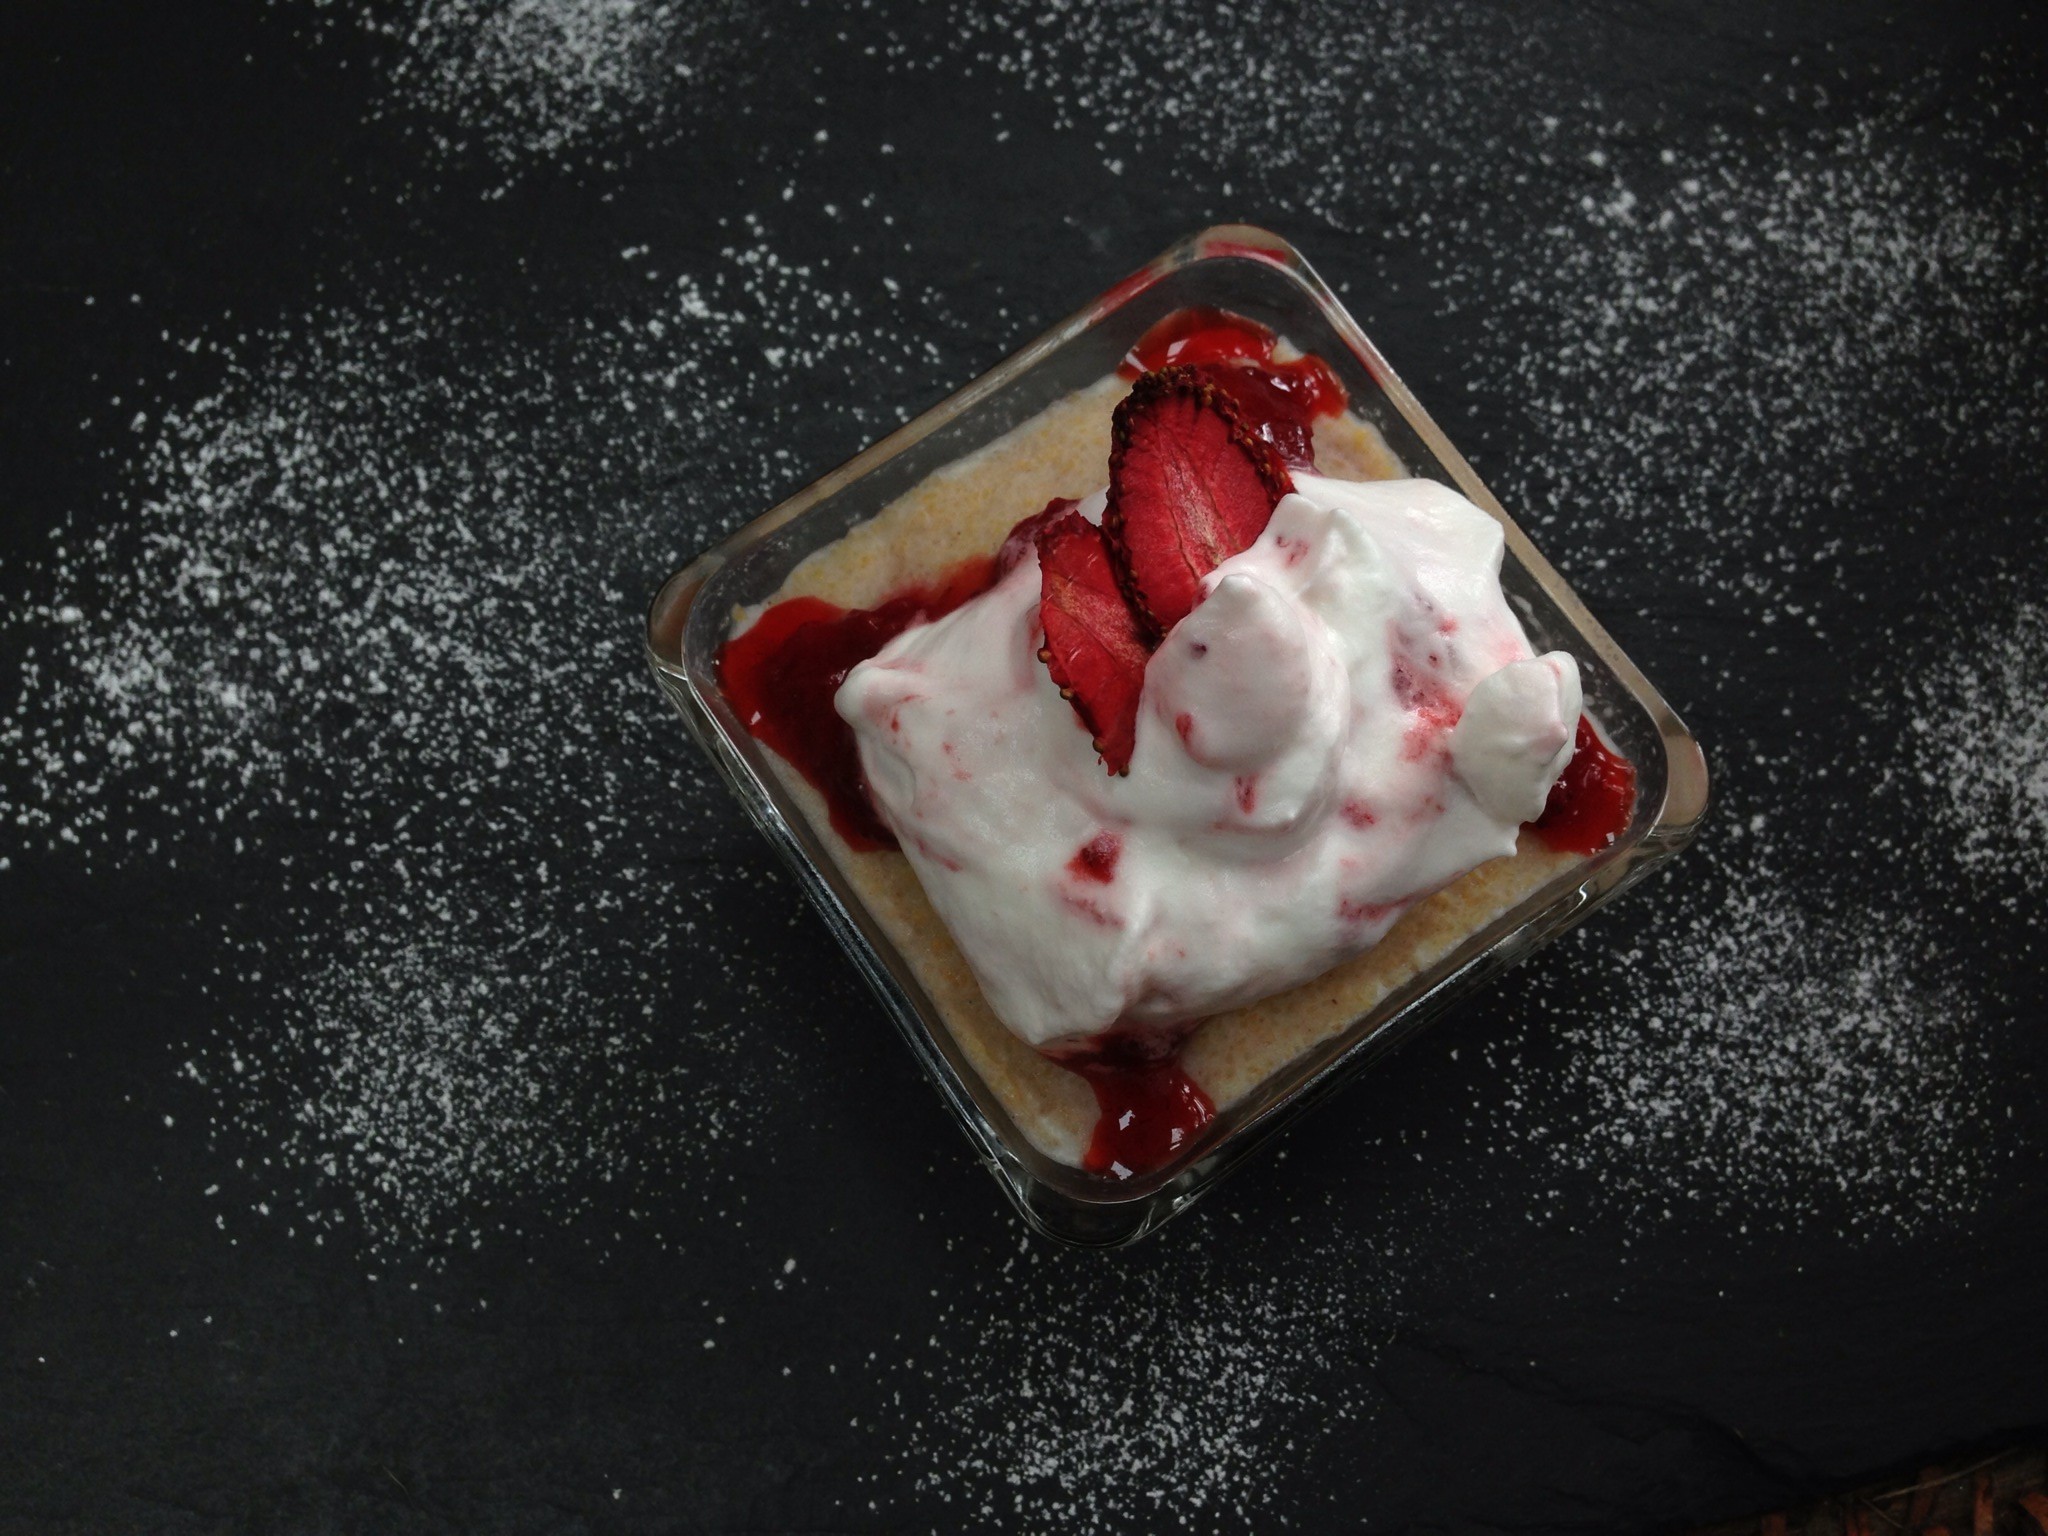
The HomeFries Team tested two versions of the Chilled Strawberry & Watermelon Soup. One with and one without the goat cheese. This recipe can be frozen into popsicles. Photo Copyright Casey Boone
The Strawberry Soup turned out to be a double-header hit. We decided as a team to make the recipe up without the goat cheese first and give it a try, and then add it on a second batch of soup for comparison. This turned out to be a great teaching opportunity to show the difference in a “smoothie” verses a savory “soup”. All of the kids loved the smoothie tasting of this recipe without the chèvre, even with a bit of raspberry vinegar (thanks to Olio2Go for that bottle!). And, as a bonus, all of the kids, except the young cook that didn’t like goat cheese, enjoyed the savory version with the fresh cheese blended in. We even had an opportunity to add a little additional cheese so they could taste what happens when the ratios are changed just a bit.
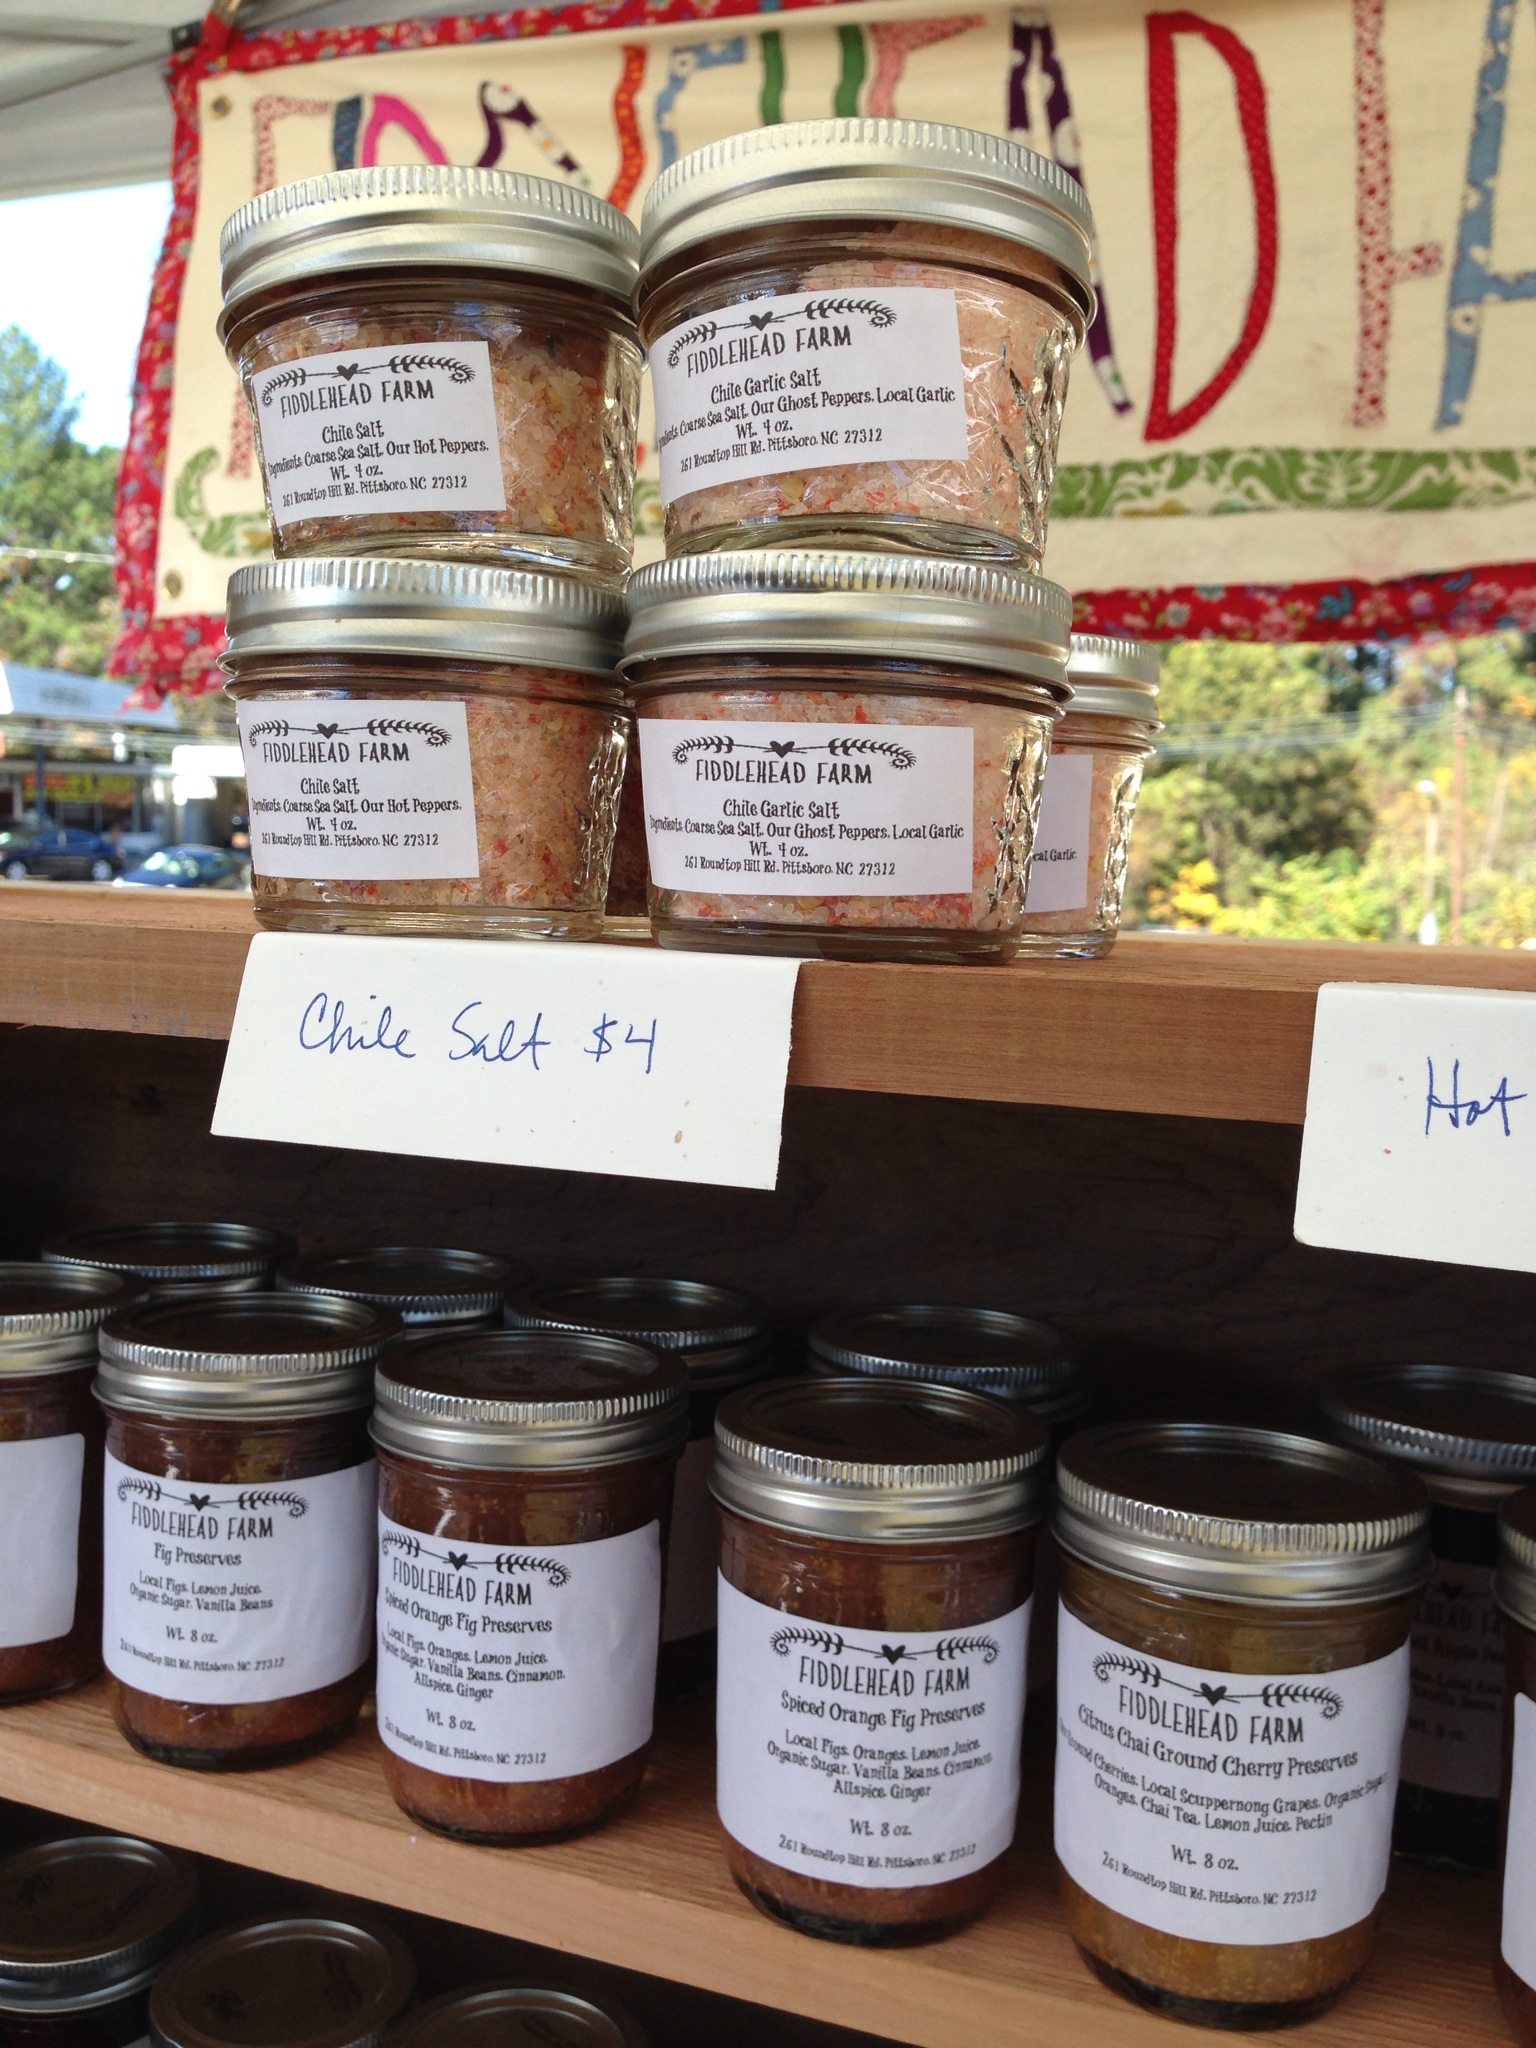
The other point to make on this recipe is that we used one of my “cooking hacks”. Each year I freeze quite a lot of fruit but there are times when I need a reduction of fruit for concentrated flavor in a recipe. The Strawberry Soup recipe offered a chance to show the kids that they could use some jam from the market or from home and add some raspberry vinegar to balance the sugar and come up with a quick smoothie even if they didn’t have all of the listed ingredients. Many of the farmers at the market make jam out of extra fruit that doesn’t get sold and there are a couple of vendors like Farmers Daughter and Fiddlehead Farm that make quite a bit of preserves if it’s not something you do in your home.
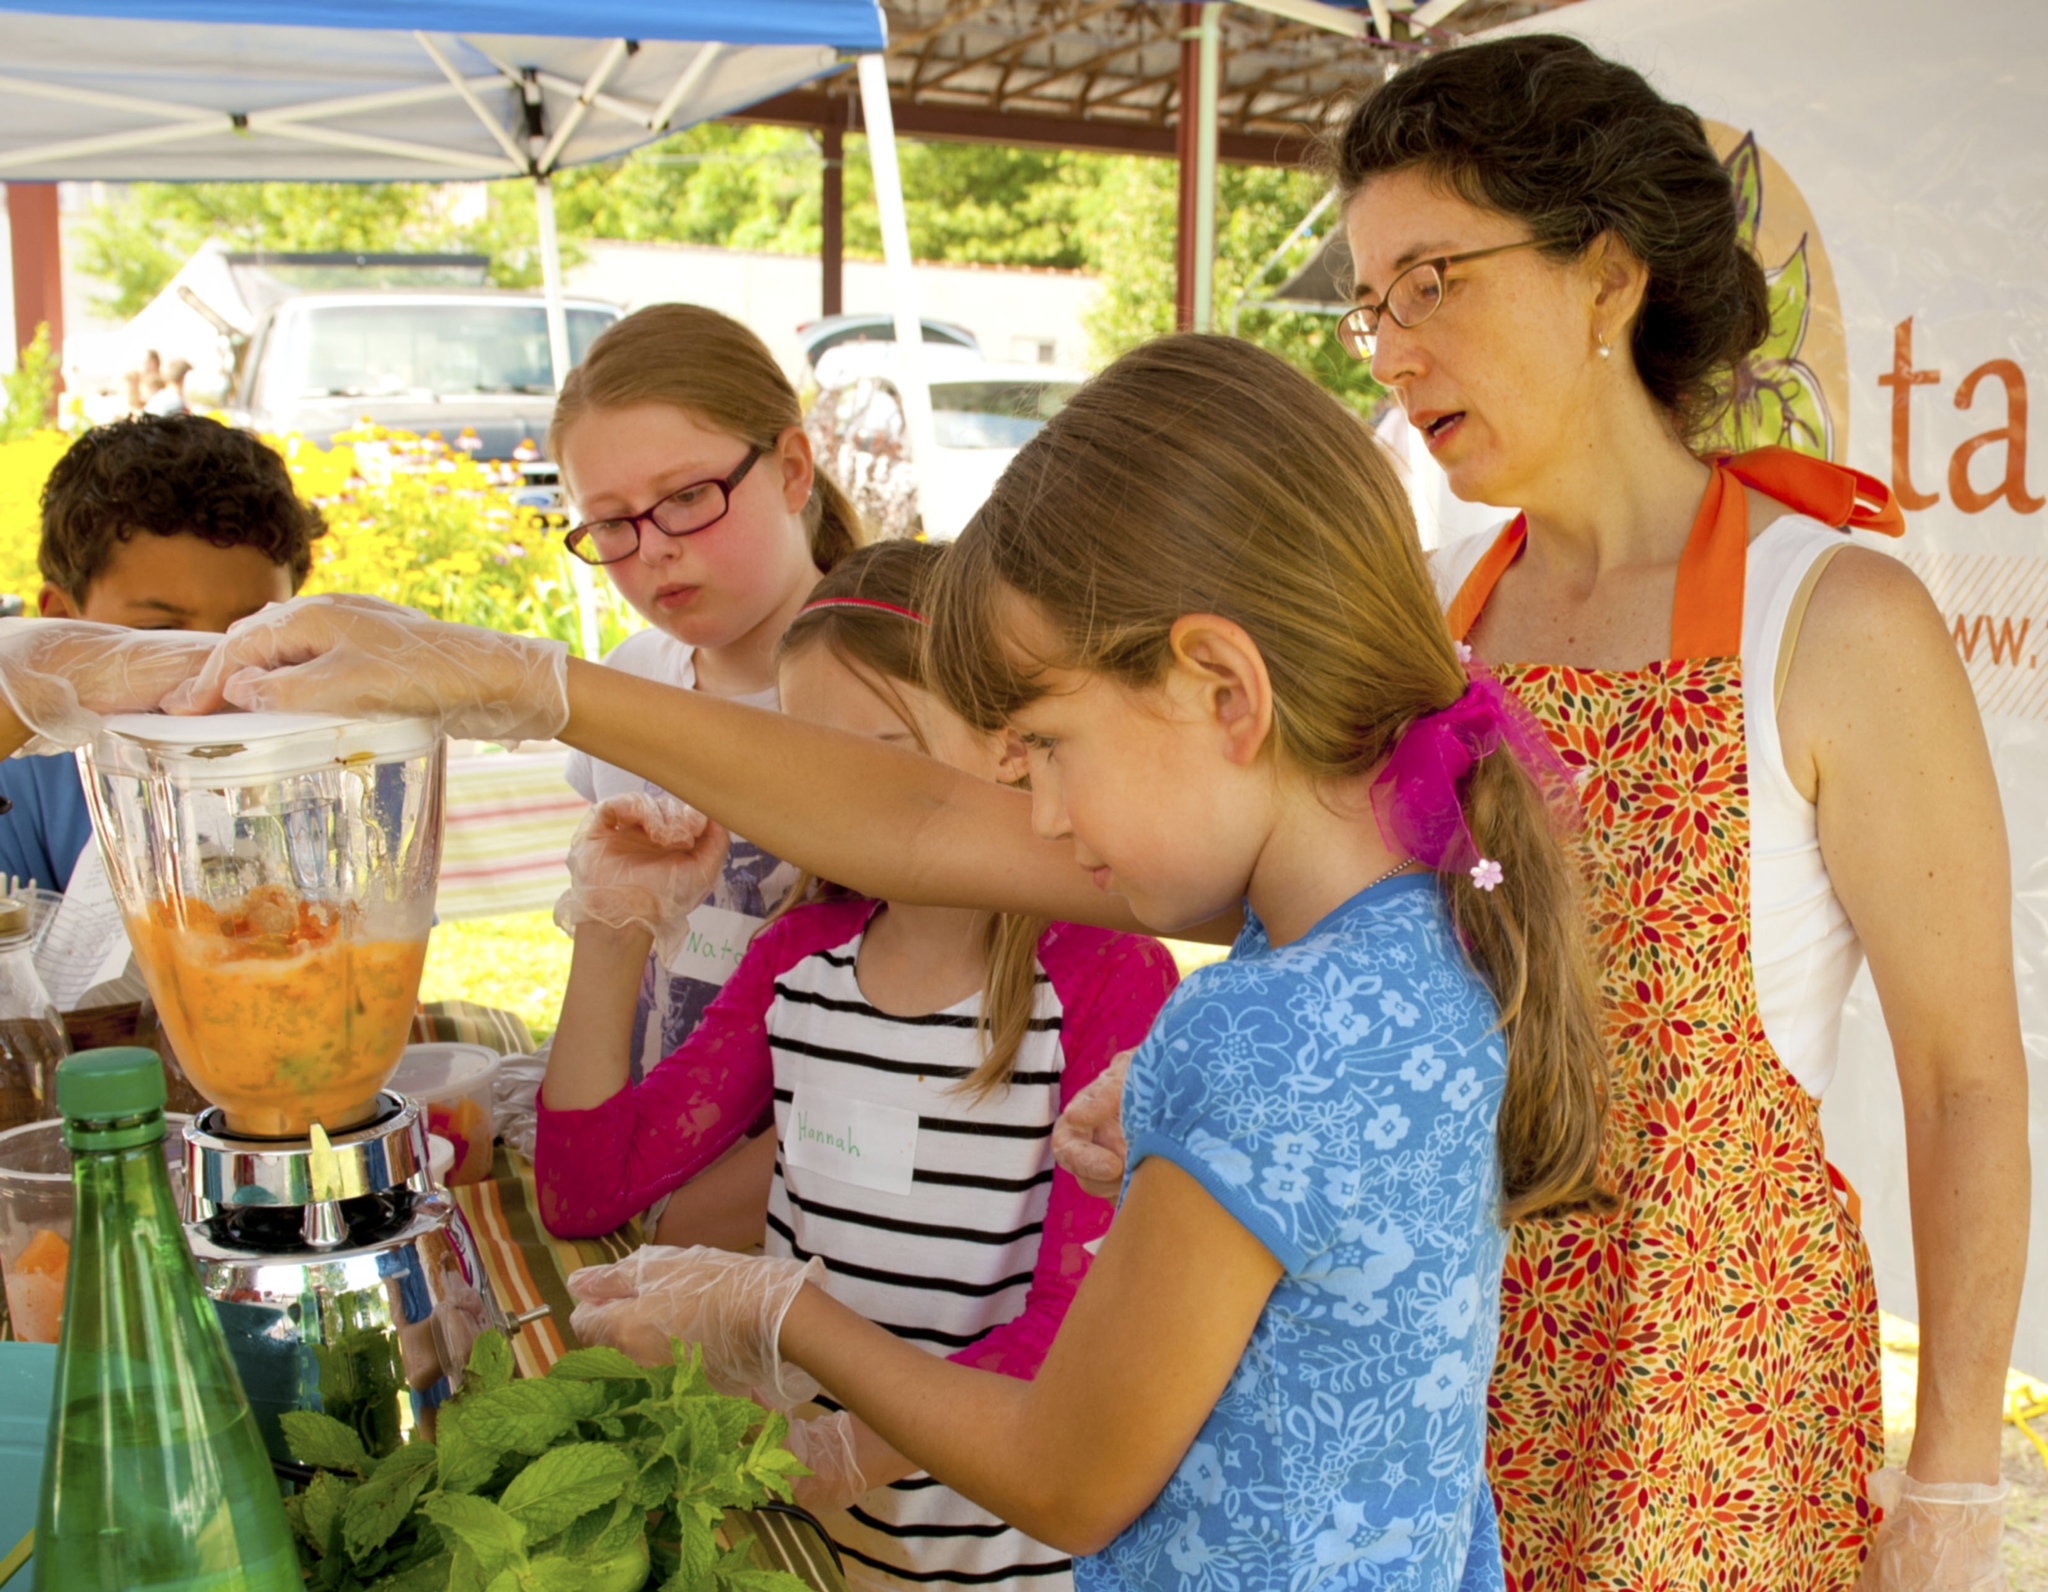
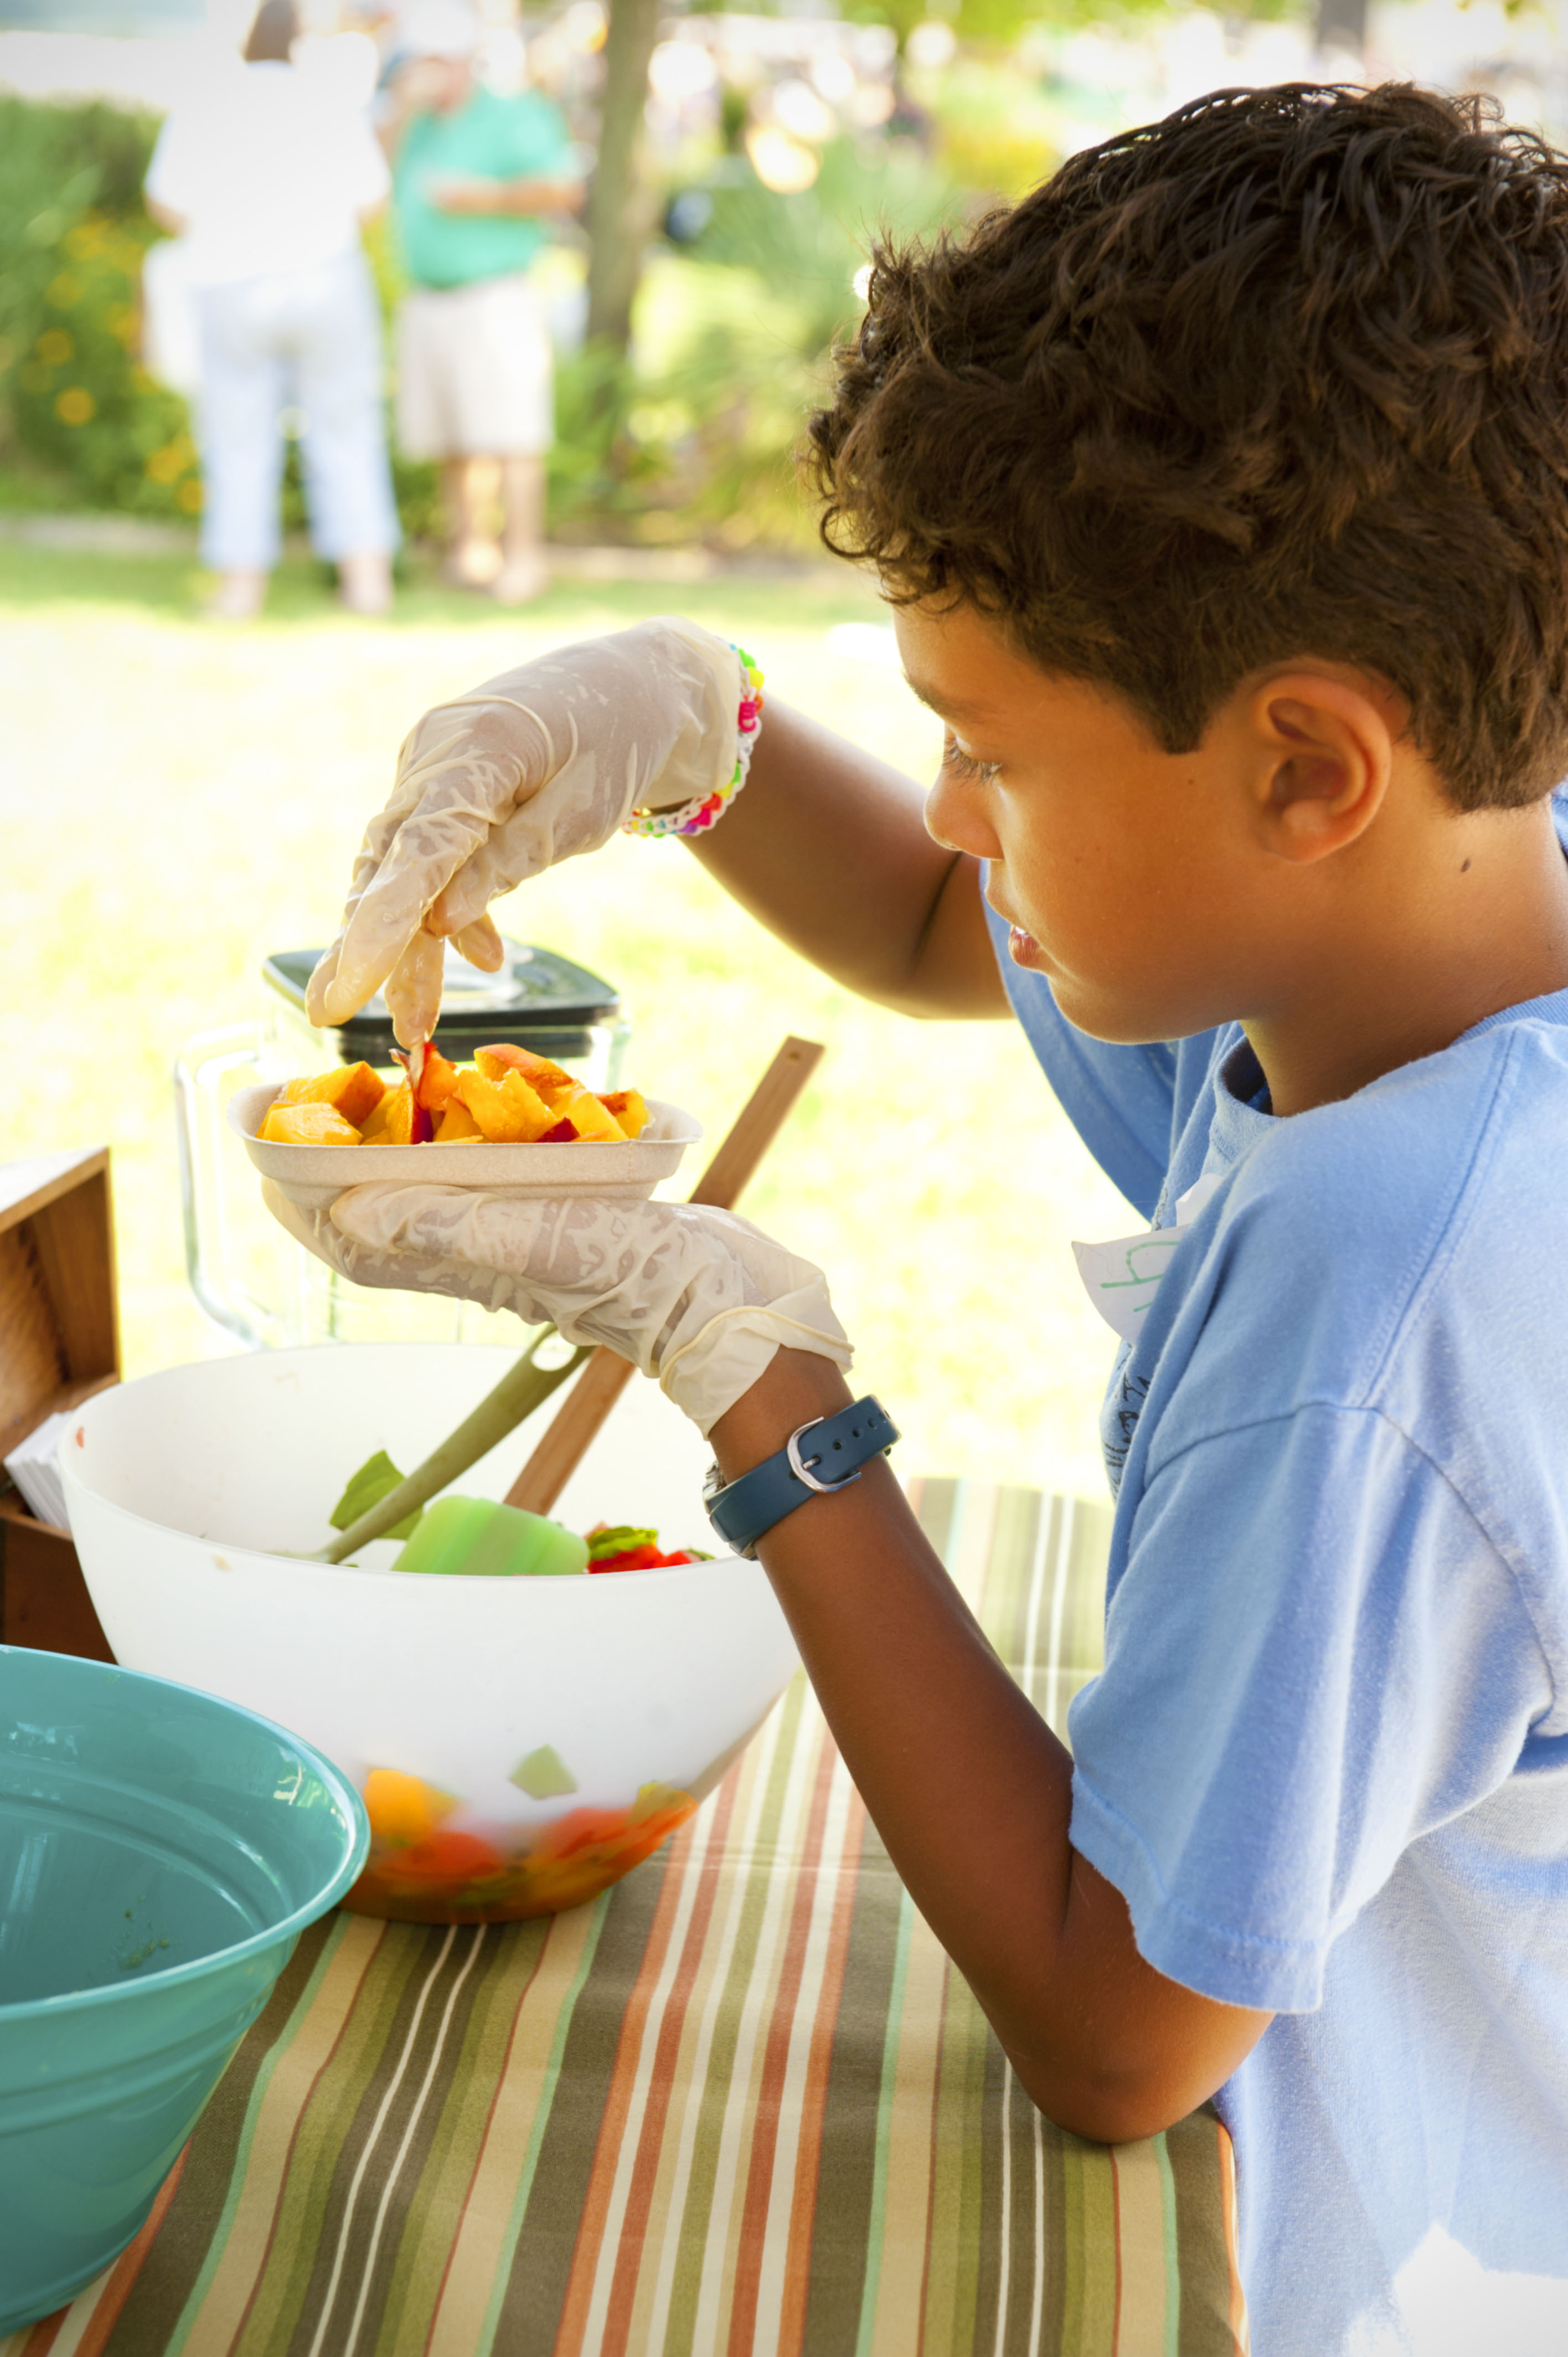
The HomeFries Team takes turns working with the blender to puree the fruit smoothie ingredients. Photo copyright Casey Boone
The last smoothie we made was based on cantaloupe, Yellow Doll melon, peaches, and winter squash. The HomeFries Team made this recipe without the winter squash and pumpkin pie spices because there wasn’t any winter squash available yet at the market. We experimented with both coconut milk and fizzy water to make the smoothie rich and bubbly.
At home I roast quite a bit of winter squash with olive oil in the fall and use it frozen in this recipe along with sorghum syrup from the NC mountains, coconut milk or kefir and pumpkin pie spice and cinnamon to blend up a frozen smoothie that reminds me of Pumpkin or Sweet Potato Pie, but much less sweet.
Cantaloupe, Melon & Peach Smoothie with coconut milk & fresh herbs. Photo Copyright Casey Boone
Lastly, the HomeFries team took home a special “Pop Zipzicle” bag to make popsicles out of their own smoothie creations. The coconut milk makes up an especially creamy version of a popsicle where the coconut water makes for a more traditional fruit ice-popsicle. These are inexpensive fun products that kids of all ages can enjoy and it gives each ‘chef’ the opportunity to be really creative when loading in additional ingredients after the base is made like fresh herbs or bits of fruit for pops of color and flavor.
Here are the recipes. They are designed to feed just a couple of people and very flexible so you can change the ratios to make the smoothies more savory, sweet, thick or thin and the fruit salad can be adapted to the season. We had a couple of food allergies to work around on Saturday so you’ll see some optional changes below in the recipes that we worked with for the HomeFries class.
Cucumber Cooler
- 1 – 1/2 cups chopped cucumber, partially peeled
- ½ cup cold water (sparkling)
- 3 cups ice cubes
- ¼ cup Honey
- ½ – 1 lime, juiced
- Pinch of pink sea salt
Add everything into a blender with the liquid at the very bottom. Pulse at first to roughly combine all of the ingredients and then use a higher power to blend until the drink is completely smooth and frosty; free of ice chunks. Serve immediately. Makes enough for 2 people.
Watermelon & Strawberry Smoothie, Popsicles or Chilled Soup
- 1 cup chopped frozen red watermelon (or combination of red & yellow with seeds removed)
- 1 cup frozen strawberries (or 1.5 tablespoons strawberry preserves or fruit reduction)
- 1/2 cup coconut milk, almond milk, or coconut water (for smoothie or popsicle only)
- 1 tablespoon fresh goat cheese (for soup only)
- 2 large fresh leaves from Pineapple Sage plant
- 1/2 teaspoon Raspberry vinegar
- Pinch of salt (Murray River pink or Himalayan pink)
- Optional – drizzle with blueberry, blackberry, or raspberry reduction
- Optional – fresh mint or basil leaf for garnish
Add the liquid, fruit and vinegar into the blender with the liquid at the bottom. Pulse until the combination is well mixed. Then add in the herbs and blend on high until the mixture is completely smooth. Add the goat cheese and pulse just until blended and turns lighter red/pink color. Serve immediately, or freeze in molds. Makes enough for 2 people.
Chilled Cantaloupe & Peach Soup or Smoothie
- 1 cup chopped frozen or chilled cantaloupe
- 1 cup chopped frozen or chilled peaches (treated with lemon to avoid browning)
- 1/2 cup liquid (kefir, coconut milk, almond milk or fizzy water)
- 1/4 cup dried apple slices (substitute 1/2 of fresh sweet apple, skin removed)
- Pinch of salt (Murray River pink or Himalayan pink)
- 1/4 – 1/2 teaspoon vanilla extract (the kids liked more)
- Optional – drizzle with Blueberry, Blackberry or Mulberry reduction
- Optional – 1/4 – 1/2 cup raw pecans & almonds will thicken this up
- Optional – herbs like fresh lemon verbena or pineapple sage leaves work well
- Fresh mint or basil leaf for garnish
Add the liquid, salt, fruit, vanilla extract, and dried apple slices into a blender and pulse until well combined. If you add nuts, add those initially as well. Once the mixture is well combined, add in any additional herb leaves and blend on high until the mixture is smooth and creamy. Garnish with blueberry, blackberry or mulberry reduction syrup and fresh mint or basil. This recipe can be frozen into popsicles
- Optional Fall Pumpkin Pie Smoothie: add 1 cup roasted butternut squash, pumpkin puree or roasted sweet potato puree (puree can be frozen into ice cubes for long term storage), 1/4 cup raw chopped carrot, 1/4 cup raw pecans, 1 teaspoon sorghum syrup or honey, 1 teaspoon pumpkin pie spice, 1/4 teaspoon cinnamon, 1/2 teaspoon vanilla extract
Simple Melon & Greens Salad or Skewers
- 1 cups fresh washed mild greens like baby arugula or 1/2 cup mixed micro-greens
- 2 cups mixed melons (honeydew, watermelon, yellow doll, cantaloupe
- 1 cup fresh blueberries or blackberries
- 1/4 – 1/2 cup fresh chèvre (feta would be more pronounced for adult version)
- Optional: 1/8 cup fresh red onion sliced thin
- Optional: 1 teaspoon fresh chopped chives
- Optional: cubed paneer or feta and basil or mint leaves for skewers
Wash off the outsides of the melons and gently rinse and dry the fresh berries. Cut up the melons, throwing away the seeds (or save them for a seed spitting contest). Mix all of the fruit together with any of the optional herbs, cheese and onions. Add the blueberries last and toss gently. Serve